
I recently received the Sonax CC36 Ceramic Coating for testing purposes, so wanted to write an initial article after I took some photos and experimented with it for a bit. I intend to update this article after 6-8 months to see how the coating is holding up on a couple of test panels, but for now here are some initial thoughts, photos and a quick look at the easy application process. But first, the product description direct from Detailed Image.
The Sonax CC36 Ceramic Coating will bond to your paint, leaving you with an incredibly strong layer of protection that looks stunning. Sealants and waxes will add a great deal of gloss and good protection to your paint, but paint coatings will take that gloss and protection to the next level! The Sonax CC36 is easy to apply and is broken down into two steps. The 1st step is a protective base layer. Use the foam block with the number 1 listed, wrap it with the included suede cloth and apply bottle number one, section by section. After about 30 seconds to a minute wipe away any excess and let the car sit for 30 minutes. After 30 minutes, you are ready for the second step! Using bottle 2 and applicator 2, apply to each section of your car, waiting about 30 seconds to remove any excess. This step applies a glossy hydrophobic layer that will really make your paint pop. After an hour, your car is ready to be driven and brave the various everyday elements. CC36 will protect your paint from road salt, tar, and street and industrial pollution while lasting up to 1 year. If you are looking for an easy to apply, super glossy coatings, the Sonax CC36 Ceramic Coating is a great choice!
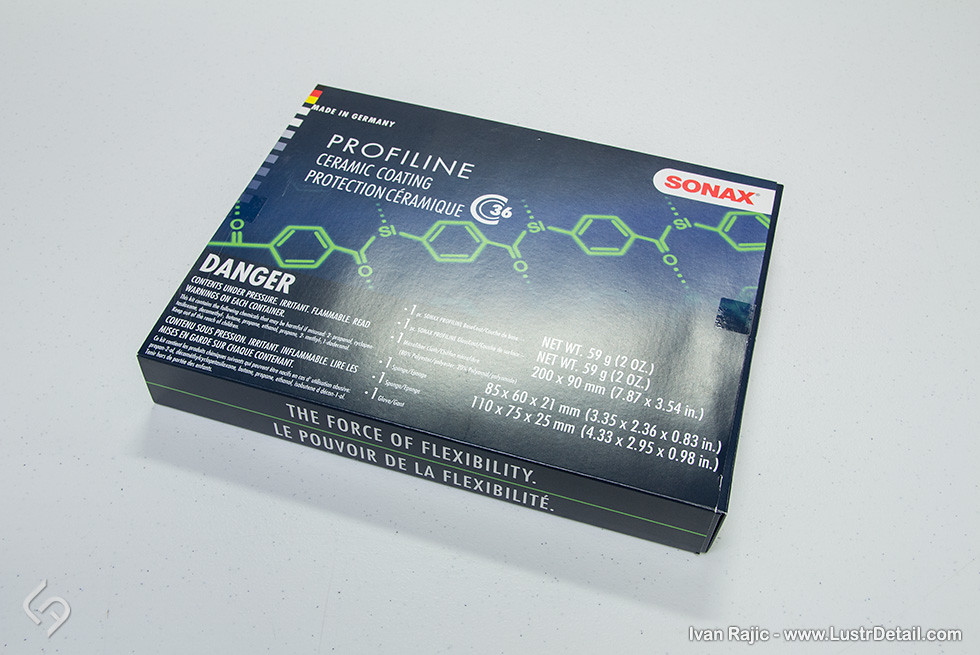
On first glance, the box is very nice and overall packaging, branding, etc. is some of the best I’ve seen.

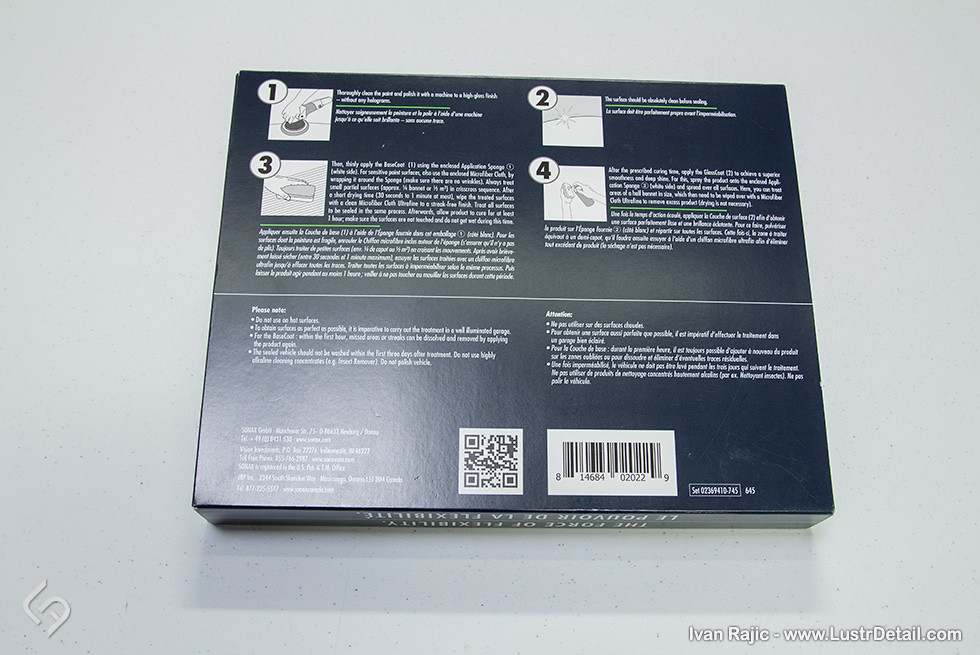
I really liked the very clear instructions on the rear of the package along with some tips and images.
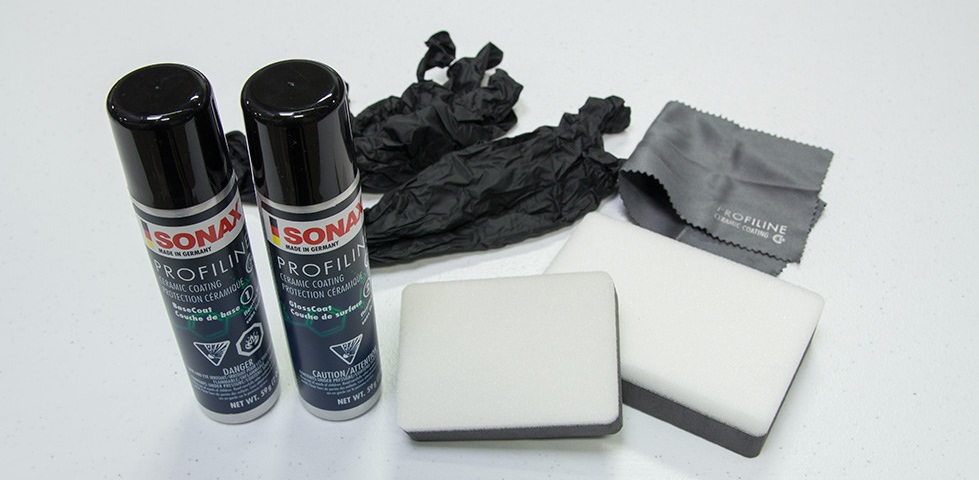
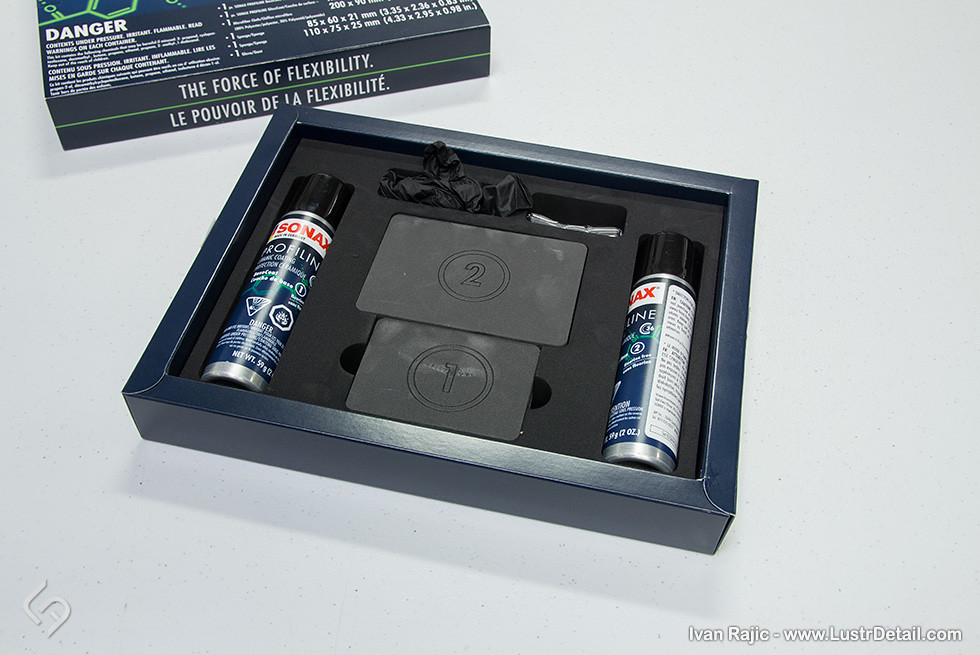
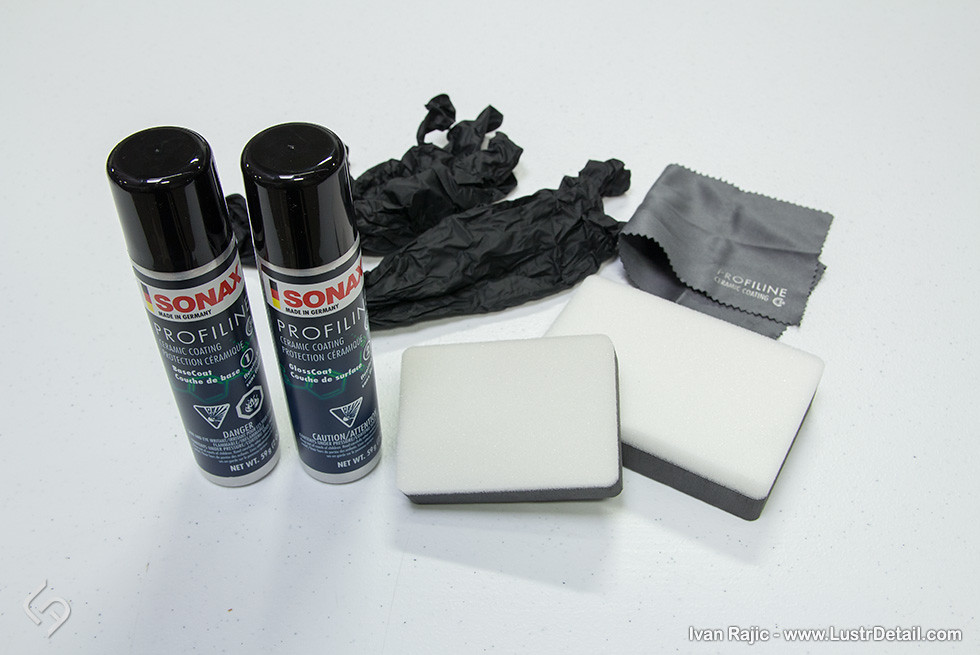
Inside was a very quality foam cutout for all the contents, which include the two spray/aerosol bottles, two applicator pads, a pair of gloves and a small suede cloth.
Contents removed from the package.
I decided to test the Sonax CC36 Ceramic Coating on one panel on both of my vehicles (pictured here is the work van) so that I can keep track of gloss, beading and durability. The first thing to do before any coating application is polishing the paint to your desired level. After decontaminating the paint, I simply went over the badly swirled door with some Meguiar’s M205 and a Lake Country Orange Pad. I did this as I didn’t care to make the paint perfect, rather smooth and ready for a coating application. Application starts with Step 1 (what a surprise!), which is the base coat. This is used with the applicator pad that has “1” on it. For sensitive surfaces, Sonax recommends to use the included suede towel, but I simply used the foam applicator.
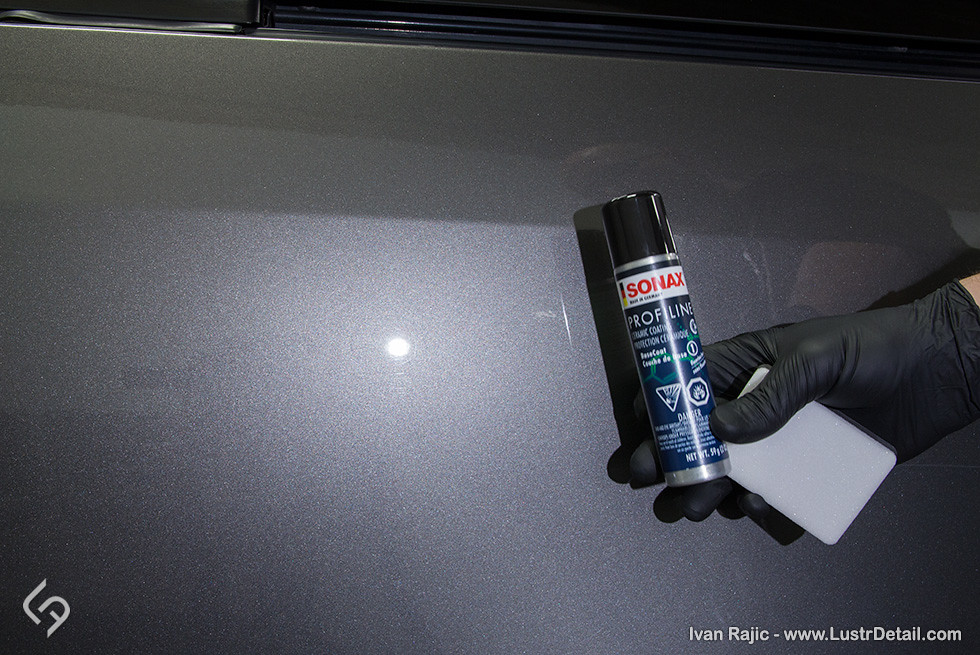
Not knowing how much of the product comes out and how it will spread, I initially sprayed the base coat onto the applicator fairly liberally.
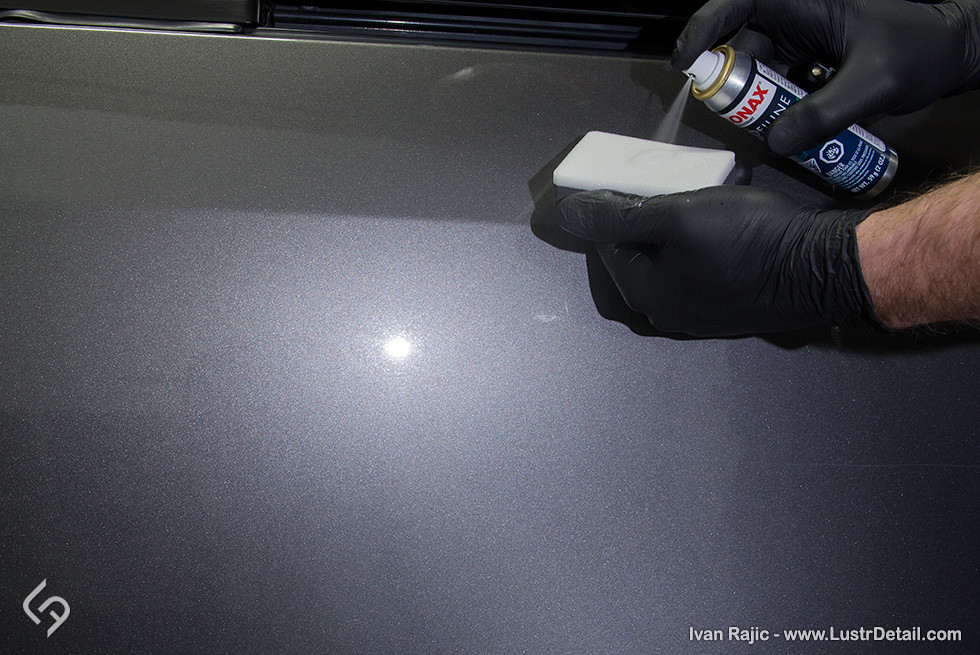
As I started applying I realized it was probably a bit too much as I started getting drips and runs (almost like when you wring out a sponge!), so I quickly dabbed it on the entire quarter panel and proceeded to wipe it on evenly.
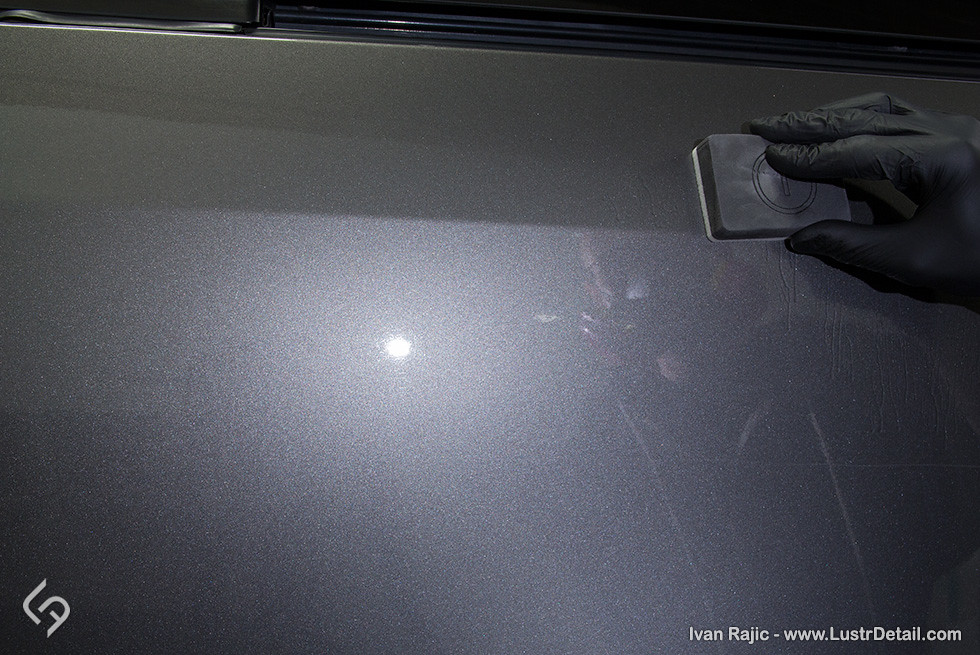
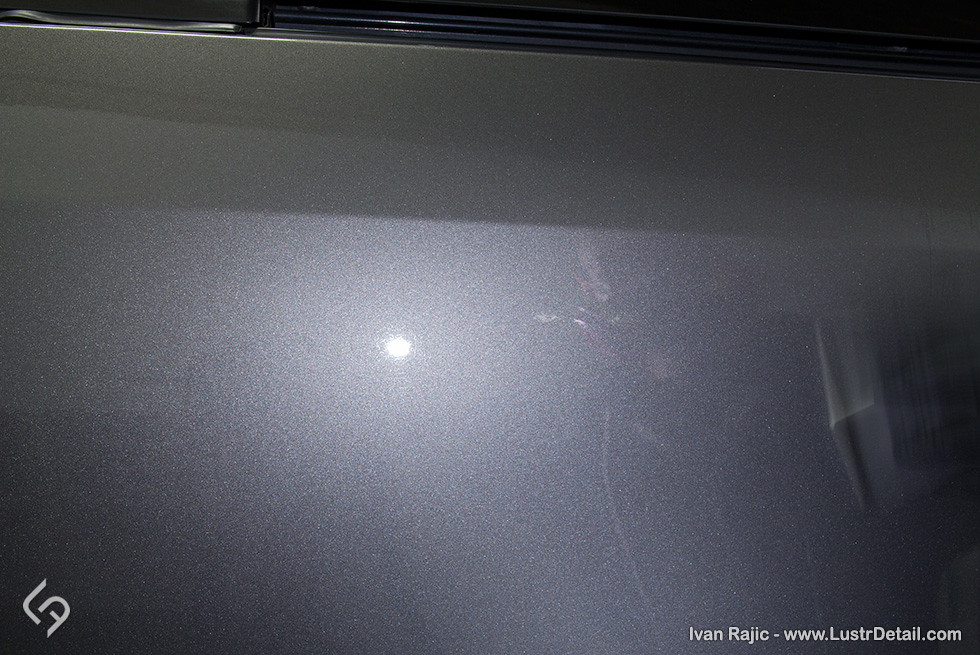
Using criss-cross patterns, I applied the base coat as evenly as I could and it went on without an issue. Almost like applying a regular sealant, maybe even easier once the applicator was saturated. Instructions say to apply to an area roughly the shape of 1/4 of the hood, but since I applied so much of the product I decided to do the entire quarter panel on the van. The size of this quarter panel is about half the hood, so it wasn’t too large of an area. Almost immediately after applying to the entire panel (about 45-60 seconds), I noticed the coating drying a bit and some high spots were starting to form.
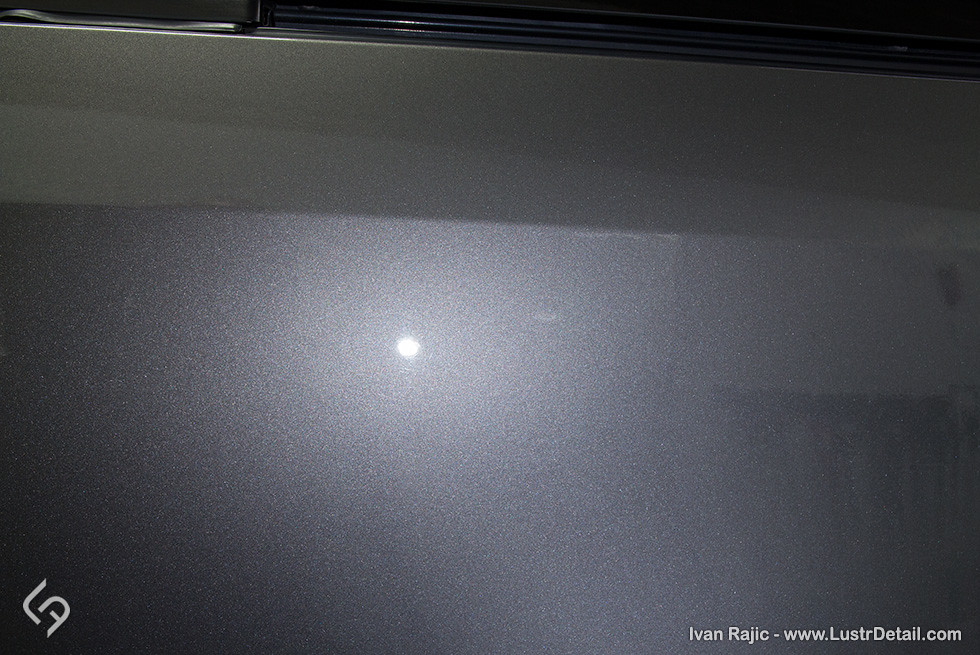
A bit easier to see without direct light on the panel.
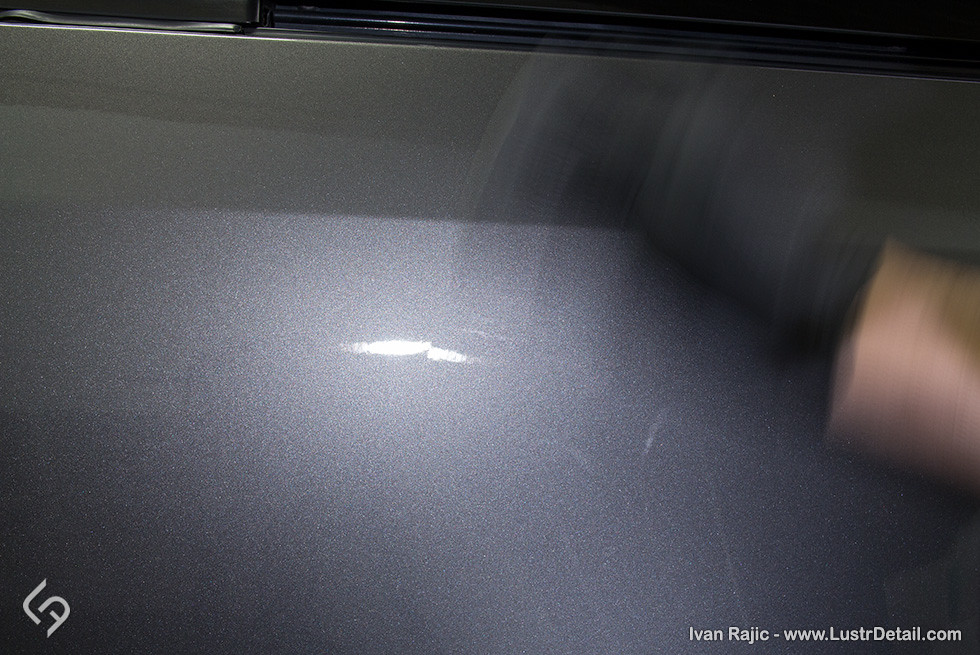
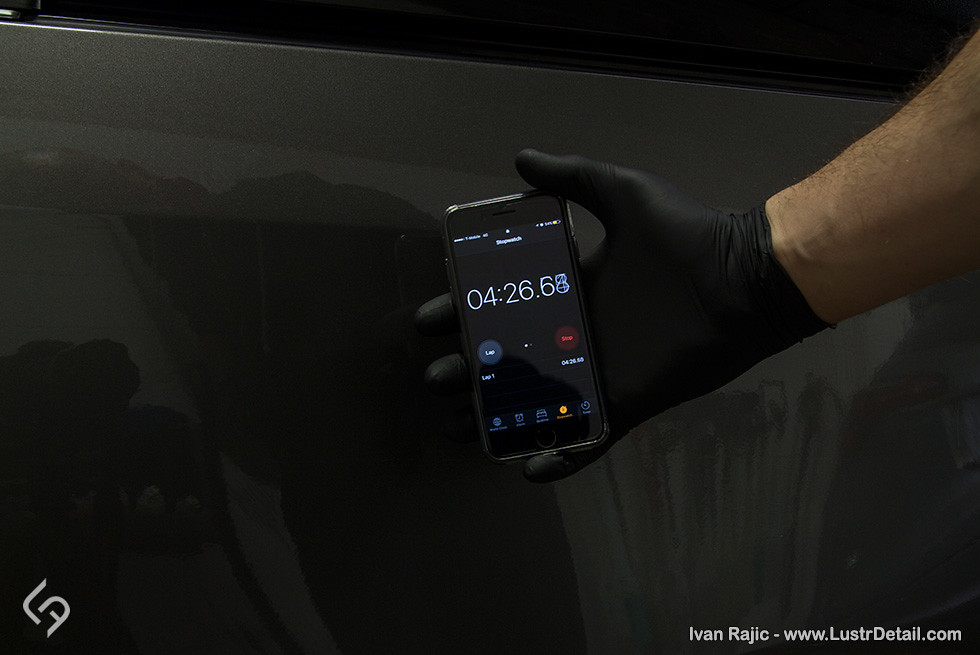
The instructions say to remove after 30-60 seconds, maybe a bit more. Now of course that means I will wait 2, 3, 4+ minutes to see what happens! Answer in my case was nothing. It was probably the cooler temps in the shop (around 60-65 degrees), but the coating wiped off just as easily at 2-3 minute as it did at 30-60 seconds. It also looked very similar in terms of the residue remaining, so I allowed it to go to about 4.5 minutes and that’s when I removed the rest of the panel.

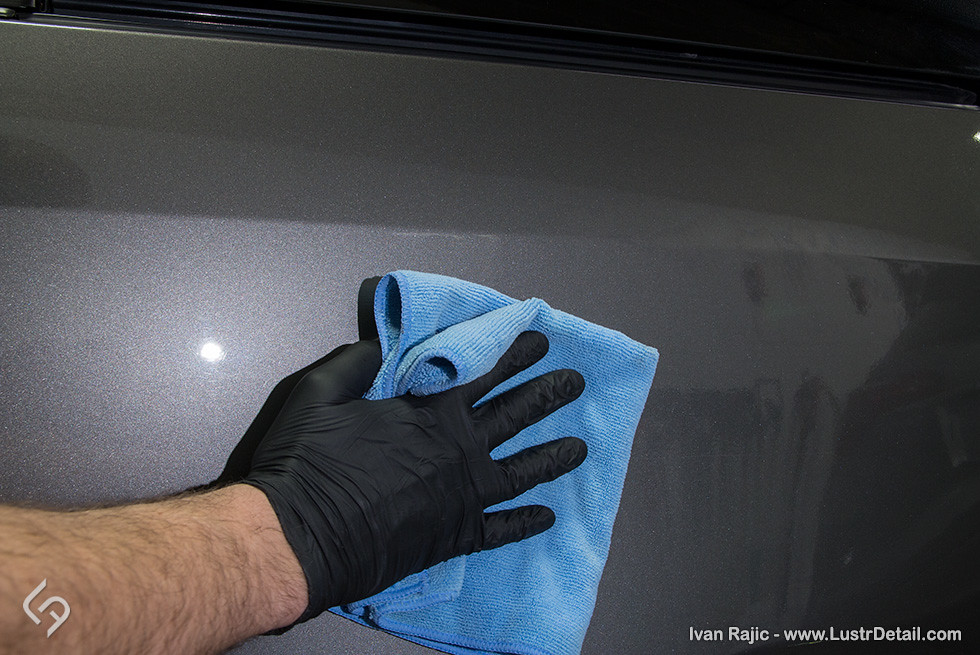
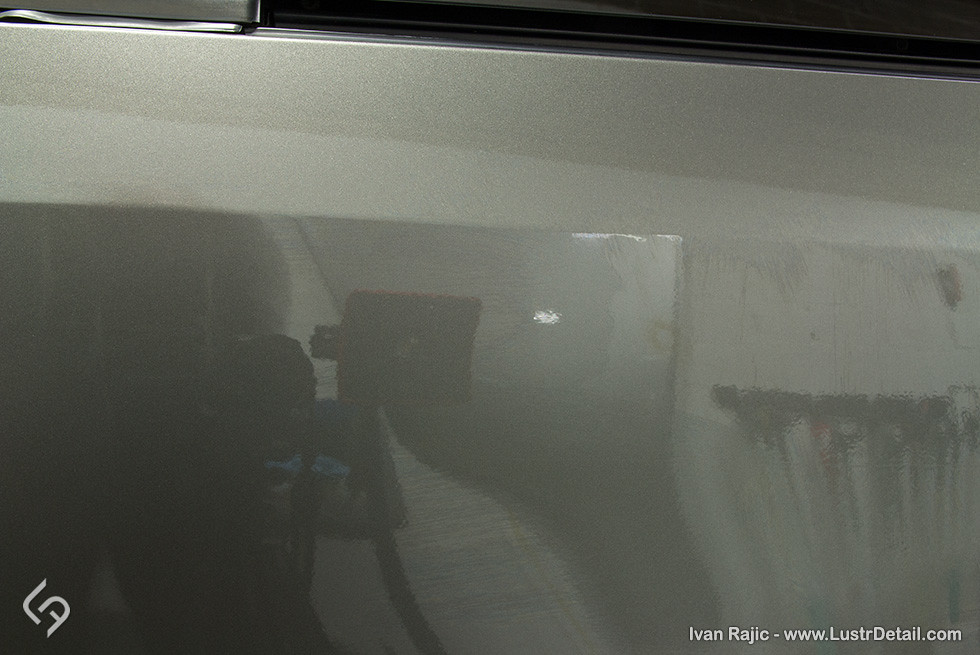
It too came off pretty easily with some slight resistance on the towel. If I had to compare it to something it would be like removing CQuartz Paint Coating or 22ple VX3. It becomes a bit resistant after a certain amount of dry time and I feel this is the perfect time for removing a coating. If it’s too easy it’s probably too early and you’re removing a lot of the protection and durability. If it’s too late it will feel extremely grabby and leave smears that need some finesse and patience to wipe off.
Again, it was very easy to apply the base coat and I would imagine even in extremely hot temperatures you would have more than the 30-60 seconds to remove the coating. That said, always test on a small section to get the process down for the rest of the car.
The rest of the process is very simple and I didn’t take any photos for that reason. After waiting at least 1 hour (I waited about 2), you apply Step 2 of the package the exact same way. Using the larger applicator “2” you apply the Gloss Coat, which is the 2nd bottle, in the exact same manner. With the Gloss Coat you can apply to a much larger area and also removing it within a certain time as not too important. I applied it to the entire quarter panel, which took around 45 seconds, then removed it after about 2-3 minutes. It definitely made the paint feel more slick.
Final Thoughts
I’m very curious to see how this coating behaves over time, as it’s different than anything else I’ve tried with the “2 stage” process. The stage 1 base coat is supposed to be durable and the 2nd step is the hydrophobic and glossy layer. I’m curious if it’s mixed when applied or one over the other, making it lose hydrophobic properties sooner rather than later. I guess only time will tell and I will update this article or make a new one when that time comes. For now, I’m very happy with everything else regarding the Sonax CC36 Ceramic Coating. Packaging is great, contents include everything you need (except microfiber towels for removal, but that’s the norm anyway) and application of both steps is very easy. If it lasts 10-12 months as advertised, I can definitely recommend this for someone who wants an easy to apply product that eliminates waxing or sealant applications every few months.