
In Zach McGovern‘s articles, “How to Implement a Foam Lance into your Wash Routine” and “Product Review: DI Foam Lance“, he goes over a step by step routine for using the DI Foam Lance along with a full review of this great product. In this article I am going to show you how to setup your foam lance to begin using it.
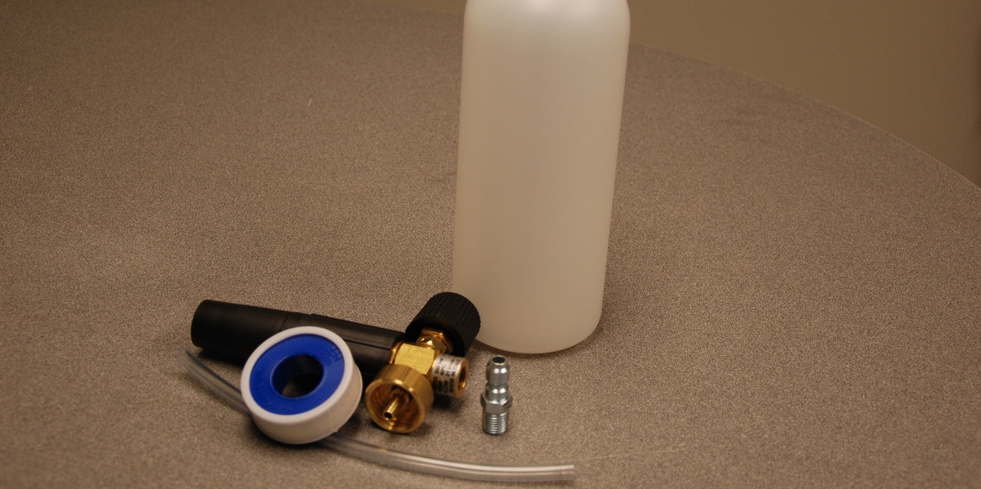
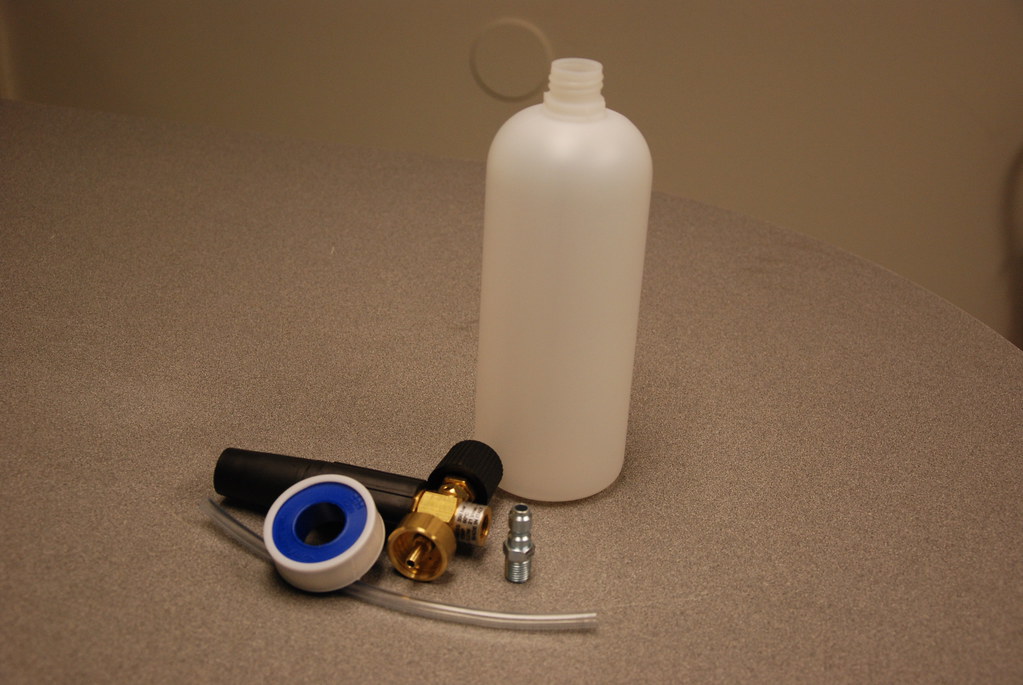
This is what you will receive in the box.

To begin with, we will add telon tape to the threads of the fitting. Wrapping this tape isn’t as simple as just slapping it on there. Your want to wrap it in the direction the threads go. This ensures the tape gets wrapped tighter as you secure the fitting.
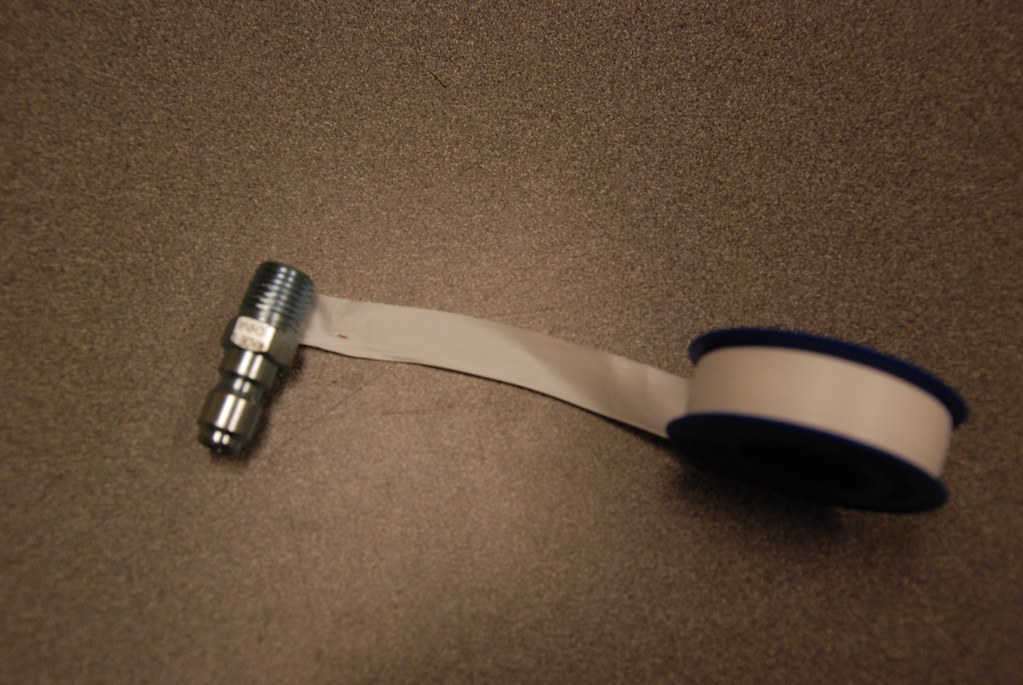
I have simply made one wrap with the tape. Although there is excess below the threads, once finished wrapping we will remove this.

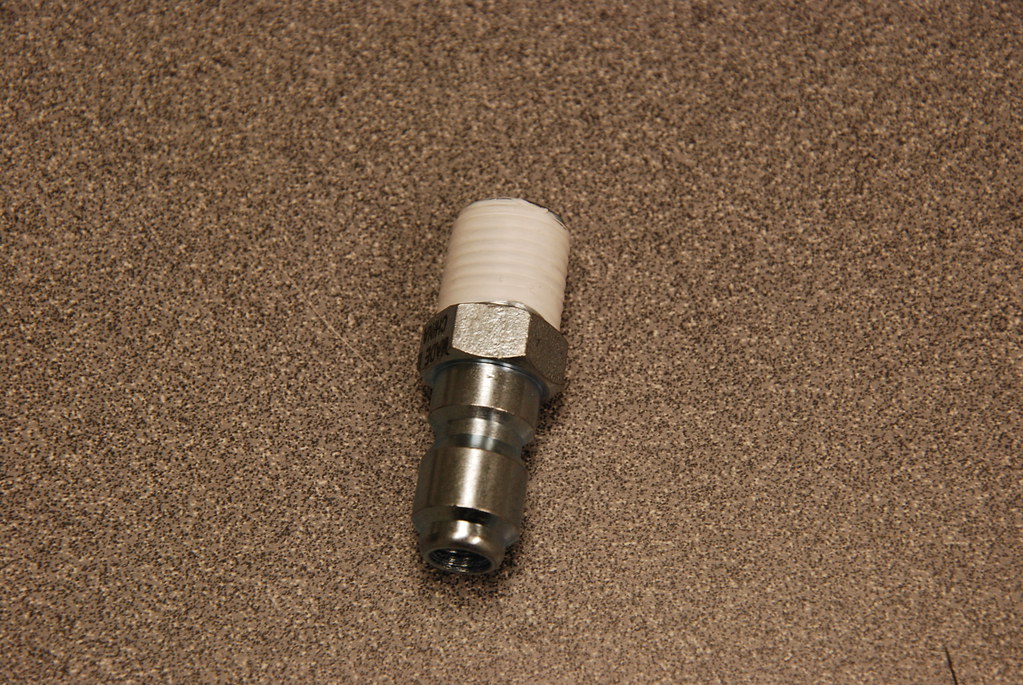
Here you can see I have wrapped my fitting, I did about 4-5 wraps. Additionally, I removed any excess that may have caused a blockage to the water flow.
Begin by hand tightening the fitting in to the main unit.
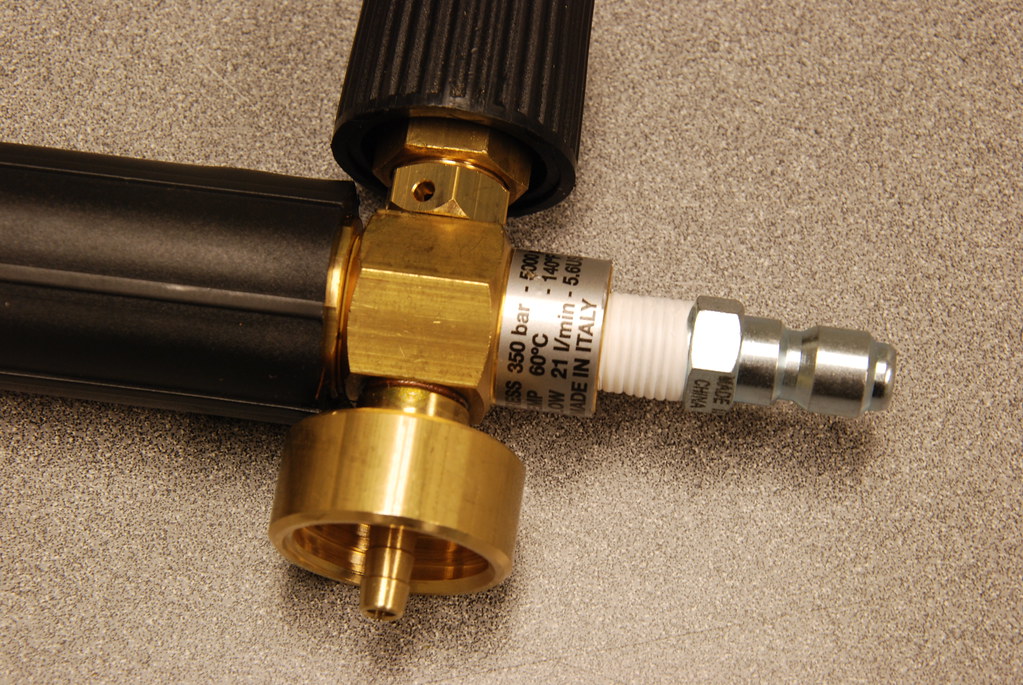
Then grab some channel locks, or an adjustable wrench and tighten the fitting down. It will not fit all the way in, and you want it snug, not overtightened.
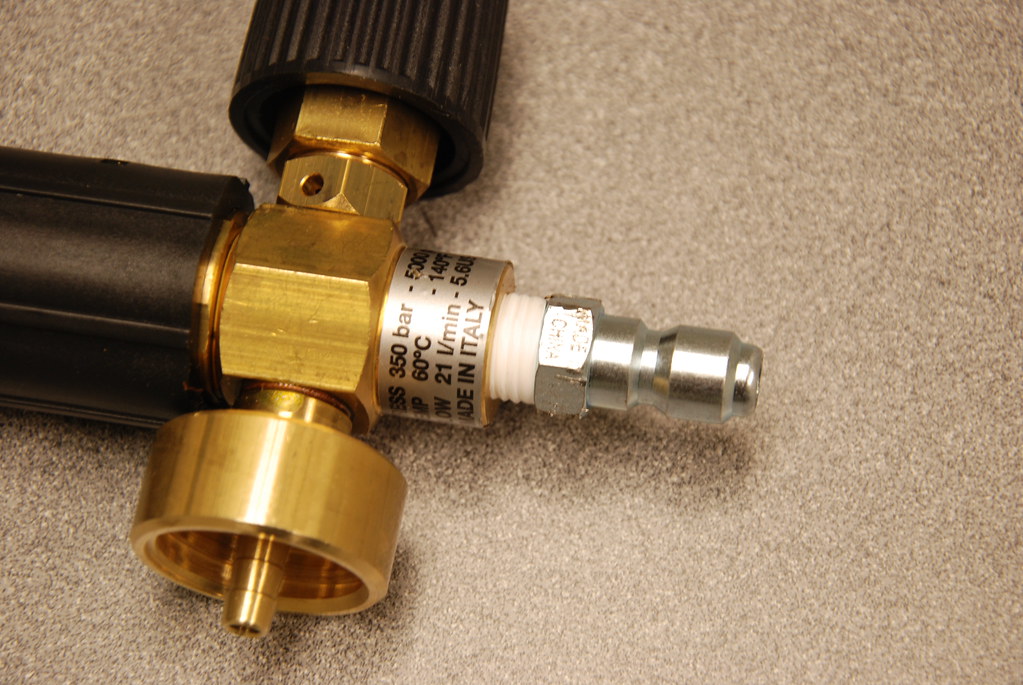
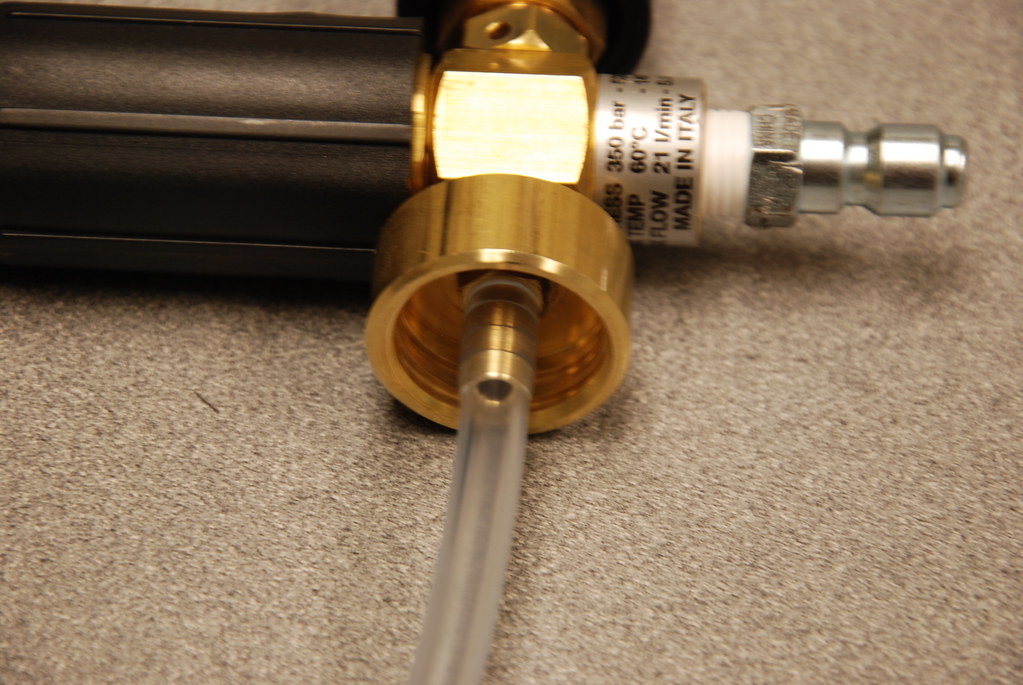
One thing I was forced to do was file down the end of the fitting. It was just a little long to fit into my pressure washer, so with a few quick strokes of the file it fit right in with no issue. Next secure the soap pickup hose onto the barbs.
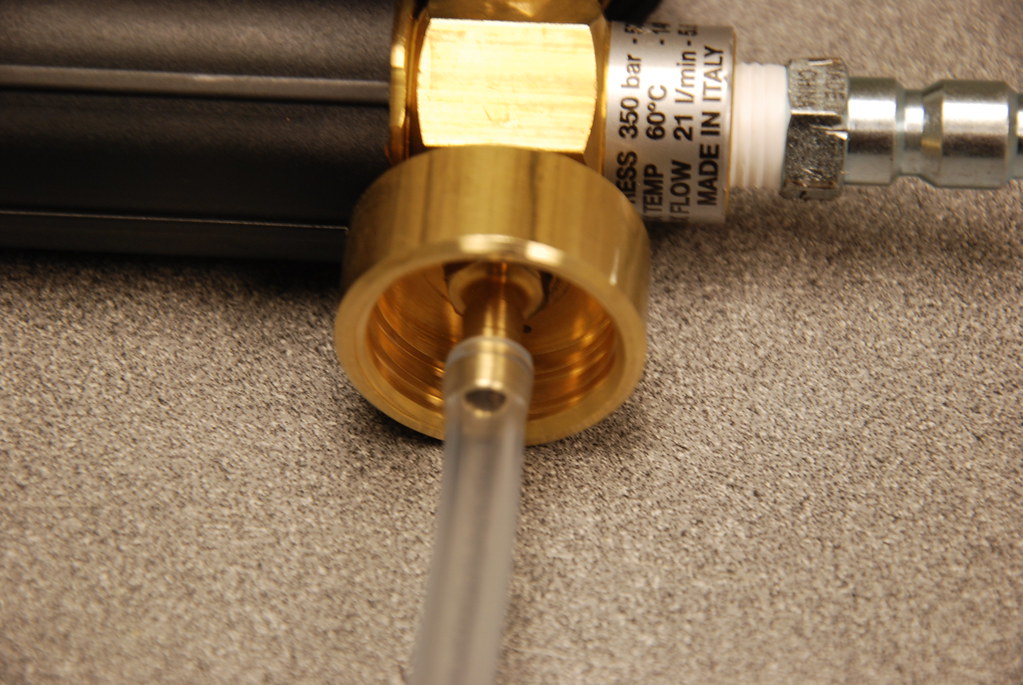
Ensuring you get it all the way to the last barb. If needed, you can use a little soap to lubricate the barbs which will allow the tube to slide up easier.
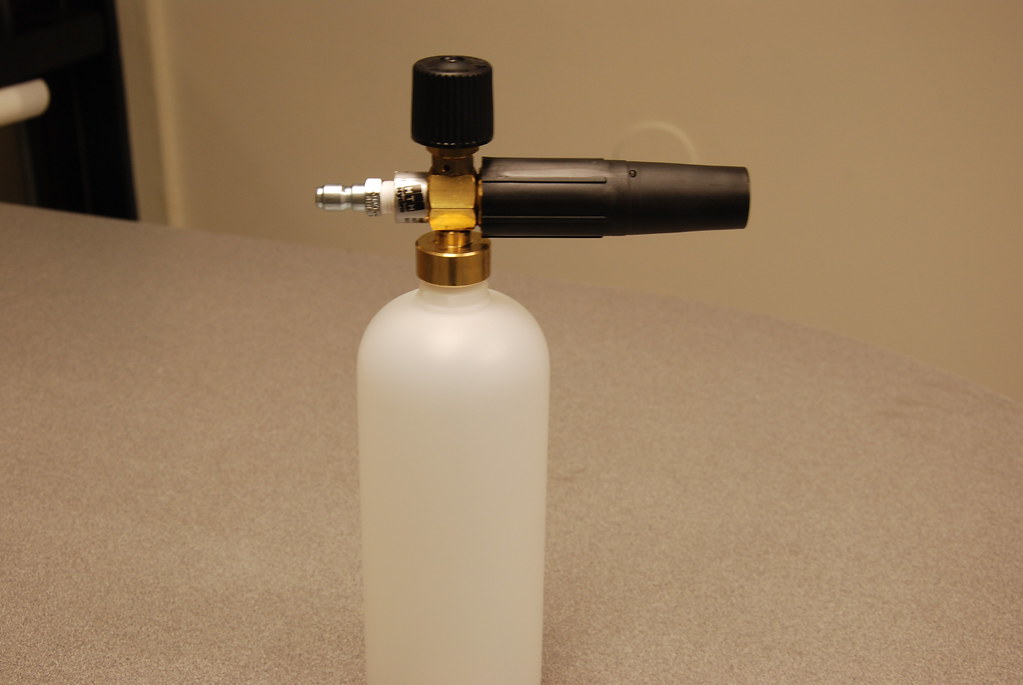
Finally attach your bottle and you’re all set to foam cars. There is a dual adjustment on this cannon, not only can you adjust the spray patter using the front adjustment nose piece. You can also adjust the amount of foam that is produced with the top adjuster.
As always thanks for reading 🙂