
One of the most common questions I see on the various auto enthusiast and detailing forums is, “how do I know what pads and polishes to use on my car?” While most experienced detailers can just look at a car and have a very good idea of what pad, polish, and tool they’re going to use, this assessment can be very hard for someone who is new to detailing. For example, I have been polishing cars for over 20 years, and approximately 90% of the time I use the original process I planned from my initial assessment of the paint. Even so, there always seems to be that one car that comes along and throws me for a loop, and that my DI blog readers is the reason we do a test spot. 😉
So how do I assess the paint and decide my process? Keeping in mind that we always want to use the least aggressive method to achieve our goal, I base my decision on the criteria below.
Evaluate the customer
This step is one of the most important. You should always be cognizant of your customer’s expectations and not every car has to have 100% correction with a show car finish! Not being aware can lead to unpleasant invoice surprises for the client and wasted time on your part. The polishes and pads you use should be specifically tailored to your customers needs. For instance, if your customer is only looking for a 1-step polish, and simply wants the paint to be clean and shiny, then deciding your process should be pretty easy. At the opposite end of the spectrum is a vehicle that is in pretty rough shape and a customer desiring full correction. In this situation, and many in between, you will want to determine your process based on more of the criteria listed below.
Make and model of the vehicle
Automobiles leave the production line sporting a wide variety of paint hardness. This is normal, and the ability to recognize and accommodate for the differences will become more natural as time passes and a detailer has the opportunity to work with a variety of different manufactures. When using the same pad and polish on a car with softer paint, such as you’ll typically find with Honda or Toyota, the paint is more easily corrected but can also be more difficult to finish down when compared to a vehicle with harder paint, such as an Audi or Mercedes. So if I have two cars, a Honda and an Audi, with paint in similar condition, I know that I should be able to use a less aggressive method on the Honda in order to achieve the same results. You may also find that you have to use a much more aggressive polish on harder paints just to get a noticeable amount of correction, though they tend to finish down better than that same aggressive combination would on a car with softer paint. It is also important to note that on cars which have had prior body work, those panels may respond differently to polishing than the OEM panels. Thus, some adjustments may be needed in your process to achieve the results you are looking for. While we detailers tend to have a generalization of paint hardness on specific cars, it’s important to note that this is not set in stone. In fact, you could actually have two identical cars (same make, model, year, and color) with completely different paint hardness. You also need to keep in mind that opinions vary and not everyone will agree on a particular cars paint hardness.
Evaluate the finish
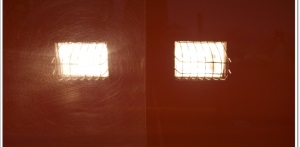
You always need to evaluate the vehicle finish when the car is clean and, if possible, stripped of any protection. This will allow you to assess the true finish. Waxes, sealants, and especially glazes can conceal some defects. This is especially important when dealing with new cars or cars that have just come out of the body shop. You will want to look for swirls, holograms, bird dropping staining/etching, water-spot etching, over spray, and Random Isolated Deep Scratches (RIDS). Try and look at the car in direct sunlight as well. If natural sunlight is not an option, then having a good light Source like the Brinkmann Dual Xenon or LED is critical in spotting defects. Also be sure to look over the vehicle for signs of previous correction that could cause reason for concern, such as edges that have been rubbed through. If you have a paint thickness gauge (PTG) you can also check for consistent and healthy paint readings.
Understanding the nuances and intended use of different pads and polishes
Since paint correction is all about leveling and refining the paint, it’s important to understand the differences between the various polishes and buffing pads. I like to categorize polishes and pads into 3 general categories: Compounding or cutting, polishing, and finishing. Typically, one will use a cutting pad with a compound or cutting polish, polishing pads will be used with a polish, and finishing pads will be used with a finishing polish. You can also interchange the pads and polishes to get different levels of cut and finishing, which is useful for finicky paints, but typically it’s best if they are paired up within the same category.
- Cutting polishes and pads: Used for severe defect removal such as heavy swirls, RIDS, oxidation, and etching. Some examples of compounds are: Meguiar’s M105, Meguiar’s MF D300 Compound, Optimum Hyper Spray Compound, Poorboy’s SSR3, and Menzerna Power Gloss. For the pairing, examples of cutting pads include Surbuf, Meguiar’s MF Cutting pads, Lake Country PFW, Lake Country yellow, Lake Country orange, and Lake Country cyan.
- Polish or “medium polish” and polishing pads: Used for moderate defect removal such as swirls, oxidation, and light staining/etching, or to further refine the paint after using a compound. Some examples of medium polishes are: Menzerna Super Intensive Polish, Menzerna Intensive Polish, Menzerna Power Finish, Meguiar’s M205, Poorboy’s SSR2, and Optimum Hyper Spray Polish. (Note: Some of these can also be used for finishing depending on pad used and paint type). For the pairing, examples of polishing pads include Lake Country green, Lake Country white, and Lake Country tangerine.
- Finishing polish and finishing pads: Used for light to moderate defect removal such as shallow swirls and light oxidation or as the final step in a multi-step correction. Some examples of finishing polishes are: Meguiar’s M205, Optimum Hyper Spray Polish, Poorboy’s SSR1, Menzerna Power Finish, Menzerna 106fa, Menzerna Final Finish, and Menzerna PO85RD. For the pairing, examples of finishing pads include Lake Country black, Lake Country blue, and Lake Country crimson.
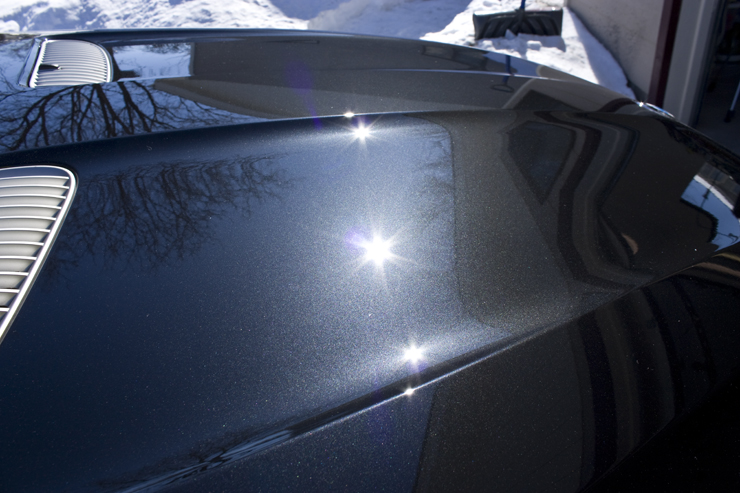
Now that we have our assessment criteria, lets look at some examples. As you begin to evaluate, please keep in mind that the condition level I list in each of these pictures is merely my opinion, a fabulous gift to which each individual is duly entitled. 😉
Light Defects:
Here is a picture of a Porsche Todd did a while back. This car would be considered to be in fair condition with light to moderate marring. Since Porsche paint tends to be of the softer side, one can usually achieve very good correction with a 1-step correction using a light to moderate polish and polishing pad.

Here is that same panel after M205 on the PCXP with a white LC pad.
Moderate defects:
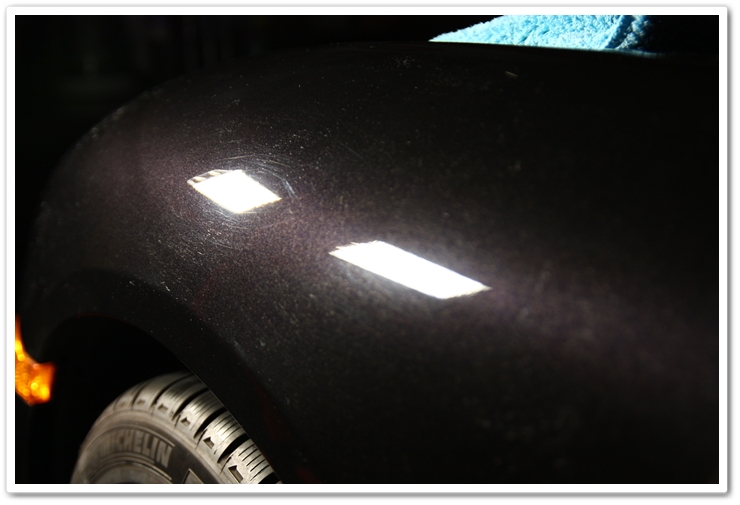
Here is the hood of a BMW X5 that has what I’d consider to be moderate defects. It has light to moderate marring as well as some dealer installed holograms. Full removal of defect like this will typically require 2-3 correction steps. This particular car had very hard paint so an aggressive compound was needed to remove the defects, but it also finished down very well. This resulted in only needing one more polishing to finish down perfectly.

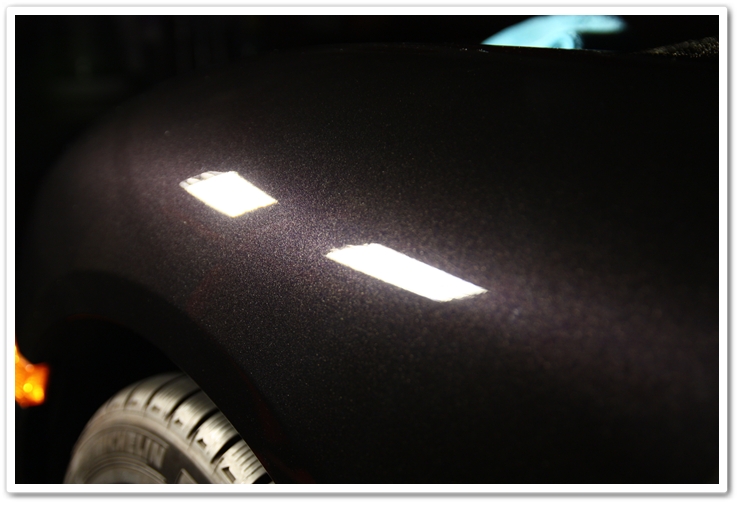
Here is the same hood after using M105 on the PCXP with and orange LC pad followed by M205 on the PCXP with a black LC pad. (Note: I did chase down some RIDS with M105 on the rotary with a PFW pad in order to achieve 99% correction, but all marring and holograms were removed with just the 2 steps)
Severe defects:
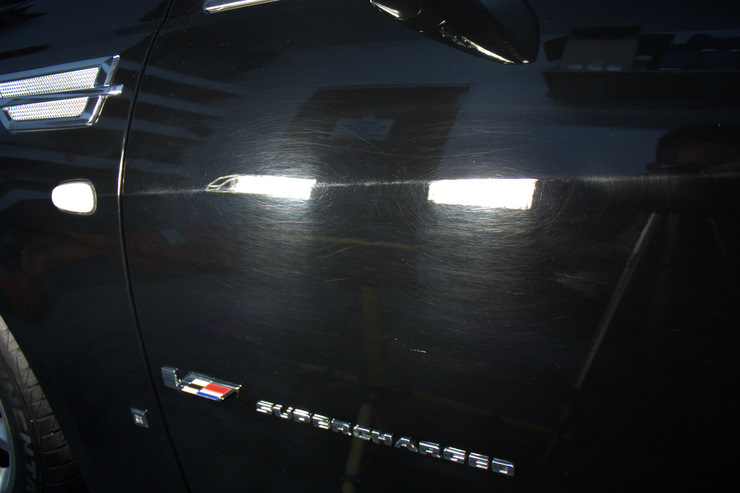
Here is an example of a highly neglected finish on a black STS-V, which some of you may recognize from an earlier article. This car shows heavy marring, holograms, and deep RIDS. In order to bring a car in this condition back to at least 95% correction, multiple correction steps were needed.
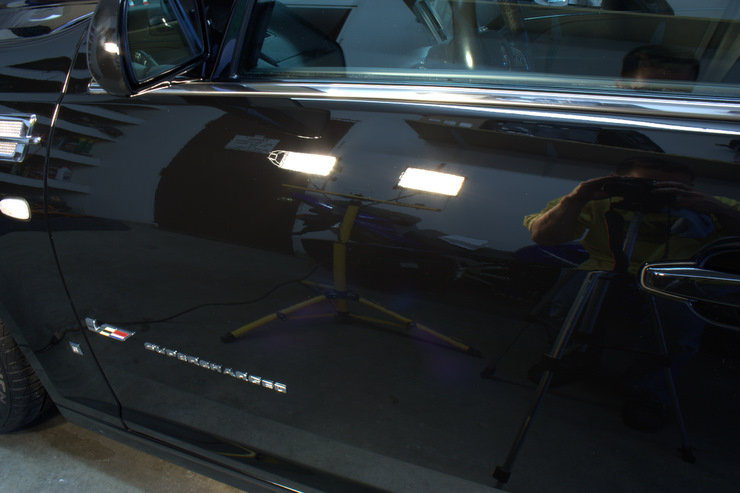
Here is that same panel after a 4 step correction (Heavy compound, compound, polish, finishing polish)
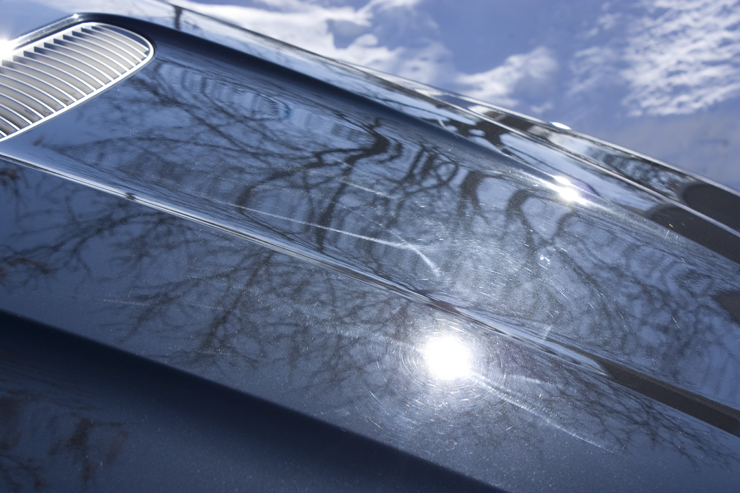
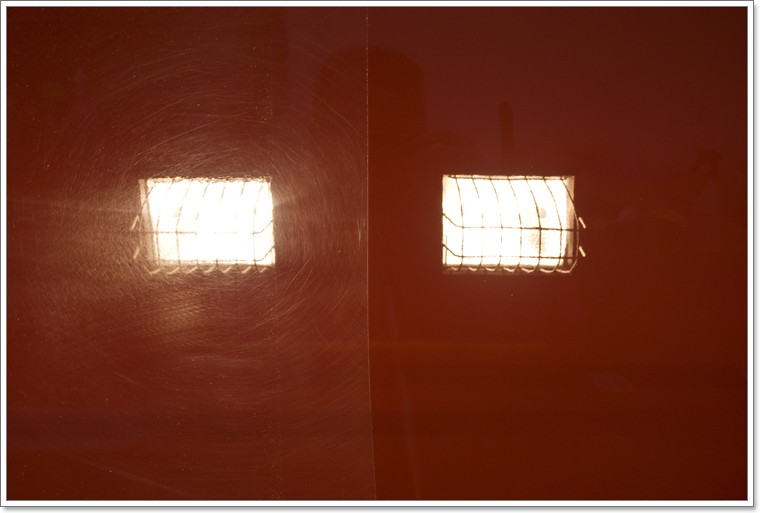
Here is another example of sever defects. The vehicle is showing heavy marring, sanding scratches, and severe RIDS, some of which were too deep to safely remove.

50/50 shot
After 3 step correction (compound, polish, finishing polish)

So hopefully this article has given you a better understanding to determine your process, or at the very least given you a good understanding of where to start with on your test spot.
Thanks for reading and please feel free to leave your comments and questions below. 🙂