
This Lamborghini Gallardo Spyder recently arrived in the Esoteric Auto Detail studios within the halls of NJB Automotive here in Columbus, Ohio with a typical case of factory-installed holograms and buffer trails. As other detailers and I have thoroughly documented in the past, this is a common affliction with exotics and other hand-built vehicles as they come from the factory.
If you’re a detailer or a detailing enthusiast reading this article, you know exactly what buffer trails and holograms are, and how much of a negative impact they can have on the looks of the painted finish. But if you’ve simply stumbled upon this article, and know nothing about detailing and paint correction, let me take a moment to show you what I am referring to and what causes the problems in the paint.
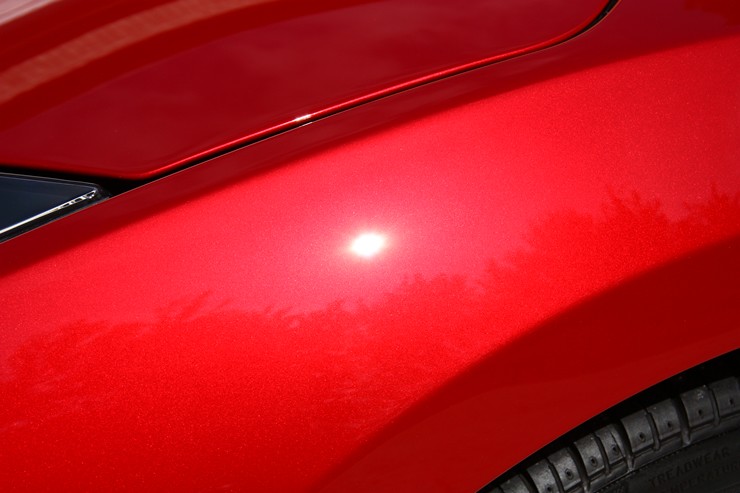
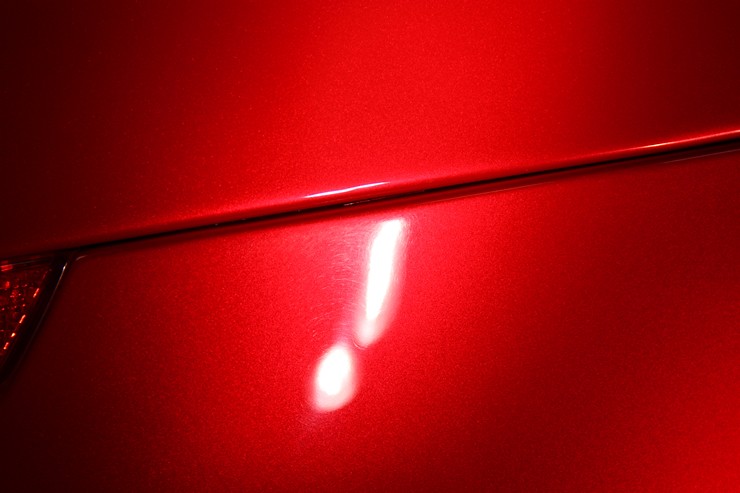
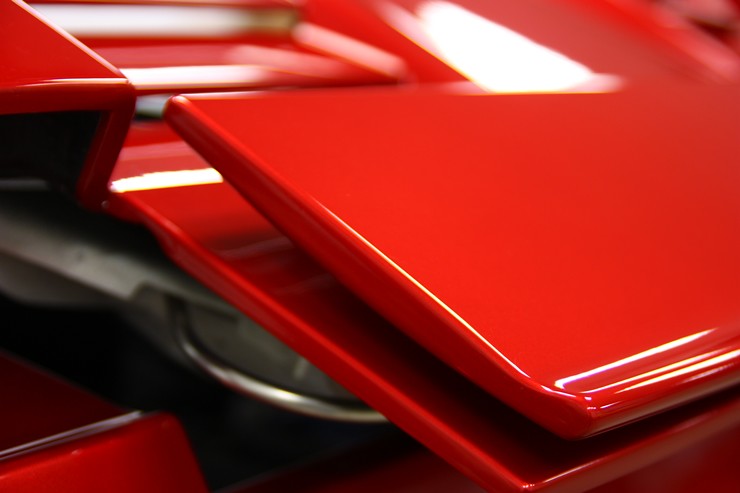
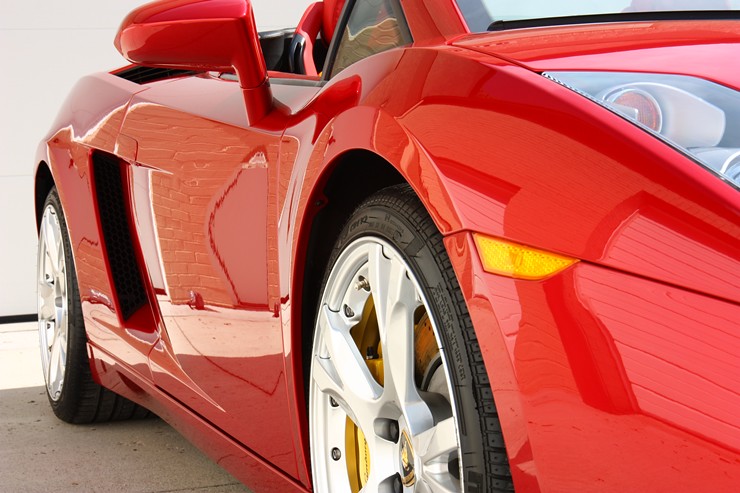
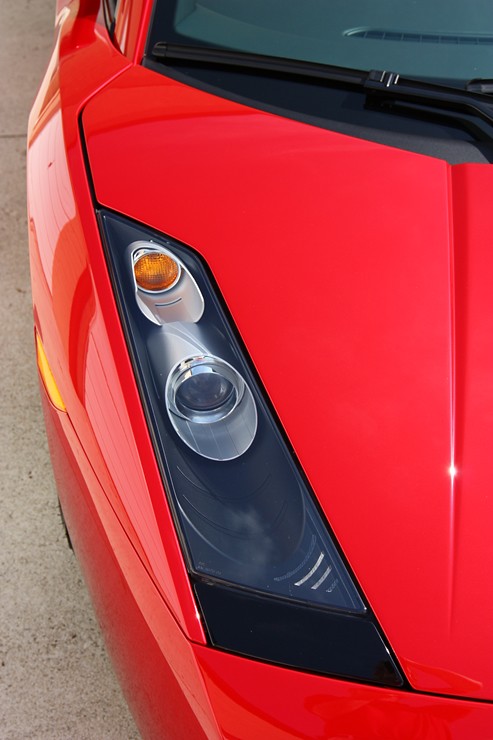
Automotive paint, especially on a brand new car, should have pure reflections when you look at it directly in the sunshine or in a concentrated light source. There should be no defects, swirls, or any other type of haze that prevents crystal clear reflections and a deep gloss. Upon inspection, the finish should look like the following images:
In the sunshine reflection, you should see crystal clear paint, and a pure image of the sun.

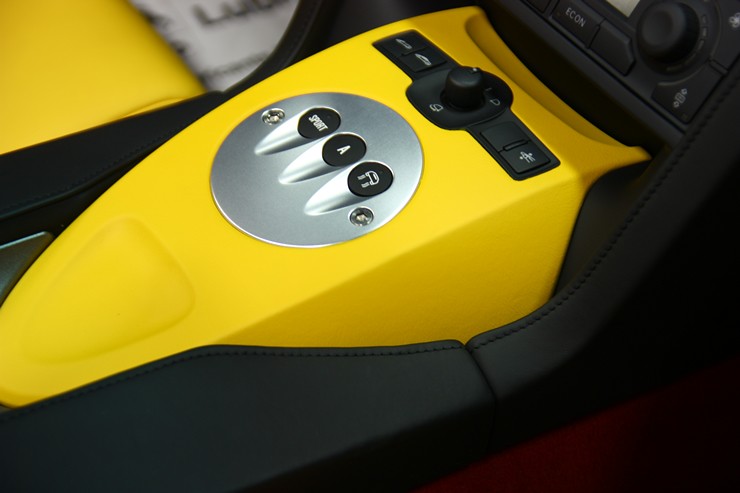
If you were to look at it under concentrated lighting as with this Brinkmann LED inspection light, you should once again see no scratches, swirls, or haze…just a clear light reflection.

But…the unfortunate and sad reality here is that very few exotics and hand-built cars come from the factory looking as they should (as they do in the photos above). I guess you can say that $200K+ doesn’t buy you what it used to! Whether you’re purchasing a Lamborghini, Ferrari, Rolls Royce, Aston Martin, Maserati, or just about any other highline vehicle, chances are good that the paint finish won’t be at the level that it deserves and you should seriously consider having a paint correction specialist refine it to the proper level.
What are holograms, and what causes them?
Holograms are also referred to as buffer trails, and are caused by the improper use of a high-speed rotary buffer. They’re easy to spot, especially on darker colored vehicles when you look at the car in the sunshine. As you look directly into the sun reflection, and move your viewing position from side to side, the light reflection will bend and move (hence the term hologram). It almost has an aurora borealis type effect to it. Once you look at my video at the end of this article, you will see exactly what I am referring to (don’t you dare fast forward to the video…there’s plenty of great info and you need to build up to it before you’re ready!).
What you’re seeing are rotary swirls caused by the improper use of the buffer, and these micro-scratches reflect the light in all different directions causing that hologram effect. These are typically seen on brand new exotics coming from the factory, or vehicles that have come from the body shop, or ones that have had a “cheap detail” (also known as speed-detailing!). As I have stated, this is caused by the buffer operator simply not understanding the science behind the art of paint polishing, or the fact that they don’t have or want to take the time to do the job right. On most of what we see in holograms, it comes from the use of a very aggressive wool pad that is designed for heavy cutting in a short period of time. IF a wool pad on a rotary buffer is to be used, it needs to be followed by two or three more refinement steps to bring the finish to pure, crystal clear reflections. The reason why the factories (or body shops) would be buffing the paint in such an aggressive manner would be because they sanded the paint to remove orange peel and texture. That is fine, however rarely do I find that (a) they even got rid of all of the sanding marks, and (b) they failed to properly finish and refine their buffing / polishing process afterwards. This isn’t just MY opinion…this is fact. Buffing can start with wool, but it cannot end with it!
So now I am going to introduce a new industry standard term for this affliction. Holograms created by wool pads will now be referred to as Woolograms! 🙂
You have the background on woolograms, what and who causes them, and why they’re bad for the paint finish…so let’s take a closer look at this Lamborghini in particular to show you what it looked like.
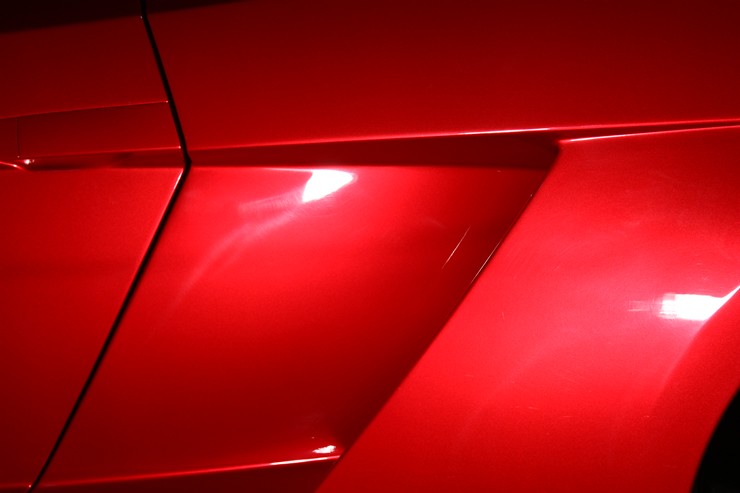
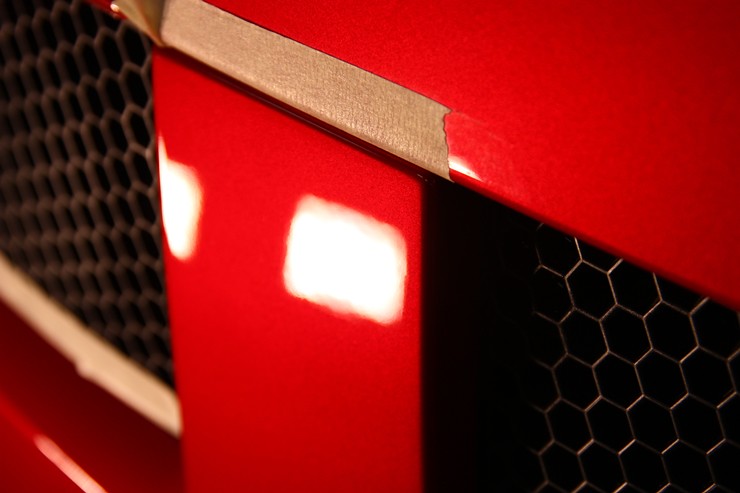
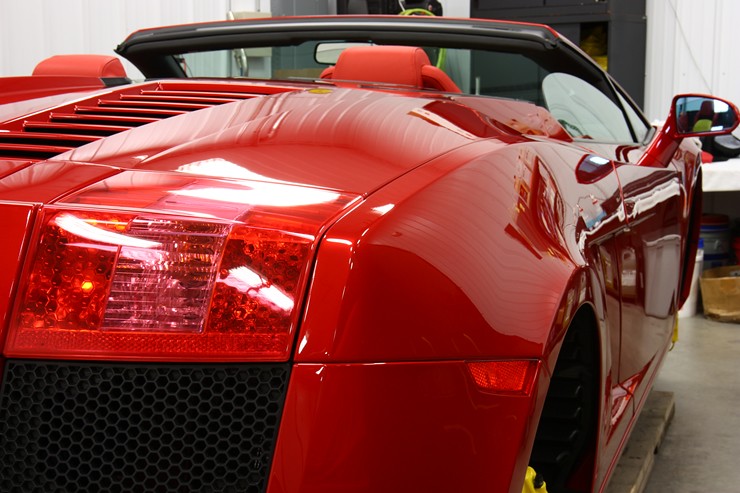
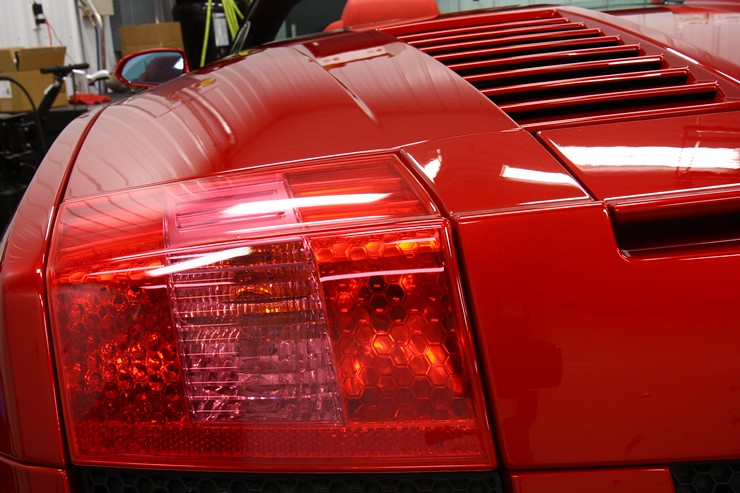
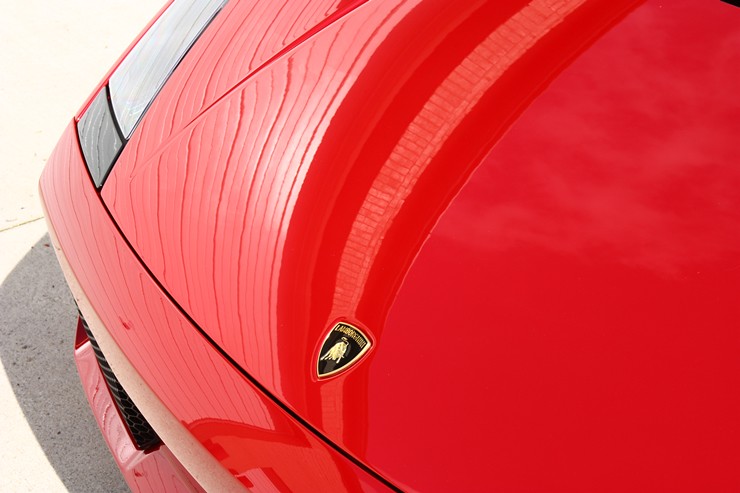
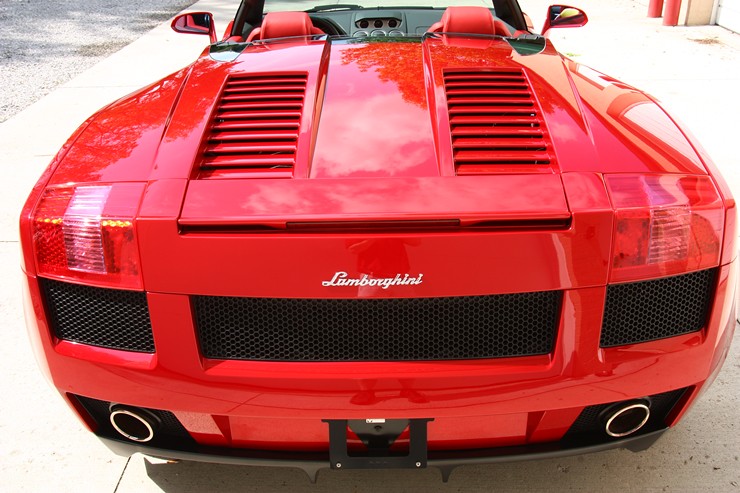
Here on the back end of the Gallardo, you can clearly see just how bad the woolograms were, and how much of a negative impact they have on the light reflections. Compare this to the photo(s) above!
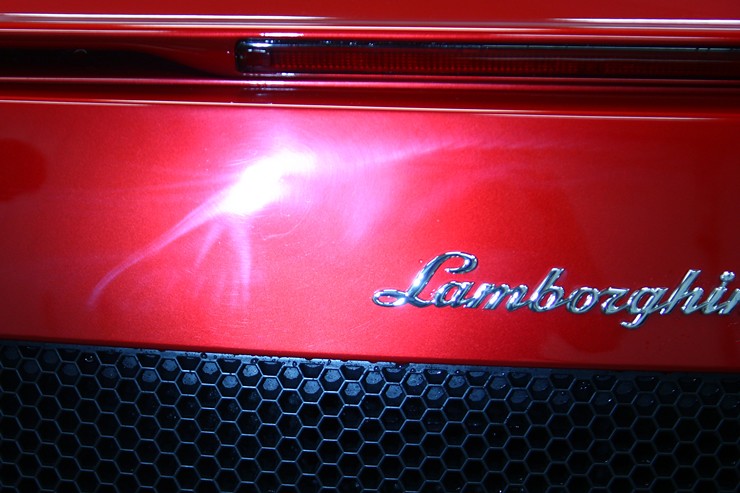
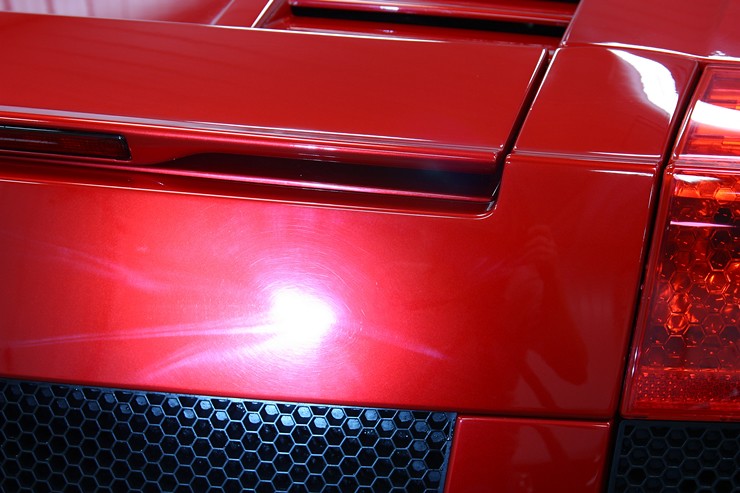
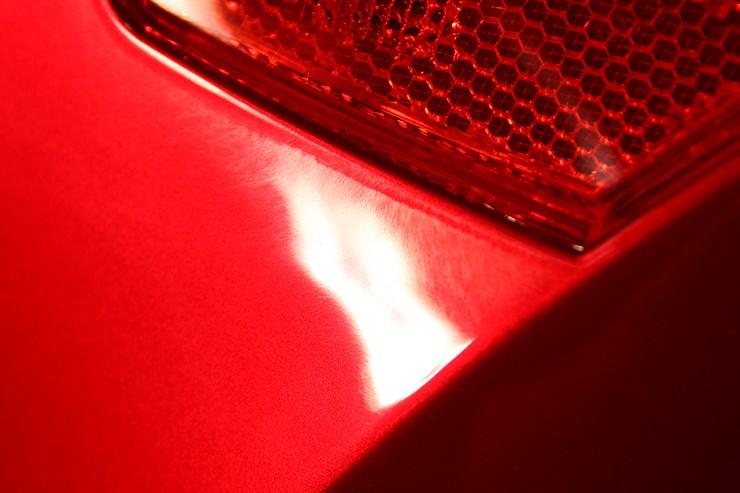
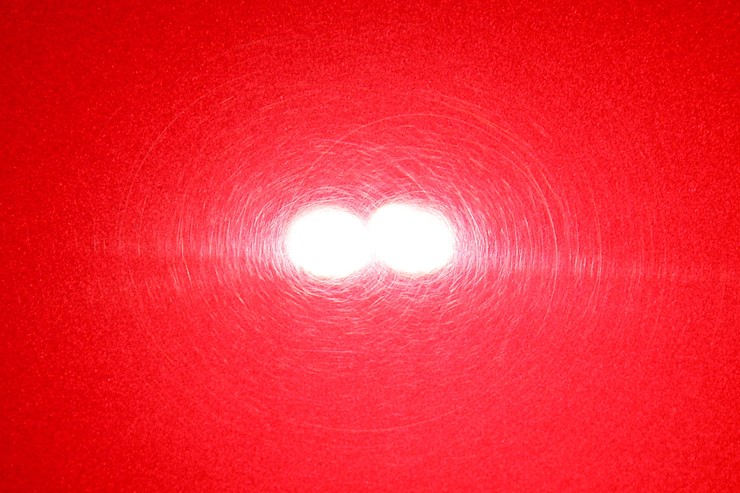
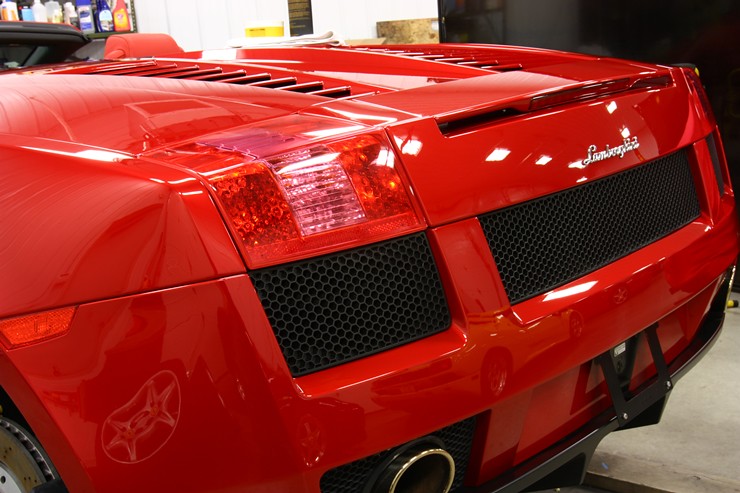
And while this photo isn’t as revealing as the ones above, you can still see the woologram-effect in the light reflection, and you can tell that there’s a very distinct haze in the paint’s finish.
Upon initial inspection of this Gallardo, I could clearly see that it had been viciously attacked at the factory by the wool pad and rotary buffer. It didn’t matter how tight of an area it was…they hit it hard and fast. I knew that there would be some of the wool marks that would be too deep to safely correct (paint preservation is key), but if I could at least get 95% of all of the defects safely removed, then this car would look absolutely stunning. As part of the assessment and game planning process, I asked my (regular) client if this car had ever been detailed or at a body shop. The answer was no…he was the original owner and the car hadn’t been touched. I’ve worked on other cars in his collection, but this was the first time I got the opportunity to work with this car in particular.
So armed with the knowledge that these were factory-induced woolograms, I gave him some options as I typically do…Good, Better, and Best. Since this car is leaving our facility and being shipped out to Arizona to attend the Giro Lamborghini 2011 drive, he wanted it to look its absolute best. The decision was made, and we decided on a Restorative Detail – the best.
On a Restorative Detail, the plan is to work on all areas of the vehicle, and restore them to as new condition as possible, and in some cases…better than new. On many occasions I will perform Restorative Details even on brand new, zero mile cars that are shipped in from all across the country. The owners have been educated to the fact that these highline vehicles come from the factory with a less than stellar paint finish, and commission my services to bring the brand new car to the level that it deserves. So if you own one of these exotics, and when you look at it in the sunshine it shows the types of defects I showcase in the photos above…don’t sweat it…just give me a call! 🙂
Restorative Detail – the process:
Once the level of detailing to be performed is established, it’s time to develop a plan of attack that will help us achieve the goals that I have established with the client, and with an efficient workflow to keep the process running smoothly.
I knew that we had a high level of decontamination to perform on the paint prior to any polishing, we had wheels-off full suspension and brake component detailing to do, and some issues to take care of on the interior of the vehicle.
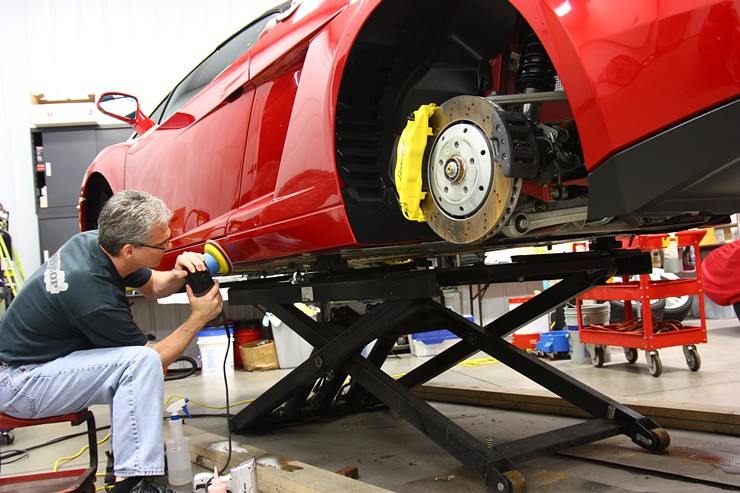
So to start, we put the Gallardo on the scissor lift and removed the wheels so we could proceed with the wheels, suspension, and brakes. For part of the detail I had a detailer / friend of mine helping me with the process, and here is Addison removing the wheels.
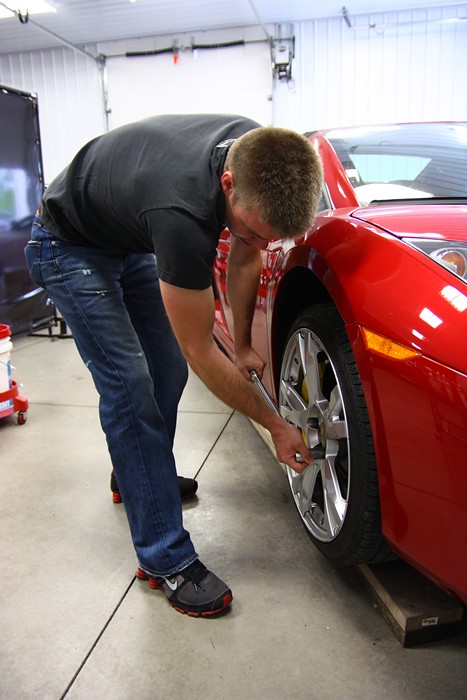

As expected, even at only 3500 miles on the odometer everything behind the wheels was in need of a thorough cleaning. You can also see just how much debris was built up on the lower rocker panels.
I started off by using a custom setup that is great for heavy cleaning of wheel wells, suspension, and even dirty engines. It uses compressed air and pulls a liquid cleaning solution from the bucket…kind of a hybrid of a pressure washer and a steam cleaner.
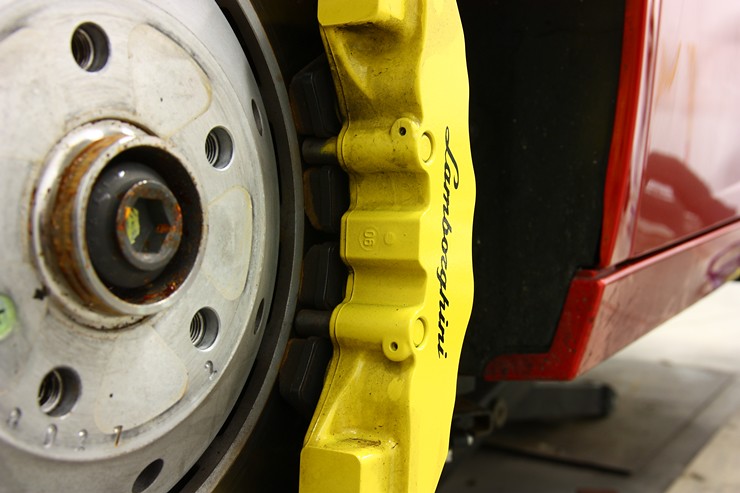
So I started out with this before:
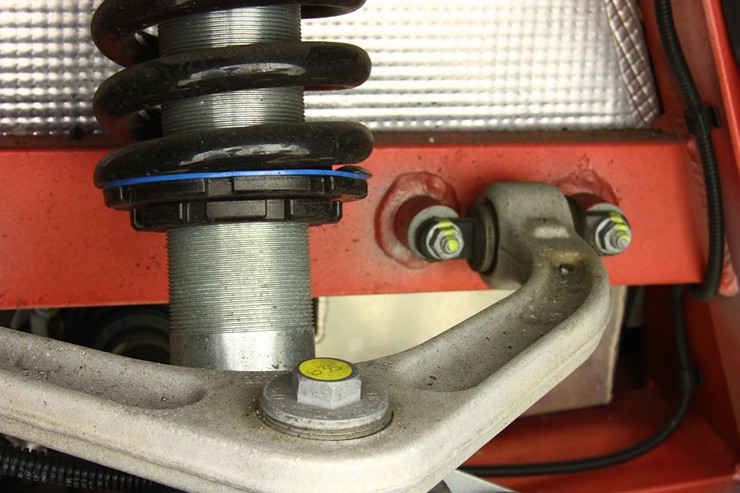
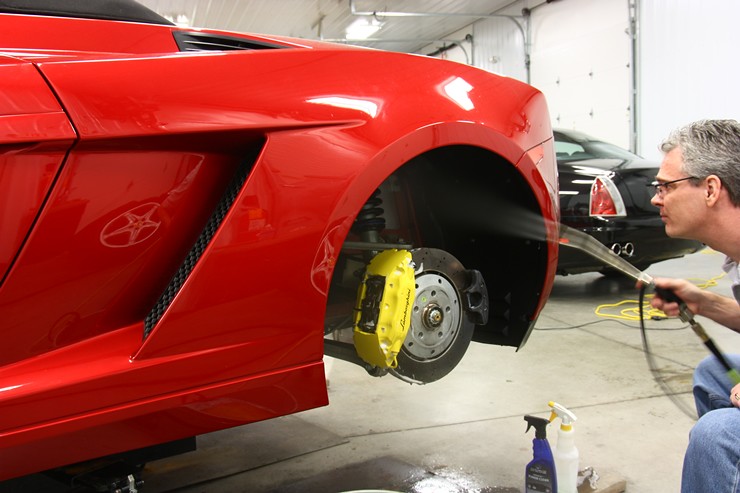
And ended up with this afterwards:

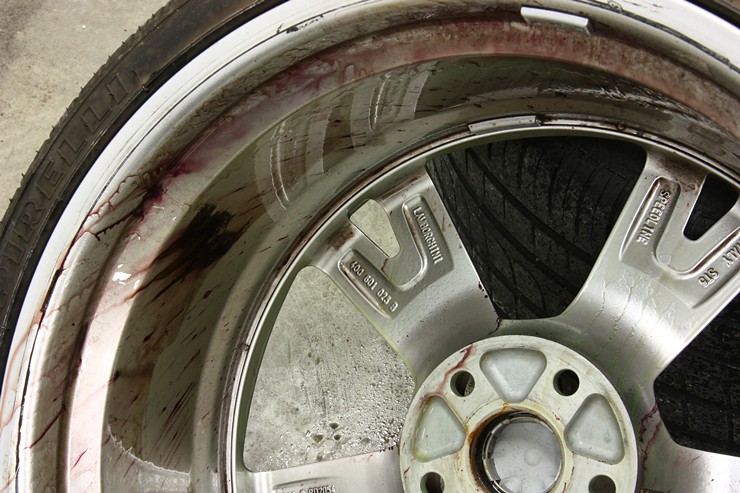
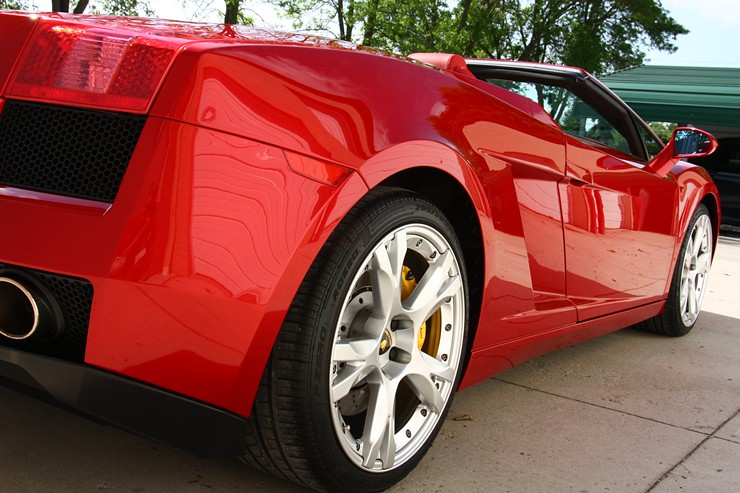
And while I was working on the brakes and suspension, Addison was working on cleaning the wheels. Here you can see Sonax Full Effect Wheel Cleaner in action as it dissolves any iron deposits that are embedded into the rims.
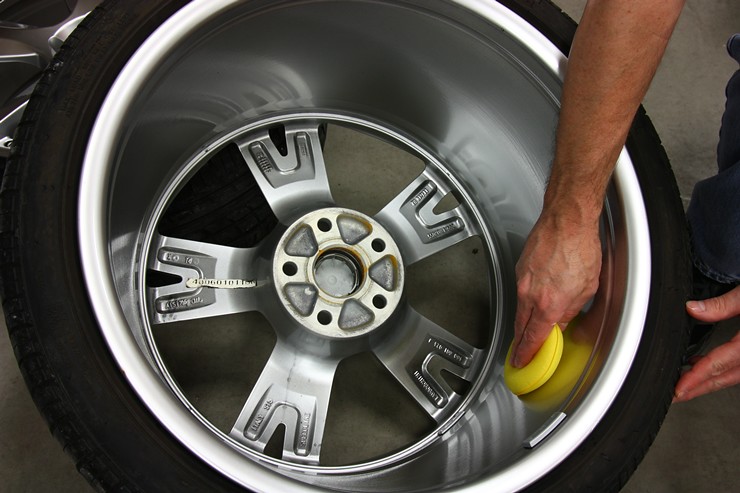
Once the wheels were deep cleaned and decontaminated, I used Optimum Opti-Coat to provide a very durable protective coating that will help to keep the wheels cleaner for longer. It also makes future cleaning much easier as the protective barrier prevents contaminants from sticking to the surface.
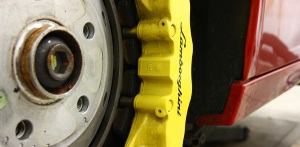
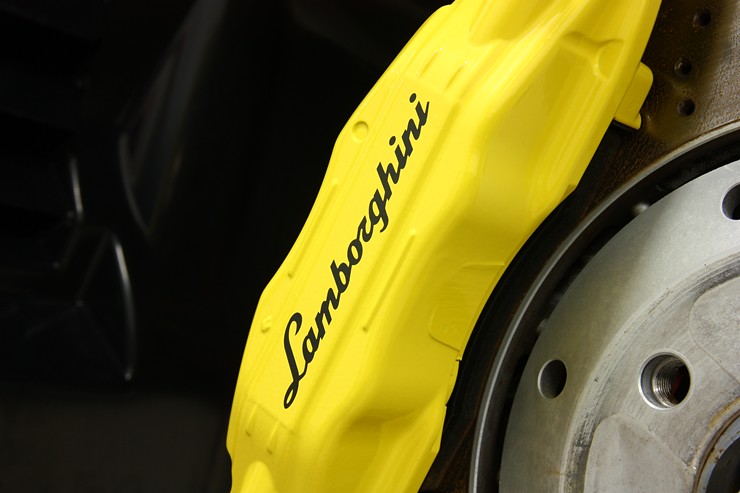
The brake calipers were thoroughly cleaned with P21S Wheel Gel, and then hand-polished with Sonax Paint Cleaner. Sometimes it’s safe to polish brake calipers by machine, however I didn’t feel that this would be the case with these. There were a lot of raised areas, and I could actually see where the powder coating / painting was thin. The last thing I wanted to do was to use an aggressive mechanical action by machine and thin the surface any further.

Clean, polished, and protected…
Paint Correction and Paint Polishing Process:
Now that we’ve finished up the wheels, brakes, and suspension, it was time to move on to the most important, and most time consuming process – paint correction.
Proper paint correction isn’t something that just anyone can do. And a matter of fact, it’s something that a very small percentage of people working with buffing paint even truly understand. Most factories, body shops, and even the majority of people working in the detailing industry aren’t aware of the level that can be achieved with paint refinement. It’s part science, part artistry, and part obsessive-compulsive behavior! No two jobs are the same, and each vehicle has its own unique set of needs. Because of this, it’s imperative that each situation is fully evaluated and the final process cannot be established without first testing different products, tools, and techniques to figure out what’s going to be the best solution for that particular car on that particular day.
While we highline detailers have some products and techniques that we use as our “go-to” combinations, and we get to know how each model’s paint will typically react, we never stop with our quest to learn and develop our skills, techniques, and processes. It is through this type of relentless pursuit of knowledge and perfection that puts us in a position to be at the top of our games.
I knew that this paint was quite needy, and that Lamborghini is known for having some of the hardest paint in the business (the harder the paint, the more aggressive you typically need to go to get a high level of correction). Had I just rested on my product and paint knowledge, I would have immediately grabbed for the most aggressive products, tools, and techniques to tackle this job. But once again since paint preservation is always key, I wanted to use the least aggressive method possible to achieve the desired results. There’s no need to reach for the sledgehammer when the ball-peen will work just fine! With the severity of these defects, there are some that would have immediately reached for sand paper for the fastest defect removal (especially old-school body shop types). Then after sanding it would have required more heavy wool compounding, followed by a mid-level polishing, and finally a fine level polishing. Each of these steps removes a small amount of clearcoat, and you want to remove as little as possible. These exotics will be around much longer than daily drivers, so you want the detail / paint correction to withstand the test of time. When I’m done with these cars I know that they’re still going to look good many years to come, and have plenty of clearcoat remaining for future polishing. The ultra-aggressive methods on OEM paint may look good now, but at what expense in the future. Remember…paint preservation is key, so use the least aggressive method to get the job done, even if it means taking a little more time for the job.
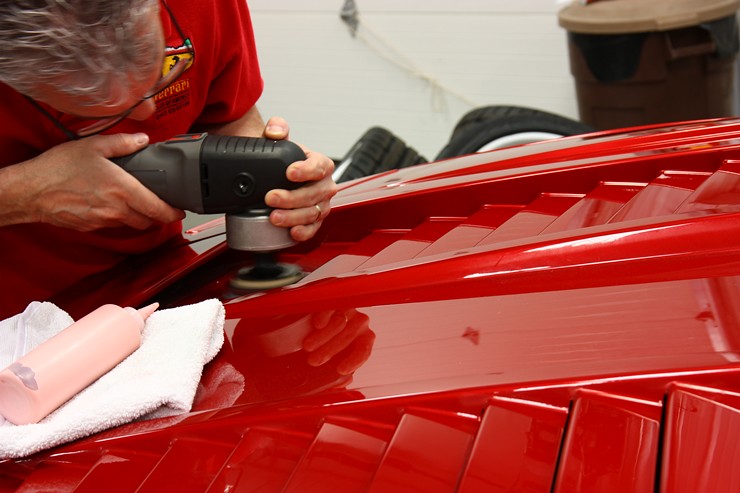
So the long-winded approach to the point I was trying to make here is that I wanted to experiment a little on this car to see just how light I could go to achieve the same results. I’ve been a big fan of the Meguiar’s Microfiber Cutting Discs and D300 compound ever since I was part of the pre-production development team, but I know that it’s usually not my go-to product for defects this heavy on paint this hard. About a week before this detail, the DI Blog Authors were having some discussion on using even slower speeds with the Porter Cable D/A polisher to achieve a high level of paint correction. I saw this as a challenge, and actually did a test on a Maserati that I worked on a few days before. I slowed the machine speed all the way down to just 3 ~ 3.5, and achieved full correction with an ultra-fine finish. So since it worked on the Maserati, I figured I would give it a try on the ultra-hard Lamborghini.
By using a high level of pressure at speed 3.5 with very slow arm speed (see in the video at the end of the article. Wait for it….), and then tapering off the pressure at the end, I was able to get all but the absolute deepest defects out of the Lamborghini paint and leave it with an amazing finish. The finish was so good in fact that when I did my finish-polishing at the end, it was barely noticeable where I had done my final polishing, and where I had done just compounding. And for me, I like to practice and teach to get most of your work done in the compounding stage leaving just easy and fine polishing at the end. I only want to chase defects while compounding…not during multiple finishing stages.
Now for the really heavy areas that had deep D/A sanding marks from the factory, I had to first hit it with the very aggressive Surbuf pad teamed with Meguiar’s M105 Ultra-Cut Compound. This combination was limited to just 2 or 3 small spots on the entire car.
If you really want a detail to stand out, it has to be a complete-vehicle procedure. Sure the hood has to look good, but when you really get up close you want to check out all of those hard to polish areas…around marker lights, the bumpers, a-pillars, and lower rocker panels. When I’m doing a Restorative Detail, I make sure that all of these areas get as refined as the “show areas” like the hood or trunk lid. Here I am compounding the rocker panels for a high level of paint correction.
And while these photos don’t have as much “wow-factor”, they are a great representation of the tight areas that need to be corrected to make it a true Restorative Detail. When dealing with new exotics are cars that have recently had work at the body shop, you’ll typically find these exact problems in areas like this. They sand the finish down, but can’t get the sanding marks out near the hard-to-access areas. Sanding and heavy buffing near edges like this is dangerous as the paint is typically much thinner than other areas of the car. While the defects would be very hard to see…I know they’re there. When it leaves my possession, I need to know that I made every attempt to safely remove these types of defects…whether or not the owner or anybody else could ever see them.
Before:
After. This is why it’s called “detail”ing:

Here’s another example at the back-end of the vehicle. Once again it’s very small, and quite challenging to get right, but…

After:
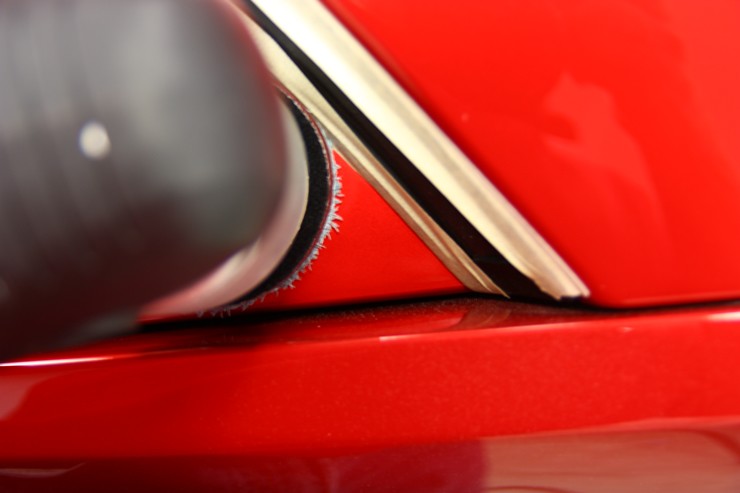
And as you can see under this light, they sanded the area but couldn’t get it further refined because it’s in such a precarious area (I guess they shouldn’t sand where they can’t buff!).
But after patient refinement, the defects and damage are properly removed.

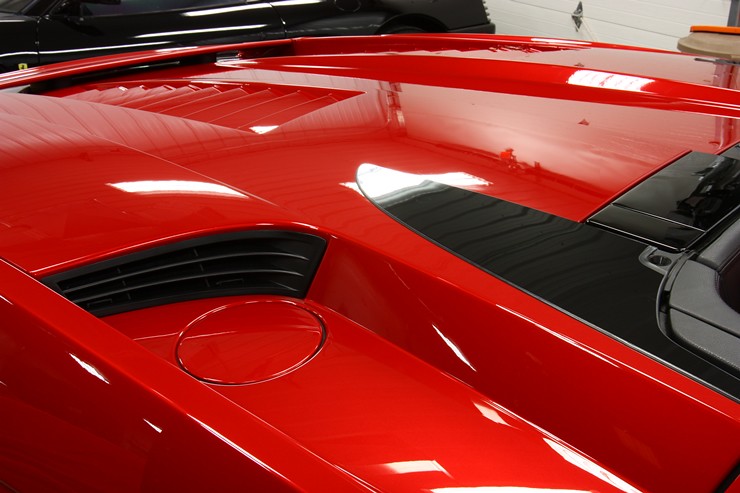
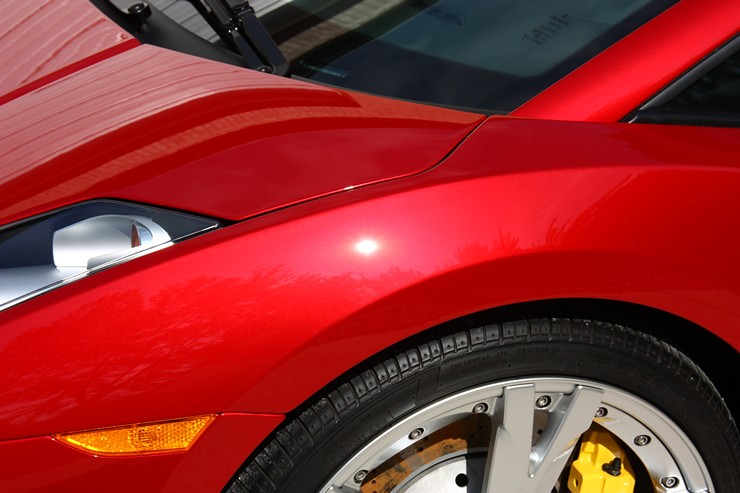
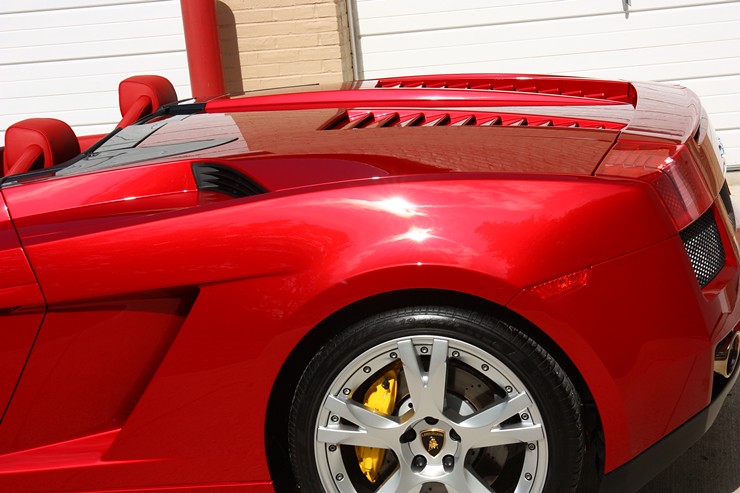
Exotics like this Gallardo also present other polishing challenges. As you can see from this photo, the recessed and angled area can’t be reached fully by machine.
But fortunately in this case, I was able to slightly raise the hood to give me access to that last inch of paint!
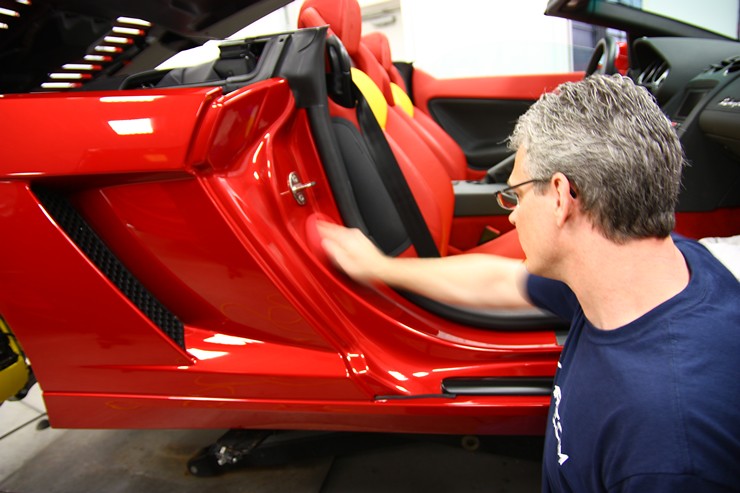
Now if you look at the black strip of plastic that goes all the way across the back of the vehicle (just behind the seats), you will see the exact area I am dealing with in the photos below. This high-gloss trim gets swirled up just like paint, and can be further refined as well. In order to polish these, I actually had to stand inside the car to get to them.
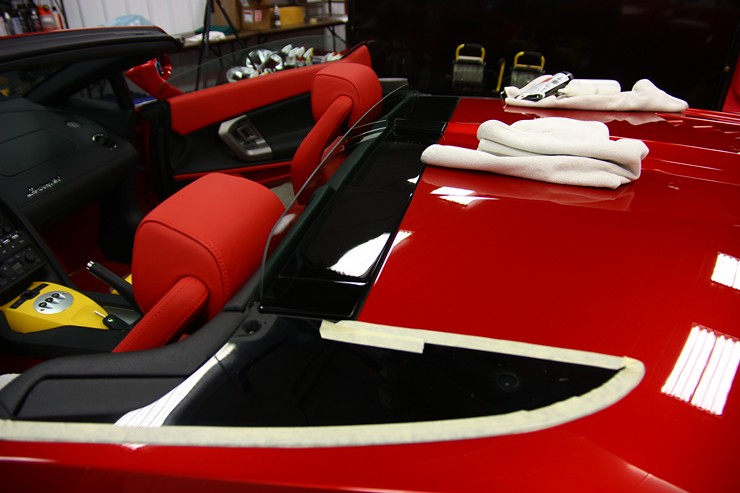
Please excuse the out-of-focus shots here…I was standing inside the car holding a light in one hand, and the camera in the other. Here you can see just how swirled up these pieces were.


And after refinement:
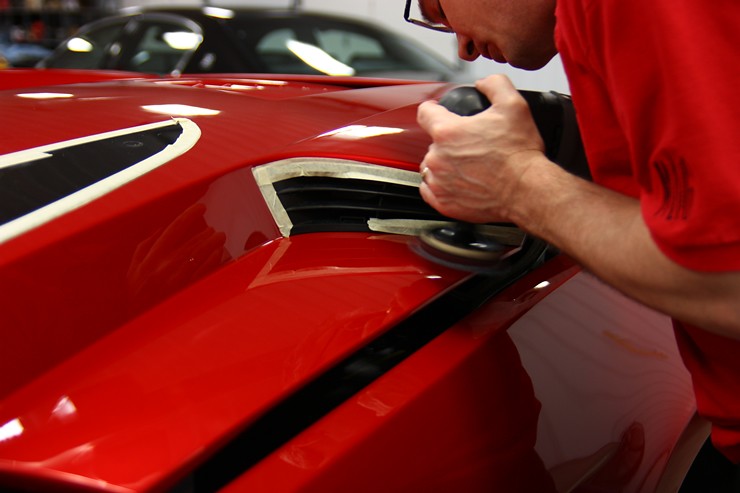
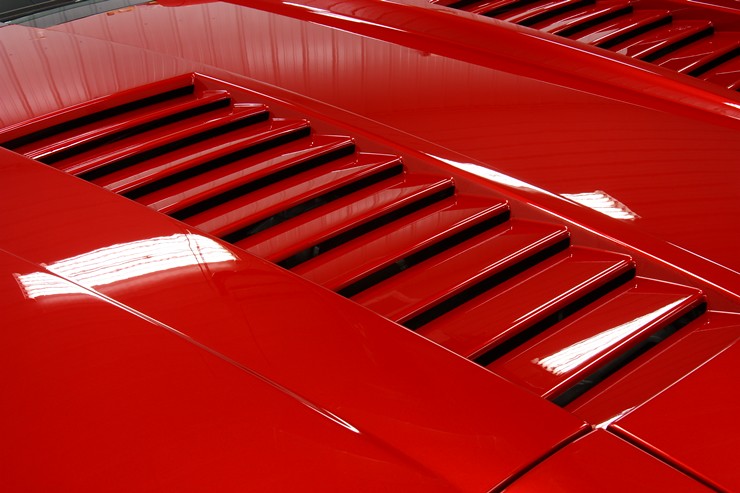
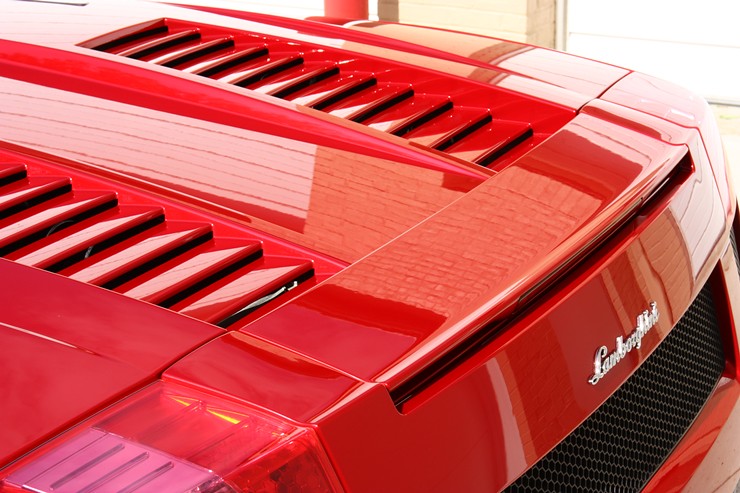
One of the most challenging areas on the car were the vents / louvers in the back. These were hit heavily with a wool pad on the rotary, and caused a lot of very heavy defects. I knew going into it that this would be an area that wouldn’t fully correct, and that the goal would be to get it looking as good as possible. You can’t get a polishing pad completely into the corners, and since they are so flexible you can’t apply as much pressure as you really need. So in this case you work it as carefully as possible, and get as much correction as is safe. I’m sure that I mumbled a few expletives aimed at the buffer operator that caused this damage while I was working on these…very slow and tedious process. 🙁
Now for the finish-polishing stage, I tried a few different methods. On the hood of the car (as seen in the video), I was testing a polish from Sonax that isn’t currently available in the U.S. It is designed for rotary, but works quite well with a D/A too. I was quite pleased with the results, but since the wheels were still off of the car and I couldn’t pull it out into the sunshine to inspect, I didn’t want to risk any issues with an unknown polish. The last thing you want is to spend 5 hours polishing, only to pull it outside when you’re done and find out you need to go back and fix it all! When I was finally finished with the car I found out that it finished down perfectly, but I didn’t want to risk that.
So for the rest of the car, I used the trusted Meguiar’s M205 on a black pad with the Porter Cable. I used it on just speed 3 with medium pressure and slow passes. Since I did all of my correction work in the compounding stage, and achieved such a high gloss finish, there was actually little work to do on the finishing stage. I made quick work during this finishing process, and then it was time to move on to final processes.
Finishing Processes:
After the polishing is complete during a large detail, there are still hours worth of work before the job is truly finished. These finishing touches can make or break the detail…
Not only were the door jambs completely cleaned using Optimum No Rinse, but they were hand polished (and protected) using Sonax Paint Cleaner. This is an all-in-one products that cleans, polishes, and protects the finish by leaving a nice wax finish behind.
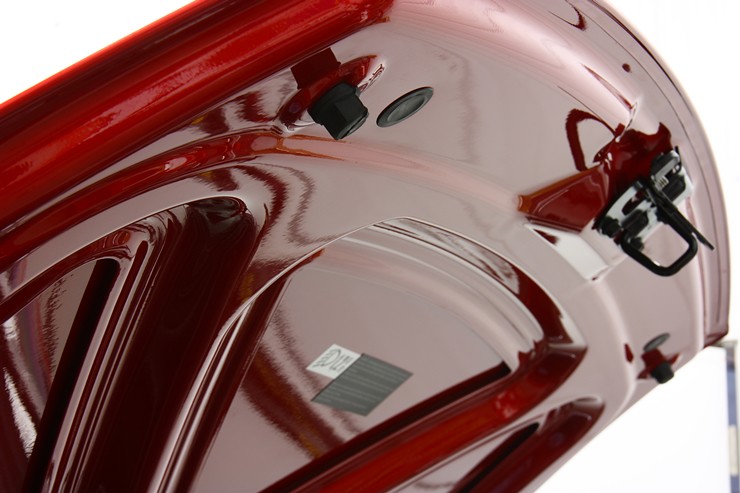
The underneath side of the hood was cleaned and polished using the same process as the door jambs…attention to details! 🙂
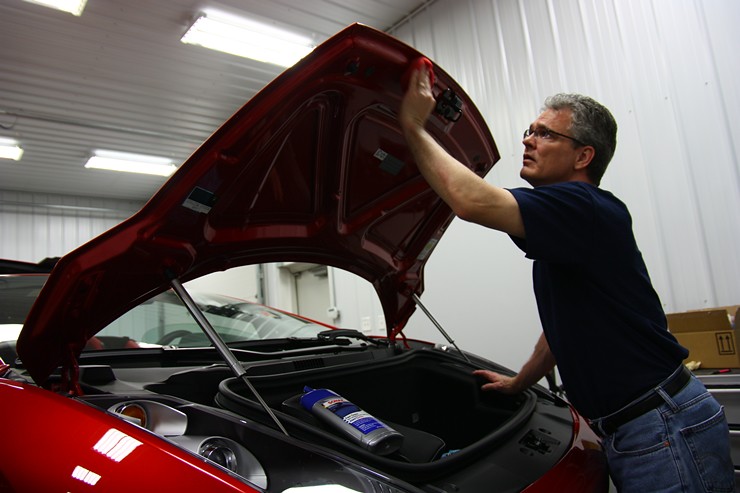
Just because it’s normally hidden from view, it doesn’t mean that it shouldn’t be nice and glossy as well.
Here’s another time-consuming task…removing caked on compound that’s been there for years! This was how the factory delivered the car, and it required using polish by hand to fully remove it.

After…much better.
The engine compartment got cleaned up using Optimum No Rinse as well.
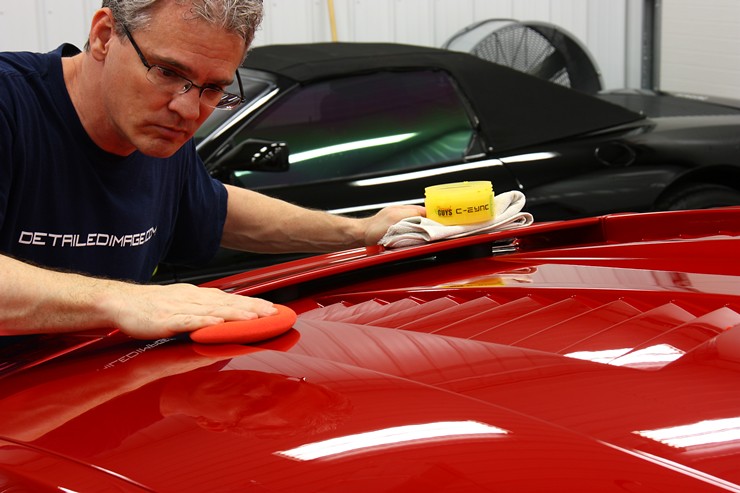
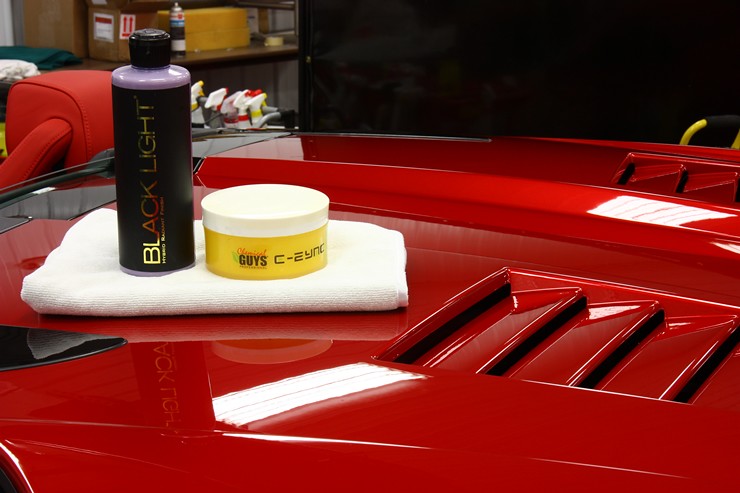
Once everything was tidied up, it was time to finish the paint by applying a durable sealant and then a nice wax. Here I am applying Chemical Guys Blacklight to the car. This product is a gloss enhancer and durable sealant, and is very easy to use leaving a brilliant and slick finish.

And after about a 30 minute cure-time, I applied a coat of Chemical Guys Ezyme Natura wax. For those who have been following my work, you know that this is my go-to high-end wax for when a carnauba application is in store.
And the two teamed up together creates an amazing look. 🙂
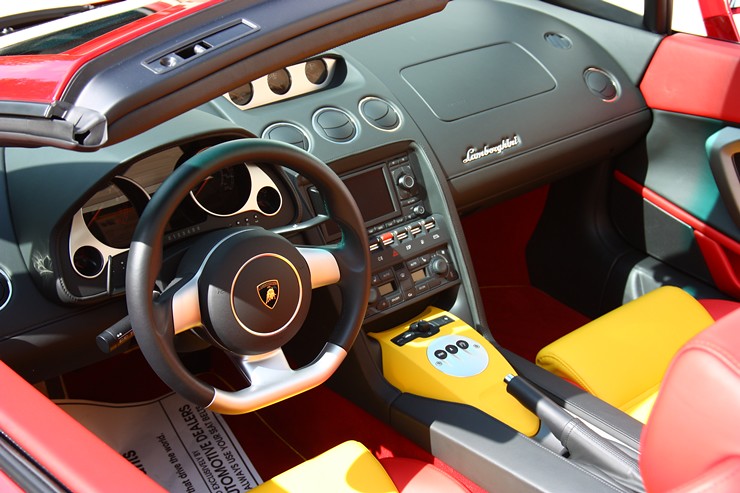
Interior Detailing and leather repair:
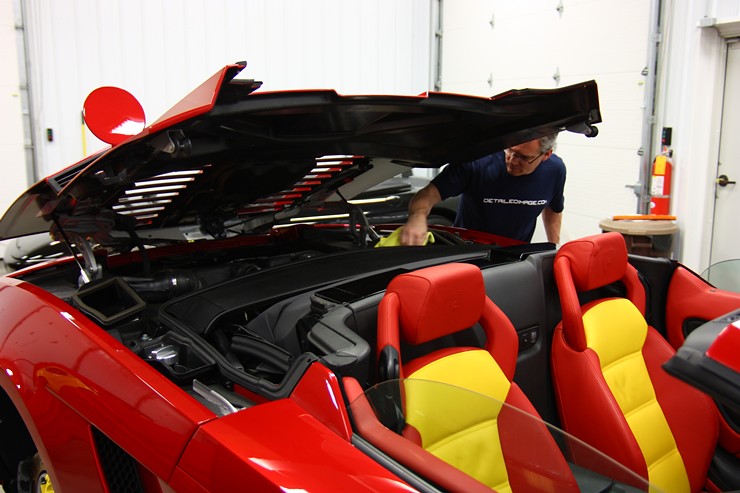
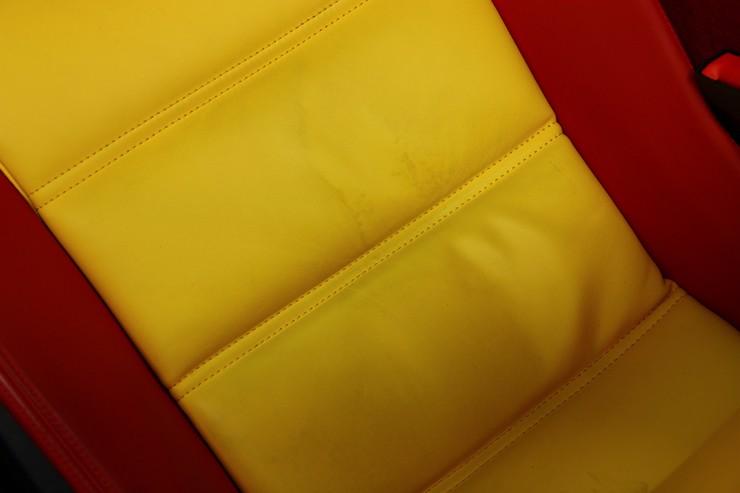
For the interior of the car, my first concern was to get the yellow and red leather fully cleaned and protected from the elements. A full Leatherique application was in order to deep clean and condition the leather, and to provide a layer of UV protection on this convertible car that gets exposed to harsh elements.
Seats before:
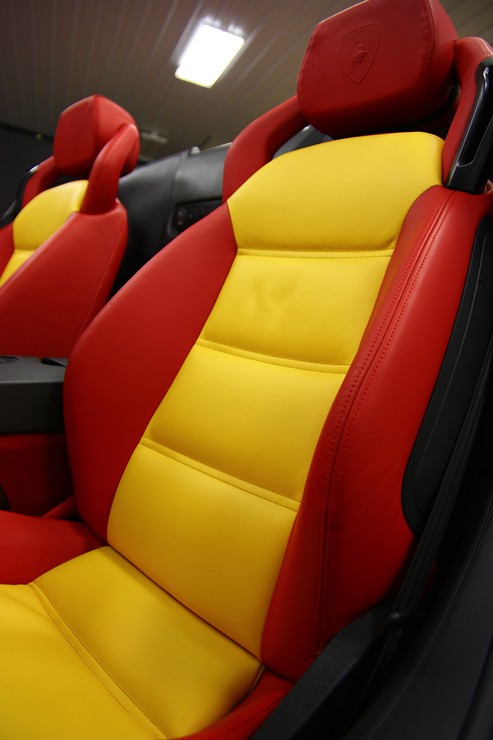
After Leatherique application:

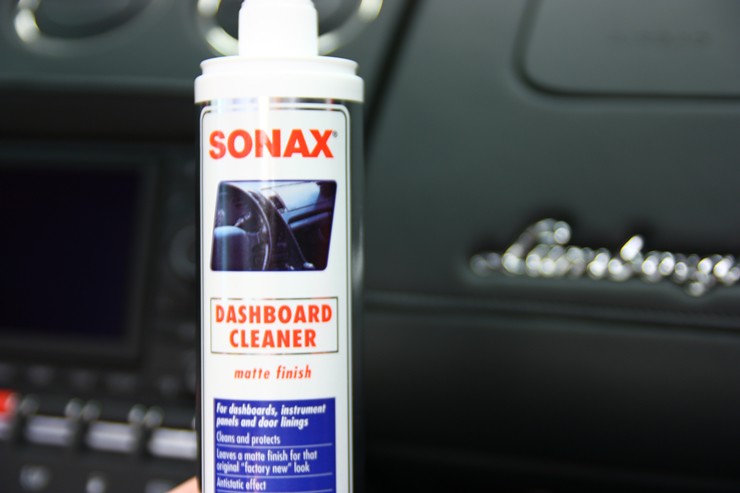
And the rest of the interior was cleaned and detailed using Sonax Dashboard Cleaner. It’s a great all-surface interior cleaner and protectant, and is very easy to use.
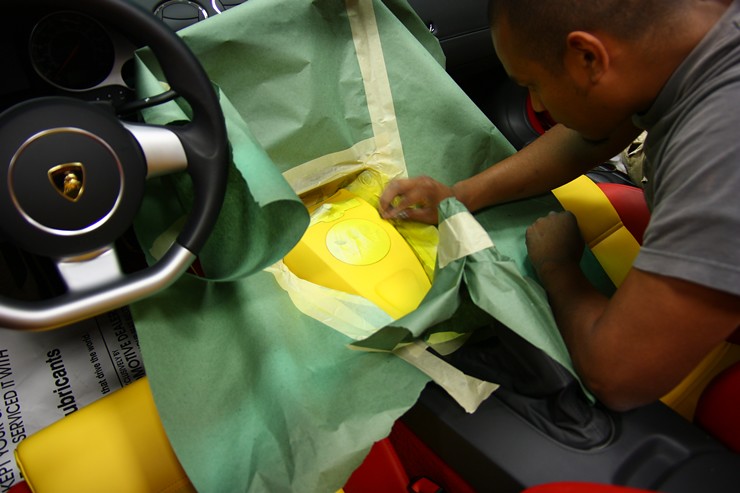
Another major issue that we had to take care of was this tear in the leather…it really detracted from the fine interior.

We provide leather restoration and repair services, and my guy Phillip here is working his magic to restore it to like-new condition.
And after…just like new!
Lamborghini Gallardo Spyder Restorative Detail – Final Images and Video
Now we have this Lamborghini finished, and it was a long process (both the work, and the writing of this article…thanks for sticking around and reading it through to the end). The car turned out absolutely fantastic, and now had the finish that it truly deserved. I would estimate that at least 95% of all the defects were safely removed, but any that remained would be extremely difficult to detect to the untrained eye or without the proper light source.
Are you ready for some final photos?
Remember, here’s what the finish looked like before:
Passenger door.
After.

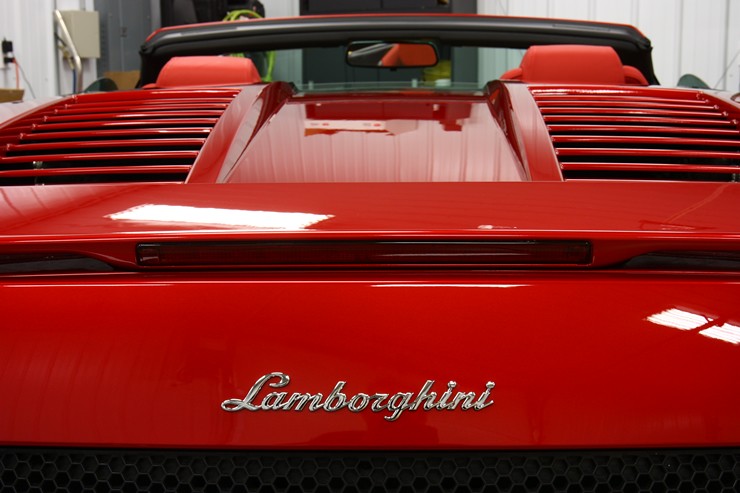
Back end before.
And after!

And with all of the woolograms, scratches, and haze permanently removed from the finish, the true color, gloss, and reflectivity finally had the chance to show off!
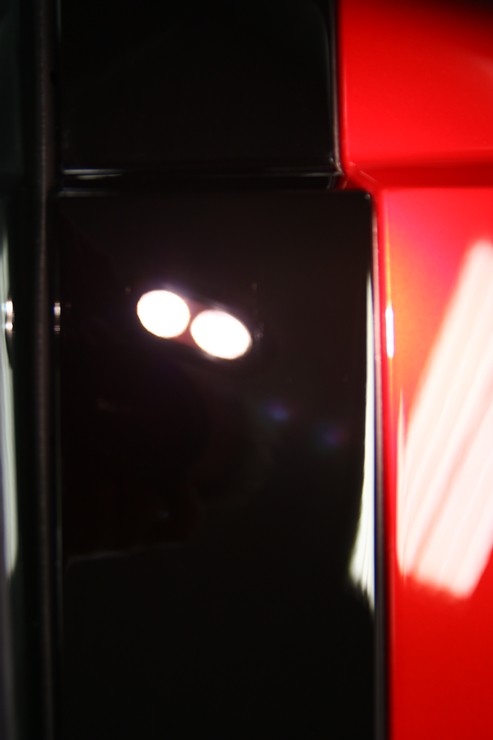
I saw this image in the viewfinder and knew it would be a stellar shot…
The tail lights were also compounded, polished, sealed, and waxed.
How about the clarity in these reflections? The yellow Lamborghini Diablo belongs to the same owner as this Gallardo.

Now let’s pull the car out into the sunshine (rare here in Ohio during the spring!) and see how it looks…
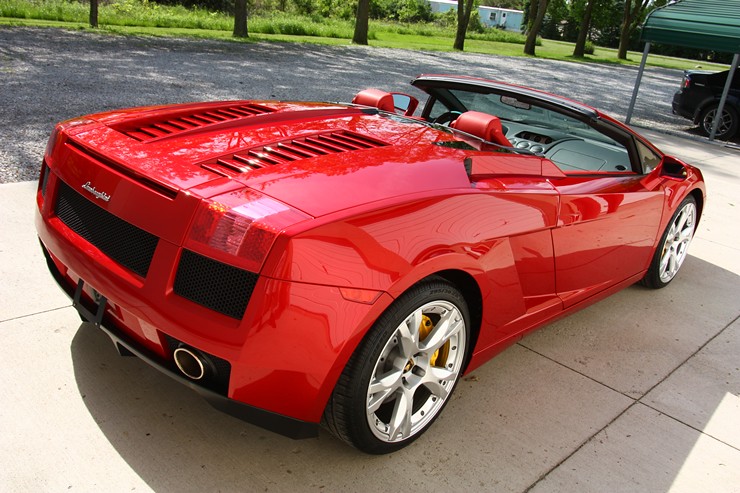
Pretty insane gloss…
No more woolograms or swirls here.
Those are cloud reflections you see in the sunshine…not woolograms! 🙂
Alright, so you’ve read through the entire article while fighting the temptation to scroll down to the bottom and view the video I’ve mentioned several times…I thank you for that! Hopefully you’ve enjoyed watching the transformation that this Lamborghini went through as much as I did creating it. We highline detailers are artists, and art is supposed to be shared and enjoyed by all.
Be sure to select at least 720p on playback for the best image quality.

Please feel free to share this article with others, and don’t hesitate to post a note or question in the comment box below.
Thank you!