
Who would have thought that one lonely C5 Corvette could turn out to be the driving force behind an article which covers multiple detailing related topics…
The Power of the Professional Detailing Network!
One of the greatest tools for a professional detailer is networking! By harnessing the power of the internet, (Blogs, Forums, Facebook…) not only are we able to learn from one another, but it is also a great tool for helping clients to find a reputable pro detailer in their area. While paying for a pro to fly/drive out to you is an option for some clients, the most logical and economical choice would be to seek the recommendation for a pro detailer in your area, and this is where the power of the detailing network really shines.
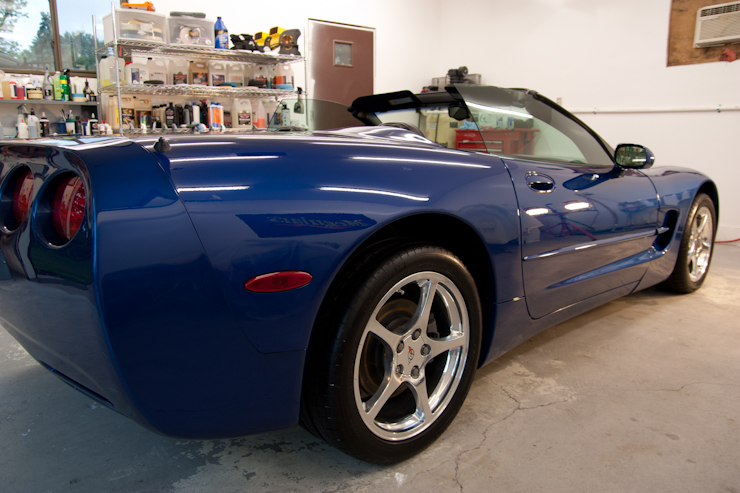
A prime example of our network in action is actually the subject for my article, the C5 Corvette. The vehicle’s owner is a recent Texas to Minnesota transplant who originally reached out to Josh Ottmann of Ottmann Detailing in his former hometown of Dallas, Texas. Josh listened to his concerns about the condition/damage of the car, reassured him that a professional detailer could definitely help improve the paint and then referred him to the manager of the “Ask-A-Pro” blog, Todd Cooperider who then referred the owner to me….pretty cool, no? 🙂
The importance of documenting existing vehicle damage prior to working on a car
So before we get to the before pics I want to give you a little more info about this car. When the owner recently purchased the vehicle, he noticed something wasn’t right with the paint (he thought it looked like dried on wax), but got such a great deal on the car that there was plenty of wiggle room to have the car detailed. Initially, the owner followed a recommendation to bring the car to a local body shop. While that company was able to improve the finish a little, after seeing some detailing pics on a Corvette forum, he was still unhappy with how it looked and felt it could be better. It was at this point that the owner sought out advice from Josh, a member of that forum.
After I exchanged a few emails with the owner, we agreed to meet up one night after work to evaluate the condition of the car. The car was a little dirty when he arrived but there was still very noticeable holograms in the paint (typical body shop) and several RIDS (Random Isolated Deep Scratches) were also apparent. However, it was the random strike through marks on various edges that were the most concerning. It’s never easy pointing out issues to owners, especially when they weren’t previously aware, but it’s very important as a pro detailer to educate your client upfront and document pre-existing defects prior to working on the car. Taking this step has multiple benefits; building a relationship with your client, education, and protection of your business. I assured Corvette’s owner that the finish could be improved greatly and he scheduled an appointment for the car.
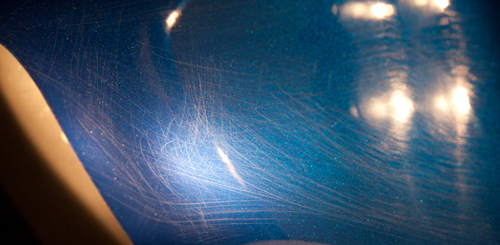
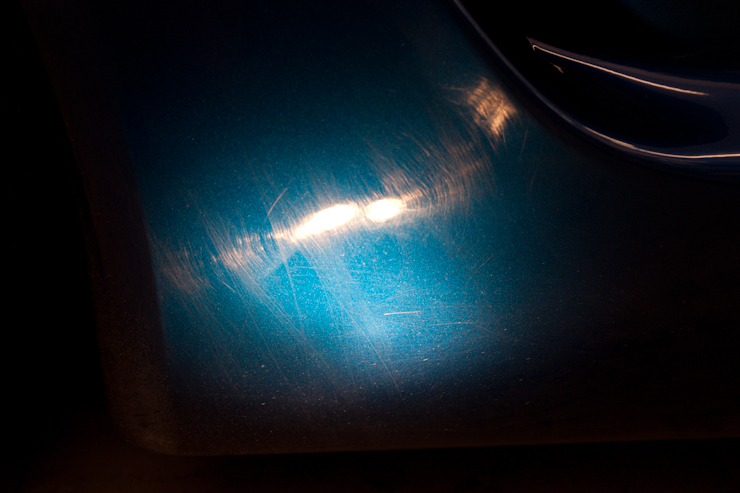
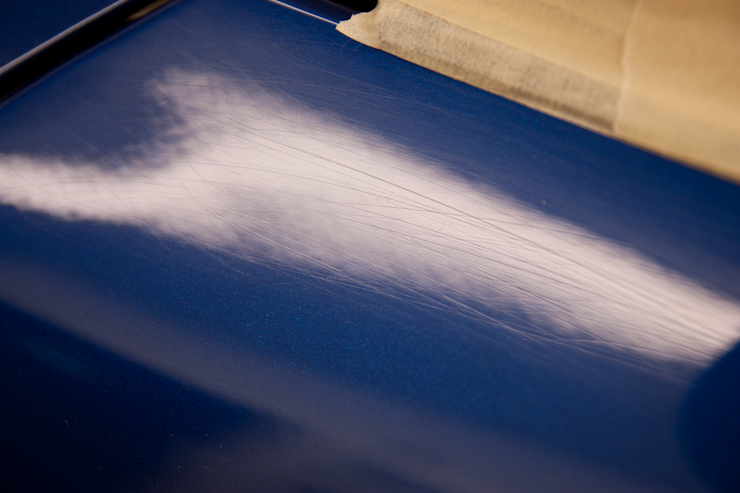
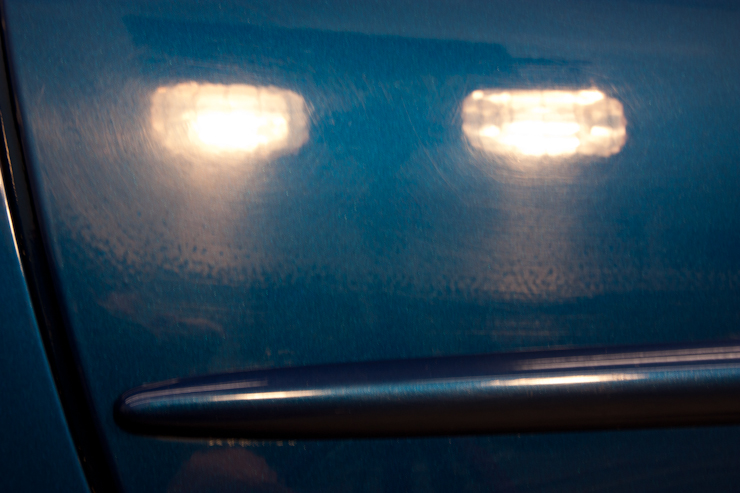
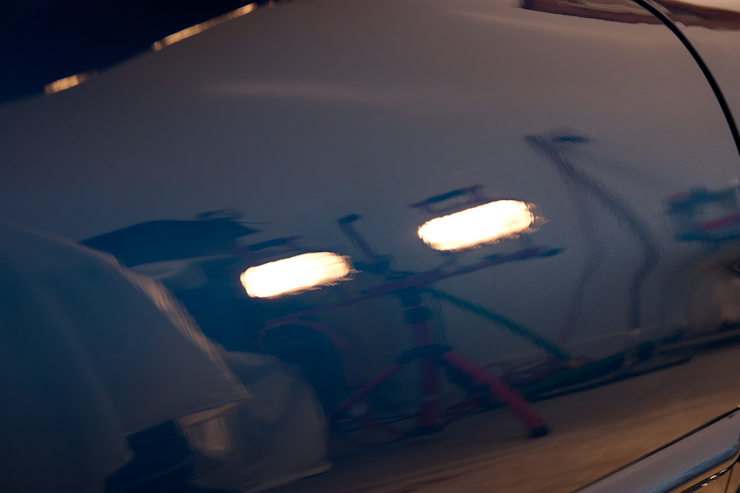
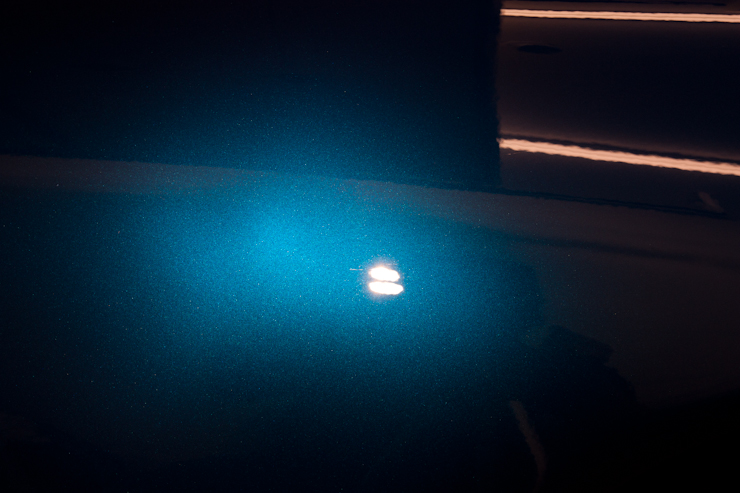
Once the car arrived, I thoroughly washed it to remove all polishing oils and fillers left behind by the body shop, which then revealed its true condition. Now with the car clean and dry, the aforementioned “dried on wax” revealed it’s true colors under the scrutiny of my Brinkmann. What looked like wax from a distance was actually deep scratching left behind from some unknowing person who washed the car with a scuff pad or Scotch Brite pad!!!
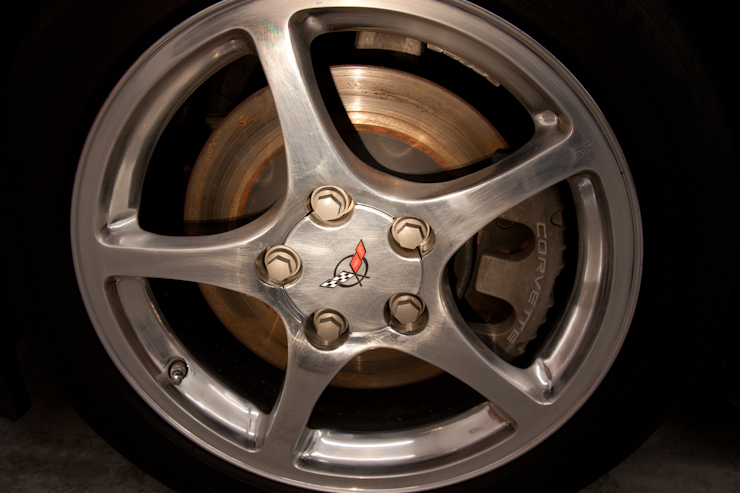
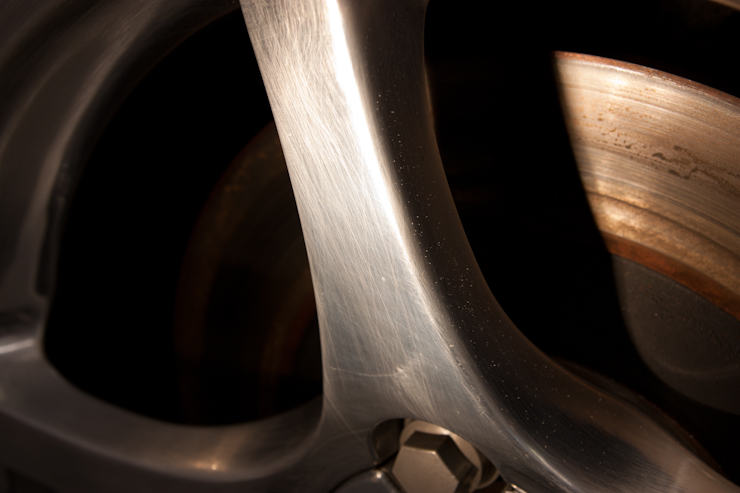
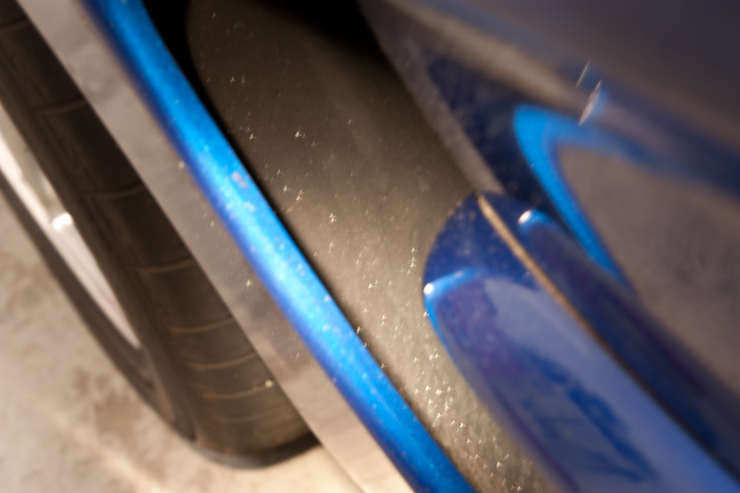
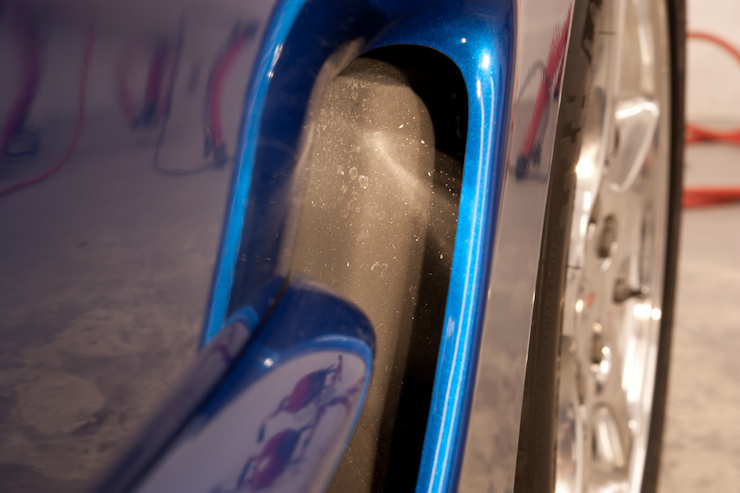
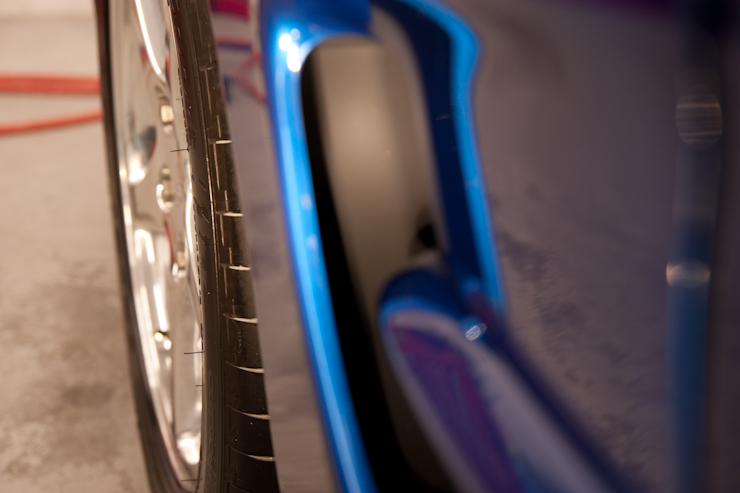
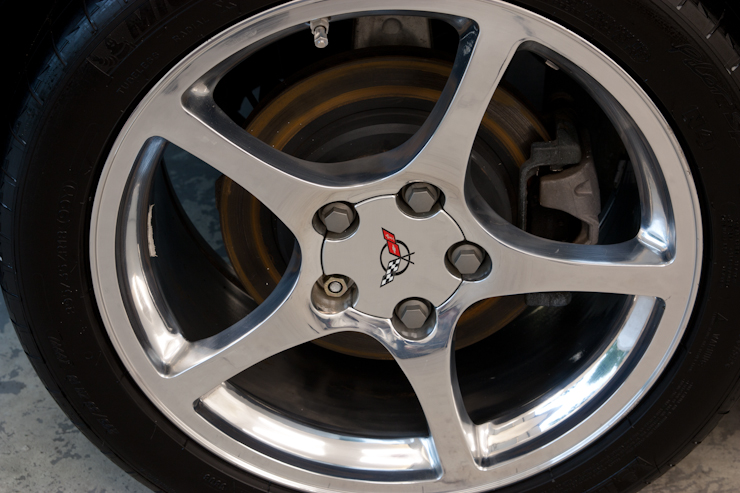
Here is some of the damage to the wheels from improper wash media. Sad as it may be, damage like this actually happens more often than you’d think!

Good stuff huh?
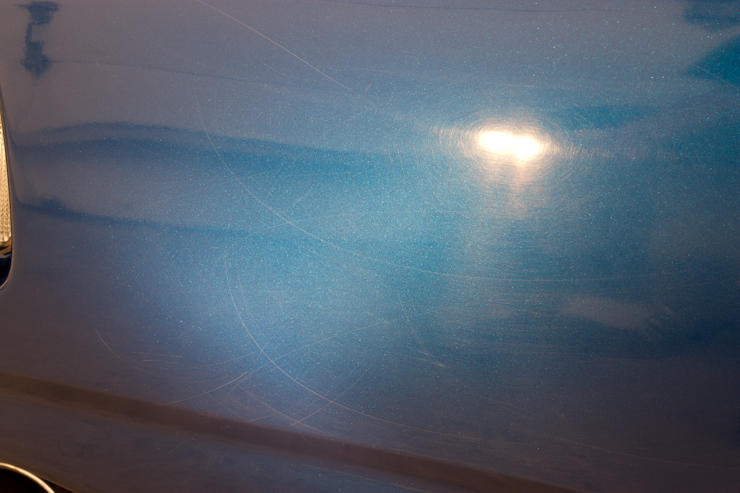
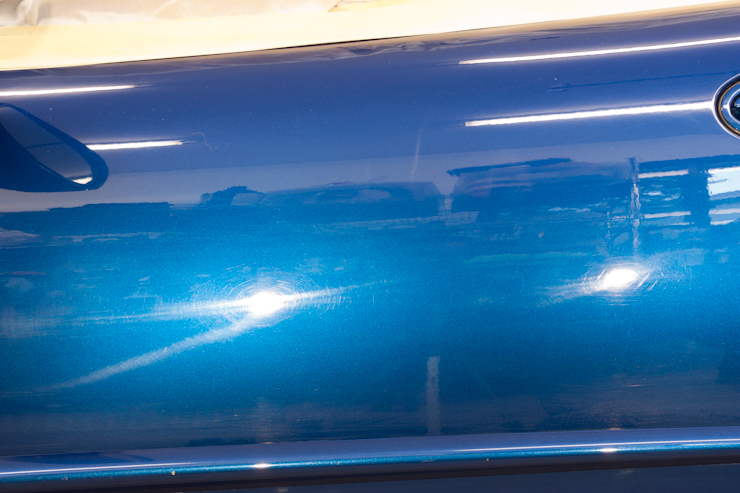
While looking over the paint on the car the story of how the damage occurred became more clear; the puzzle started coming into place. There was evidence that the body shop actually wet sanded the finish in an attempt to remove the deep scratching, but in doing so they also appeared to have rubbed through several edges with a rotary buffer and also left behind lots of sanding marks in the paint.
Here are some pics of the scuff pad damage still in the paint.
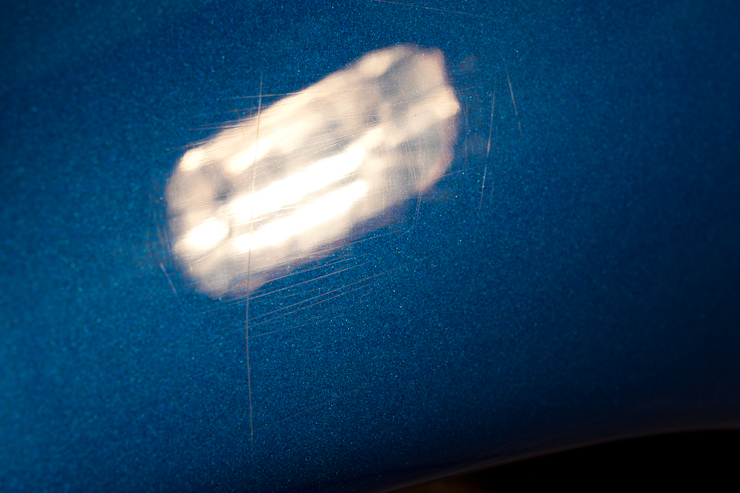
Here you can see how deep these scratches are…this is after the body shop sanded and buffed them!

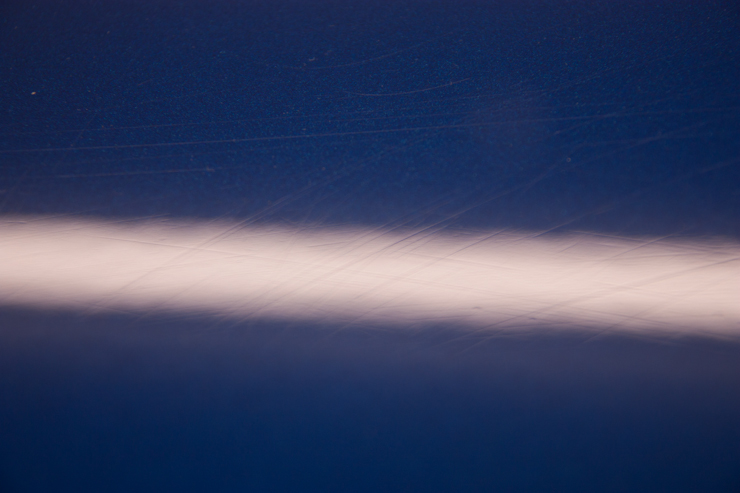
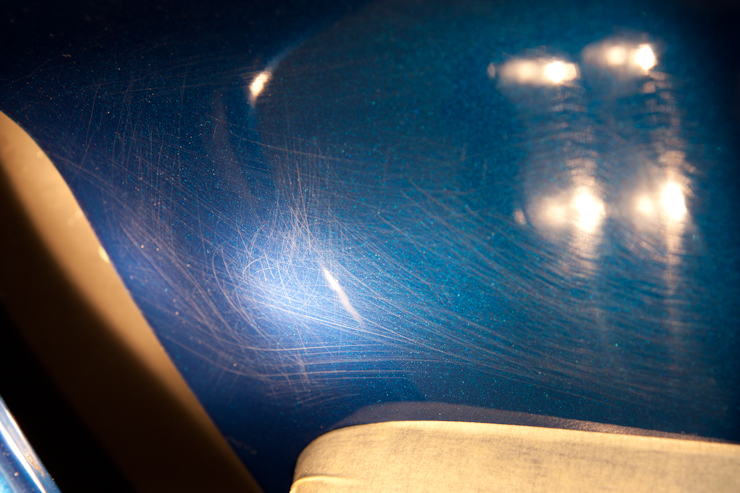
Some left over wet sanding marks…
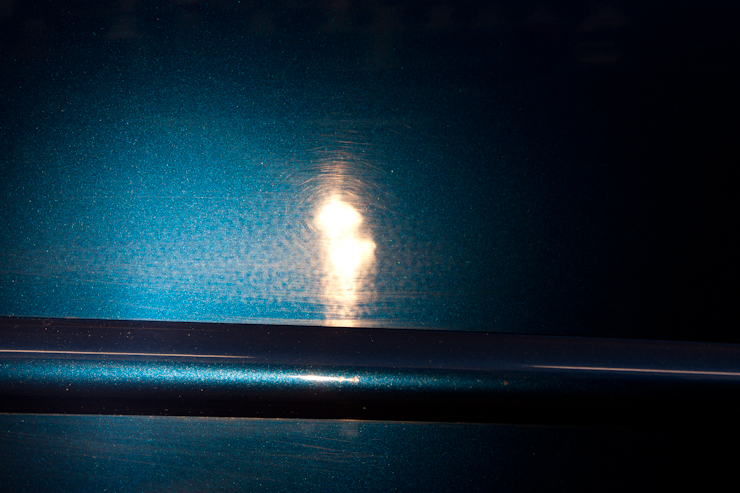
Holograms too!
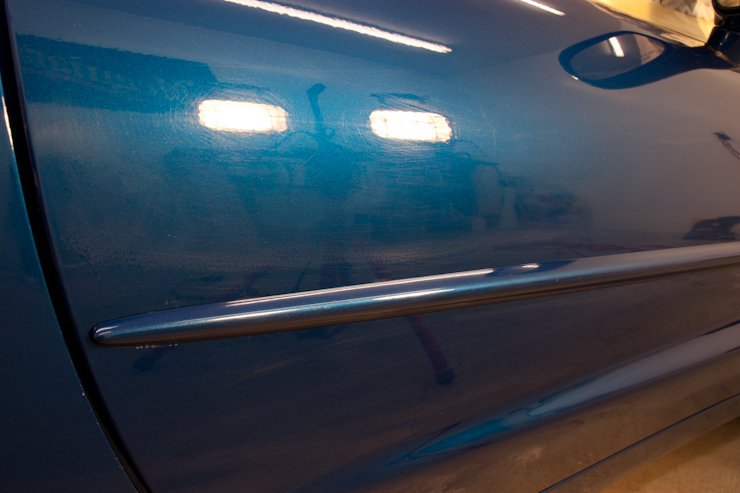
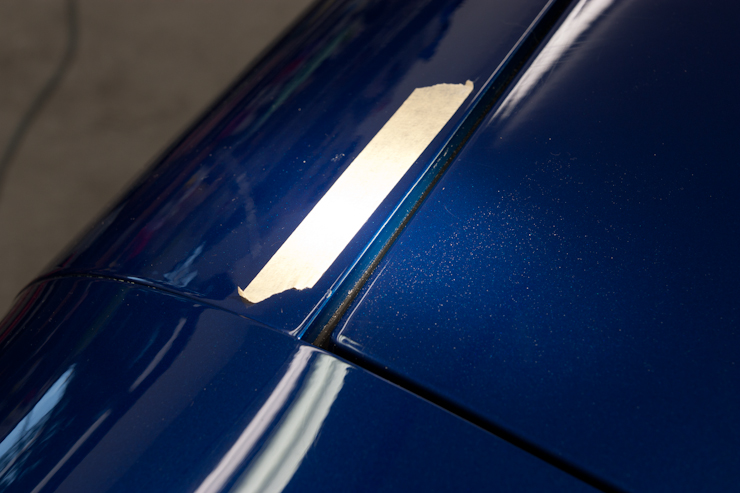
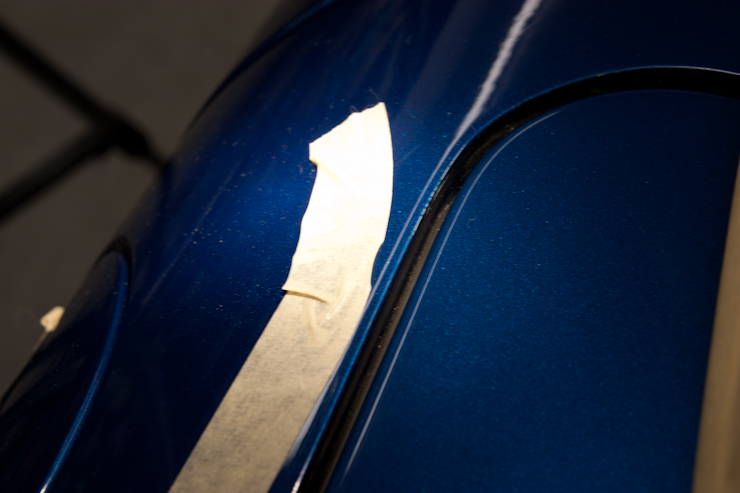
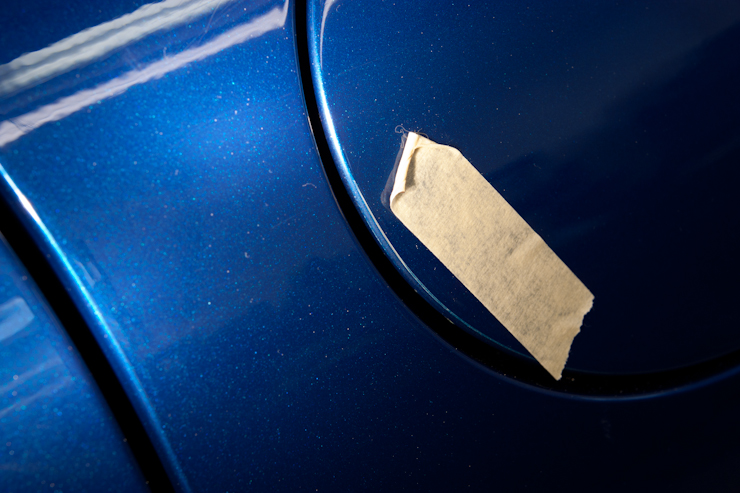
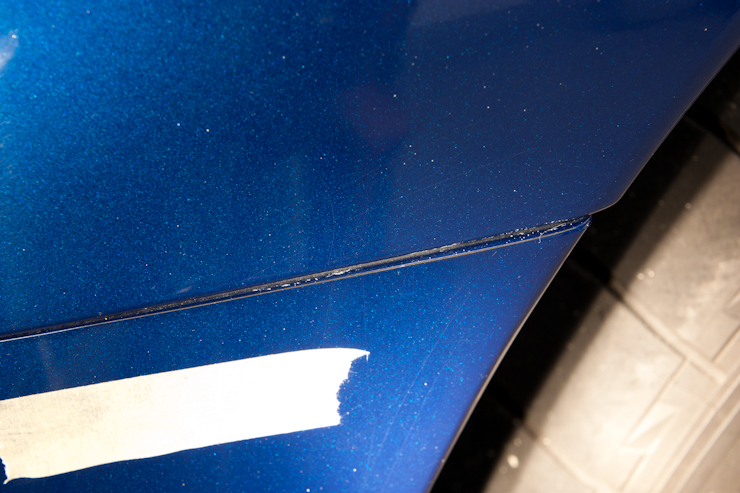
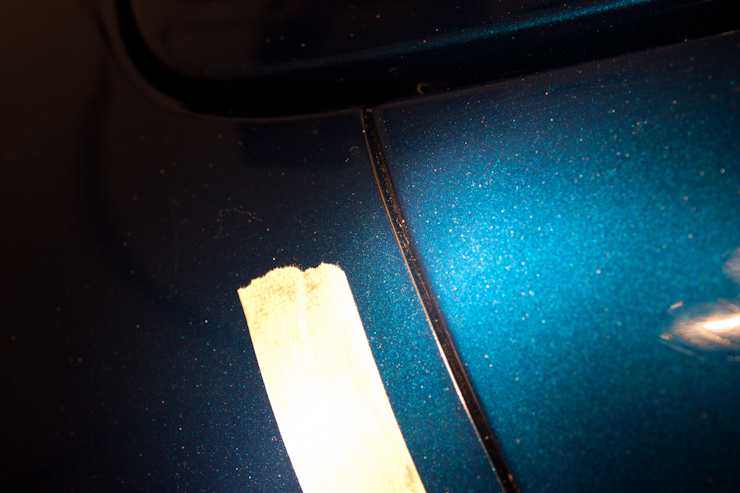
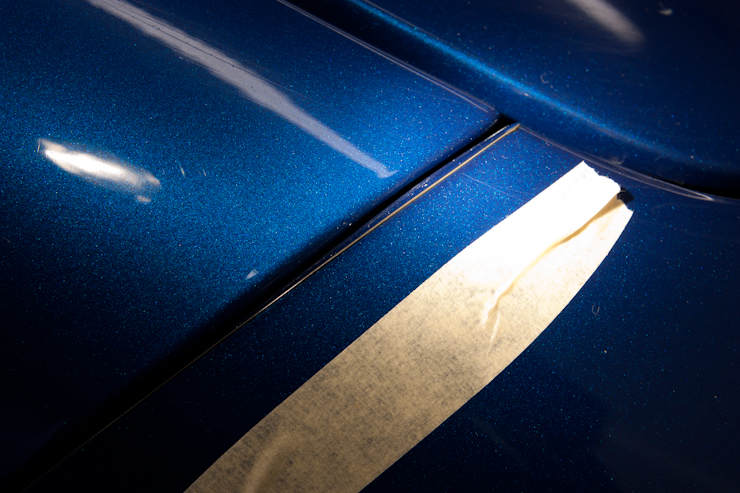
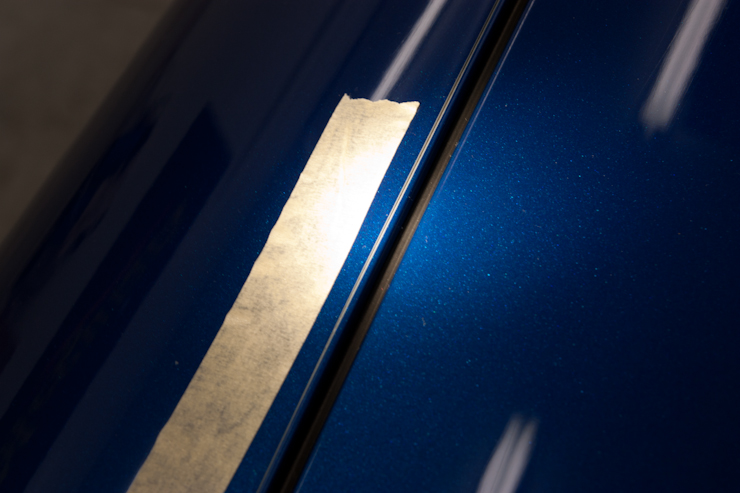
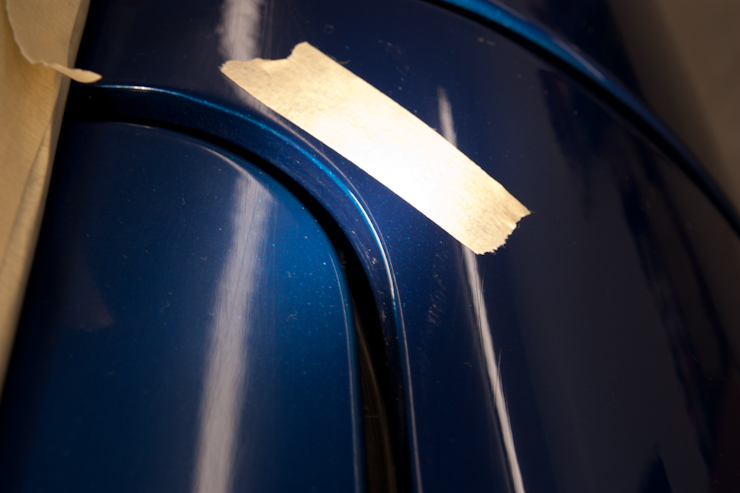
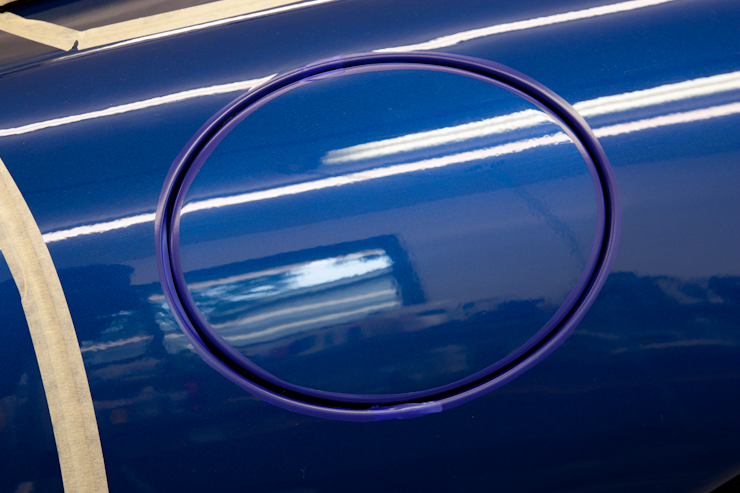
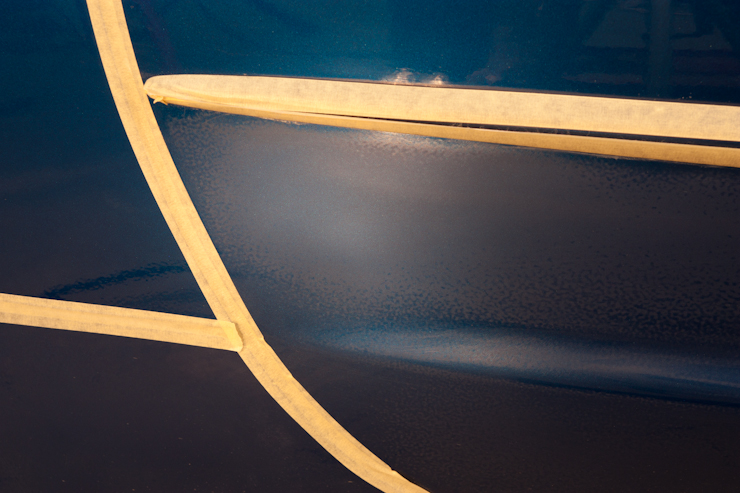
By far, the worst part was seeing all the strike through marks as there is no real fix other than a repaint of the panel. Corvette’s are notorious for having sharp edges on a lot of their panels and as a pro detailer you have to be very mindful of this characteristic because it only takes a second for a rotary (or even DA) to burn thorough an edge. Prior to doing any correction work on the car I went around and documented all the burned edges. I placed tape next to each spot as a marker and it also gives the camera something to focus on. A few of them may be hard to see because of the light on the edge but you get the idea.
Oh, the body shop was nice enough to leave some compound splatter behind in a few areas too. 😉
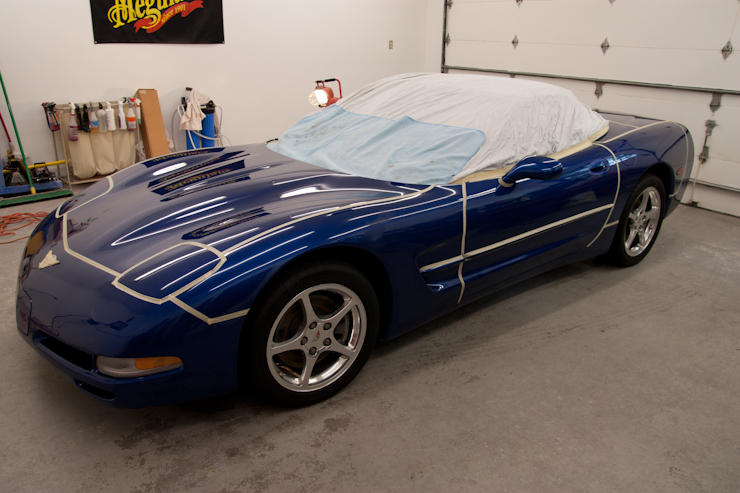
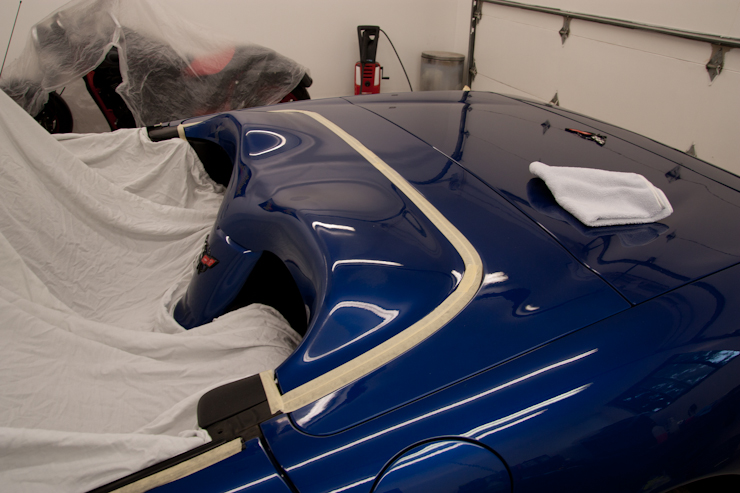
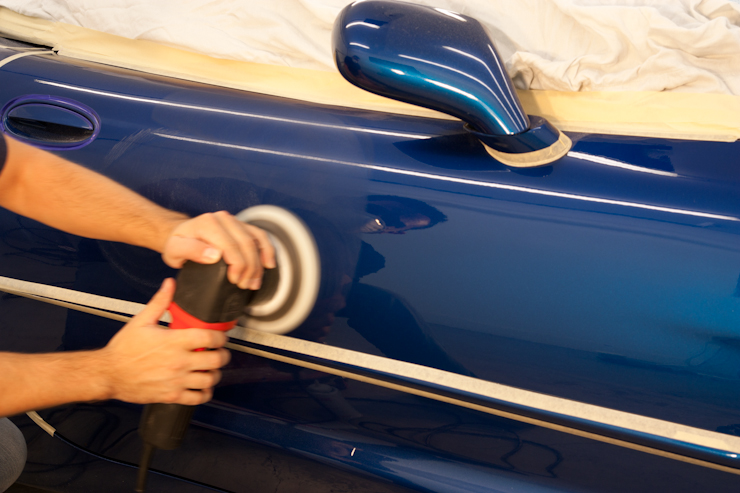
Once I completed all documentation, I clayed the paint and taped up all edges with Meguiar’s 3/4″ tape to avoid further damage. Since this was going to be a very dusty job, I left the convertible top closed and covered with a bed sheet.

Taping Tip: 3M’s 1/4″ Fine Line tape (PN 06405) is a must have for any detailer as it is very versatile, allowing it to bend around corners far better than traditional masking tape. It also allows you to polish closer to panel edges and there is also less adhesive pull when you polish over them. It’s especially good for taping off sharp panel bends when wet sanding or doing aggressive polishing. The only down side is that it’s not readily available and it’s also pretty expensive when compared to normal masking tape.
Once the body was complete I opened the convertible top and corrected the back hatch. The sheet draped over the interior to prevent dust invasion.
The Correction Process
This car posed a few concerns when it came to correction, but the biggest concern was that my PTG (Paint Thickness Gage) only reads ferrous and non-ferrous metals, which meant I had no way of verifying how much clear coat was left after the body shop got done with it. While I know my good friends Marc and Jacob at Auto Lavish would have been willing to lend me their DeFelsko PosiTector 200 ultra sonic PTG, my crazy schedule really didn’t allow time to wait for it to arrive. I spoke to the owner about our options and we agreed to just get it looking as good as we could, while treading on the safer side.
For the actual correction I decided to address a few of the deeper defects with my new Flex PE 14-2 150 rotary, which was equipped with a Lake Country PFW pad and some Meguiar’s M105 compound.
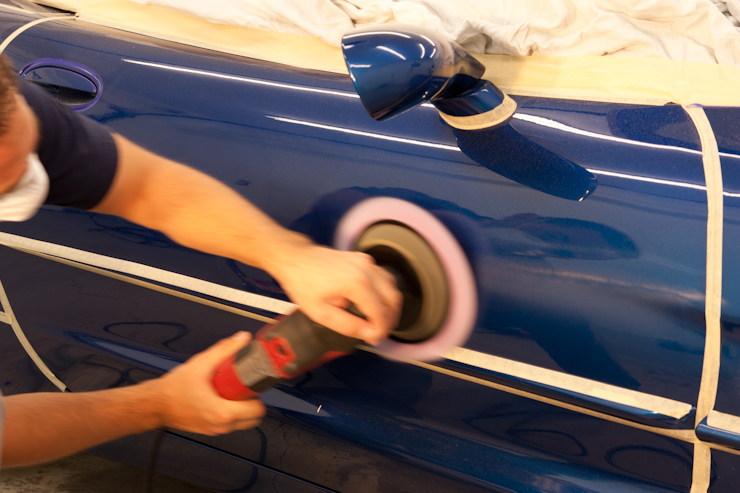
Some M105 on the DA equipped with a Surbuf pad yielded similar results and it ended up being my go to method for 90% of the car. Since these cars have such a hard clear coat, this process actually finished down very well!
The body shop apparently only wet sanded above the side door moldings so I ended up having to wet sand the lower sections along with the rear bumper cover, which also appeared untouched.
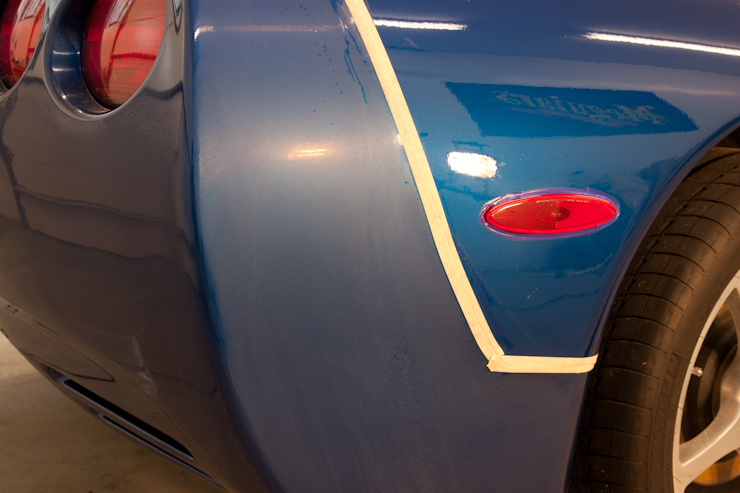
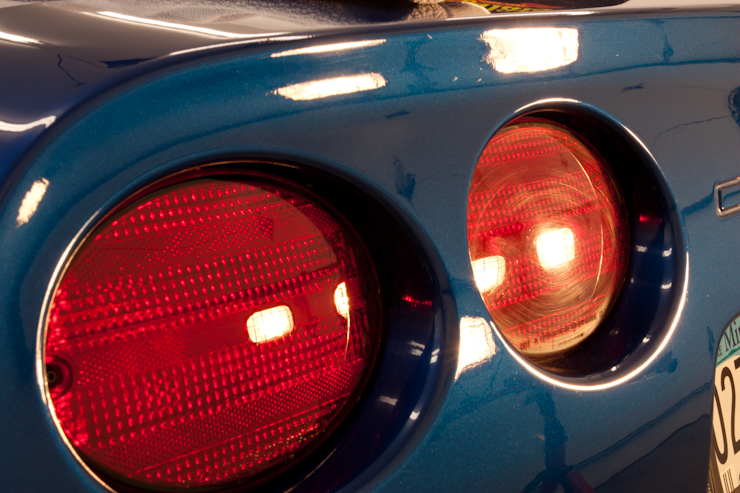
The taillights were in need of some love too.
For the refinement/finishing step I chose to go with Menzerna SF4000 (106fa) applied via DA which was equipped with a Lake Country Tangerine Hydro foam pad. For protection I decided to try out the jar of Dodo Juice Supernatural Hybrid that had been sitting unopened on my shelf for a few months….total two-thumbs-up!
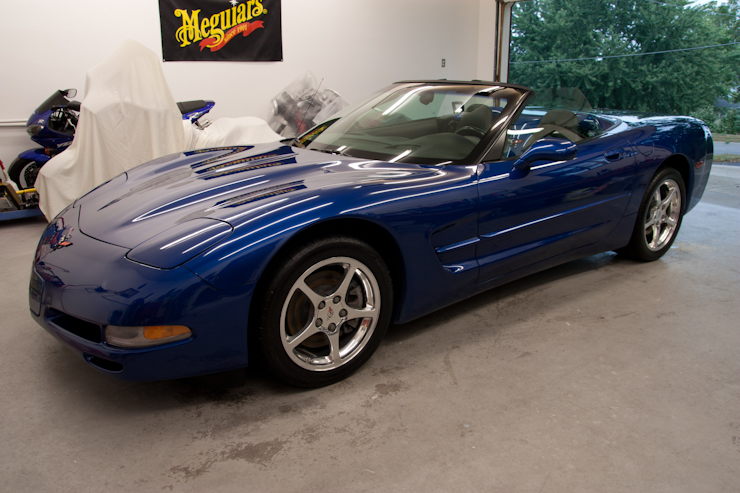
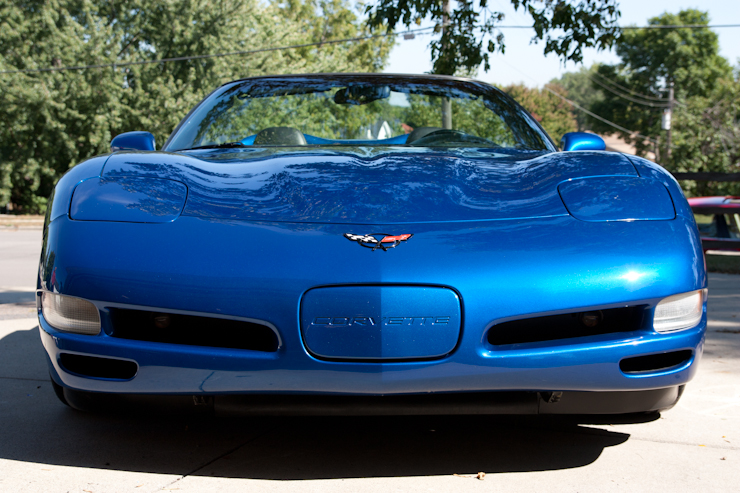
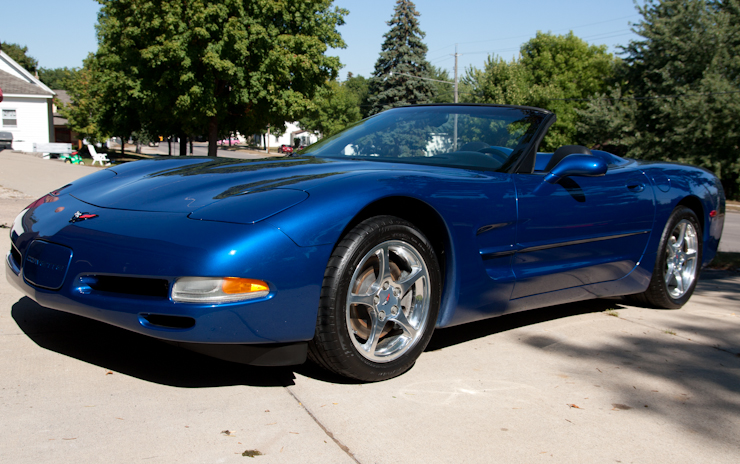
It was raining the day I finished the car so I arranged a time the next afternoon to meet with the owner for delivery. I had also planned to take some good after (sun) pics before he arrived but their schedule opened up unexpectedly and the owner and his family ended up getting there before me so I wasn’t able to get as many after (sun) shots as generally like to have; may I note that I hate taking pics if front of the owners and I tend forget which shots I wanted to capture. Regardless, I think I got some decent pics that capture the end result, which was about 90-95% correction. She looked like a completely different car and the owner was thrilled!
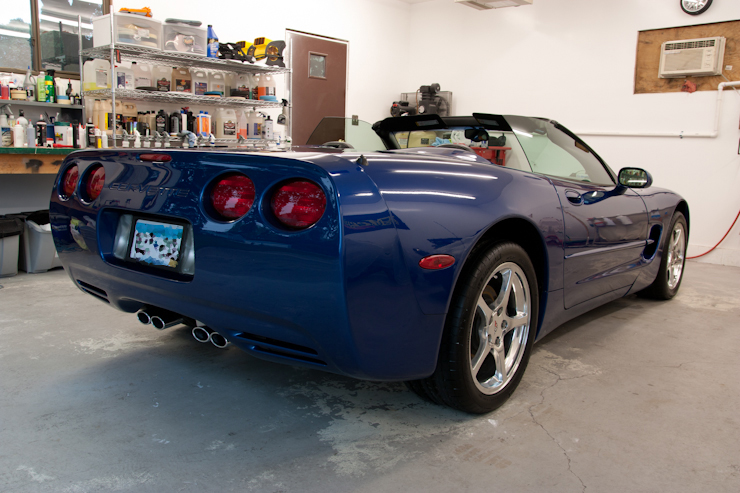
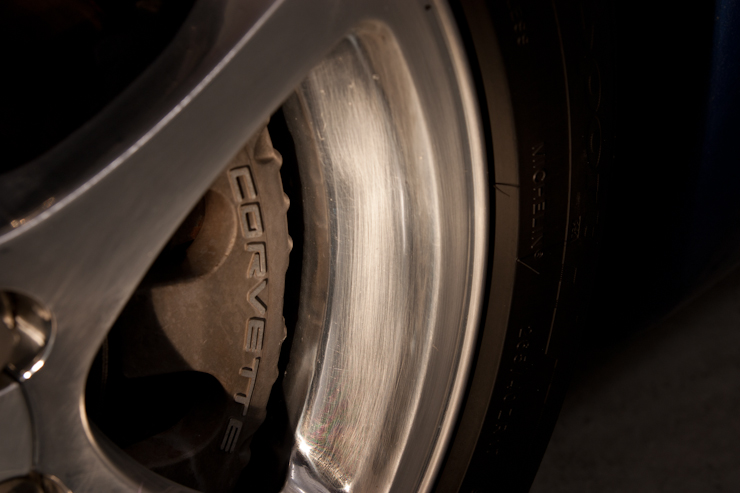
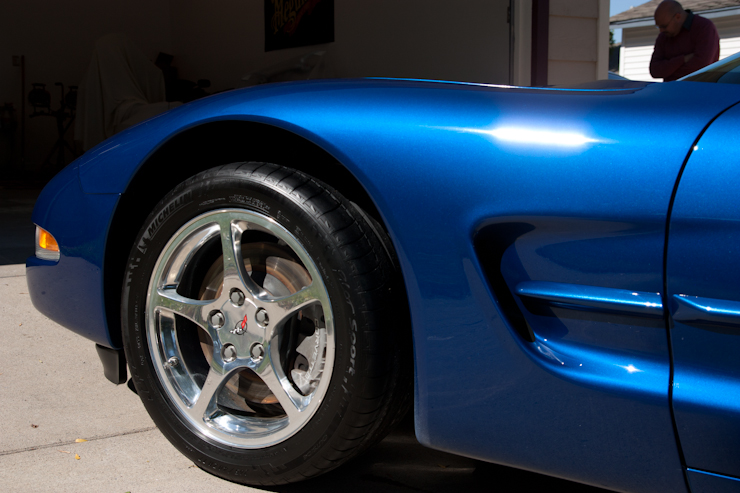
Even though polishing the wheels wasn’t part of this job, I decided to spend a little time on them to try and remove some of the scratches…they aren’t perfect, but definitely a huge improvement. 😉

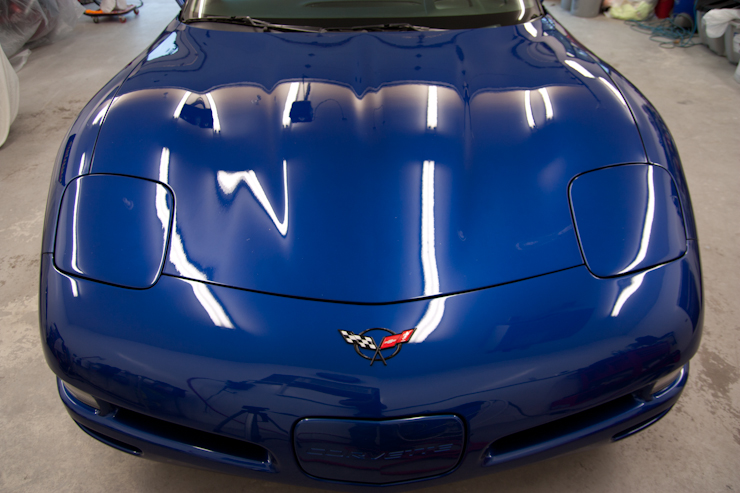
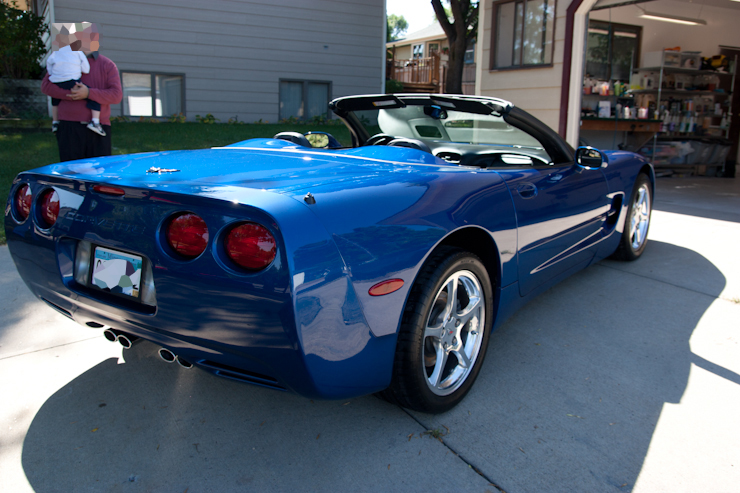
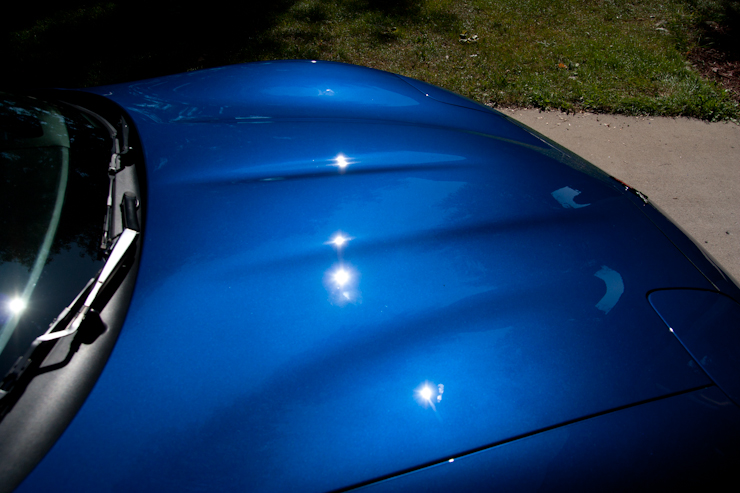
Outdoor pics


So, here is a recap of the main points I covered in this reminder article:
- The importance of using proper wash media! Some of the damage done to this car was too deep to be completely removed. The finish on our vehicles is very delicate and it’s important that people become aware of just how easily damage is incurred.
- Rotary risks and the damage they can inflict within seconds when in the hands of inexperienced users. As detailers we need to slow down, take a step back and evaluate the vehicle before we even lay a polisher to the paint. Whoever took the rotary polisher to the Corvette before me caused thousands of dollars in damage, all of which could have been avoided with a pause for evaluation. An experienced detailer should have seen the sharp panel edges and known to tape them off. 10 minutes and a few dollars in tape could have saved the car from costly damage.
- Documenting existing vehicle damage. Prior to working on any vehicle it is extremely important to walk around the car with the owner and note any existing damage. Taking this extra time will help build a relationship with your client as well as protect your business from false accusations of damage after the fact.
- The power of the detailing network. With the advent of the internet, detailing forums, blogs, and social media sites have sprung up like wild fire, especially over the last few years! With these tools detailers and car enthusiasts are able to learn faster then ever, help others out, refer clients, advertise, find out about new products before they are even released, and make many new friends. Over the years of being on these sites I have made many new friends. I now talk to several other detailers around the US (and some outside the US) and I even had the pleasure of meeting several of them at the 2010 and 2011 SEMA show.
Thanks for taking the time to read my article. If you have any questions or comments I’d love to hear them.
Buy Products From This Article
Purchase the products used in this article individually or in one convenient package here!