
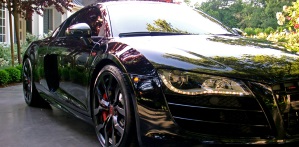
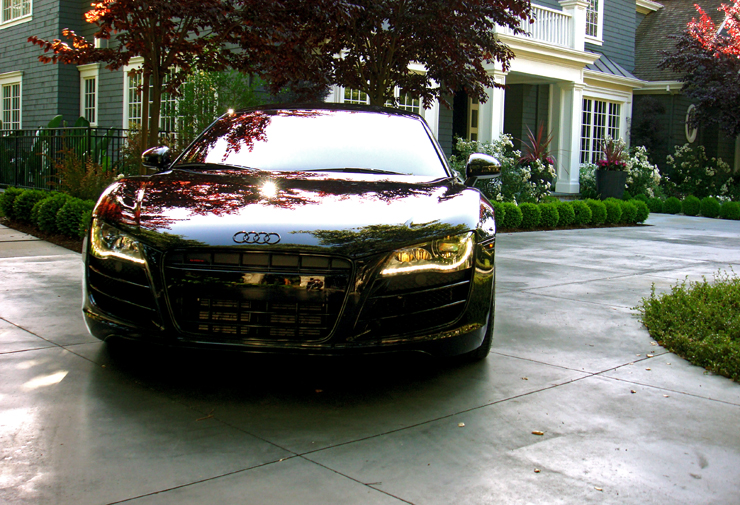
Here’s a 2010 R8 V10 I detailed a couple of weeks ago. The car had only 400 miles on the odometer. As many of the writers here, including myself, have proven before: even brand new cars need thorough detailing to bring the look of the car to the level the performance specs demand. At the end of this article, I will have a video documenting the detail process, as well as some extras that aren’t pictured below!
As with every detail, I always start with a thorough inspection of the car. Luckily, this car was just purchased by the owner, and had almost no signs of extensive wear and tear except for the average dust and dirt from driving.
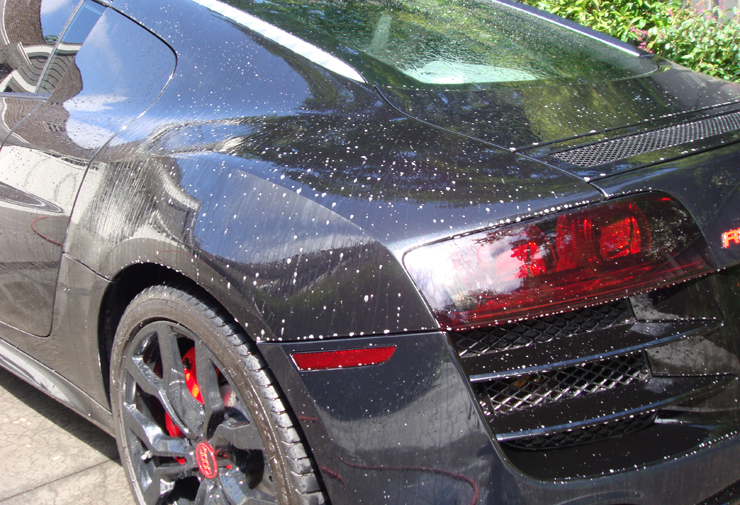
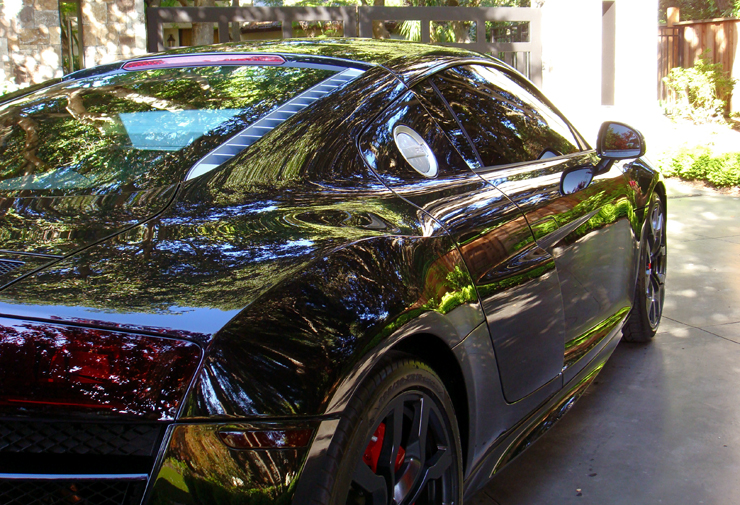
The condition was about what I’d expect from a black car with few miles on it: basic wash marring.
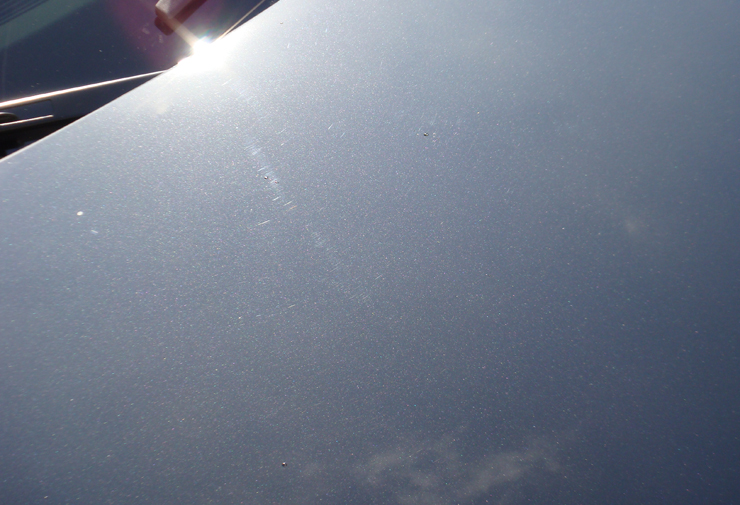

Along with some surprises of some not-so-great buffing:

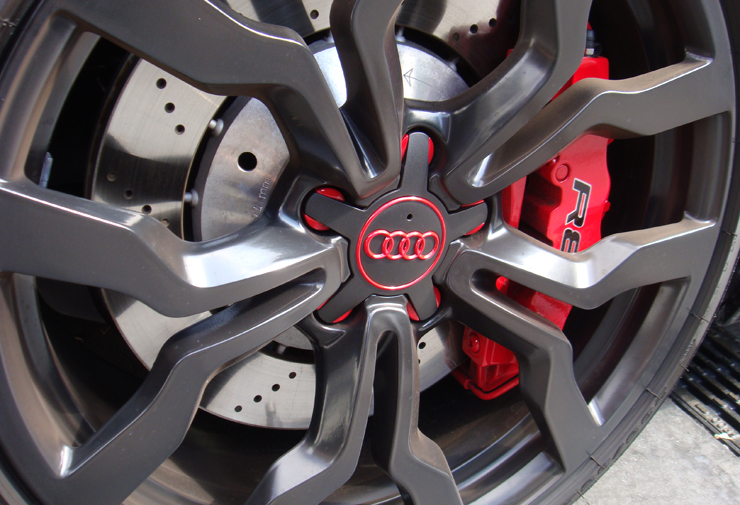
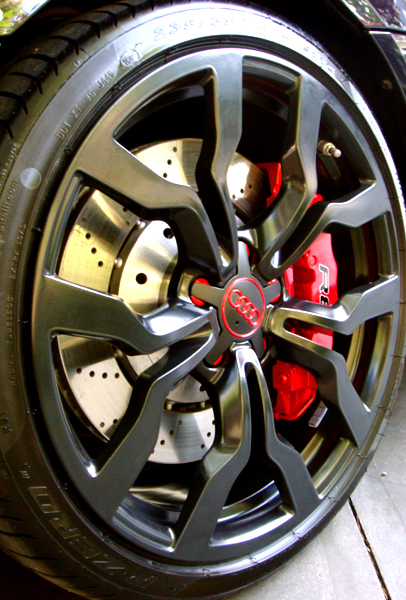
So, I started with the wheels using an EZ Detail Brush, a new DI Boar’s Hair Detailing Brush, wheel cleaner, and some agitation.


After the wheels were done I moved on to washing the car with citrus wash to strip any paint protection that was on the car previously.
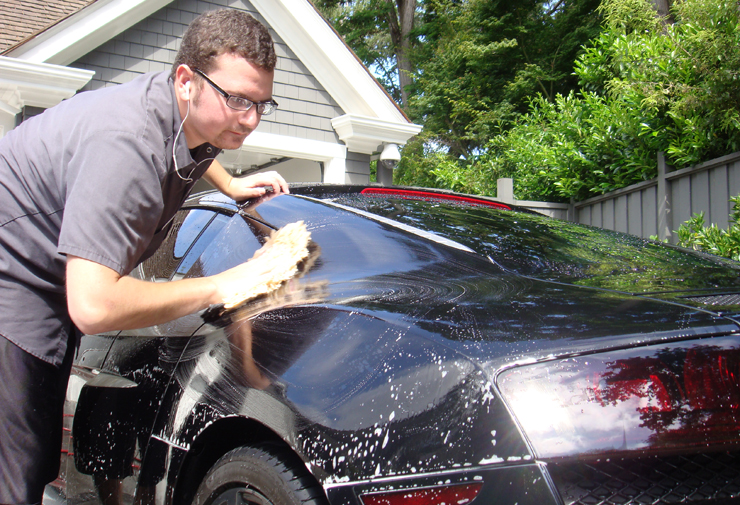
Once the wash was completed, I noticed the car had a fair amount of fallout on the rear half. So, using a fallout remover, I was able to clay the car–without claying!
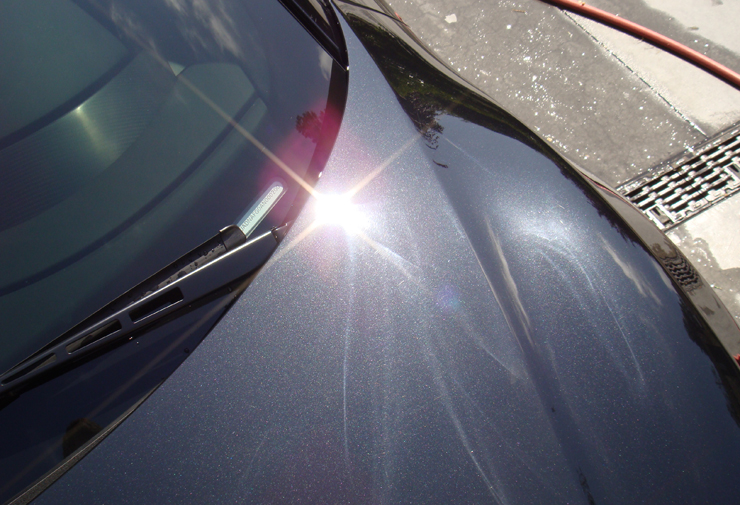
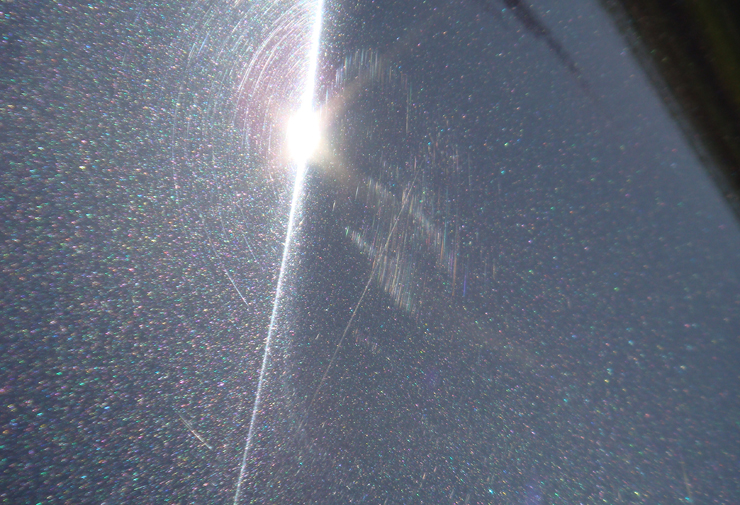
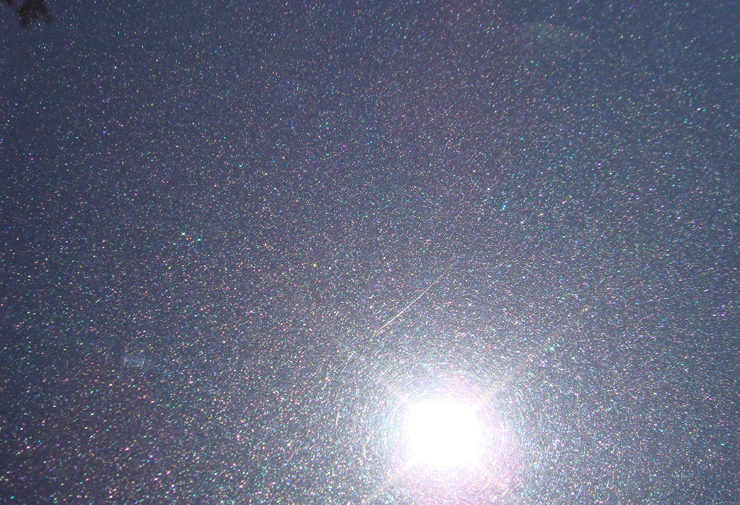
Now the true condition of the car was shown:
Holograms were a bit more severe than originally pictured
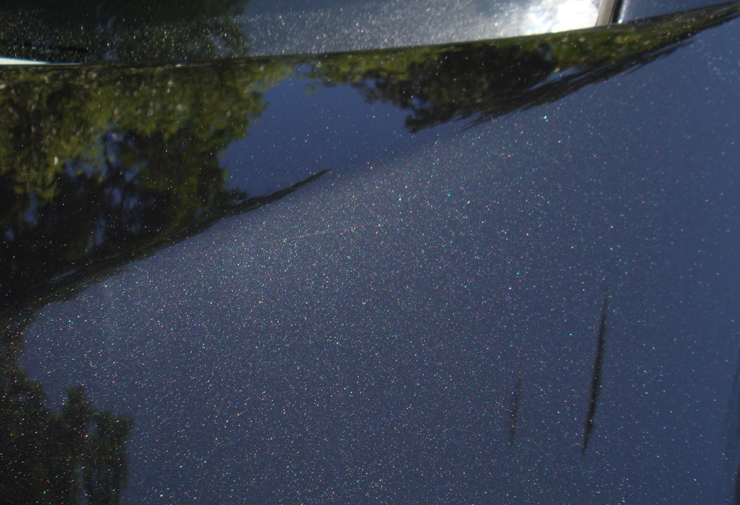
More marring:
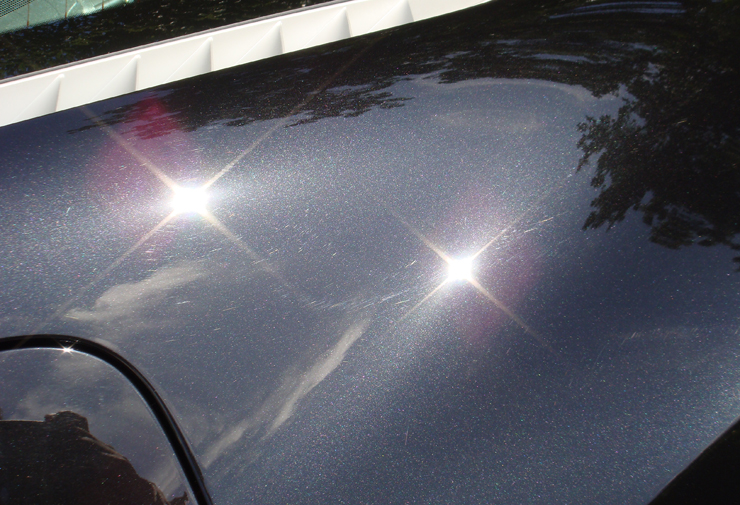
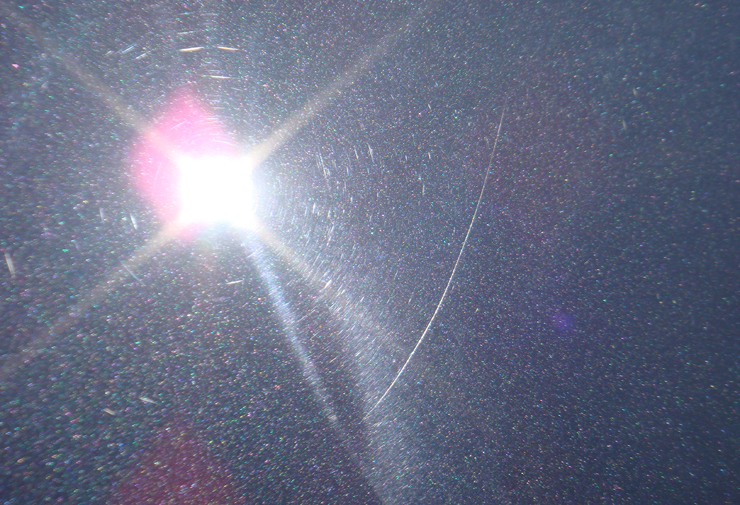
Turns out the holograms were installed from the dealership trying to cover up these lovely deep scratches:
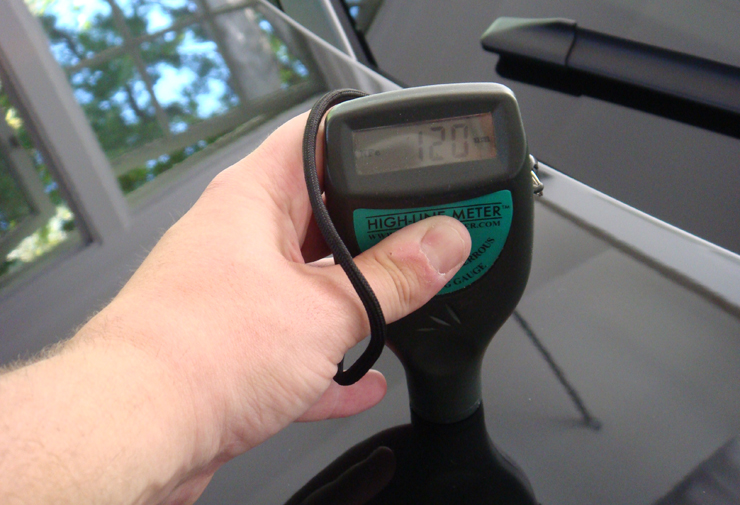
Once the thorough inspection of the R8 was completed, I pulled the car into the garage and continued with taking paint measurements, knowing some wet-sanding would need to be done.
Average paint readings around most of the car:
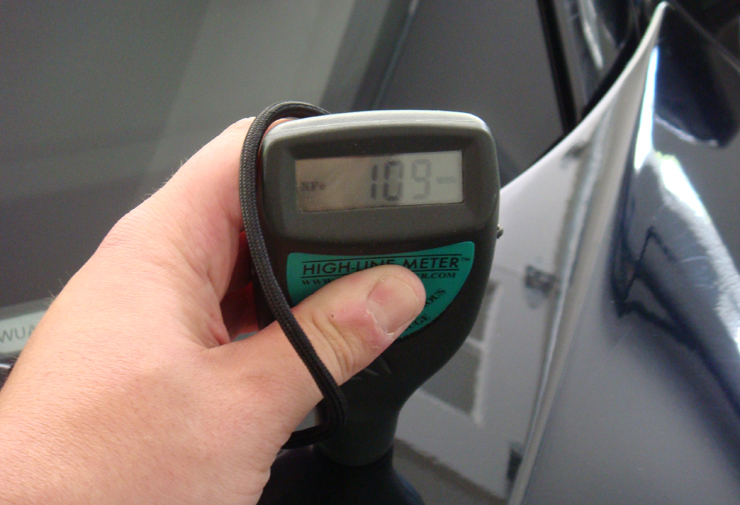
… Except where the dealership tried to cover up some scratches:
So, I started with the wet sanding:
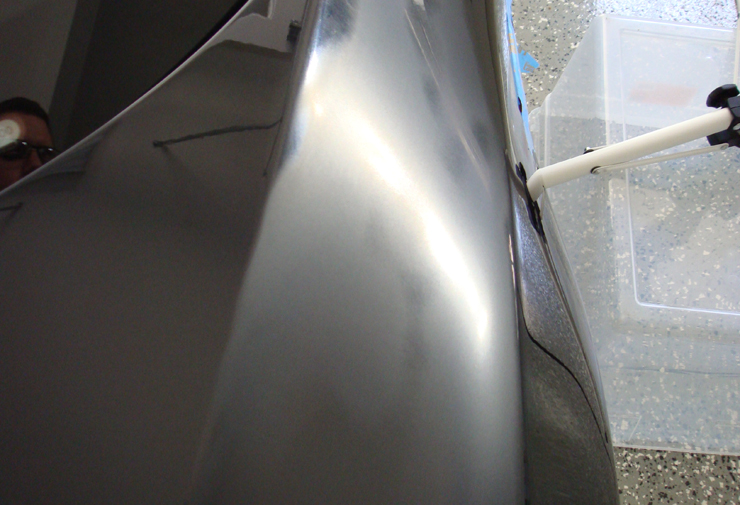
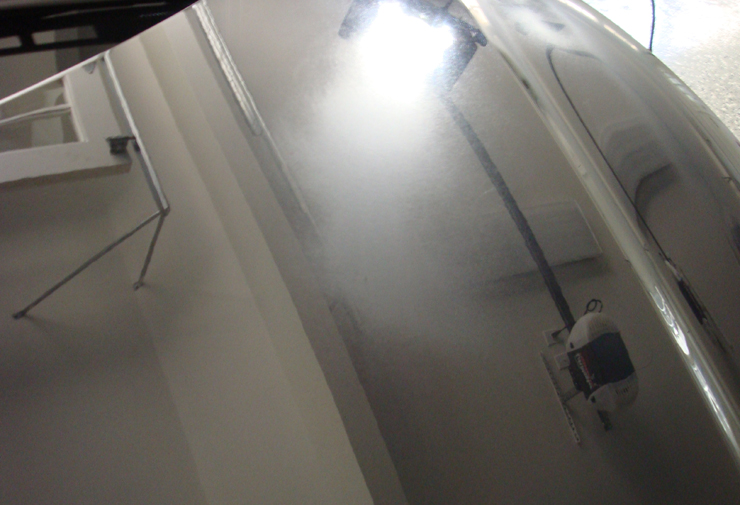
They weren’t completely removed, as I wanted to be sure to leave plenty of clear coat. But the difference is MUCH better!
(This was before any sort of polishing–just compounding)
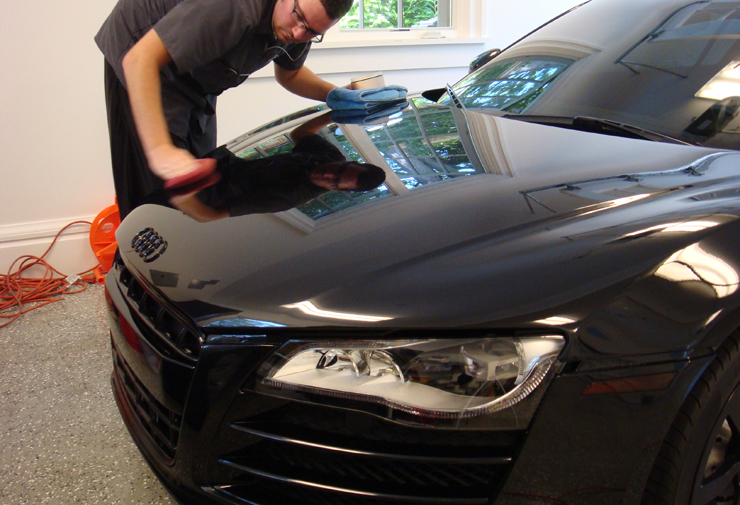
For the polishing I would go with a 3-step process. I started by compounding with a Purple Foamed Wool pad and Meguairs M105; followed by the Meguairs Microfiber Polishing system on the PC7424XP; and finishing it off with a Blue finishing pad and PO106FA.
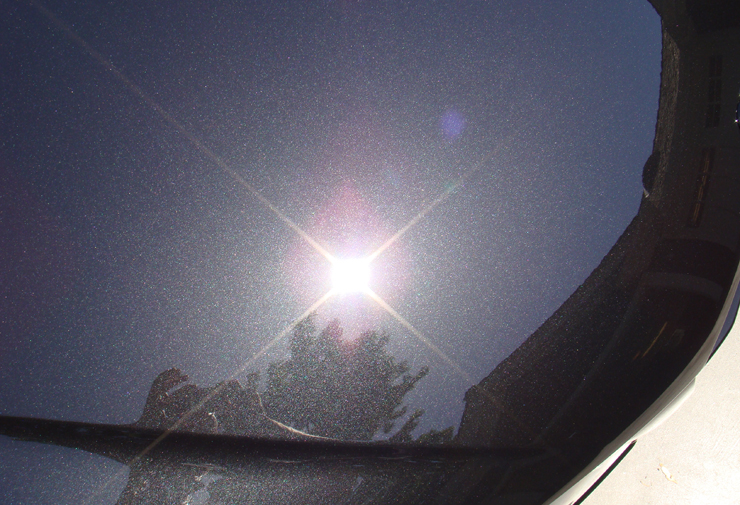
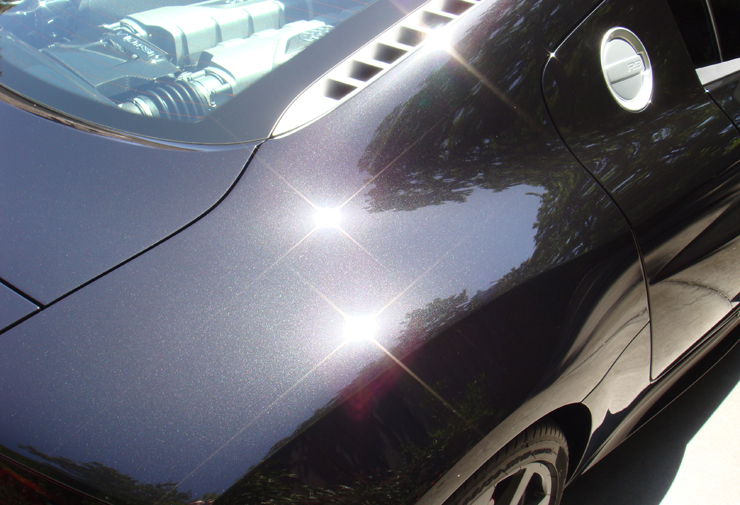
50/50 in the sun:

Once the polishing was finished, I waxed the car with two coats of Blackfire Midnight Sun Carnuba Wax.
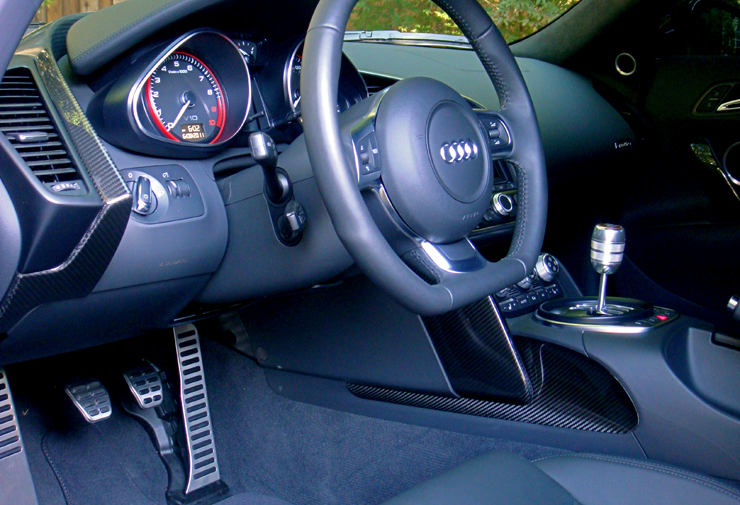
Other duties taken care of was the interior. Which was protected with Leatherique Prestine Clean. The carpets groomed. The windows cleaned with Meguairs Glass Cleaner. The plastics protected with 303 Aerospace Protectant. And the tires/wheel wells dressed with Meguairs Hyper Dressing.
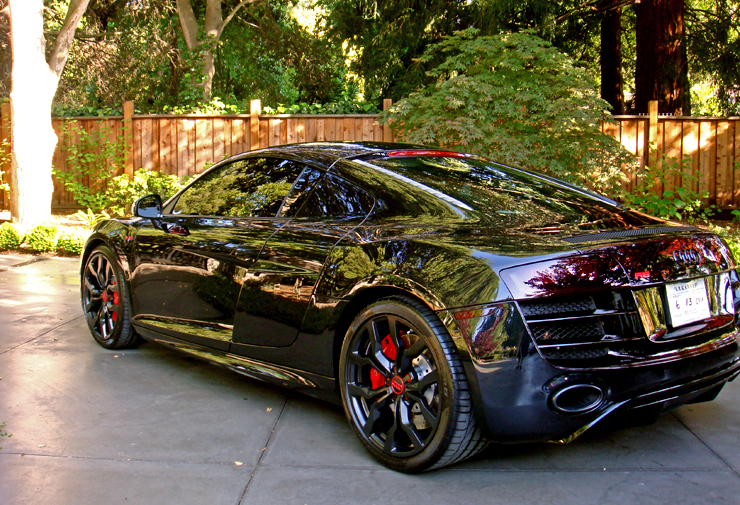
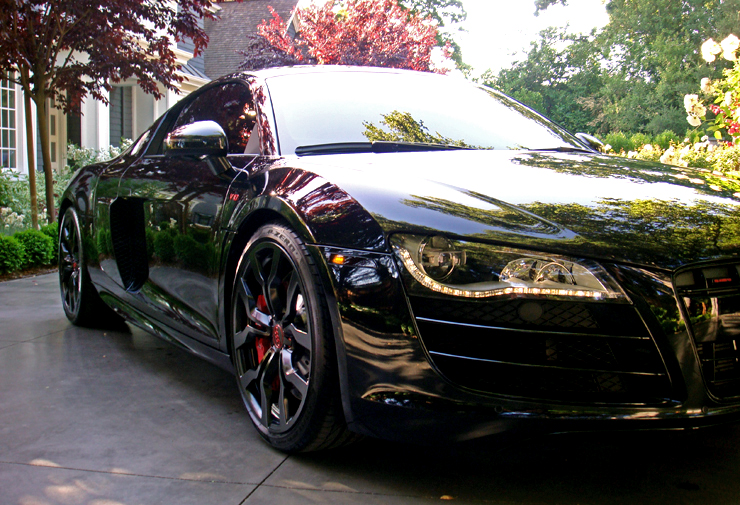
The final afters:

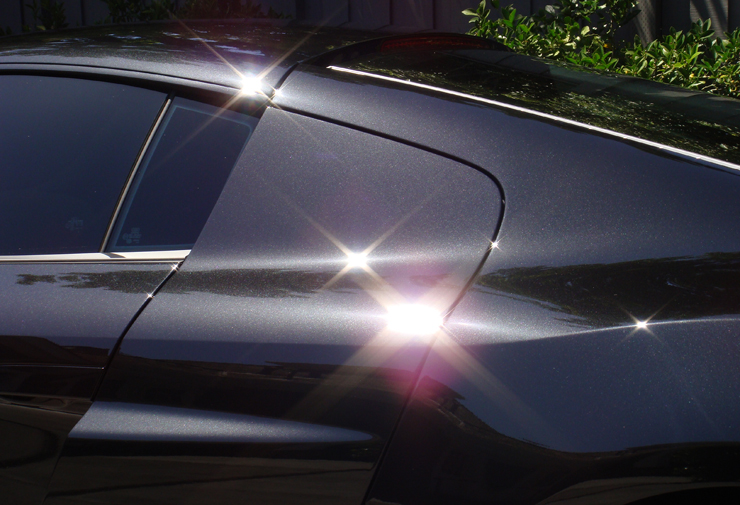
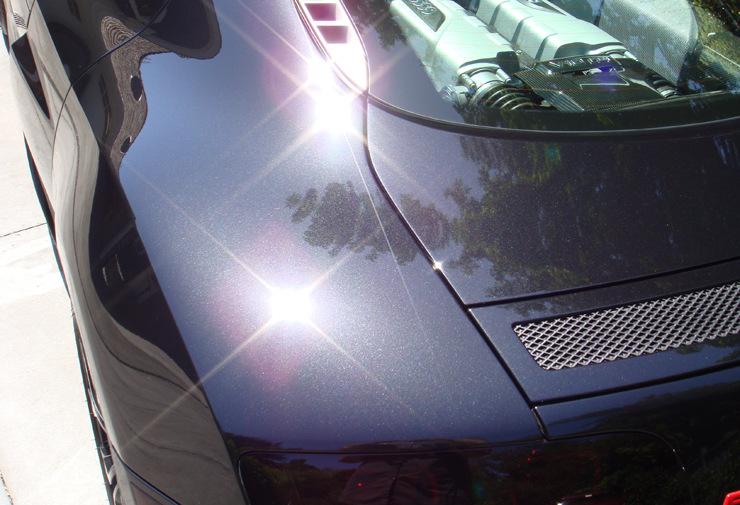
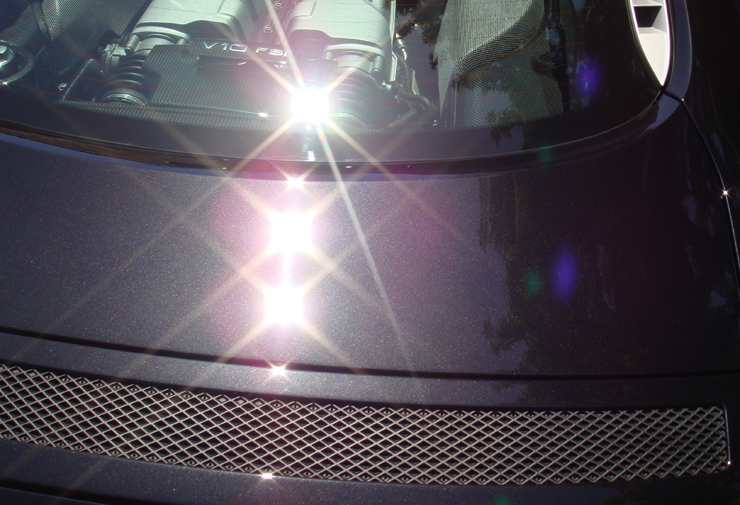
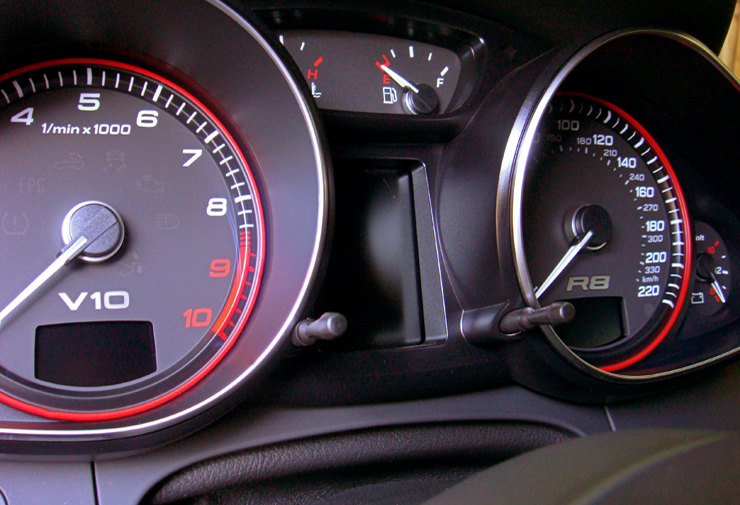
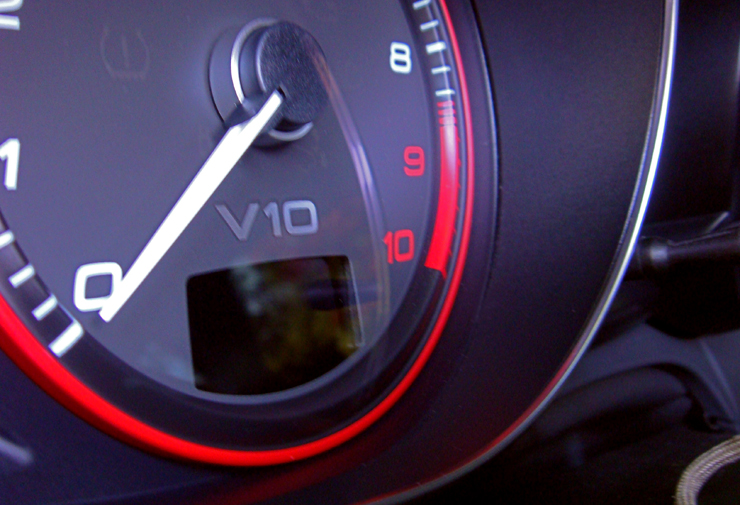
The “glam” shots:

Without further ado, the video I mentioned at the beginning of the article:

Thank you for reading!
If you have any questions or comments, please don’t hesitate to ask below!
Related Posts
- Lamborghini Gallardo: 24-Hour Restorative Detail by Todd Cooperider
- Can I Use Products from Different Brands?
- 2006 Lamborghini Gallardo Comprehensive Detail
- Full Detail and Paint Correction: Ferrari 458 Italia by Todd Cooperider of Esoteric Auto Detail
- Projects: Lotus Evora GT, Paint Correction, Clear Bra, Ceramic Coating