
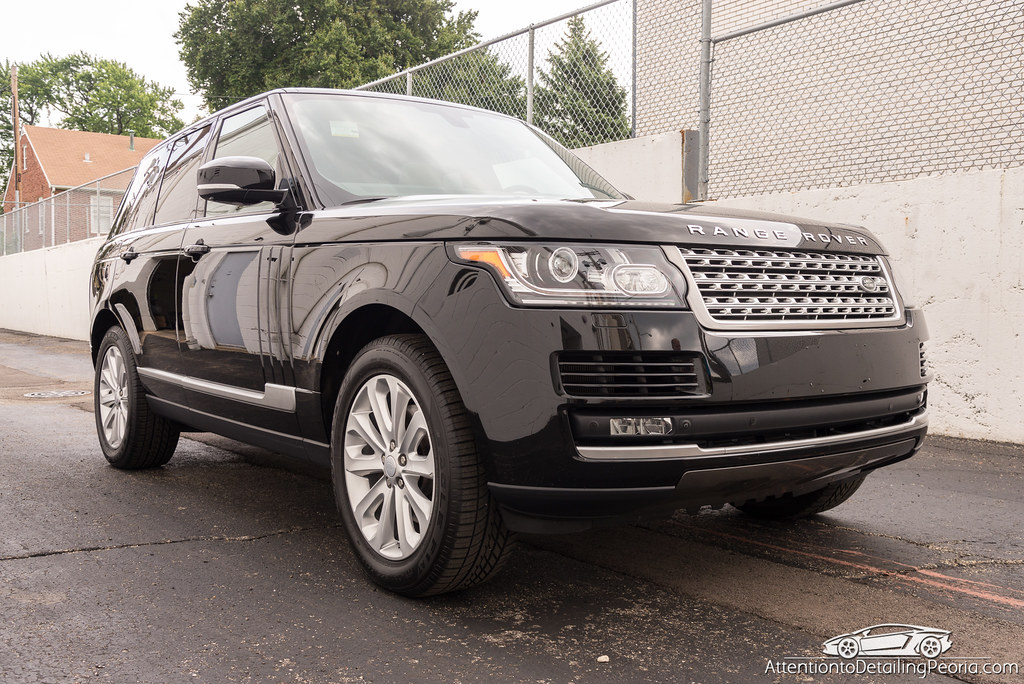
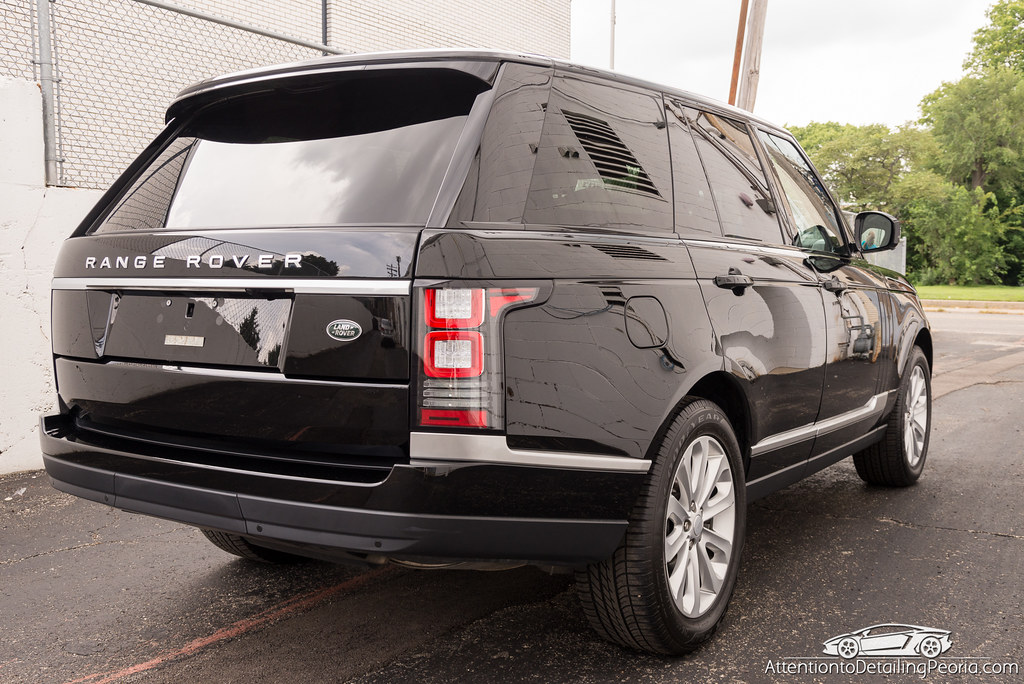
This vehicle was dropped off with us for a complete overhaul inside and out. The majority of our time and effort would be spent on the exterior with extensive cleaning, and of course a thorough paint correction. The paint was in poor shape, with a tremendous amount of swirls and scratches that left this gorgeous metallic paint job looking dull and faded despite the 2015 production stamp inside the door jam. Thankfully we were able make a drastic improvement, check it out! Don’t forget to reference our overview list at the end of the article for all of the tools and products used throughout this process.
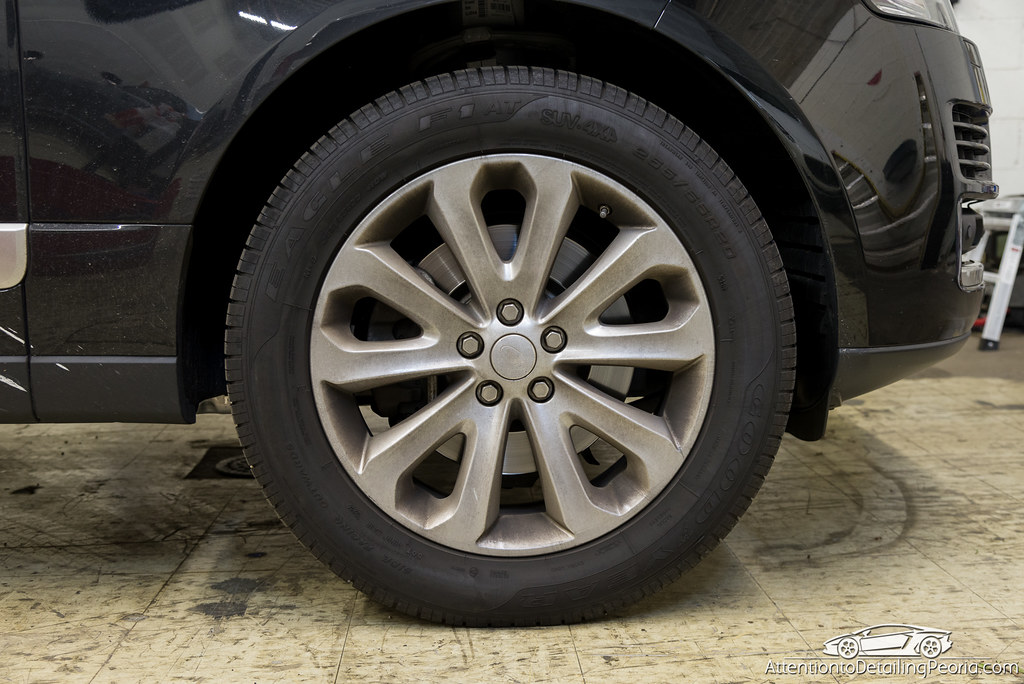
As always, we began our project with the wheels and tires. These wheels have clearly not been cleaned in a very long time given the amount of heavy buildup on them. It may not appear too bad at first, but when you see the after photo, you’ll understand just how dirty they were.

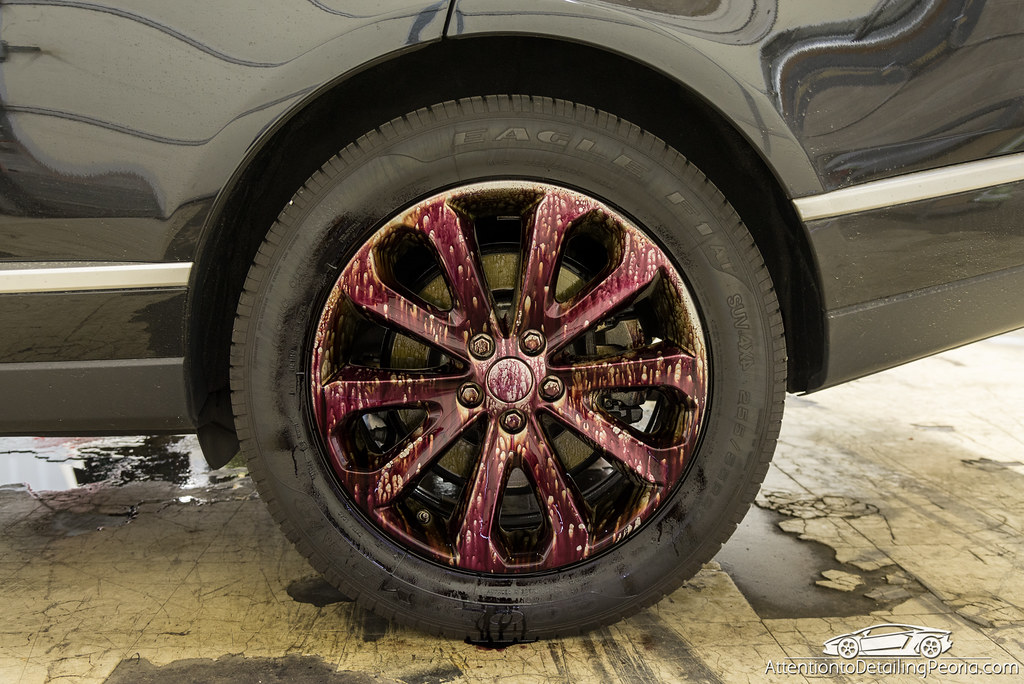
The tires were vigorously scrubbed with Tuf Shine Tire Cleaner & Tire Brush to remove old tire dressing, dirt, and road grime. Sonax Wheel Cleaner Plus was sprayed onto the wheel and allowed to dwell. This wheel cleaner is completely clear, but turns purple as it reacts with brake dust. It is extremely effective at loosening the dirt and grime, making deep cleaning very easy. Check out this mess!
After allowing the wheel cleaner enough time to work, a pressure rinse removed the majority of dirt and grime, leaving a much lighter layer that needed to be removed manually. I used some soap in our wash bucket, along with a variety of brushes to ensure every nook and cranny was touched.
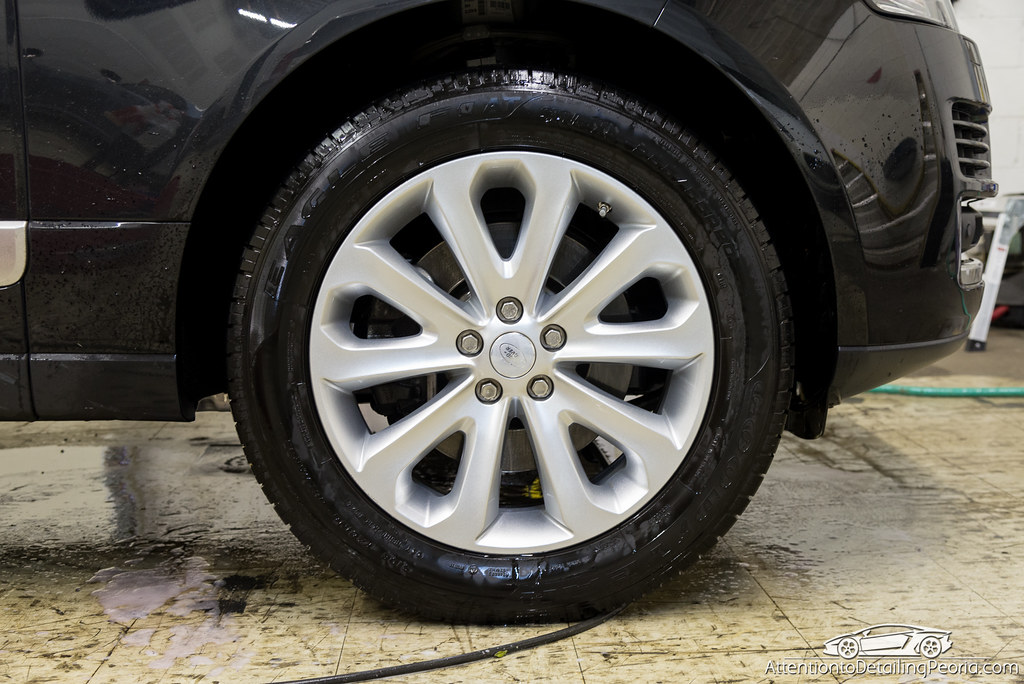
Now this is how the wheels are supposed to look! I think they’re about 10 times brighter than when we started.
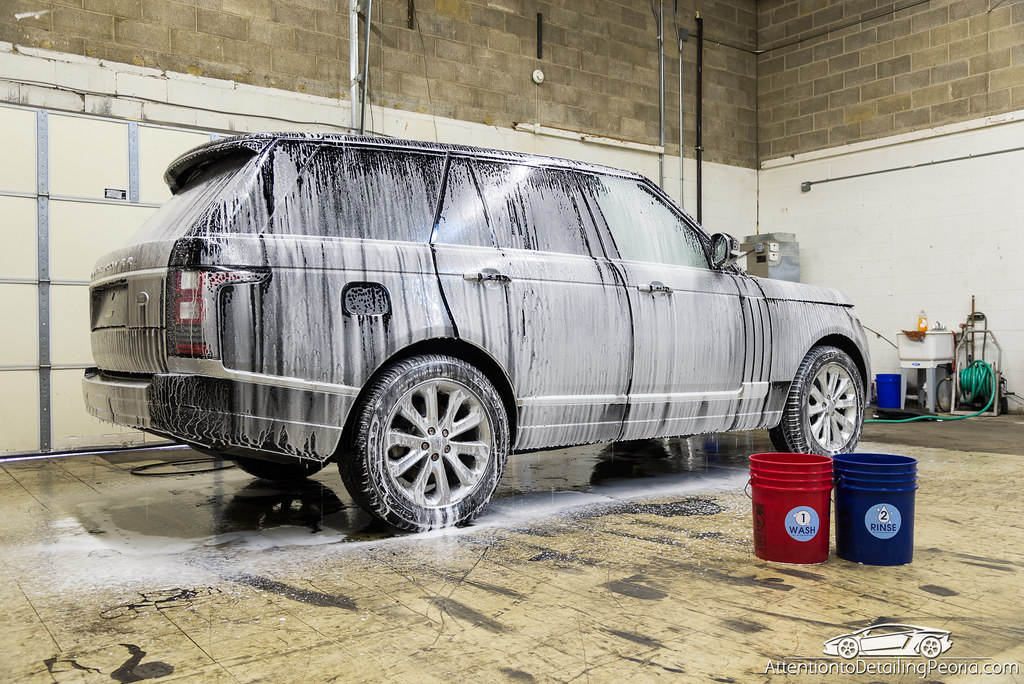
With the wheels and tires taken care of, I turned my attention to the body of the vehicle. The car was covered with a thick layer of foam, courtesy of Meguiar’s Hyper wash and my DI Foam Lance. The foam was left to dwell while I used a 1″ Boars Hair Brush to clean in various cracks and crevices. The car was then rinsed, hand washed, and decontaminated using our nanoskin mitt and nanoskin glide.
With the paint completely clean, it was finally time to get to work on restoring the paint. A two-step correction process was used to level defects and then enhance gloss. After a few test spots, I settled on Griot’s Fast Correcting Cream paired with a Lake Country Light Cutting pad followed by CarPro Essence on a Yellow Rupes pad. This combo produced fantastic defect removal, and was able to leave a crystal clear finish that really enhanced the metallic flake.
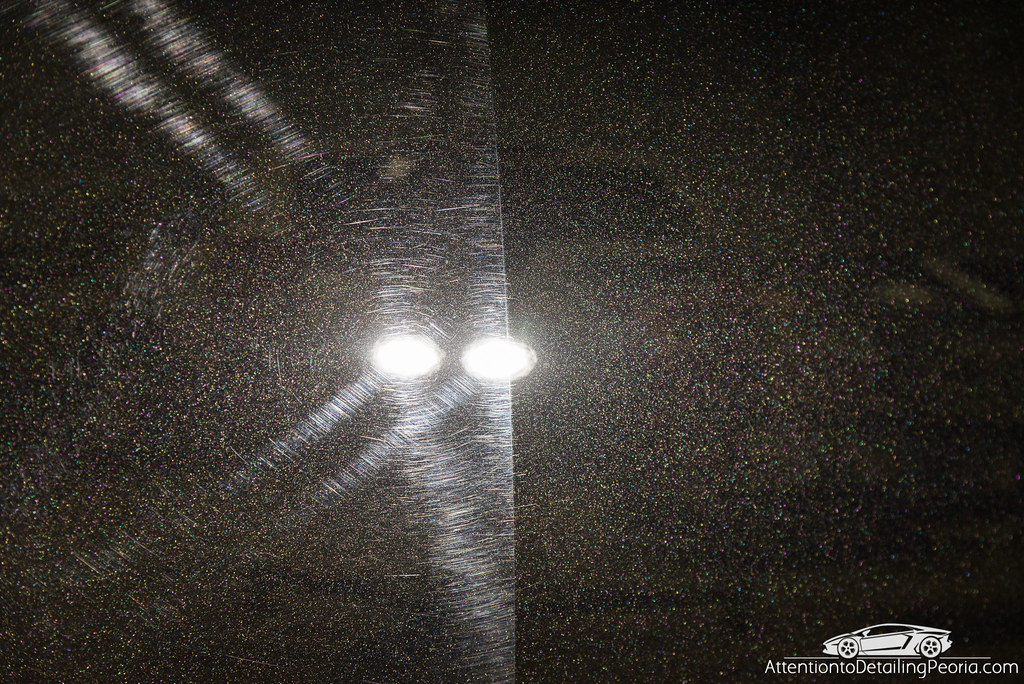
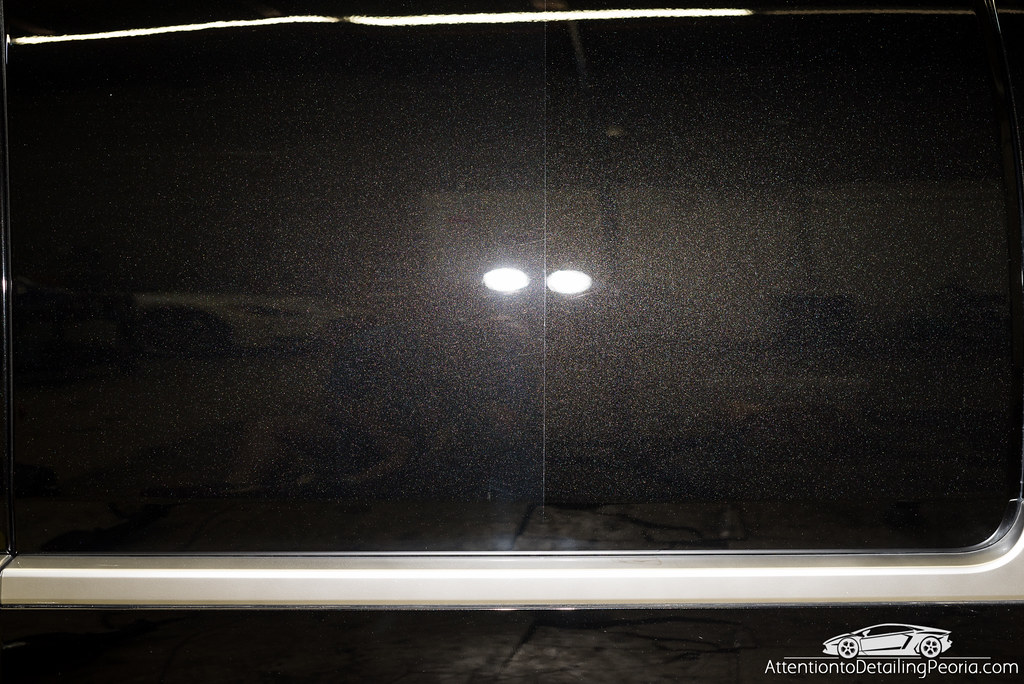
Here is a look at the passenger door prior to correction.
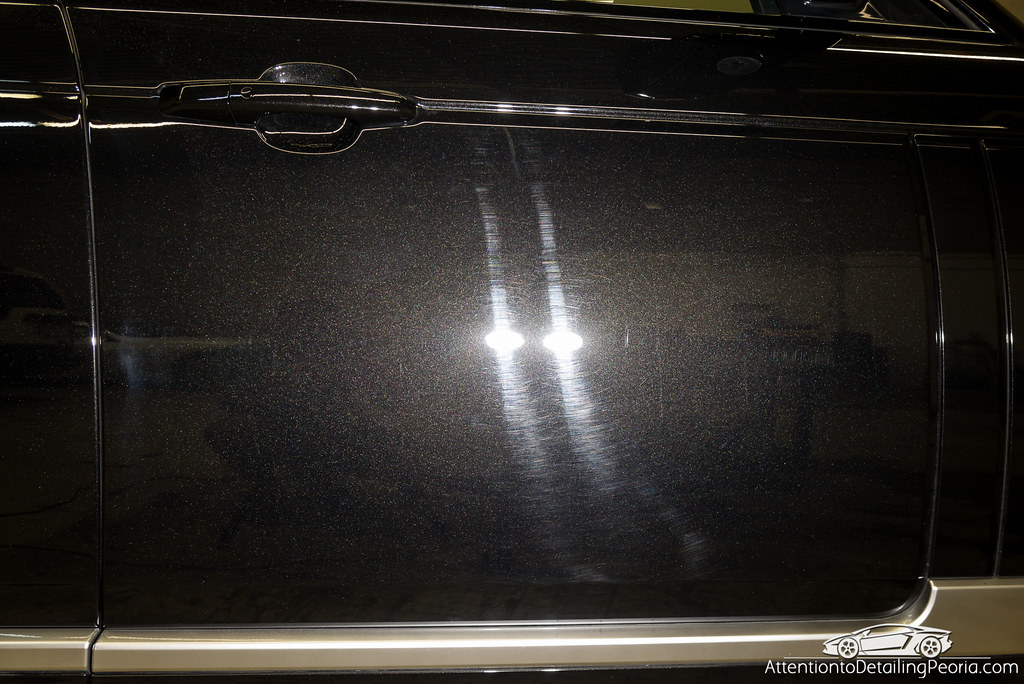
After compounding, the majority of the defects have been removed, and marring was minimal.
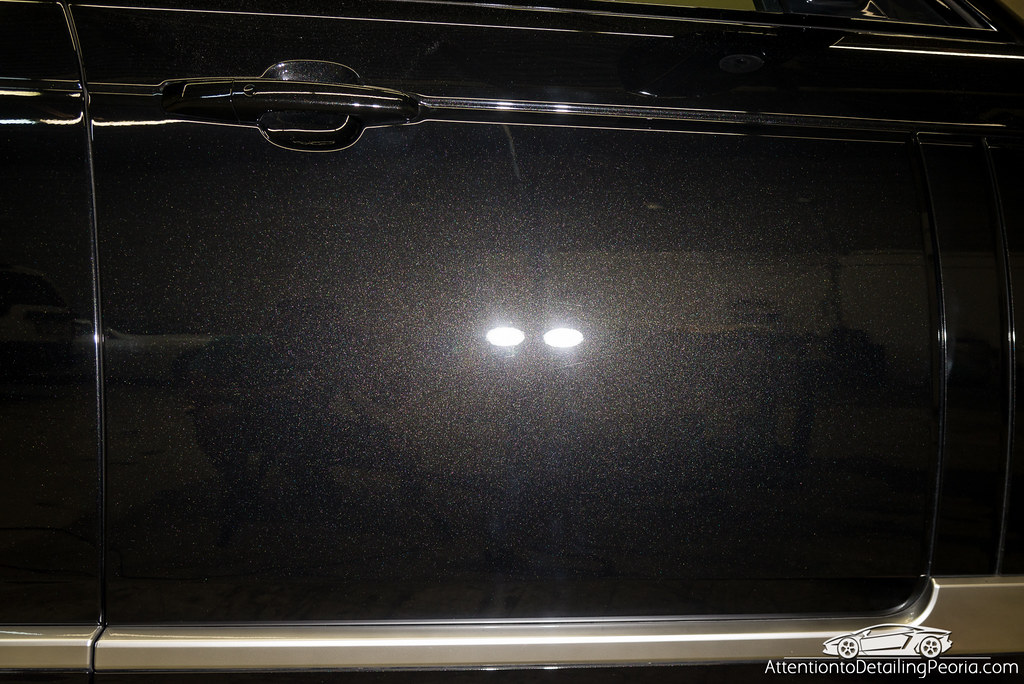
The finishing polish removed the light marring, revealing an even darker finish, and greatly enhancing the metallic flake.
After the correction work was completed, the paint was then wiped down with CarPro Eraser and then coated with GTechniq Crystal Serum Light to protect the gorgeous finish and to provide even more gloss. This coating leaves the paint feeling incredibly slick (I mean really slick!), and the gloss was fantastic.

Product Overview
- Tire Cleaning: Tuf Shine Tire Cleaner, Tuf Shine Tire Brush
- Wheel Cleaning: Sonax Wheel Cleaner Plus, Hyper Wash, Bucket & Grit Guard, EZ Detail Brush, Wheel Woolies, Wheel Brush
- Washing: Meguiar’s Hyper Wash, DI Foam Lance, Buckets & Grit Guards, Microfiber Mitt, 1″ Boars Hair Brush
- Drying: DI Waffle Weave Towel, Metro Master Blaster
- Paint Decontamination: Nanoskin Fine Grade Mitt, Nanoskin Glide
- Paint Correction: Griot’s BOSS Fast Correcting Cream, Lake Country Orange Light Cutting Pad, Black & Yellow Microfiber Towels
- Paint Polishing: CarPro Essence, Rupes Yellow Polishing Pad, Black & Yellow Microfiber Towels
- Machines Used: Rupes LHR21ES Mark II, Rupes LHR15ES Mark II, Rupes 75e, Griot’s BOSS G21
- Paint Cleansing: CarPro Eraser, Double Thick Edgeless Towel
- Paint Protection: GTechniq Crystal Serum Light
- Wheel Protection: Sonax Wheel Rim Shield
- Tire Dressing: CarPro PERL (neat), Tuf Shine Applicator
- Trim Dressing: 303 Aerospace Protectant