
Paint Texture Removal
by Greg GellasAs a detailer, there are times when we are called upon to do more, in order to properly serve client and vehicle needs, which requires skills and methods that go beyond the ability to correct and polish paint with a machine. Often, these methods involve skill sets which many detailers don’t use every day. Also, some of the best methods of paint correction can sometimes seem to be harsher or out of the box then they really are.
The skill and method of paint correction at hand, is the ability to correct paint defects and fix problematic texture via wet sanding on automotive surfaces. While I don’t support flat sanding of factory finishes, there are times when on re-sprayed cars or panels wet sanding is necessary to correct defects in order to achieve the level of gloss, depth, and clarity that is expected from a quality detailer.
After seeing the condition of this bumper, I decided to call a friend to get a second and expert opinion. I don’t sand every day, so after my initial inspection I deferred to the expertise of a colleague who lives and breathes wet sanding. So, I called Jason Killmer of JK Automotive Detailing, whom I met at NXT a few years ago. Fortunately for me, at NXT he spent a few hours in a small group teaching and providing many detailed insights about sanding, which he’s learned in his long and ridiculously successful career.
For those of you that don’t know who Jason Killmer is, he color sanded (completely by hand) and polished out the Pirelli Great 8 Finalist, and eventual 2013 Rilder Award Winning Ford, named ‘Checkered Past’. In all, Jason Killmer has worked on 4 cars in the Perelli Great 8 at the Detroit Autorama, with 2 having won the prestigious Ridler award– Ferrambo and Checkered Past. So, it is more than safe to say that Jason Killmer knows how to make paint flat, glossy, and perfect!
Seeing that this bumper was poorly re-sprayed, I knew I’d have to get some sandpaper soaking. I pulled a couple sheets of 2000 Grit, 2500 Grit, and 3000 Grit and got them soaking in some water.
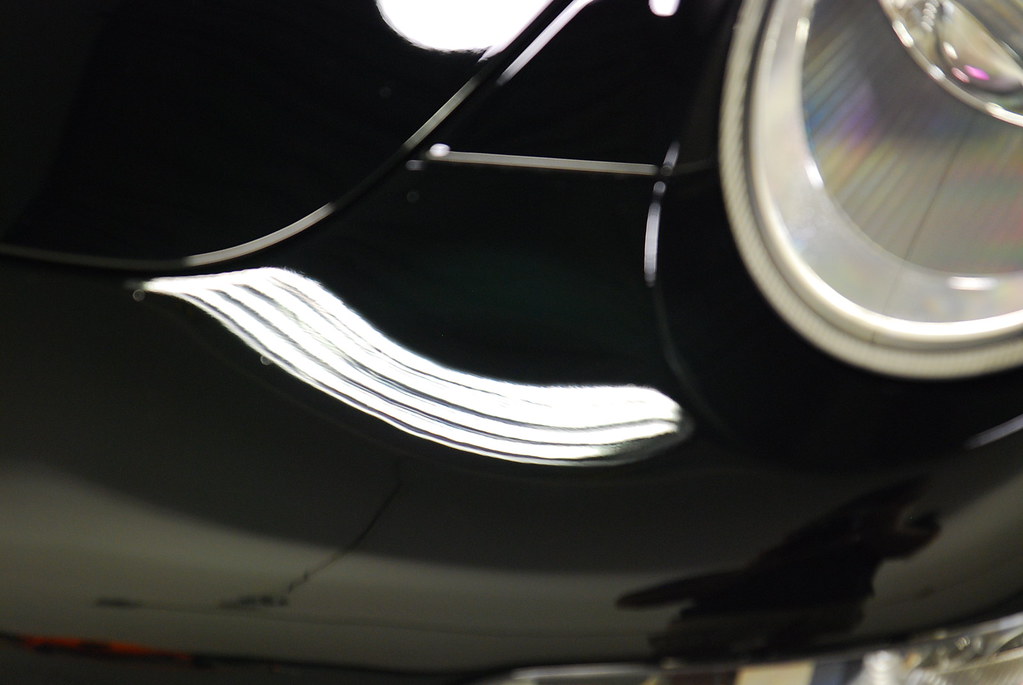
While speaking with Jason he explained that the defects in question were called “dry spray”. He went on to explain, in very simple terms, that the most likely cause of dry spray is the paint gun being held too far from the surface, causing the solvent to evaporate too soon. He also mentioned it could be caused by too much air pressure within the spray gun. Too much gun pressure causes the solvent to evaporate quickly, and may additionally cause the sprayed “coating” or clear coat to actually bounce back off of the surface, creating both a horrid texture and a thinly sprayed layer.
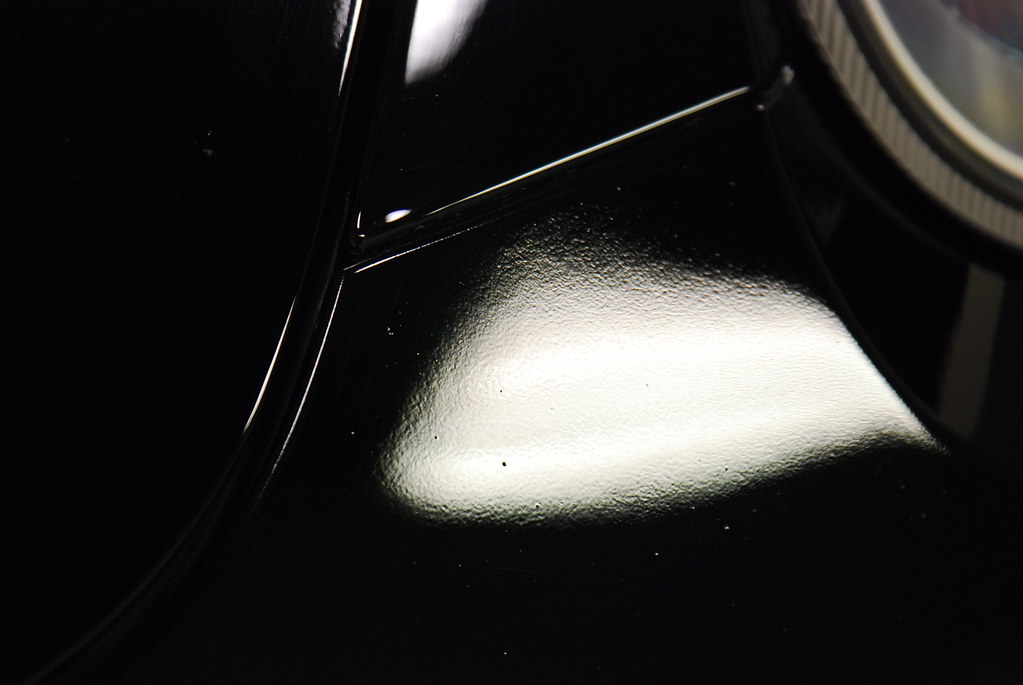
With my hand backing pad I began to cut the dry spray with the 2000 Grit paper. A strike-through could be very possible considering that dry spray is typically spread very thin compared to a normal or “wetter” spray. That is why I started with a less aggressive paper. If this was a more typical spray, I would have begun around 1000 Grit.
I began hand sanding the entire front bumper since that was the only area that was re-painted. My total wet sanding process included a couple of light passes with 2000 grit, moving on to 2500 and then finishing with 3000. Each sanding step was performed in a cross hatch pattern, enabling the sander to identify when the finer grit removes the previous more aggressive sanding marks. After each step, and frequently during the sanding process, I cleaned off the area I was working and blew it dry in order to evaluate the progress for the level of correction I was looking to achieve. This is very useful when trying to obtain uniform correction or when trying to match texture of the correction area with the rest of the vehicle.
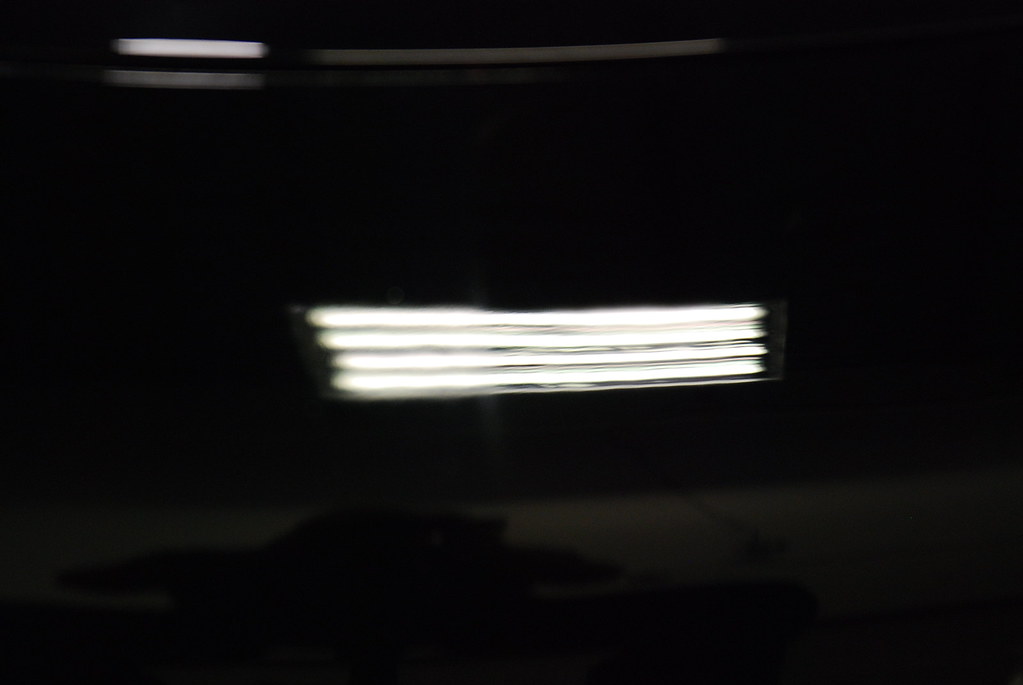
Although the end result of my sanding was not a perfectly flat surface, the improvement gained was just enough to match the texture of the rest of the vehicle while correcting the eyesore of dry spray I originally encountered.
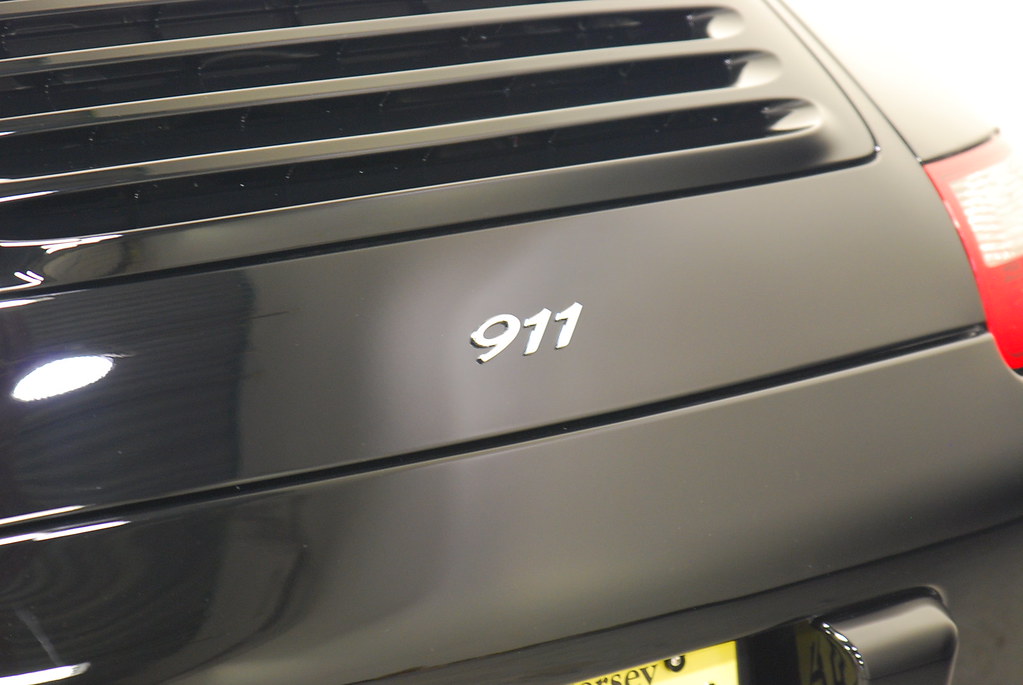
While I had my sand paper out and presoaked, I also decided to sand the rear emblem area. I was replacing the emblem, and the area contained heavy defects, I knew that it was safer to sand with 3000 grit, than to try to correct it with compounding. Since the heat associated with heavy correction of paint polishing can be damaging, at times it is easier to correct defects with wet sanding and then removing the out light sanding marks rather than struggle to correct out severely damaged paint.
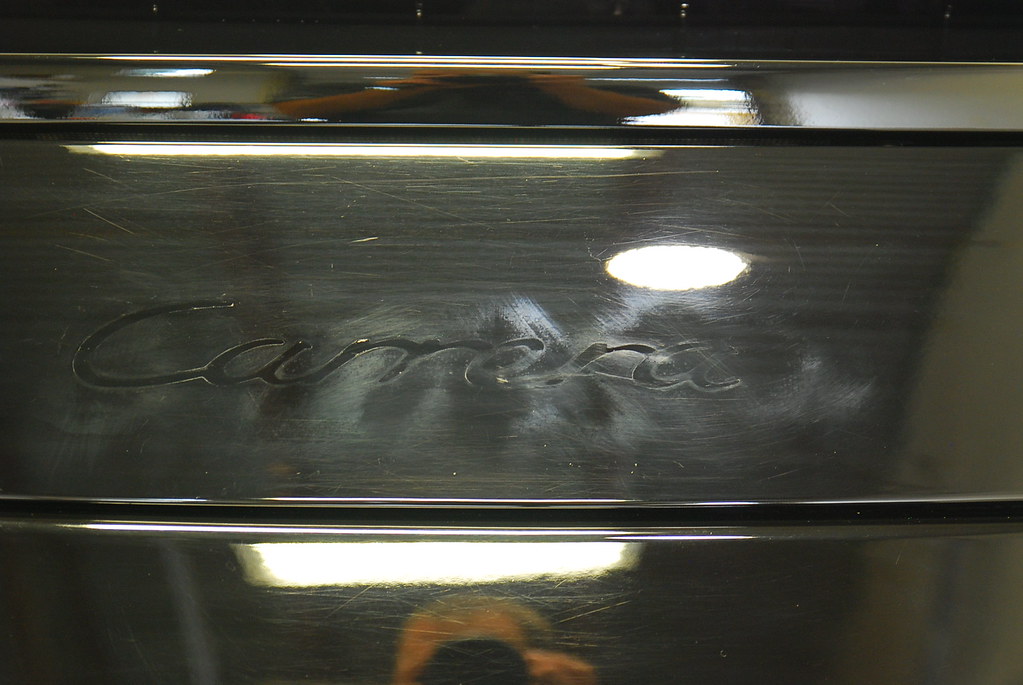
I also went around and lightly corrected some other deeper paint defects with the 3000 Grit paper to make my final polishing step that much easier. The results were well worth the time spent sanding this area.
Although not perfectly flat, the wet sanding achieved a great amount of leveling and really brought some areas of the paint back to life.
While the level of correction necessary to properly correct specific problem areas on this vehicle was intense and involved, the point of this article is to be open to learning and implementing new skills. The benefits of always being open to learning are simple and many– you will always be improving the quality of your work and making clients happy while improving your own skills. Had I not been open to learning from Jason Killmer at NXT, I would have never understood how to approach fixing dry spray and therefore I wouldn’t have been able to fully service my client.
That being said, I firmly believe that having an open mind and willingness to learn new information and skill sets will only prove to further your understanding and skills as a detailer. In the end this allow you to best interpret and services the many detailing needs of clients and their vehicles.
Once again, I owe a big thank you to one of the foremost authorities on wet sanding of automotive surfaces Mr. Jason Killmer of Jason Killmer of JKAutomotive Detailing. If you have interest to learn the art of wet sanding, please contact Jason as he offers private and group classes.


Jason is an absolute artist with sandpaper!
Great Article Greg
Great article and work, Greg!
Killmer is definitely the man for wet sanding questions! 🙂
Nice job Greg! This is certainly an area that I have been looking to gain more knowledge in.
I’ve been detailing most of life, just got into correction about a year ago. Never seen anything like it these products and polishes are amazing. When it comes to sanding just terrified scares me to death worried about messing something up I can fix. Really would love to learn it all help would be greatly appreciated . Another issue I have is how do you price the correction job
Been trying to remove the shadowy remnants of sticking applications any suggestions ?