
Proper Lighting Tips and Tricks for Polishing
by Ian MartinezWhen detailing, you need lots of light to make sure you can see all parts of the vehicle. However, when you are removing swirls it is not always the best option to flood the paint with light. Here are a few tips to help you get the best results.
Light Sources
Often times if you have too much light coming from multiple sources it can be difficult to really isolate the swirls to ensure they are fully removed, especially when the swirls are lighter or on a lighter colored vehicle.
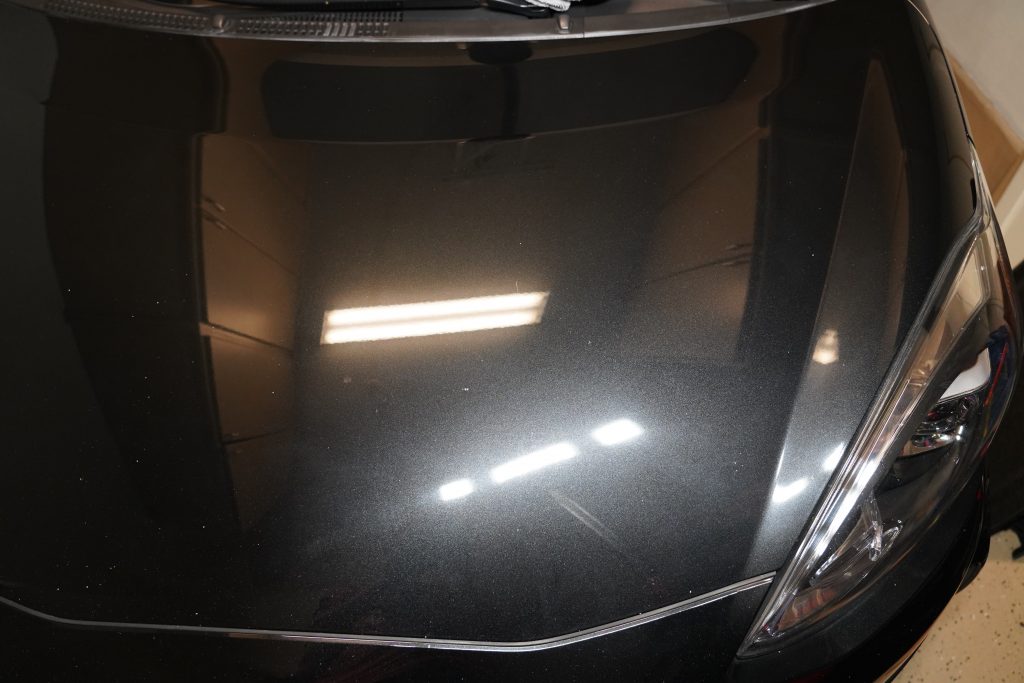
In this photo the paint has light coming from different angles, you can see how it just lights the whole vehicle rather than the imperfections.
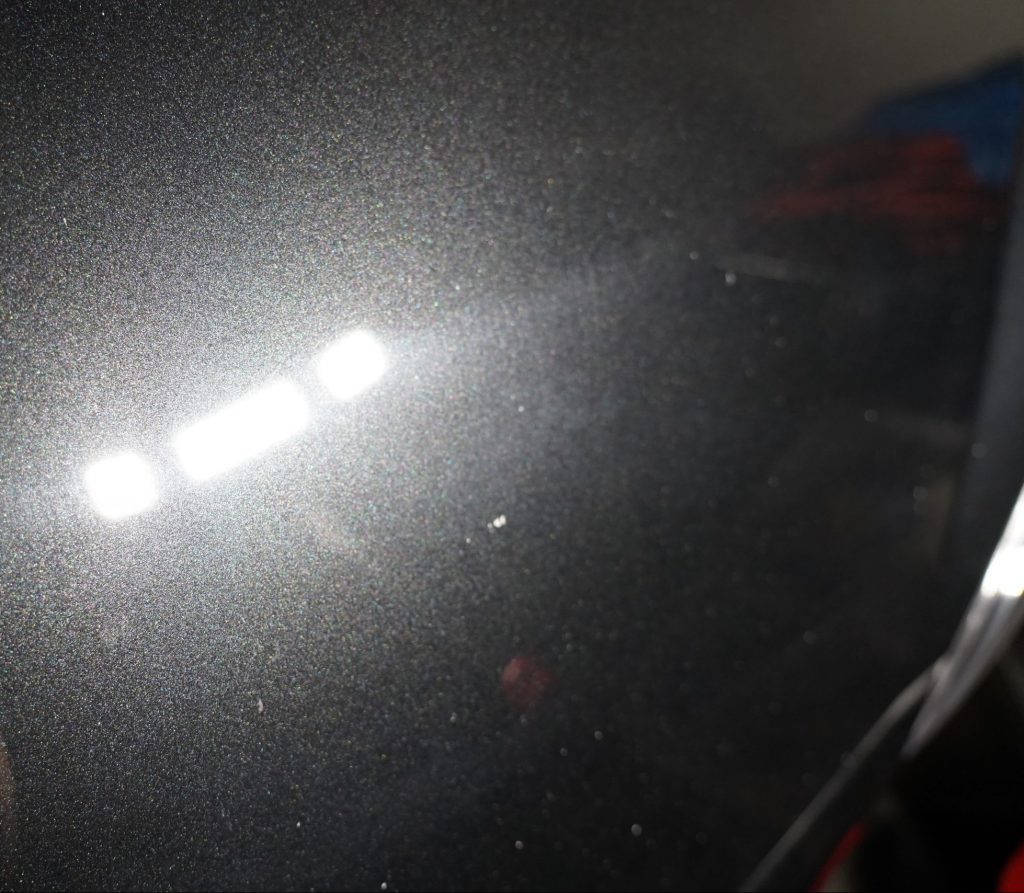
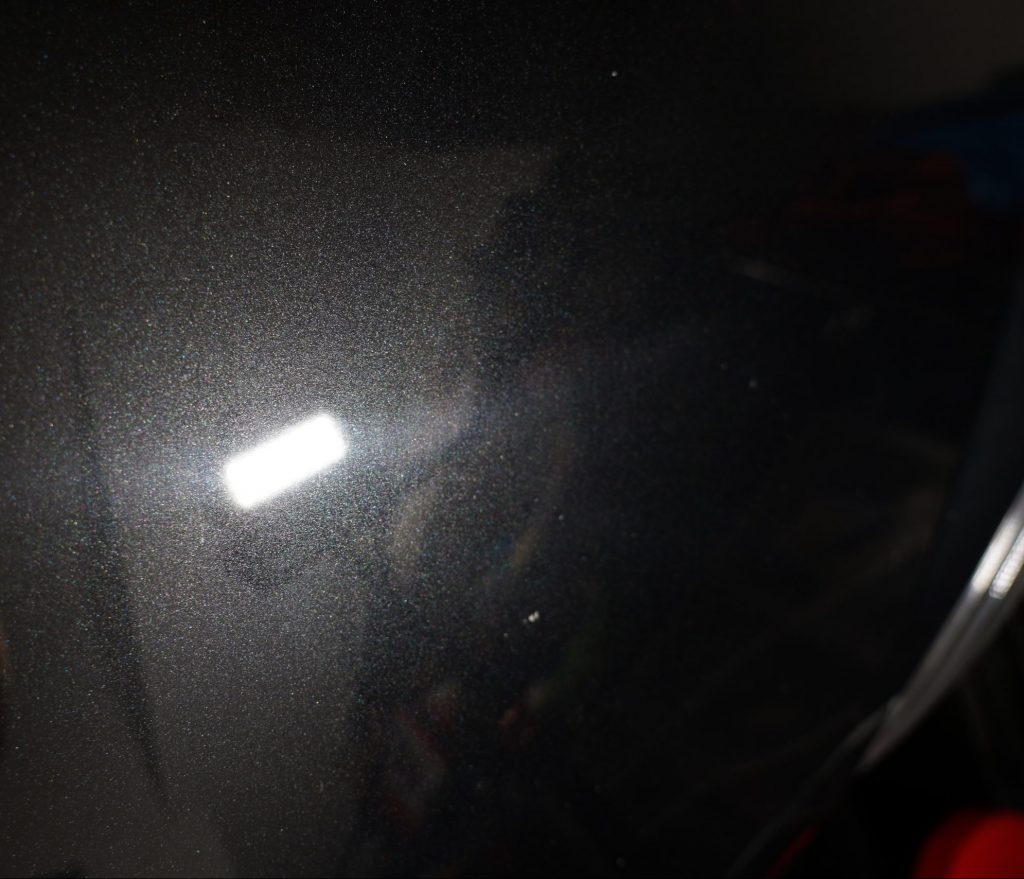
Here is the same area but only one light source.
Temperature
The color temperature of light is very important. if you are using multiple lights, you want to make sure they are the same color temperature so ensure you are seeing every panel evenly. You also want to make sure you are using the best color temperature for the vehicles color. On dark colors cars using something around 4100 Kelvin, this is pure white. However, when working on something like white, this will just wash out the paint and you will be unable to see clearly, often why white doesn’t show swirls as much. If you use something closer to 2700 kelvin it will be more on the yellow side and will allow you to see the imperfections better. The Scangrip line is excellent for this as it has adjustment ability on the unit itself.
Here an area with white light
Here is how it looks with a more yellow light, you can see how there is less detail in the flake from this light.
Brightness
You want to make sure the light source you do you is not too bright, often people just go for the most lumens they can.
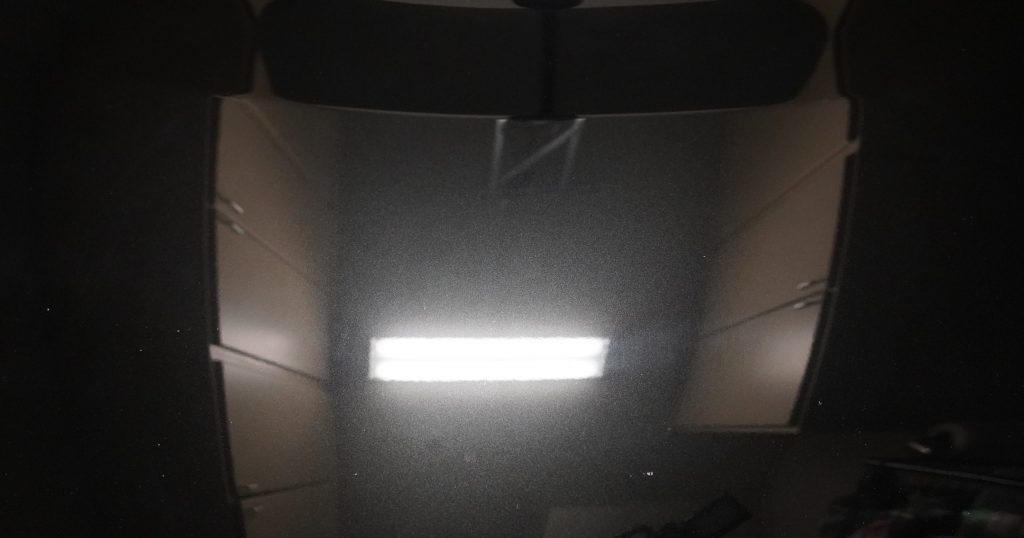
Here is with a ton of light
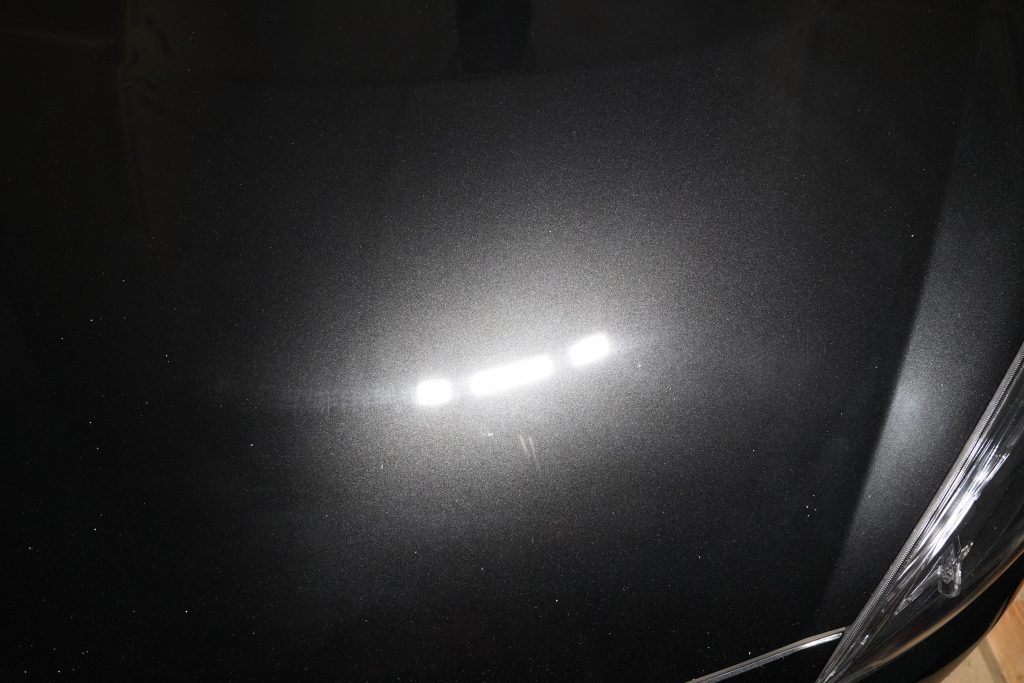
Here it is with a more ideal light output. It is not always about lumens or light strength, instead, finding a nice strength to highlight imperfections in the paint you are working on.
As you can see this is the ideal lighting for this vehicle as you can see the swirls to the right of the light. The lighting is very important and can make a huge difference on being able to see all of the imperfections you need to focus on but with a few simple tricks, you can greatly improve the results.


Incredibly informative! I learned something new. Ironically I have been studying up on color temperature at its signicance in content creation. These things give me a broader appreciation about the value of lighting.
It’s one of those things that doesn’t seem like a big deal until you really compare them and then you always notice it. Especially how good white light in a soft box can look for photos.