Detailing Photography: 3 Tips with an iPhone
by Ian MartinezTaking great pictures is an excellent way to showcase your work for existing and new clients. However, not everyone needs an expensive camera and with phone cameras getting so good nowadays, you can get great results with them. However, when trying to take close up shots to really capture swirls or paint flakes the lack of manual focus and easy exposure adjustment is where an iPhone will fall short.
So here are 3 tips to help you get the most out of your iPhone camera.
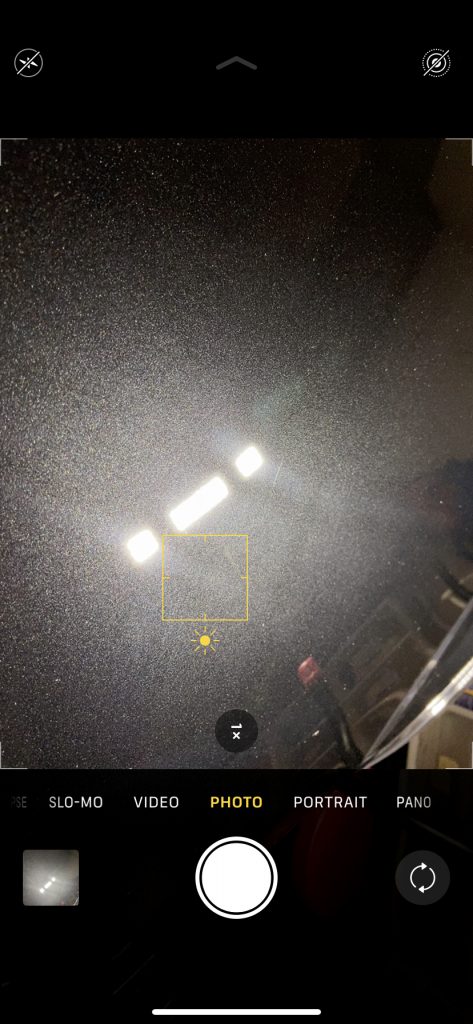
- 1 – Adjust exposure down to capture light swirls that it normally wouldn’t pick up.
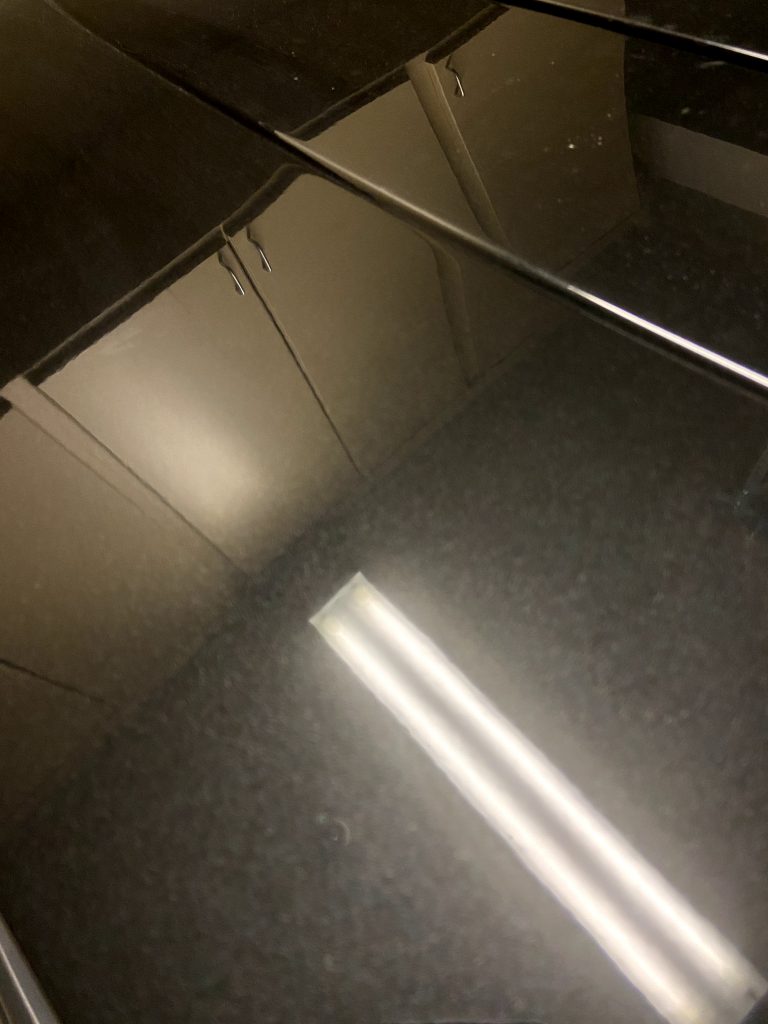
Here is how the photo normally looks, as you can see it is a little overblown with the exposure.
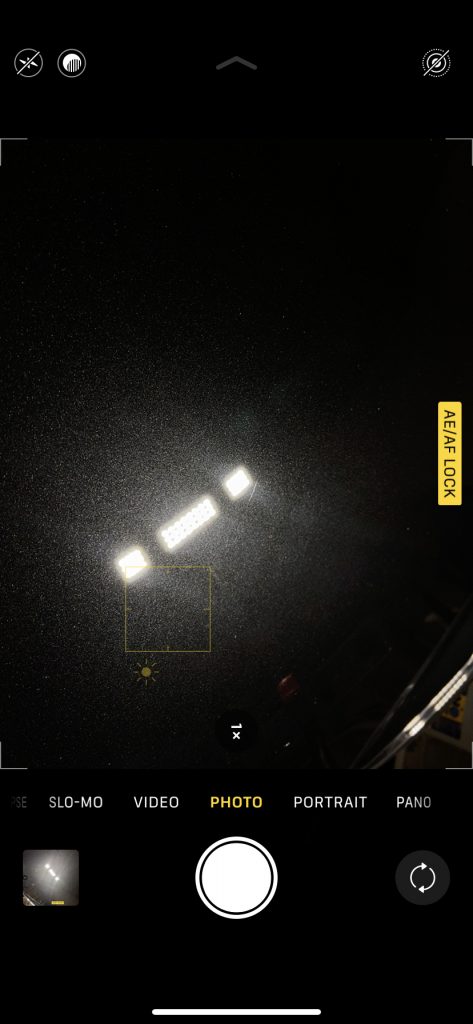
To fix this hold your finger on the spot you want to focus until the “AE/AF LOCK” pops up on the top of the screen. This locks the focus.
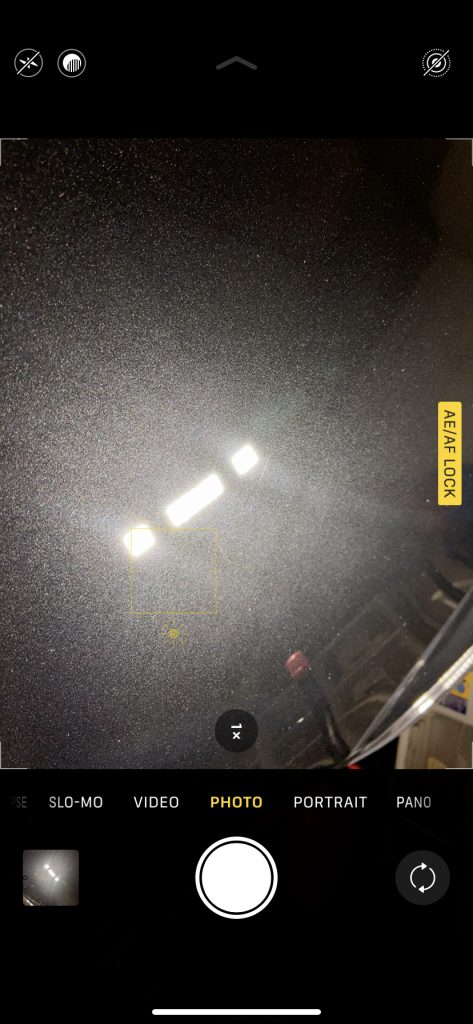
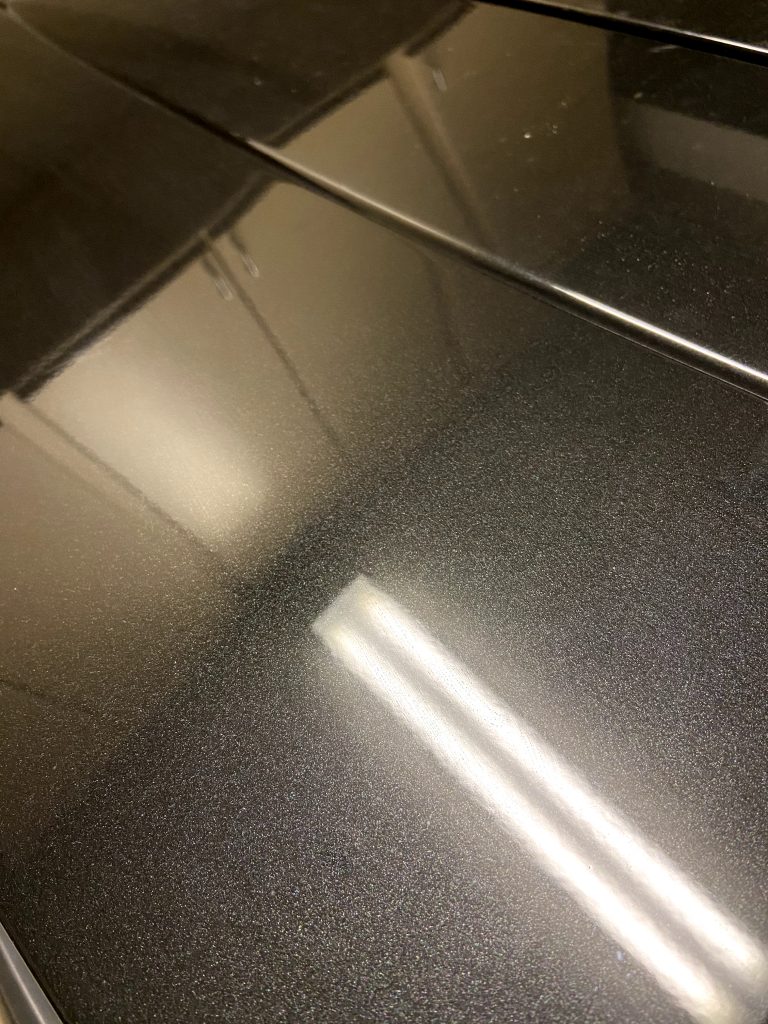
Next, hold your finger again and slide your finger down, you will see the sun icon go down as the exposure goes down, making the image darker. As you can see now the flake really pops and you can notice more of the swirls around the edges of the lights.
- 2 – Never use the flash. Also true in almost every other situation but when photograph paint the reflection of the flash is, one too harsh, but also take the photo out of focus as the camera was set to photograph before the flash and is unable to adjust in time.
See here is the photo taken with flash
Here is the same photo taken with a constant outside light source.

- 3 – Use your fingers to get proper focus. When taking photos of a reflective surface it is hard for the autofocus to distinguish if it needs to take a picture of the reflective surface or the image in the reflection. So you often just get blurry in-between image.
See here is the photo just taken with the standard autofocus.
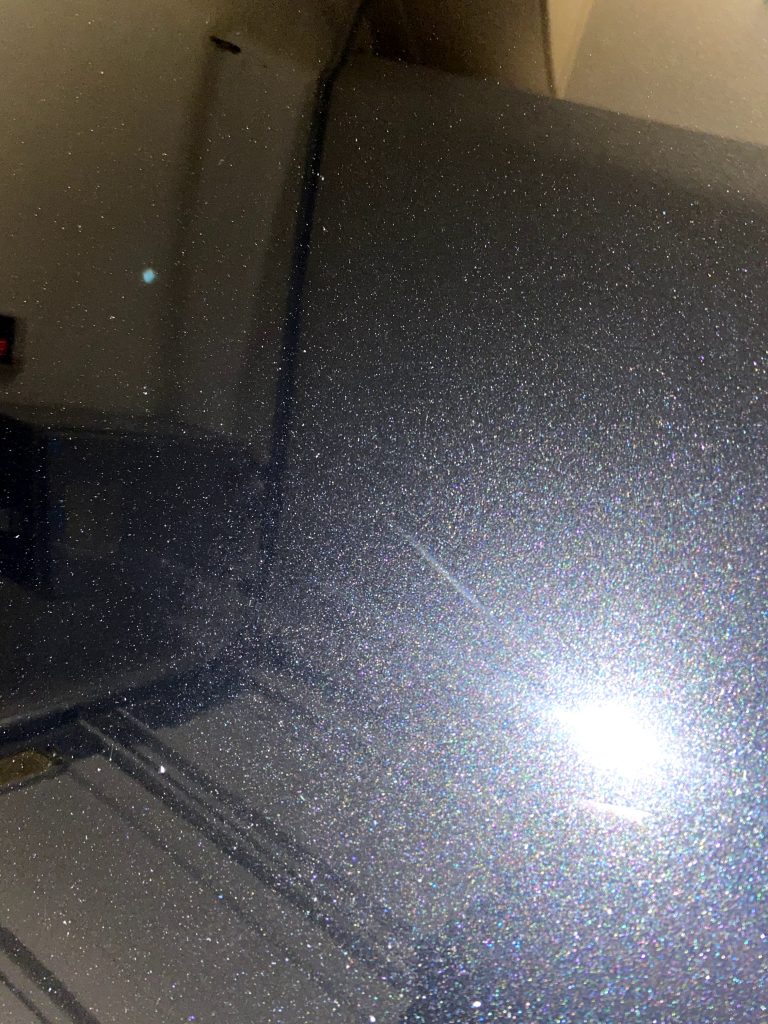
If you place your fingers on the surface and tap the screen where they are, you can hold to lock focus again as well, then remove your finger and take the picture.
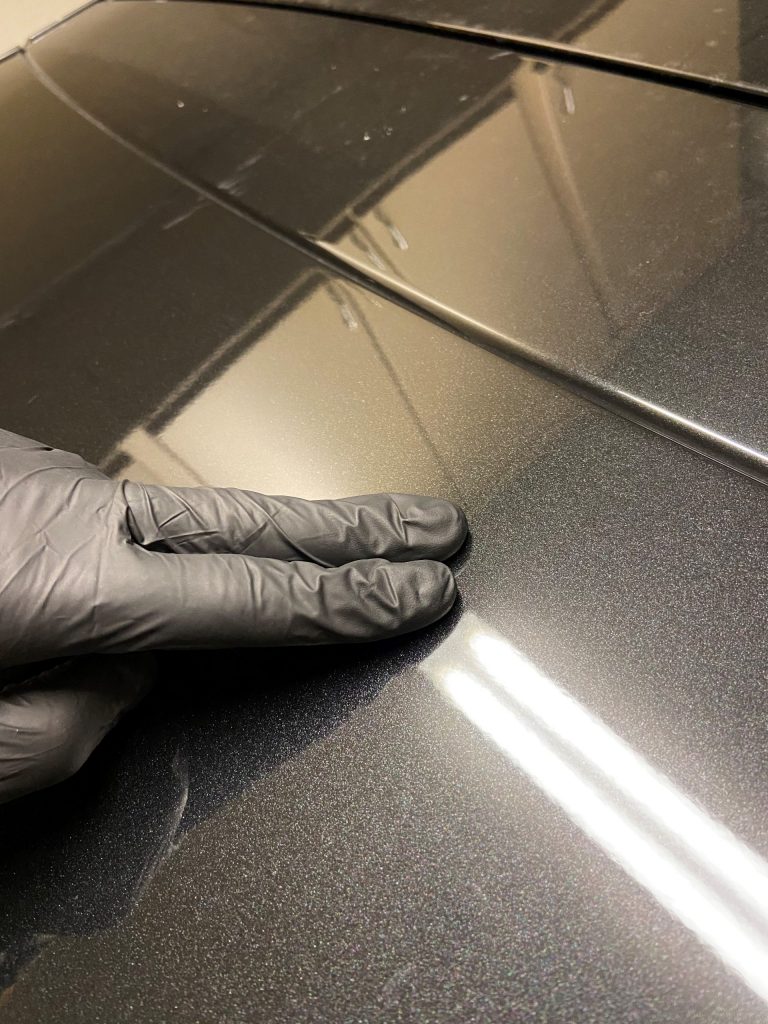
This will force the camera to focus on the reflective surface rather than the reflection itself and allow you to get a crisp, detailed photo.
With just a few adjustments you can get good, detailed photos with just the camera in your pocket.