Full Wet Sanding of 2005 Acura RL in Nighthawk Black Pearl to Reduce Orange Peel.
by Chad Raskovich***Warning, wet sanding with the intent to remove orange peel from a factory finish is not recommended!***
This particular Acura RL recently underwent $9500 in hail damage repair, which resulted in a complete repaint. From the factory these cars had an amazingly smooth finish, which is actually pretty rare with today’s orange peel infested cars. For those of you who may not know what I mean by orange peel, it is the term often used to describe the undesirable texture or appearance found on most vehicle paints, and in this case, it actually resembles the surface that of an orange.
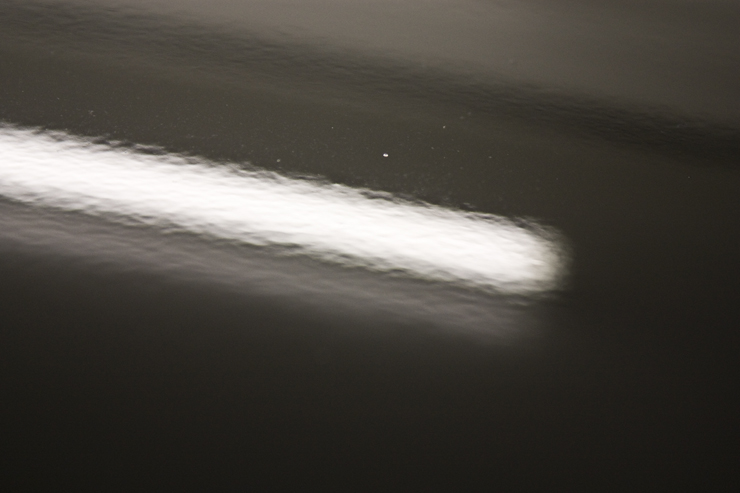
Since I know the owner of this Acura very well, I consulted with the body shop prior to having the work done on the car. I informed them that I would be wet sanding the finish smooth to achieve an orange peel free finish and I wanted to ensure that they applied enough material (clear coat) for me to do so.
Wet sanding can be done either by hand, which involves the use of a foam sanding block covered with sheets of various grit sand papers, or it can be done with a dual action sander equipped with a foam interface pad and various grit sanding disks. On this particular car I chose to use a DA sander as it is faster and the shape of the cars panels allowed for easy use of this tool.
My process for wet sanding consisted of 3 sanding steps. Normally I would start with a 1500 grit paper but the hardness of this particular finish required something much more aggressive. The reason being is that there is only about a 72 hour window when it is best to wet sand the finish of a newly painted vehicle. During this first 72hrs the paint is still fairly soft and is much easier to work with. After that point, the clear coat becomes very hard and is much more difficult to work with. It was actually over 4 weeks before the owner brought me the car, so as you can imagine, it was rock hard!
My wet sanding process was as follows:
- 3M P800 disks (initial leveling)
- 3M P1500 disks (removal of P800 scratches and further leveling)
- 3M P3000 Trizact disks (refining and removal of P1500 scratches for easy buff out)
Here are some more pictures showing how poor the finish looked prior to sanding.
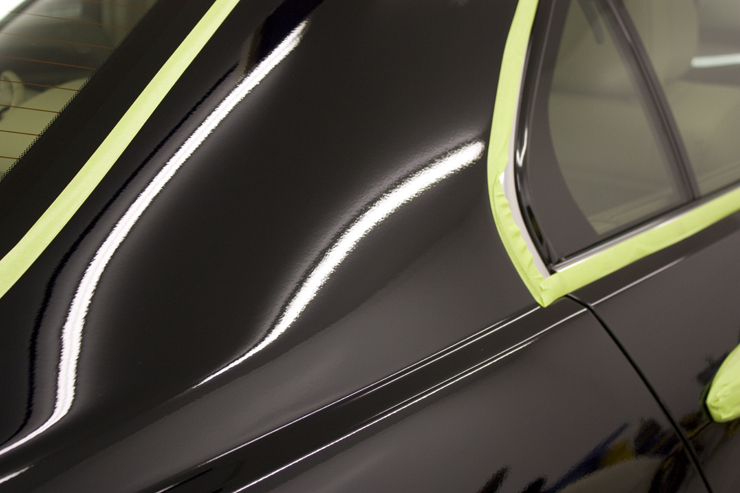
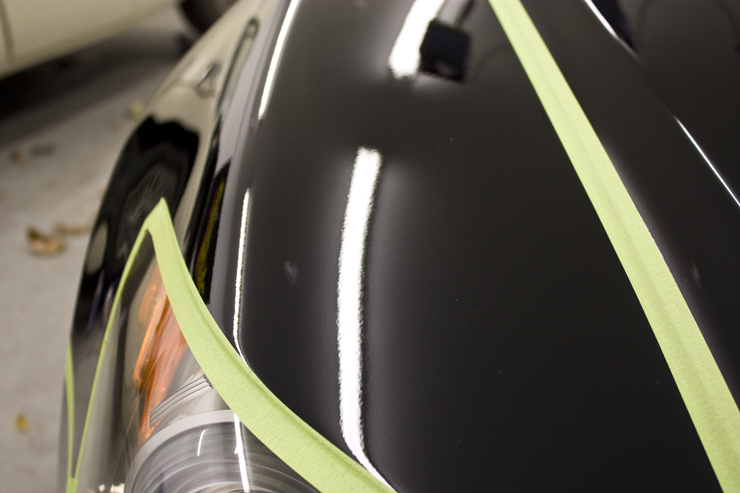
You will notice that on this particular vehicle I chose to tape off all panels of about 1/16 of an inch from the edge to avoid the risk of a strike through. Had this been a show car, where there is typically much more material applied, I would have sanded all the way to the edge.
For the final sanding step you should be using a 3000 or higher grit paper as this allows for a much easier and less aggressive removal of the sanding scratches. Once you’ve gone over the paint with the final sanding step, the finish should look dull like the below photo, not scratched.
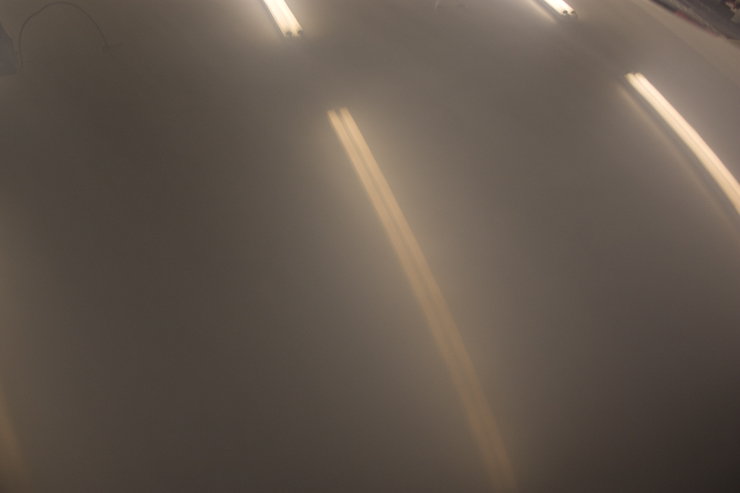
Some more pics of the sanded panels prior to polishing.
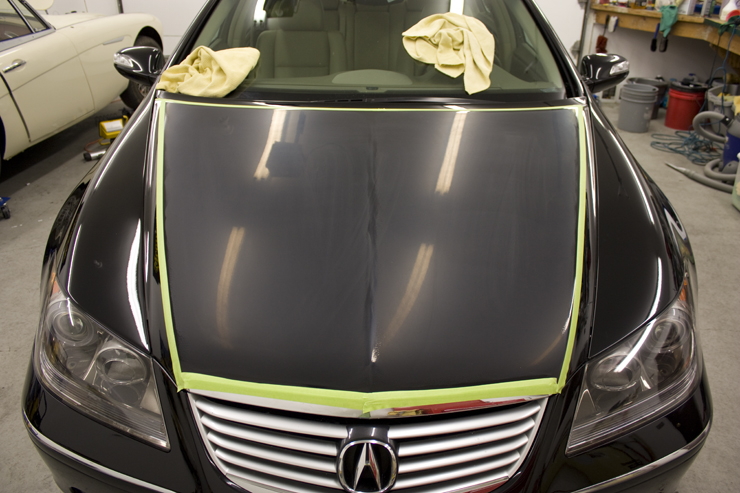
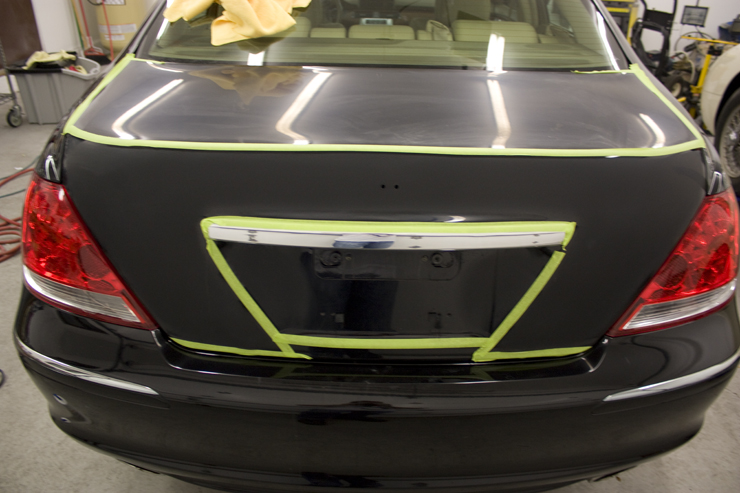

The removal of the sanding scratches on this car was no easy task either, and as with the sanding, it also required a much more aggressive process. What would normally only require 3-4 polishing steps actually ended up being 5 steps on this car.
My process for removal of the sanding scratches and required refining steps consisted of the following:
- 3M Perfect-it 3000 extra cut rubbing compound, applied via rotary polisher equipped with a Meguiars Solo heavy cutting wool pad. (Removed sanding marks)
- Meguiars M95 via rotary polisher equipped with a Meguiars Solo light cutting wool pad. (Removed heavy marring/swirling left behind by the 1st polishing step)
- Menzerna SIP via rotary polisher equipped with an orange LC pad. (Further refined paint to a near swirl free finish)
- Meguiars M205 via PC7424XP polisher equipped with a white LC pad. (Final finishing that removed any remaining buffer trails left behind from SIP. At this point the finish was LSP ready)
- Menzerna PO85RD via rotary polisher equipped with a black LC pad. (Jeweling of the finish, which is optional, but really is the icing on the cake!)
After all the polishing steps were complete, the car received a thorough wash to remove all the polishing oils and dust. The paint was then sealed using two coats of Blackfire Wet-Diamond.
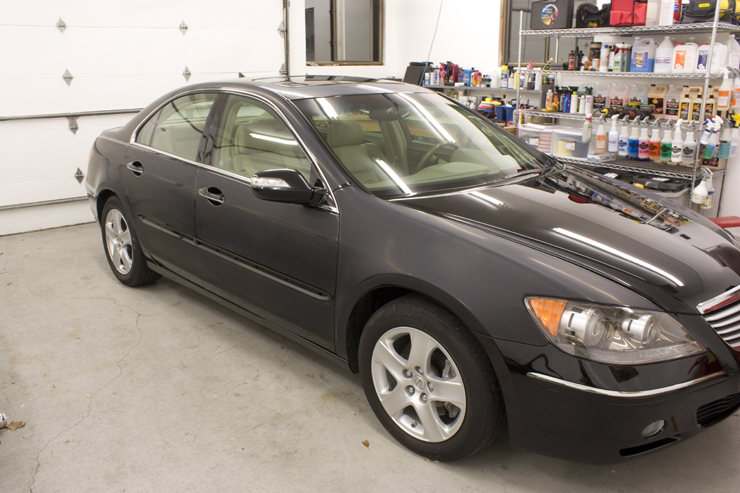
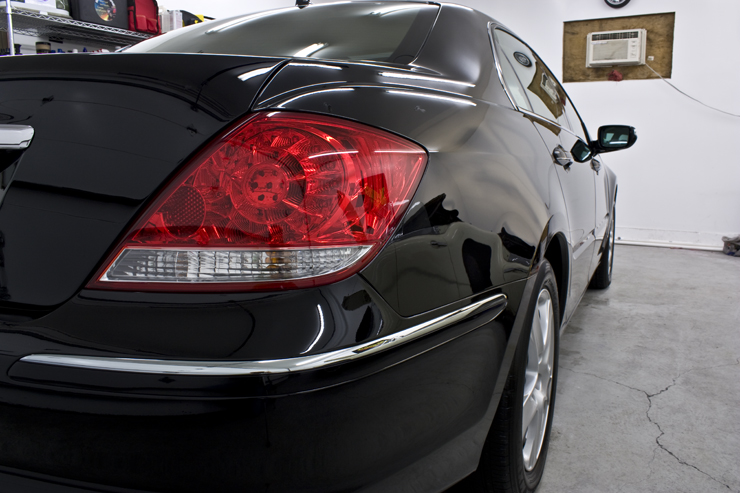
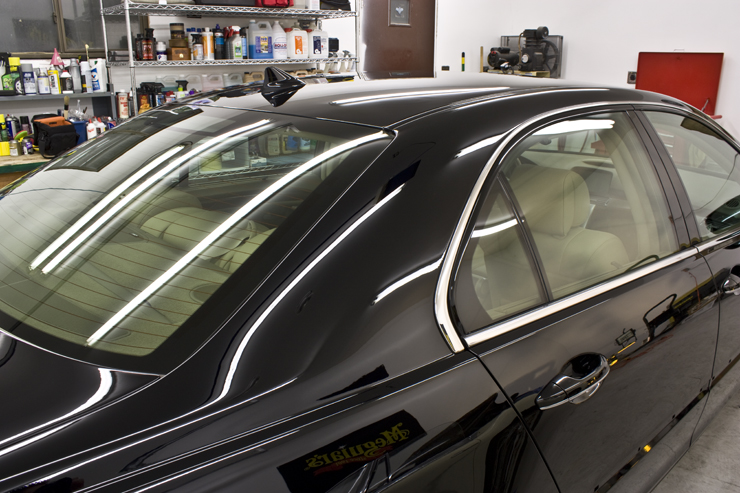
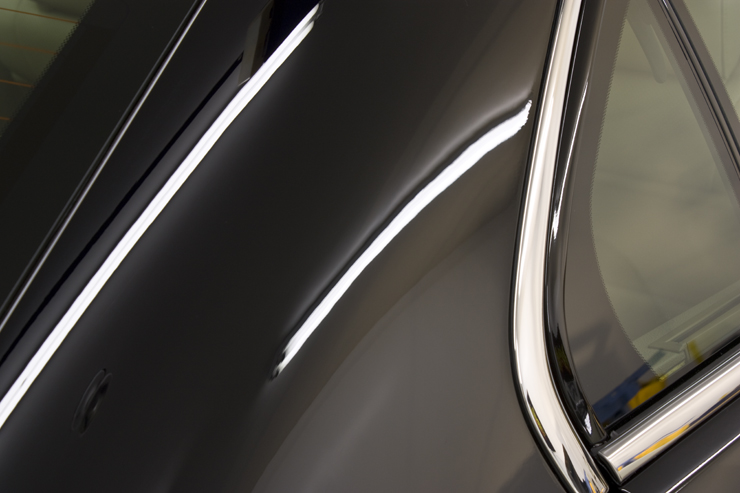
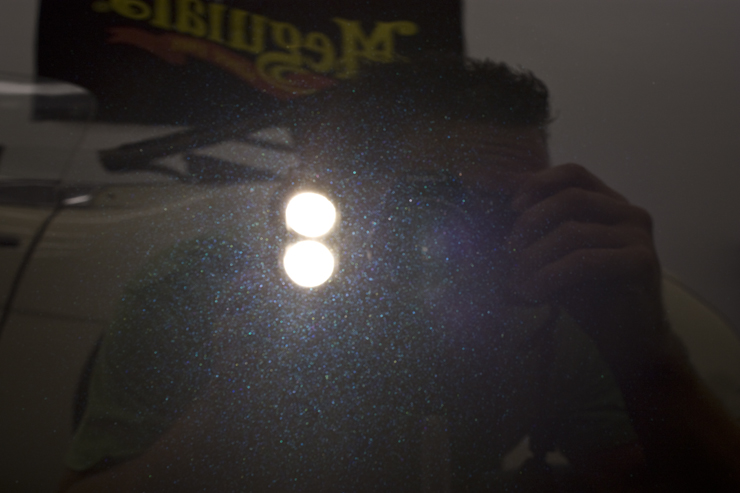
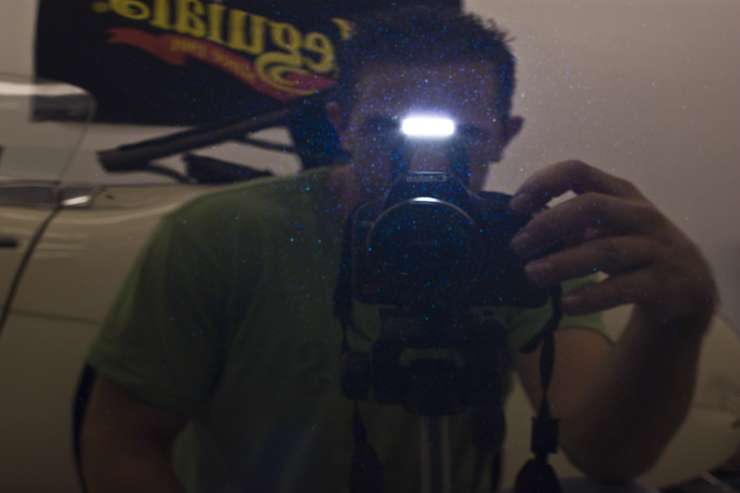
And now for some after pics!!!
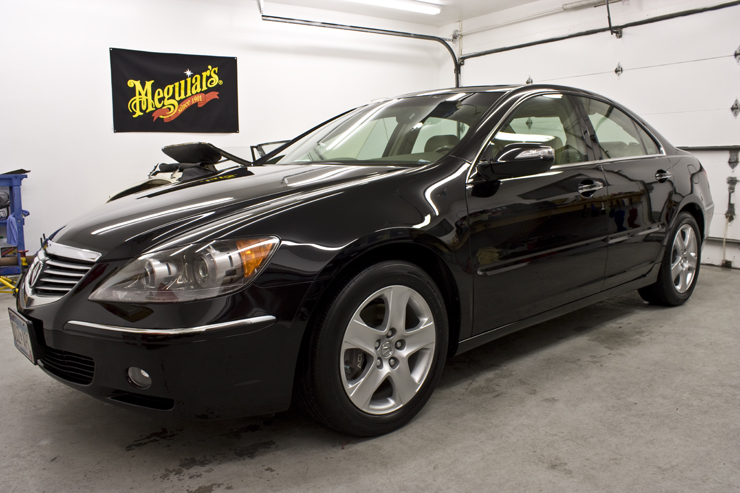
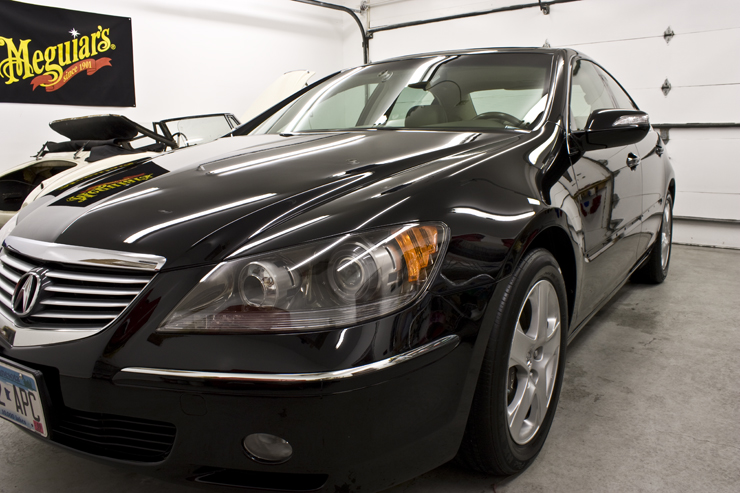
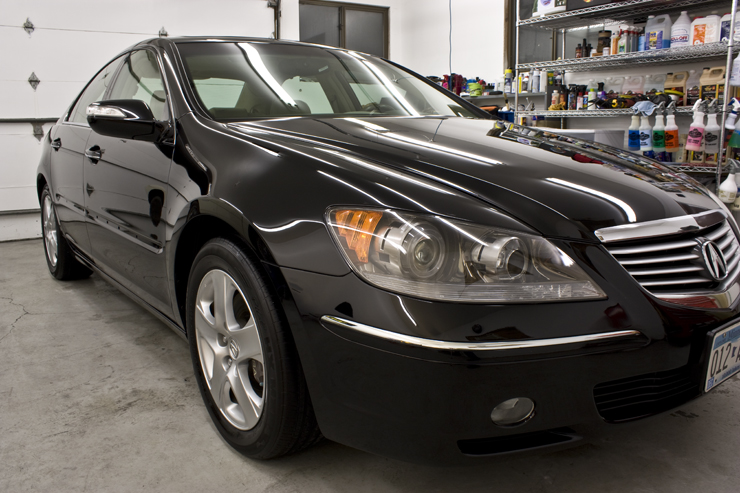
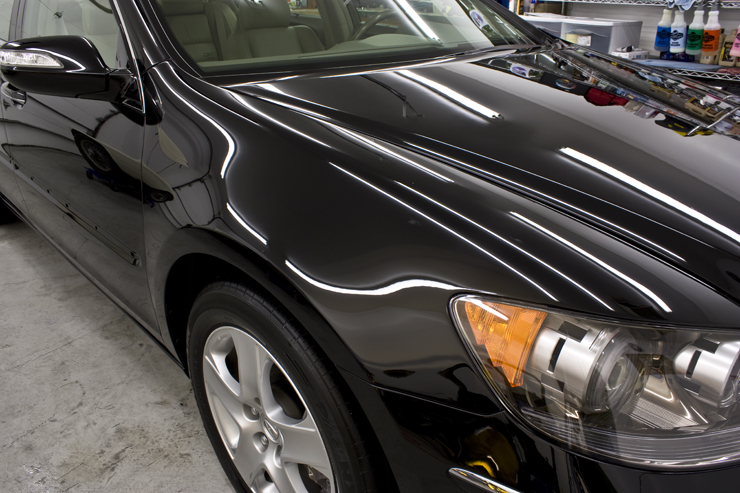
Acura RL after wet sanding and polishing


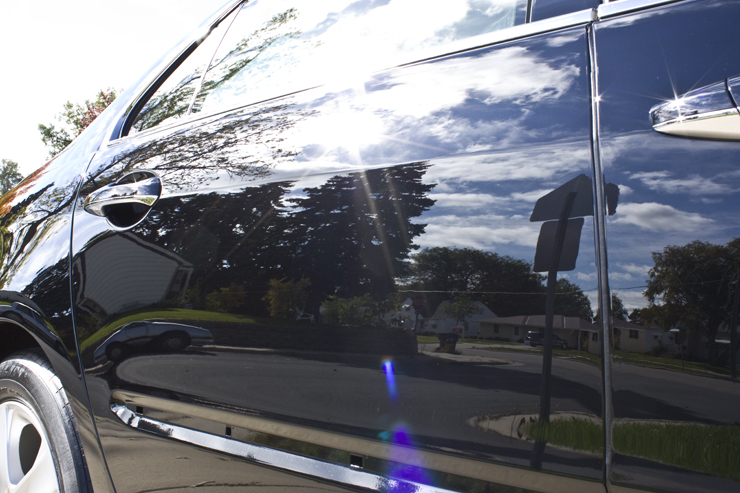
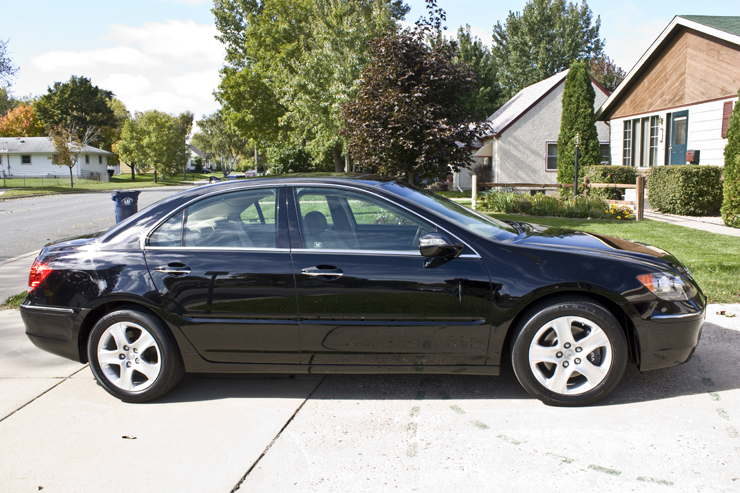


Thank you very much for taking the time to view my work. If you have any additional comments or questions, please submit them in the comment box below.


I just love it when someone takes the time to do it right! Well done and Kudos to your buddy for allowing the work to be done right.
Cheers,
simply stunning results. you make it seem so simple!
Wow. Tremendous writeup Rasky! Great to see this type of thing done right.
Thanks for all the great feedback guys! I’ll have some more wet sanding jobs on some classic cars in the near feature too so be sure to check back often.
Rasky
Awesome job. How long did that puppy take you?
Thanks Ron!
Since I wasn’t charging for the work on this job I didn’t keep track of my time. I actually worked on the car on and off over two weeks and if I had to guess I’d say I had close to 40hrs on it.
Take care,
Rasky
Nice! I think better than factory paint
Very nice work!
A full wet sand is something amazing to see and be a part of……especially when done correctly.
Great job! That orange look paint is increasingly most common paint look because of the new water-based paint. On a website, I saw a new Ferrari that has orange look on the paint.
Sweet workmanship! A lot of work to get the finish looking mirror perfect. My concern is how to keep the finish looking this great after all that hard work. There are so many products in the market these days it’s overwhelming.
Have you used/tested any of the Ultima brand products? They sell a Paint Prep Plus cleaner and a Paint Guard Plus sealant — which they claim is a wipe on and that’s it product that requires no buffing. This would be appealing to me as buffing after application of a wax/sealant is still slightly abrasive to the paint surface. Durability is what I desire in a sealant. If you have experience with the Ultima products I’d appreciate your feedback.
TIA
Hey Jorge,
Unfortunately I have not had the chance to try out any of the Ultima products yet…I have seen several people who are happy with them, but there are also many other products out there that work the same way. One is simply a chemical paint cleaner and the other is what’s known as a “wipe on walk away” sealant or wax.
Detailed Image carries several chemical paint cleaners. (P21S Paintwork Cleanser, Dodo Juice Lime Prime Pre-Wax Cleanser, Chemical Guys Vertua-Bond 408, Blackfire Gloss Enhancing Polish (with Glaze fillers)…)
Detailed Image also carries a few WOWA type sealants and waxes. (Optimum Opti-Seal, Blackfire Deep Gloss Spray with Polycharger, Chemical Guys Blitz Acrylic Spray Sealant, Optimum Car Wax…)
The key to keeping your car looking nice after the detailing is all about proper washing and drying though. If you follow Todd’s Article below you should be able to keep your car looking great for quite a long time.
https://www.detailedimage.com/Ask-a-Pro/how-to-properly-wash-and-dry-a-car/
Cheers,
Rasky
Is heavy orange peeling simply a function of the clear coat? If the base coat has orange peeling will a leveled clear coat remove the orange peel effect? Or would you need to level the base coat and then respray the clear coat?
[…] Many professionals will need 10+ hours of work to transform your car back to like-new condition (and in some cases nearly 40!). A Professional using a lot of high quality products may spend over $100 in product use alone on […]
Is removing carpet and sanding/varnishing wooden floorboards as much of a nightmare as everyone says?
Wow great job! Where do you work, I want you to rub my car?
Great job and write up. Do you have any experience in working with the Flex 3401 DA buffer? I see you used a rotary and PC. But more and more I’m reading articles of a shift to more or all work being done with a DA buffer applying tried techniques re process and pad/polish combinations. I have a Flex 3401 myself, never used a rotary, hence my question. …….Also someone asked about if the orange peel is in the basecoat. I’m imagining that if so, once the clear is levelled, it should not show up. A thought on that?
Hey Beric,
I owned a Flex 3401 for about 18 months before I sold it. It is a great tool and many people are very happy with theirs. That being said, the reverse rotation bothered me and it really didn’t offer me anything additional from my other tools and ended up collecting dust on the bench. If a person were to only buy one tool it would be a very good option. However, since I own multiple rotary and DA polishers I really have no need for the 3401. With the right pad, polish, and technique, I can get the same results as the 3401 on my traditional DA’s in the same amount of time on most all paints. For those few diamond hard paints where the traditional DA isn’t cutting it, I’ll simply reach for one of my big guns (rotary) and follow with the DA.
In my experience the base coat is usually pretty smooth (when properly sprayed) and any, or at least the majority of the orange peel resides in the clear coat (Keep in mind that most my painting knowledge comes from being around my fathers body shop). I have seen instances where base coats had a significant amount of orange peel though, and I would think, at least to some degree, that a trained eye could detect orange peel in the base coat, even if the clear coat were smooth. Kevin Brown actually gave me a good metaphor a couple years ago on this very subject. Imagine that your base coat was 5′ x 5′ box full of sand and leveled off. Then you took a garden rake to the sand and made lines all the way across to represent the high and low points of orange peel. Now imagine what would happen if you laid a perfectly flat sheet of glass over the top of that sand…or even better, what if you were able to fill it with crystal clear water without disturbing the sand. 😉
Hope this helps,
Rasky
Hello I read your article on the subject of orange peel and have a question! Why 800? 1000/1500/3000 is not enough? I ask because of the low prices being kept in the country! I saw articles starting with 1500! Thanks in advance!
Hi Jousef,
I actually explained in the article why I chose 800 to start with but it had to do with the hardness of the paint. I don’t carry 1000 grit DA discs and really only have sheets in that grit. Had it been sanded shortly after painting I likely could have gotten away with just using 1500/3000 but it was way too hard by the time I got to working on the vehicle. That being said, it’s not uncommon for wet sanders to start with 800 grit, and I’ve even seen some users go as low as 600. it all depends on the paint and what you’re trying to achieve. Actually, I read a post last week where a well know detailer/wet sander used P400 Abranet discs on a job! Not sure I have the jewels to go that low but to each their own. 😉
Hope this helps,
Rasky
I want to learn from you the removal of orange peel! I spoke with a professional who has a Google glossycar.com and is working another method 1500/300! So what’s your method more convenient or faster? It is not dangerous with 800? And at the end I recommend you so highly you detailer profesional!
Jousef,
You have to keep in mind that when it comes to wet sanding, or even polishing paint, that all paints are different and they will not all respond in the same way. What works on one car may not work on the next, which is why we always start with a test spot. On the Acura above I initially started with 1500 git but it was apparently after my test spot that 1500 would not be the best or most efficient method as it was taking far too long to level the paint. 800 grit would definitely be a bit too aggressive and risky on an OEM painted car, but this was a repaint and the painter was instructed to apply adequate clear to allow for wet sanding. When high end show cars are painted most painters will applying multiple coats of clear and it’s not uncommon for them to apply 4+ coats. The bright red ’52 Chevy pick-up I have posted on the blog here actually received 9 coats of clear when it was painted, and it was sanded to a mirror finish! When you have that much material to work with, starting off with 600-800 grit makes for quick leveling. When it comes to most jobs though, especially when working on OEM paint, starting with 1500 is usually more then sufficient. That being said, it really depends on the car, how much paint there is to work with, and what the customers expectations are. I don’t know Corky from Glosscar personally and I may not share his opinion on sanding OEM paint, but I am familiar with him and it’s safe to say he has far more wet sanding experience than I do.
if you’re looking to learn more, Jason Killmer of JKAutomotive Detailing is one of the best in the world when it comes to wet sanding and he also offers training classes. On top of that he also makes what are arguably the best sanding blocks available. If you’re serious about getting into wet sanding, especially high end work, he is the guy to talk to! 😉
Cheers,
Rasky
This work is amazing! how do you wet sand around the emblems? Do you remove them first? Also the plastic bumpers, is wet sanding them a no-no and how do you shine the bumpers? Will a 98 Dodge Intrepid be a difficult car to wet sand?
I was wondering if you could recommend any good detailing shops in the Philadelphia area. Thanks.
This looks great! I’m educating myself about wet sanding, because the VW dealer messed up my new car by simonizing it. There were so many scracthes it was unbelievable. They are not in the process of trying to “fix it” as per the Connecticut New Car Lemon laws. However, it was “fixed” in a 4 day period and I doubt they took the time to do it right and I’m worried about clear coat failure. I haven’t’ seen the car yet, because it’s not ready. I would also like to mention I’m a woman so all these terms are new for me. I personally think they should give me a new car, but they said they had to try to make it right first. Can you imagine, buying a brand new car, having it for 72 hours then having to return it, because there are deep scratches all over it. I think the paint has been compromised on two occasions now. The first being their horrible job at Simonizing and the second is have an outside vender wet sand it. I’ve requested to talk to the vendor to ask more questions, because I know there’s a right way and a way that may look right for awhile.
If any of you could give me some advice, especially in asking questions to the vendor who wet sanded it and for VW dealer I would appreciate it. CT lemon laws states they have 4 chances to make it right and to fix the problem. My concern is it may looked fixed, but what happens to the paint 5-6 years from now, because someone didn’t do it as well as Chad.
[…] Many professionals will need 10+ hours of work to transform your car back to like-new condition (and in some cases nearly 40!). A Professional using a lot of high quality products may spend over $100 in product use alone on […]
i visited this same exact exact page maybe 2 times in the last 2 years. i dont have any photos but i got a passat 2013. im pretty sure u guys all seen that car before. well i was really unsatisfied with the look from factory. well u already guessed it. i been using rubbing compound by turtle wax. going on 2 years by hand doing this. i got a job but i make time for this because it is important in fact. so to make the paint look perfect u cant just compound it. this is actually complicated but if u know wut u gota do then u can do it and thats as easy as it gets. i use nu finish after compounding. nu finish still doesnt make the paint look perfect. so i use ultimate polish. and still the ultimate polish doesnt make the paint look perfect. so i bought meguiars cleaner wax and ill do a test spot as soon as i can. thats 4 damn steps just to get the perfect thing. if none of that works for me when i do it, ill have to go back to nu finish again . then do ultimate polish again. then do the cleaner wax again. sometimes u have to guess or figure out where u need to do more work and go back to where u need to go back to just to get the car looking perfect. this is all a lesson. i sound like a genius but no. when i started off 2 years ago i was clueless. since i had the money i figure ill do it my self. since i know for a fact im not letting anybody else touch my car i figured ill do it. thats the end of the story. this all done by hand. you guys are probably wondering how i do it by hand. well obviously i dont use the same towels or the same materials. u all know a rough towel by the touch of ur hand does damage and u know a towel of a really soft feeling by the touch does the opposite. and im not into using machines. i have so much room for errors that doing everything by hand just makes everything easy.