Paint Chip Touch Up with #ScratchesHappen
by Reece @ DIPaint chips are normal and oftentimes an unavoidable part of car ownership, but a lot can be done to fix, improve or even prevent them from happening. To help prevent, I always recommend protecting your paintwork using a good wax, sealant, coating, and/or PPF or vinyl wrap. Each option offers a different level of durability in the protection it provides and while PPF or vinyl wrap may be the only option to really combat paint chips efficiently, waxes, sealants, and coatings can help stop minor chips from happening. They can even reduce the severity of the damage when that pebble clips your painted surfaces, so there are many different options for whatever your application comfort level or budget.
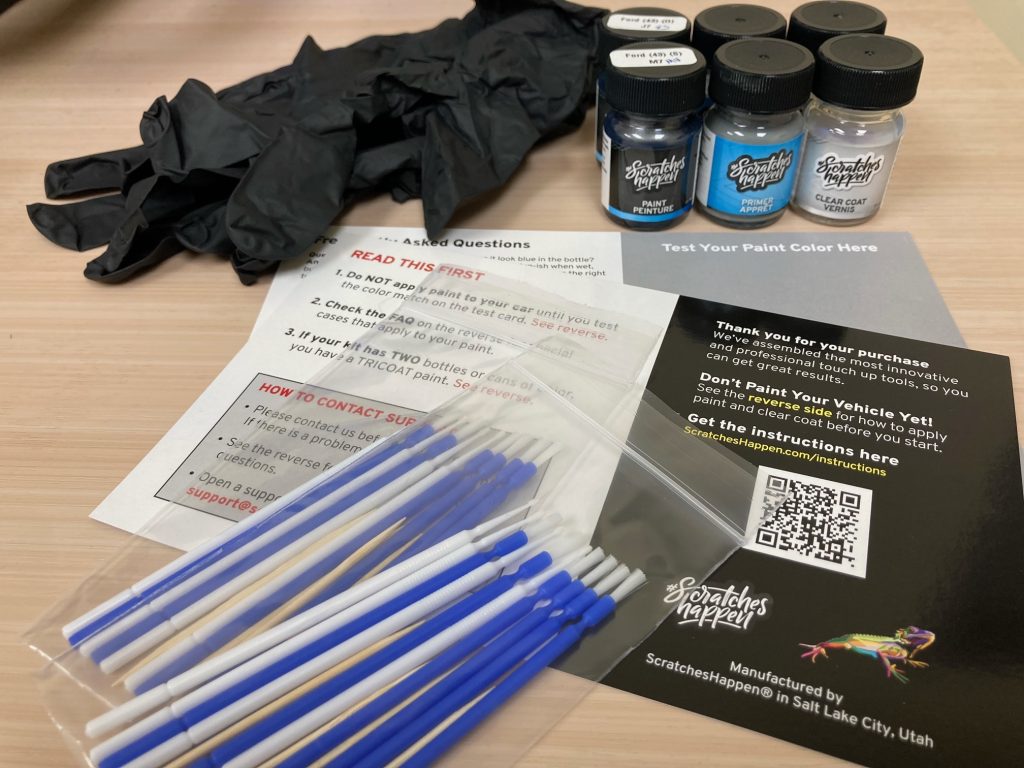
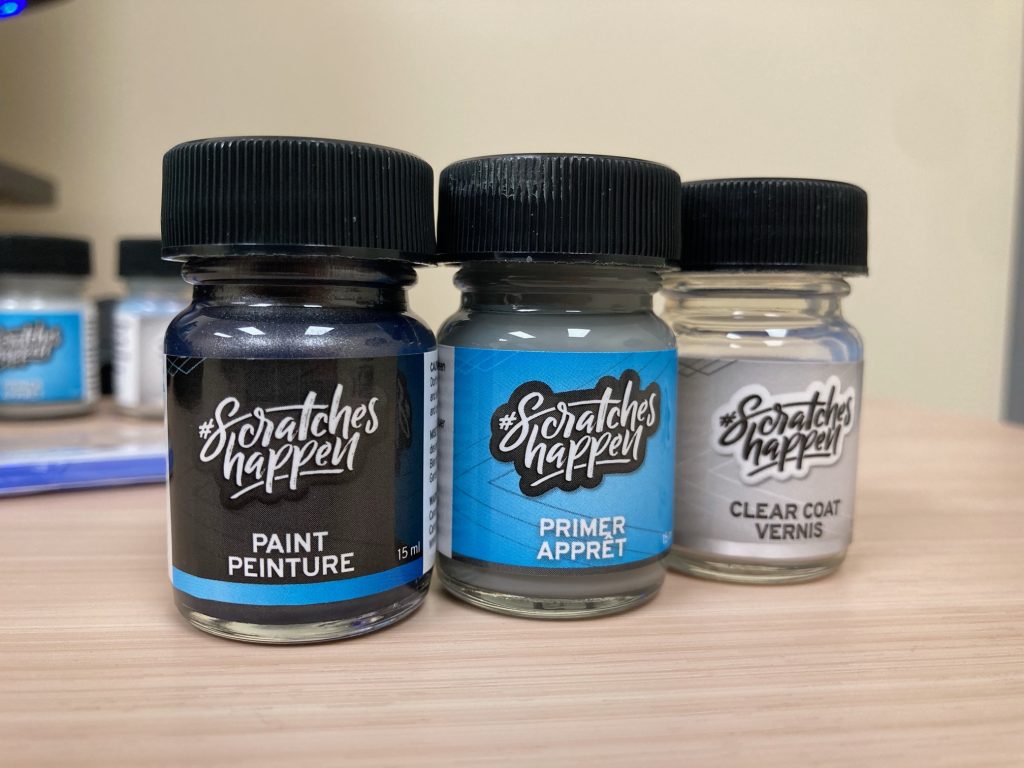
My personal vehicle does not have any PPF or wrap on it, meaning I did have a chip happen. I did some research on different paint chip or touch up paint brands and I landed on using #ScratchesHappen. They are based in Salt Lake City Utah and custom mix all paints within a 100% solar-powered factory to match original factory colors. With their color match guarantee it greatly reduces any risk involved, but just note that you will have to test the color on an included card before application to be safe. They have multiple different options of bottled and aerosol paint types, each with different kits (i.e. Essential, Preferred, Complete) that come with either a primer or more applicators, towels, etc. I picked up the Preferred kit, which came with bottles of primer, paint, and clearcoat, along with some gloves and applicator brushes.
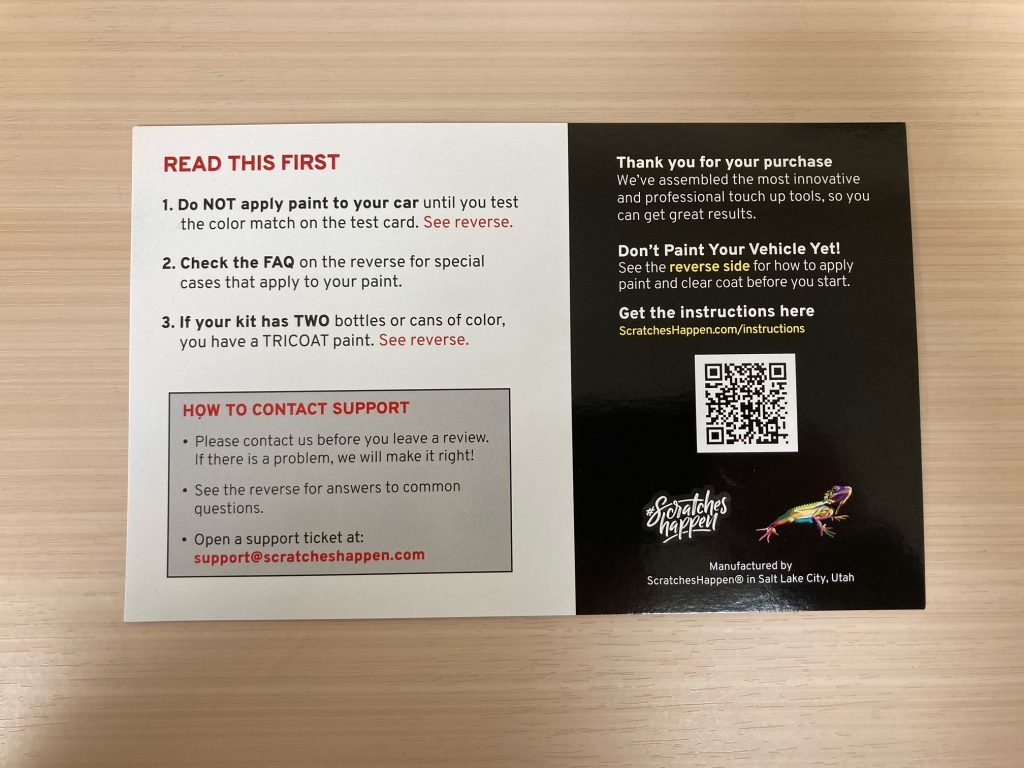
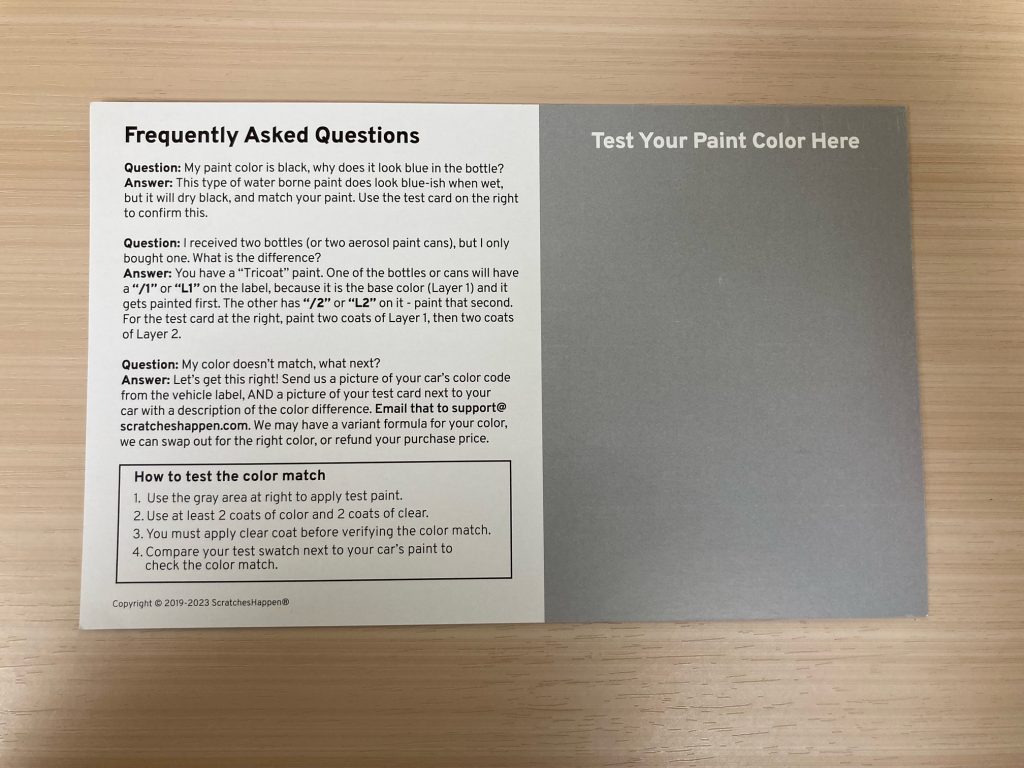
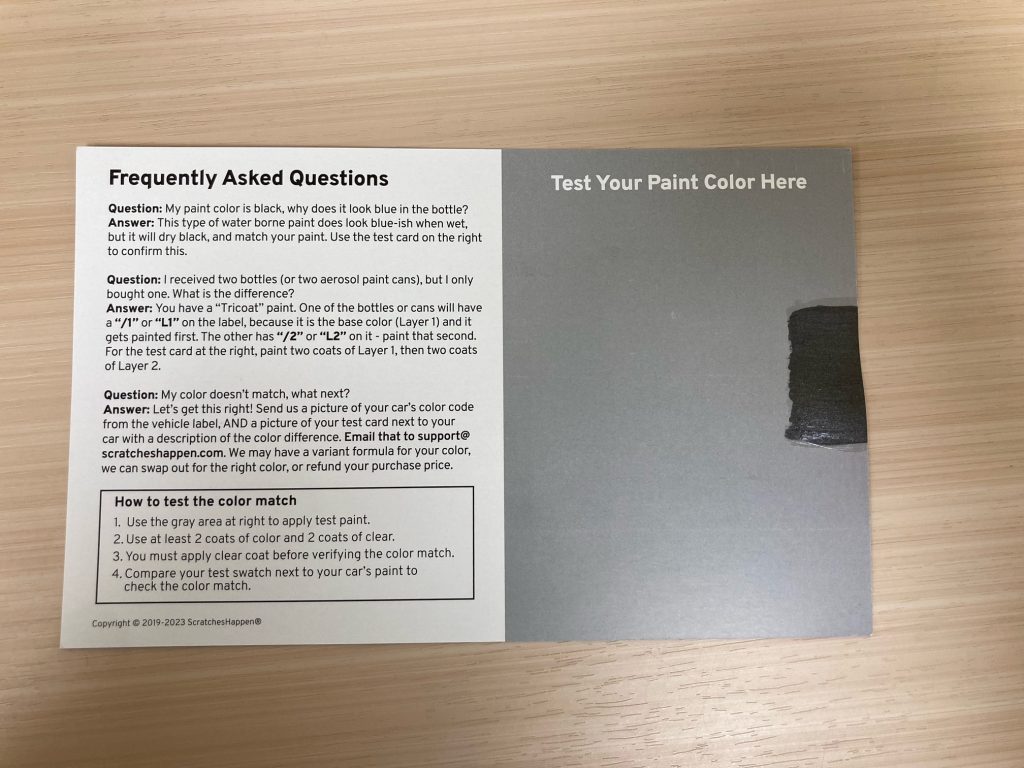
Before we head to the vehicle, the below card is included and the grey area on the back mimics a primer base. What #ScratchesHappen recommends is applying two coats of paint topped with two coats of clear on this card. Let this dry and we can color match with our vehicle. If the paint does not match, #ScratchesHappen will help us get the paint right. All you would need to do is take a photo of the vehicles color code from the vehicle label and a photo of the card next to the chip, email them directly and their experts might have a variant formula for your color. If not, they will refund you for your purchase price.
I grabbed one of the larger included application brushes and applied two coats of the paint, topped with two coats of the clear coat. Once dried, below is what the card looks like.
Now we can check it next to the chip on the vehicle!
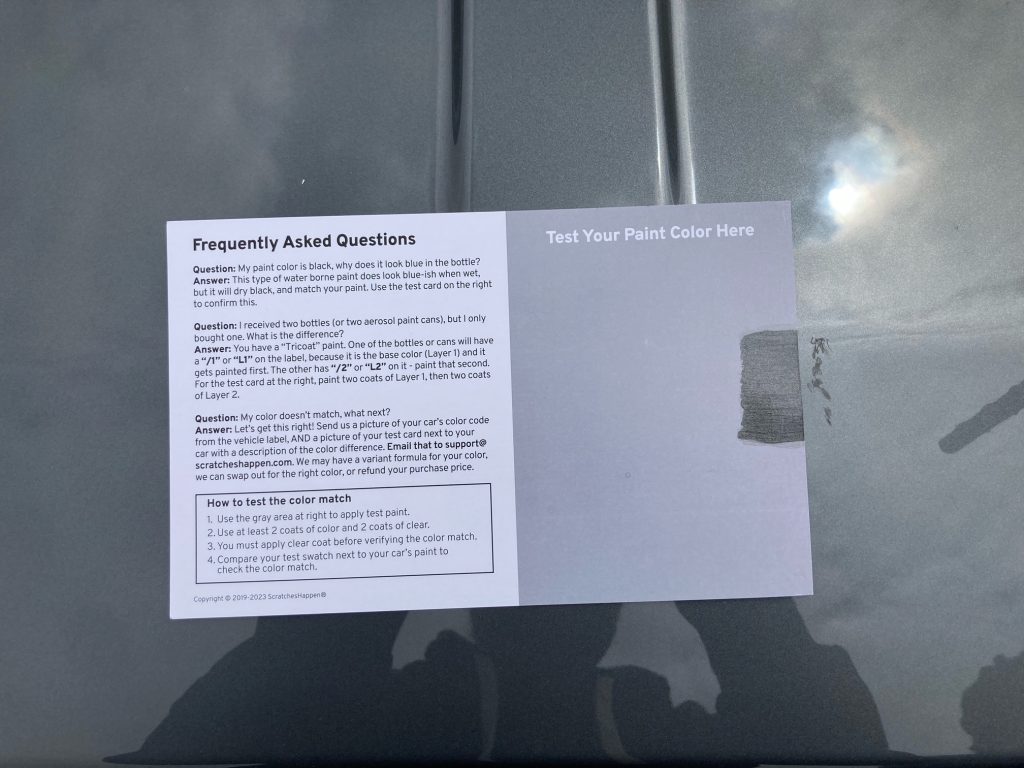
The paint color looked close to me, but I am not sure I would say it is exact. It is hard to tell from paint on a card to the painted surface of the vehicle, but with this small chip on the roof of the vehicle, I am fine if it is 90% of the way there as I want to simply fill it in and keep it protected. For the chip, below are the steps #ScratchesHappen recommends.
- Primer: 1-3 coats with 5-10 minutes to dry between each coat
- Wait 30 minutes
- Paint: 2-3 coats with 5-10 minutes to dry between each coat
- Polish to level
- Wait 30 minutes
- Clear: 2 coats with 5-10 minutes to dry between each coat
- Final polish
- Done!
Now check out the photos along the way!

After I applied the primer.
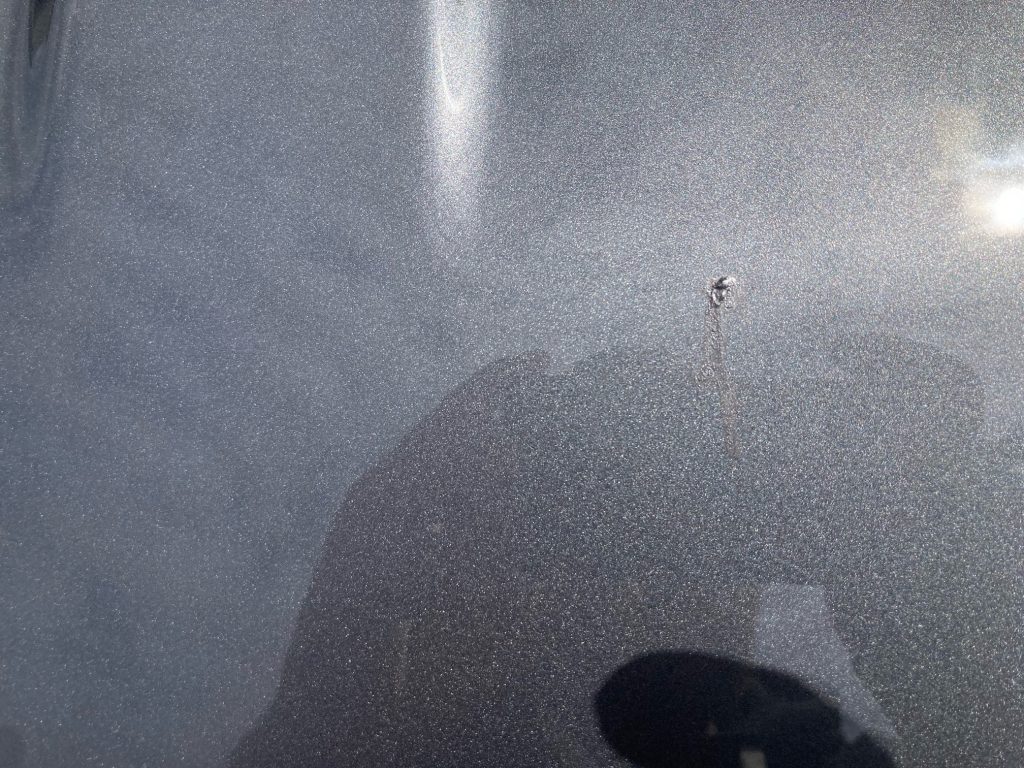
After I applied the paint.
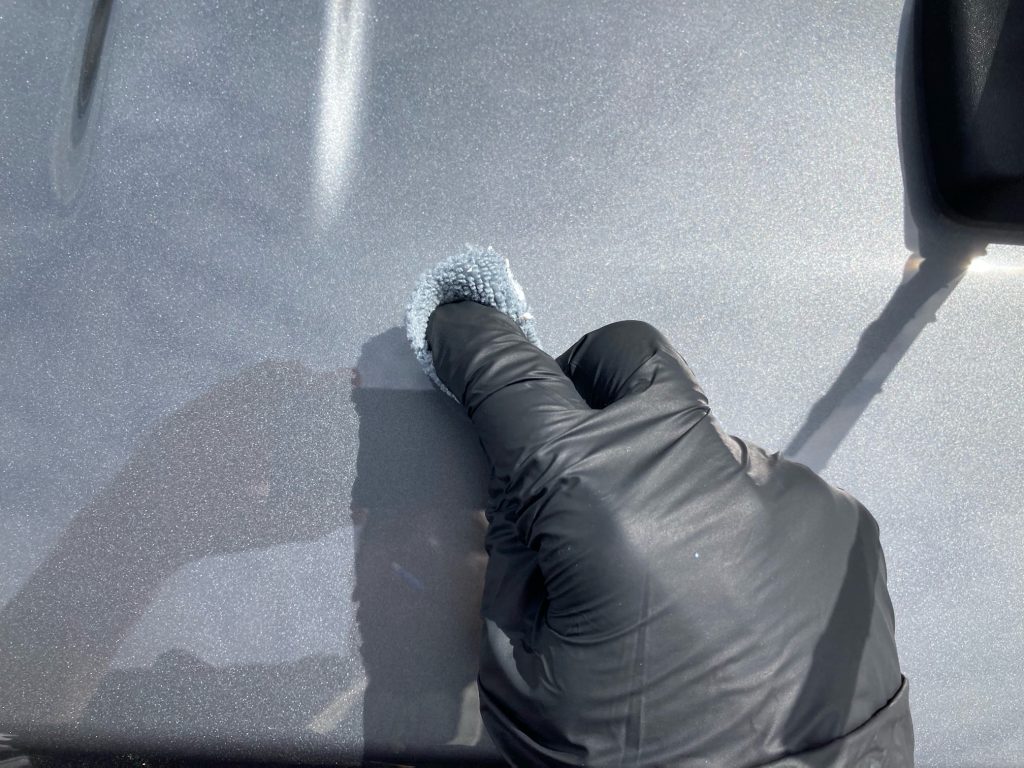
After waiting, I applied the clear coat and by hand, polished the spot to level and finish up.
The finished results! I was a little heavy on the clear coat application and you can see it is slightly raised from the surface. I will have to polish this down a bit and reapply, but overall I am happy with the results and the color match itself.


Very interesting! Did you polish with a microfiber cloth?
I’ve used Dr Colorchip for years with very good outcomes, this looks much more time consuming. How long did it take you to do one chip? Most cats have more than one chip. My hands are not too steady at this stage of my life (weren’t too steady to begging with). Dr Colorchip is very forgiving when you make a mistake. This stuff looks like a body shop option.
With the waiting time between each step (paint/primer/clear) I would say it took around an hour and a half. Most of that time was letting layers set, so I took care of a few other things (i.e. dash wipedown) in between. If there are multiple chips I could see getting a routine down to take care of all of them at once, but otherwise there might be faster and easier paint chip options on the market.
Any tips for prepping small chips for touch up that are showing signs of initial corrosion? I would think the corrosion should be neutralized before the touch up process. Thanks!