
Product Review: 22ple VS1 Final Coat (Part 1)
by Ivan Rajic22ple Paint Protection Coatings have been around for a while now and were always well received by both the professionals and DIY enthusiasts around the country. Reason being, they provide great looks, durability and are extremely easy to use compared to some coatings on the market. The various sizes of each product allow individuals to purchase for single applications or in bulk, when applying to multiple vehicles. We at LUSTR have been using 22ple for well over two years now and it’s still one of our favorite coatings to use. It can be applied both in colder and hotter climates and when there is an issue, it’s easily resolved with reapplication and a quick wipedown. The paint always looks glass-like with a ridiculous amount of shine.
So what’s my point? Well, the guys over at 22ple have decided to make one of the best products even better. They did so by formulating a new product, which can be used to either top the paint coating or on its own for great shine and durability. This product is VS1 Final Coat and one I’ve had the pleasure to use for the past few weeks. I started using it with absolutely no instructions, so I got a chance to really experiment with it in many ways. Below are many photos showing my experimentation and the results that came from it.
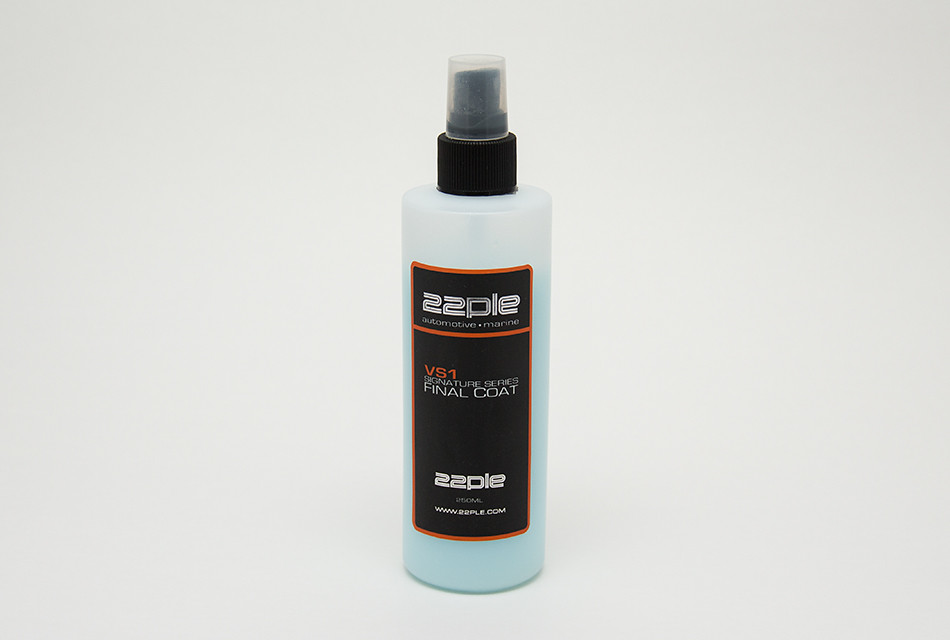
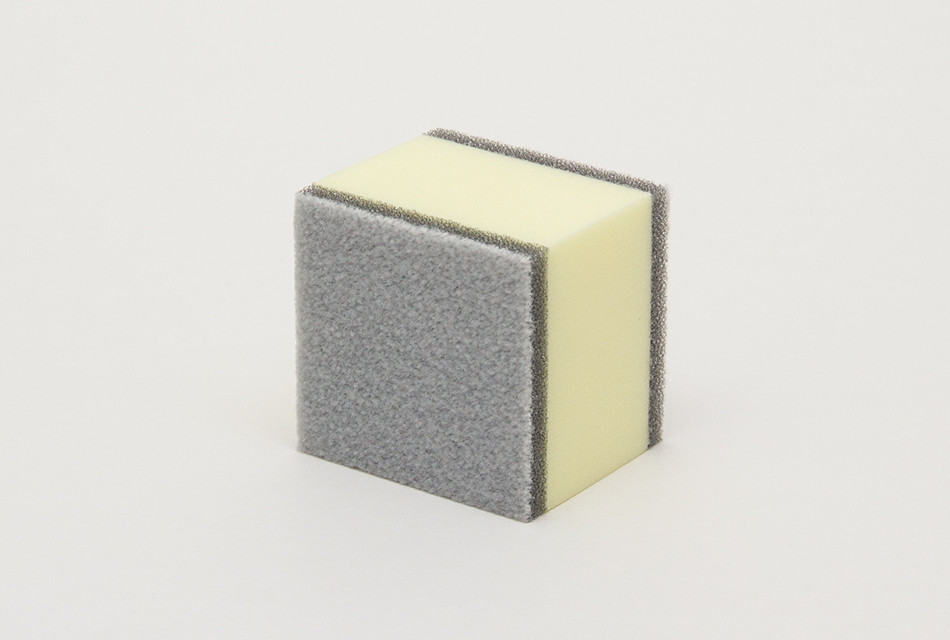
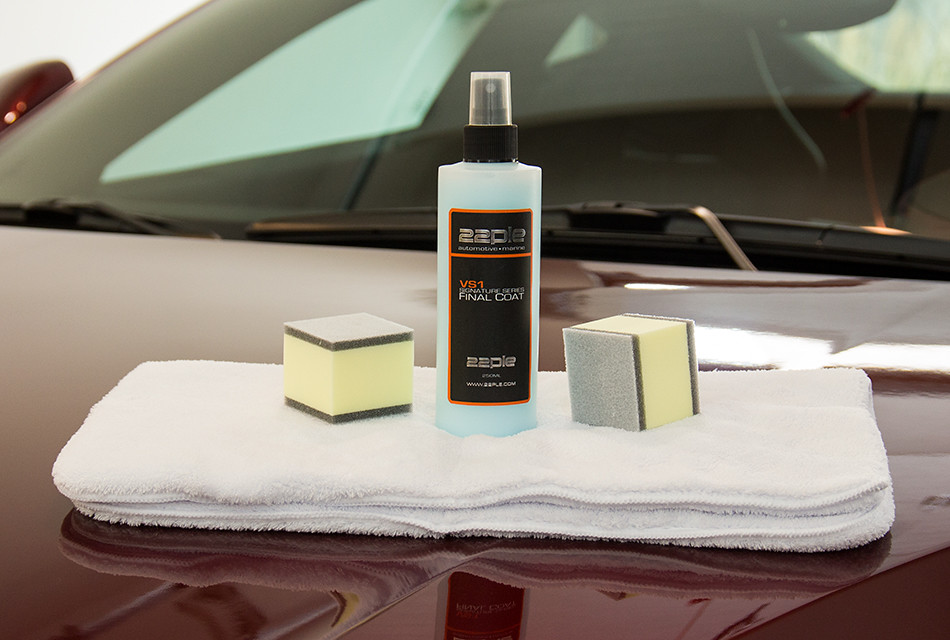
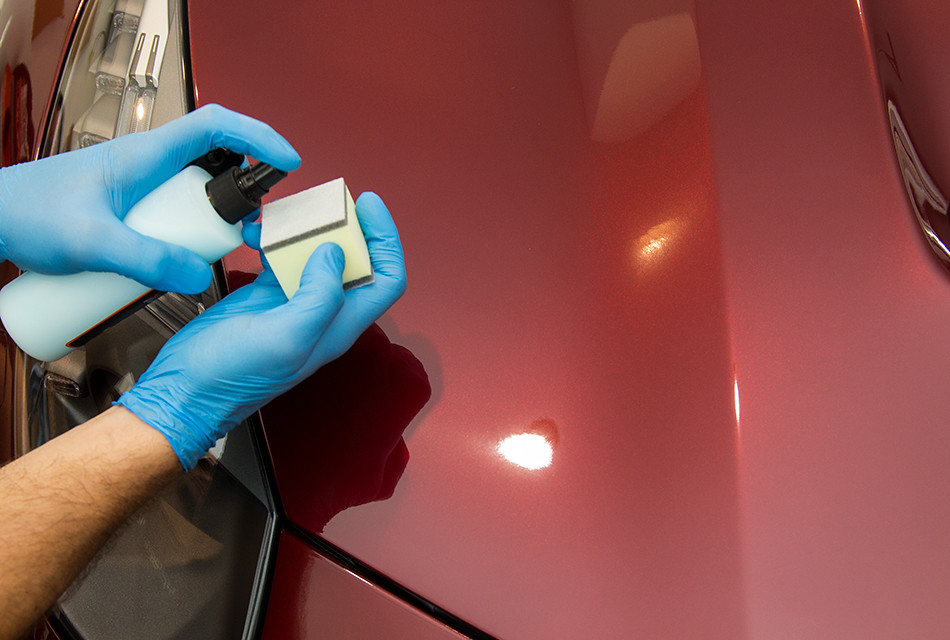
The bottle and 22ple applicators are well done functionally and aesthetically pleasing…
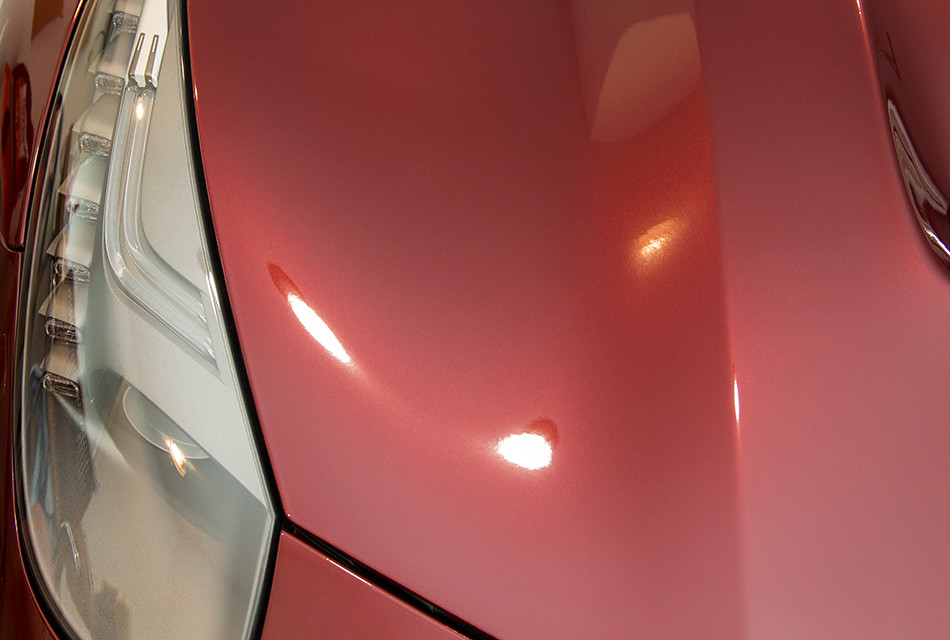
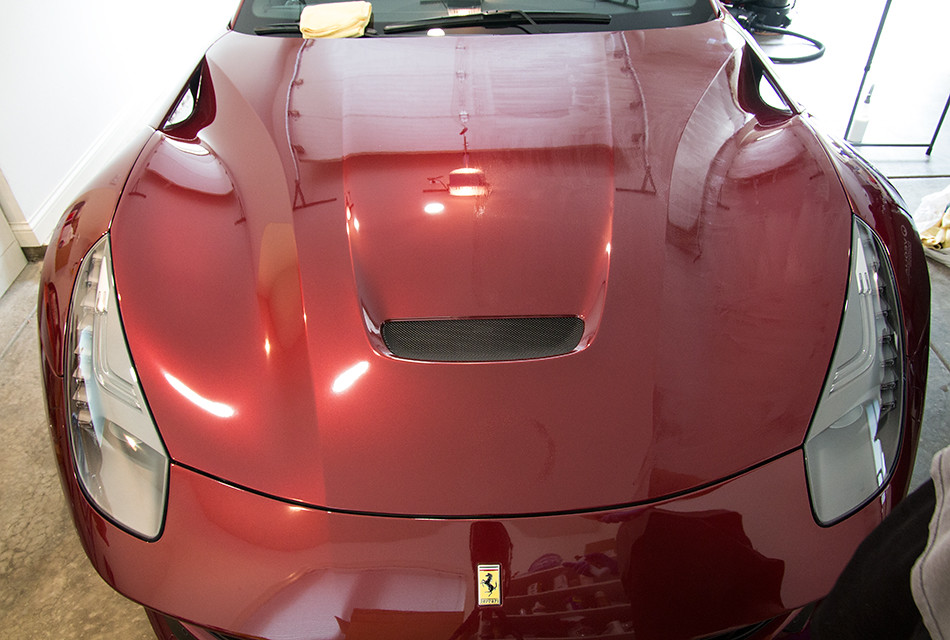
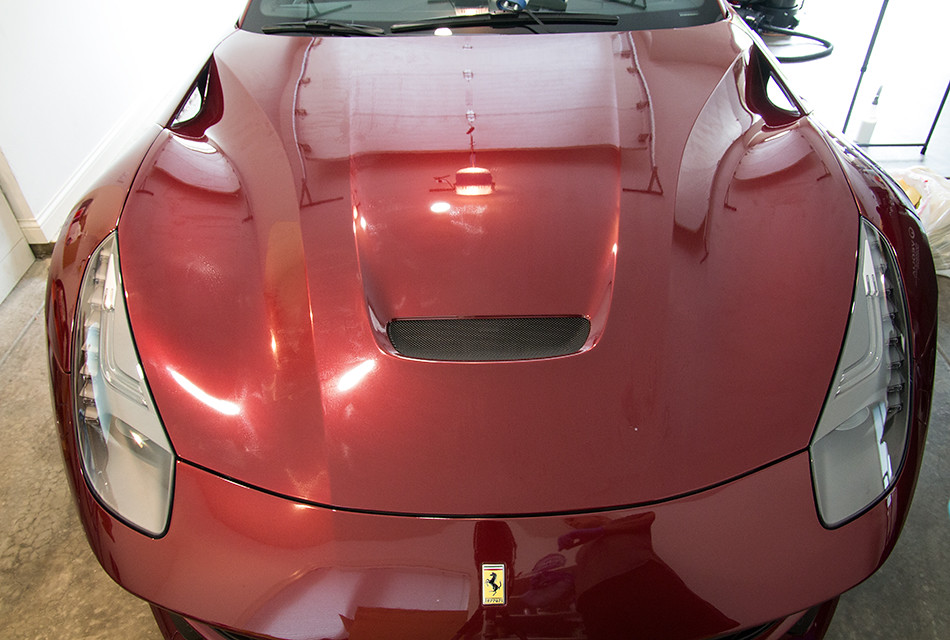
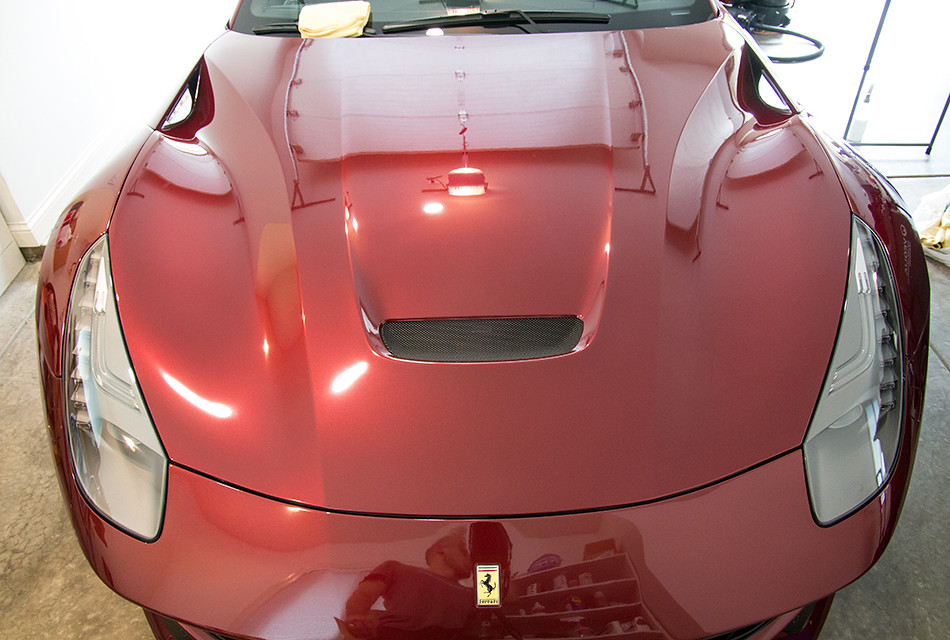
Immediately after receiving the products, I knew I wanted to try them out on a client’s brand new F12 that I had booked that week. I decided to coat the entire front end of the vehicle, which had Xpel paint protection film applied. Reasoning behind it was that 1. we planned on coating it with 22PLE anyway and 2. Figured I would experiment with the product on the film first before using on paint.
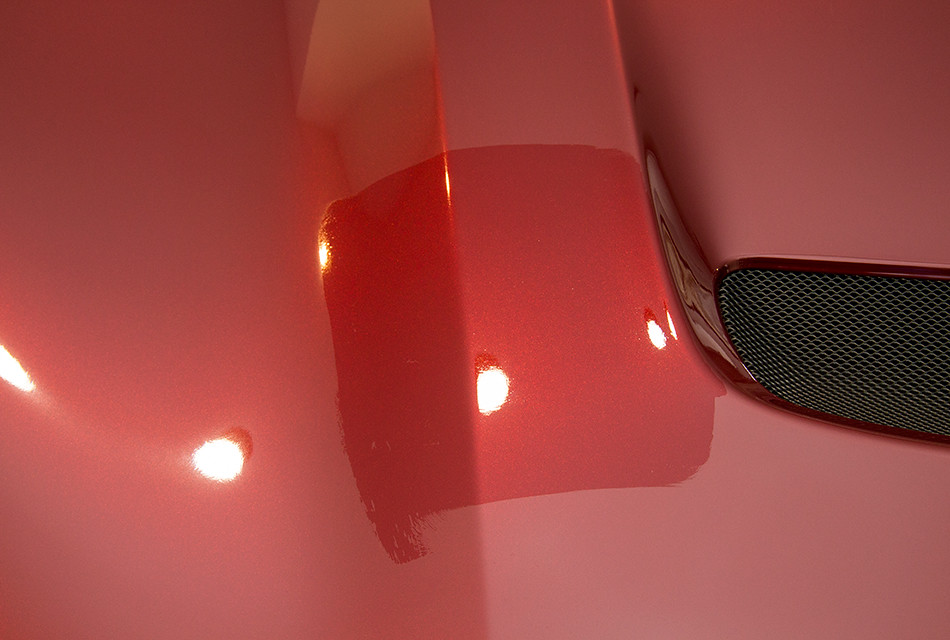
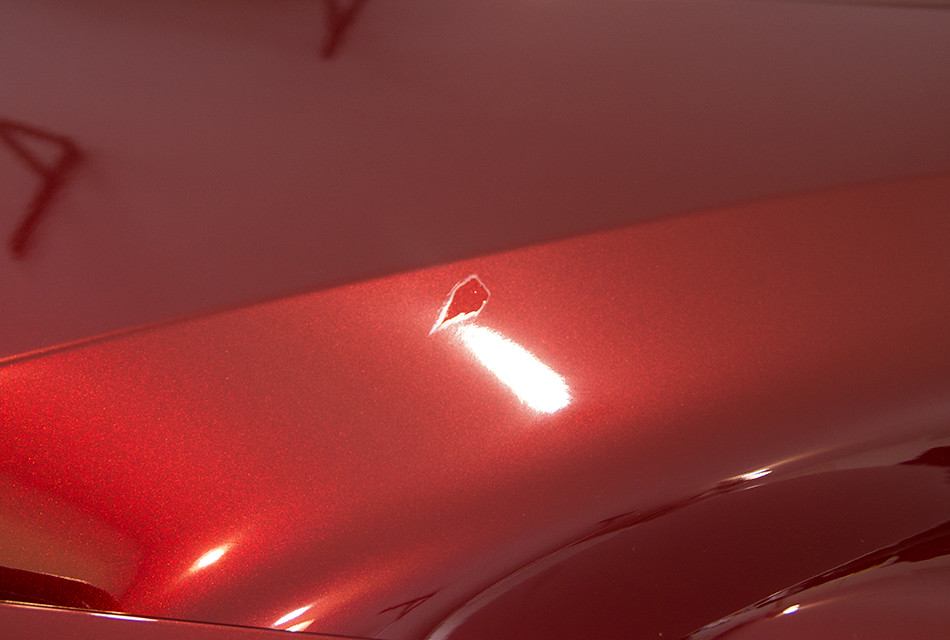
In any case, the first experiment was to apply it, wait a certain amount of time, then remove. I decided to go with the typical 22Pple dry time of 3-5 minutes. I first applied the product to a small section on the hood…
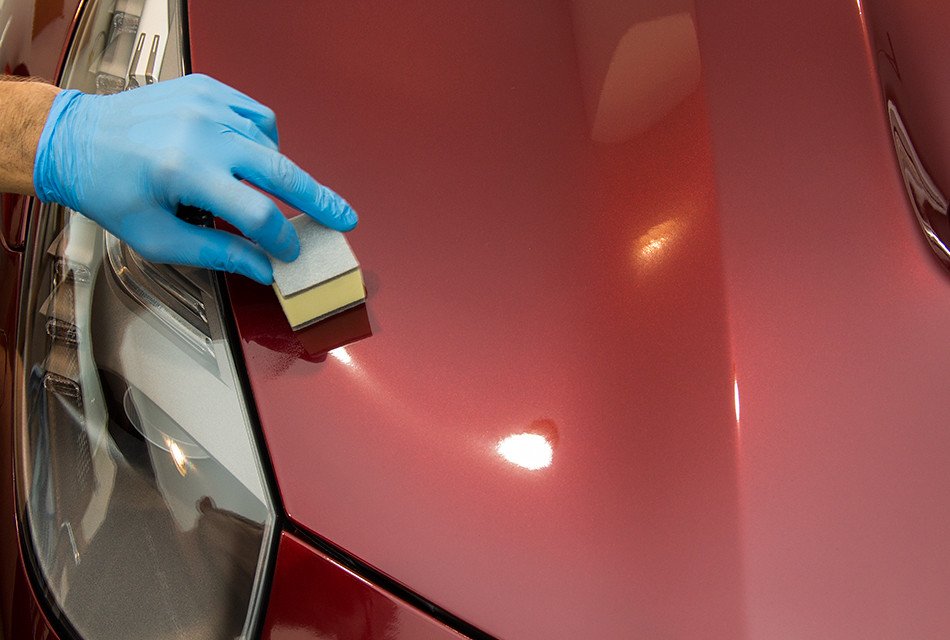
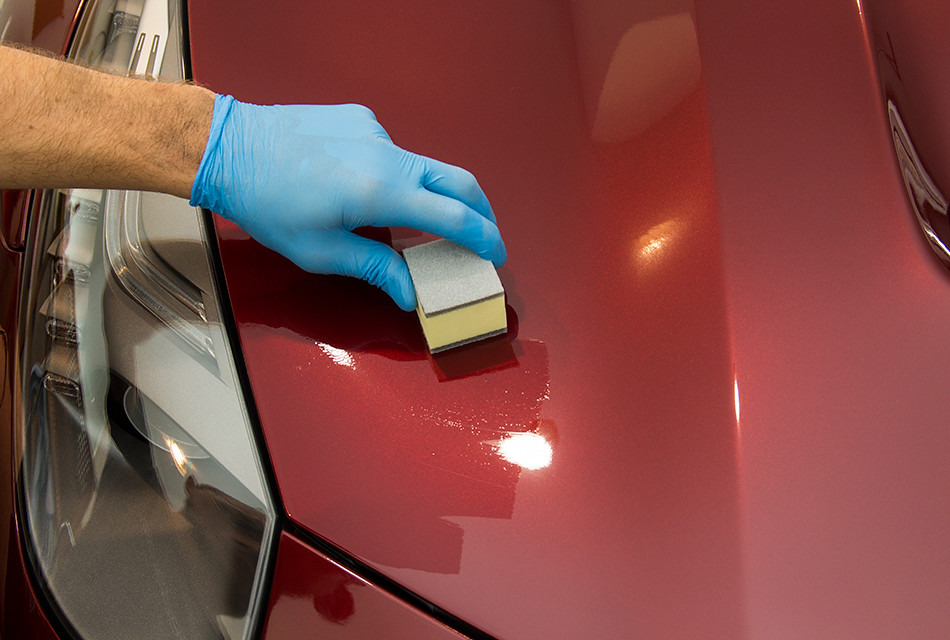
As you may be able to tell from the photos, I did go a bit heavy with the initial application, just in case…
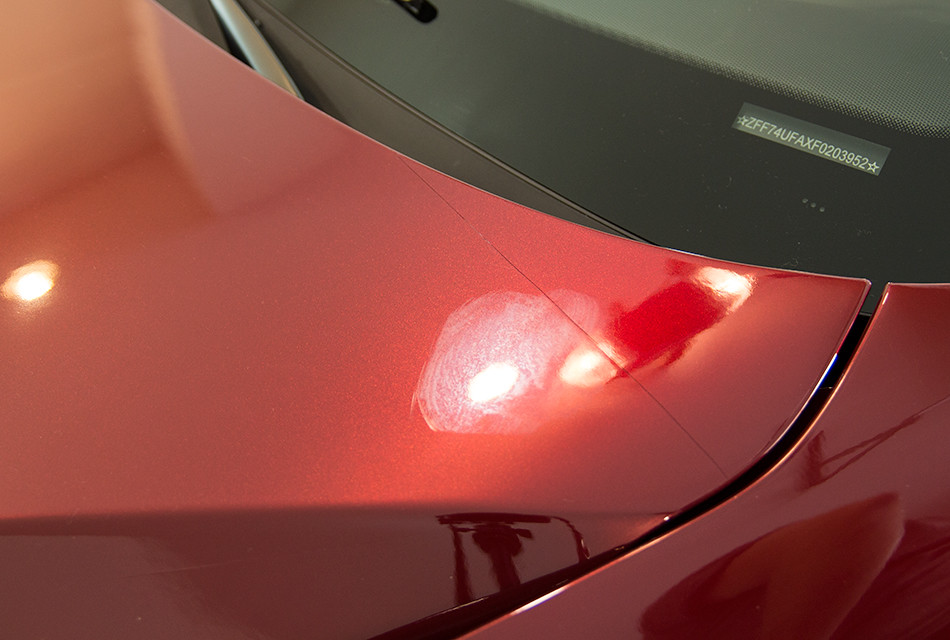
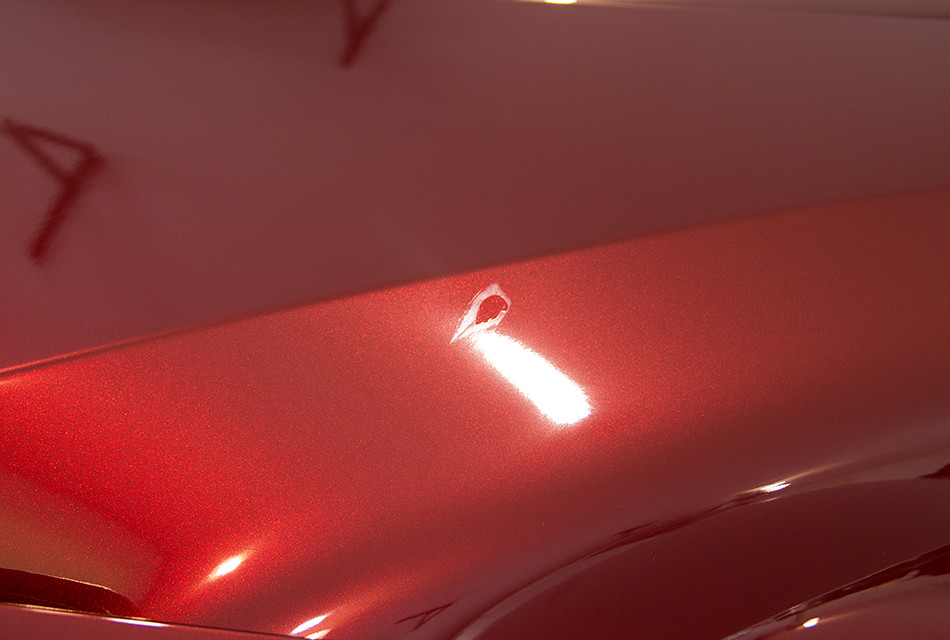
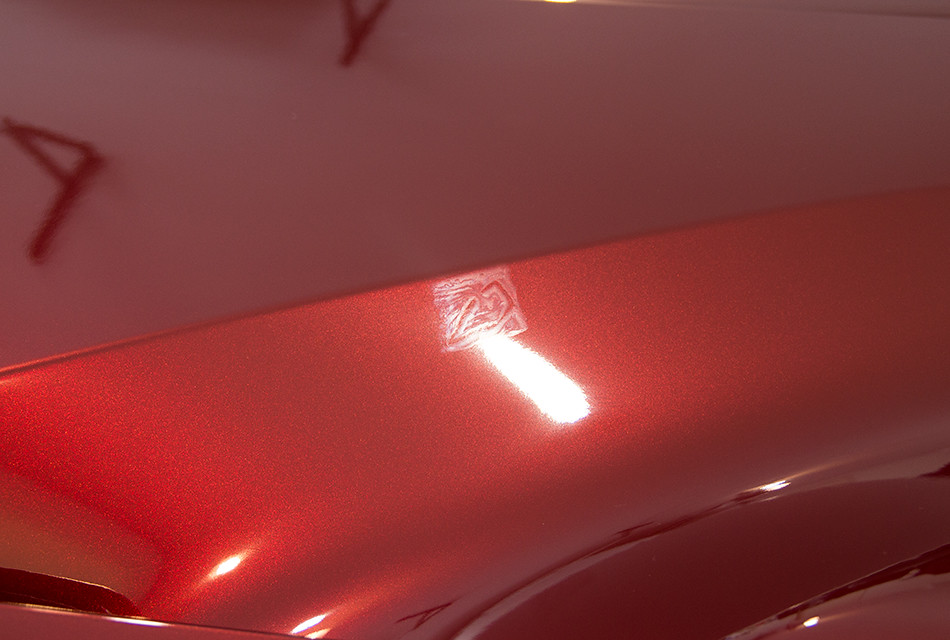
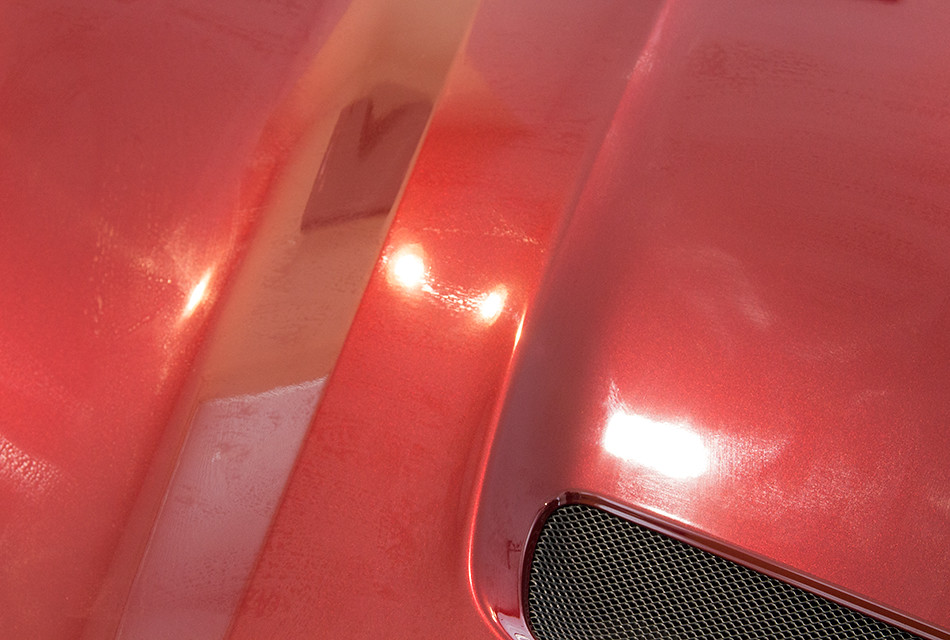
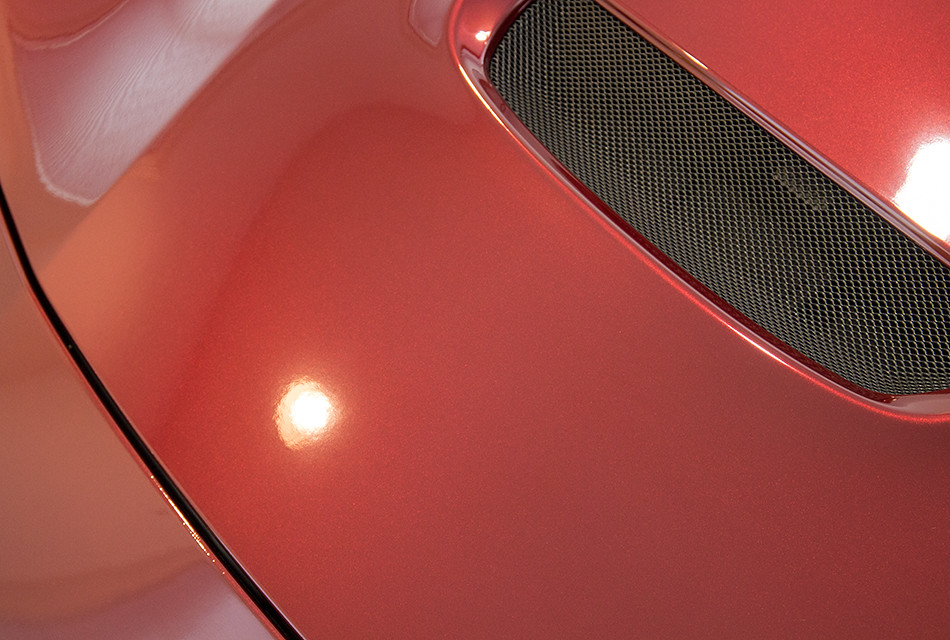
As I was waiting for it to dry, I noticed something very odd (new to me) and cool happening…
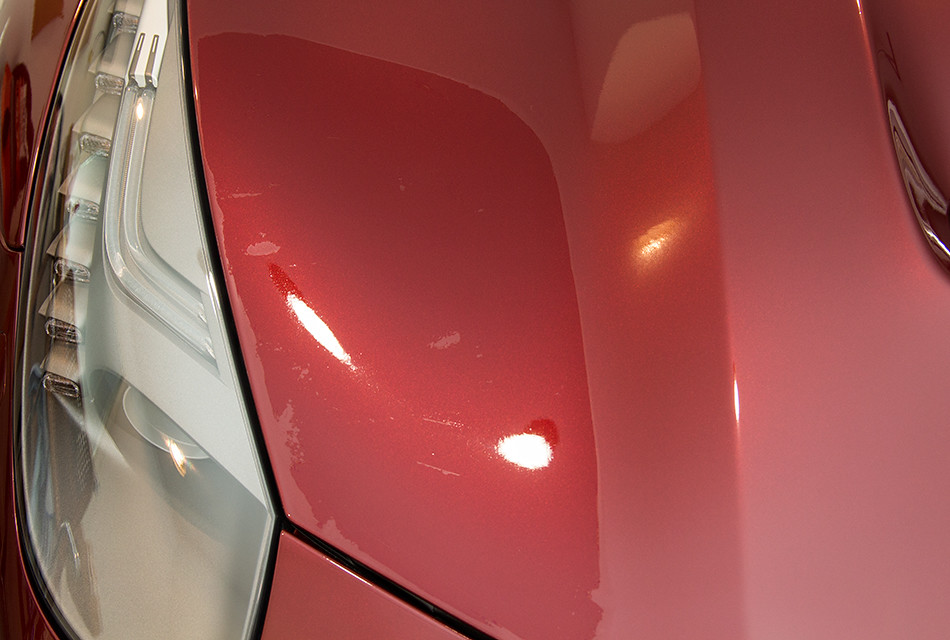
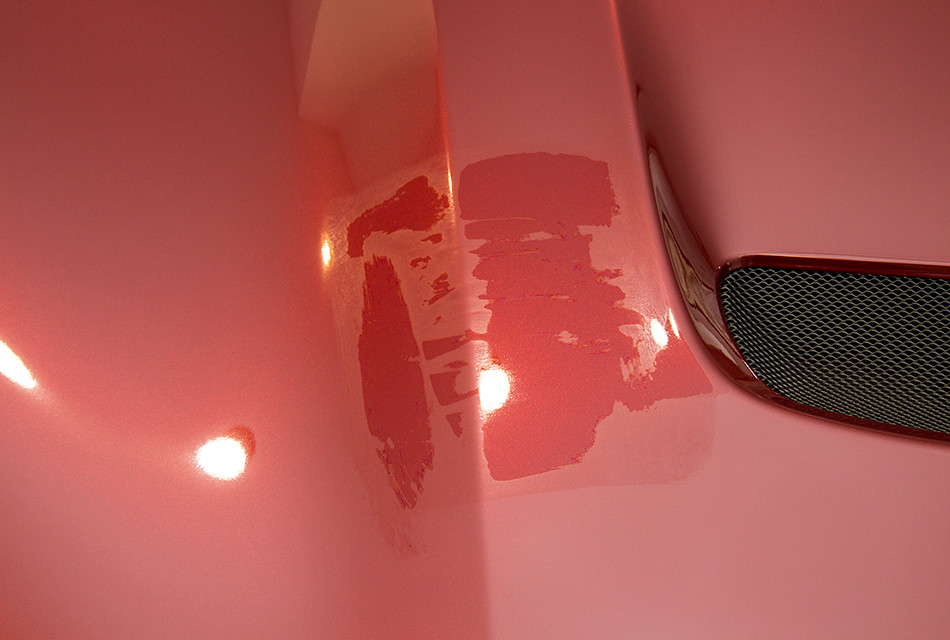
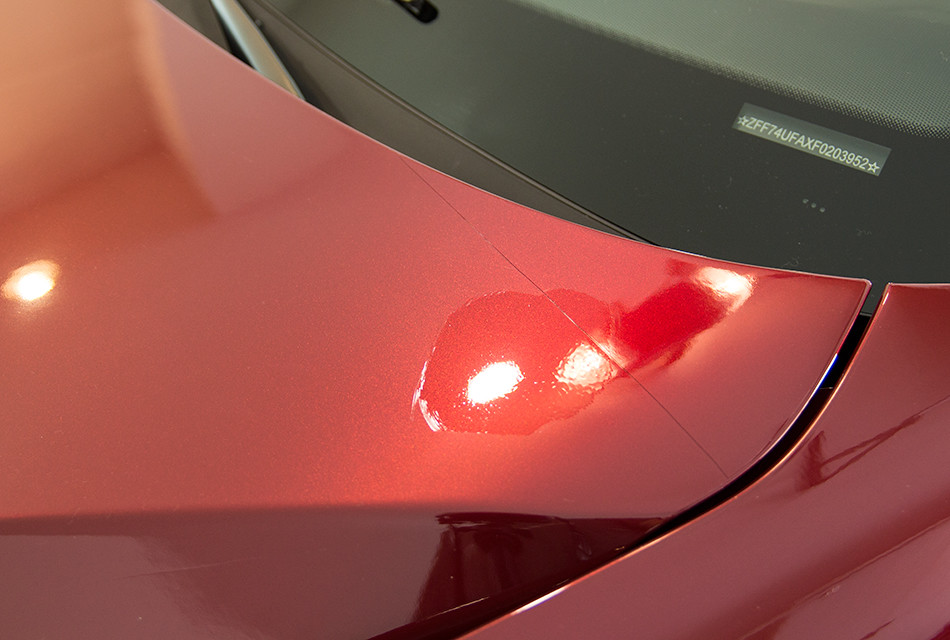
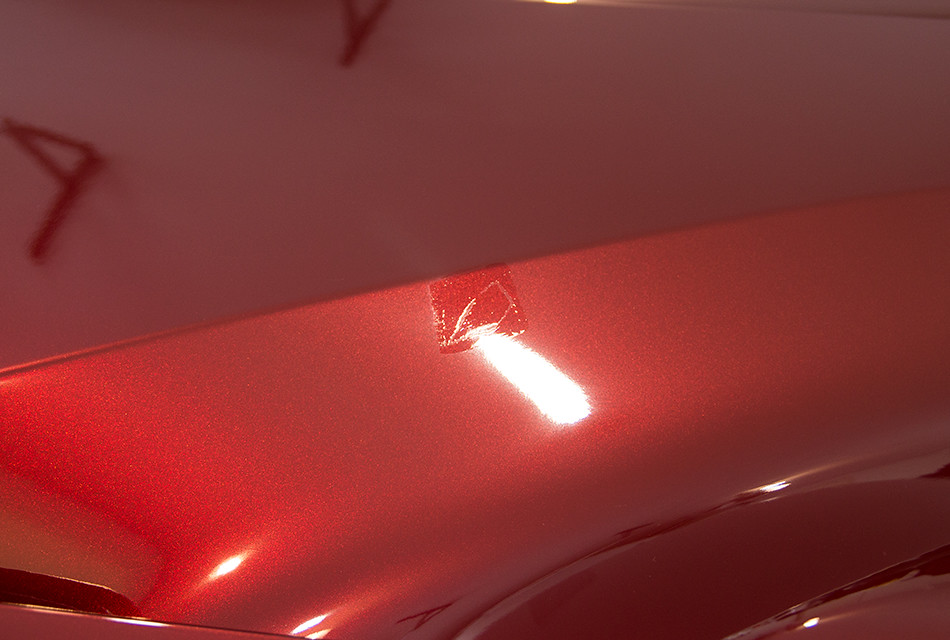
The product was leaving a hazed finish as it was drying, so it seemed to be adhering to the paint as it dries, almost looking like it’s evaporating…
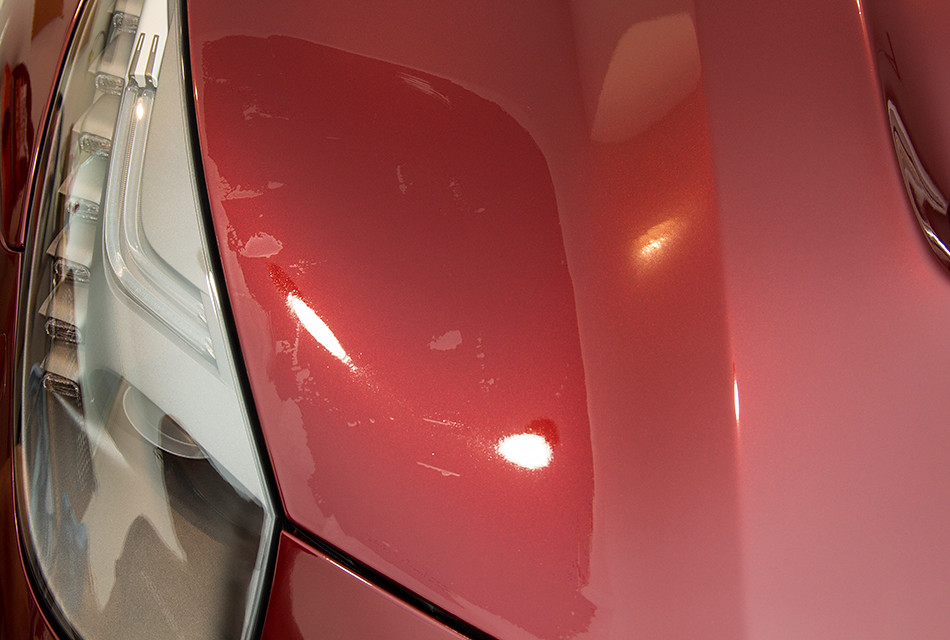
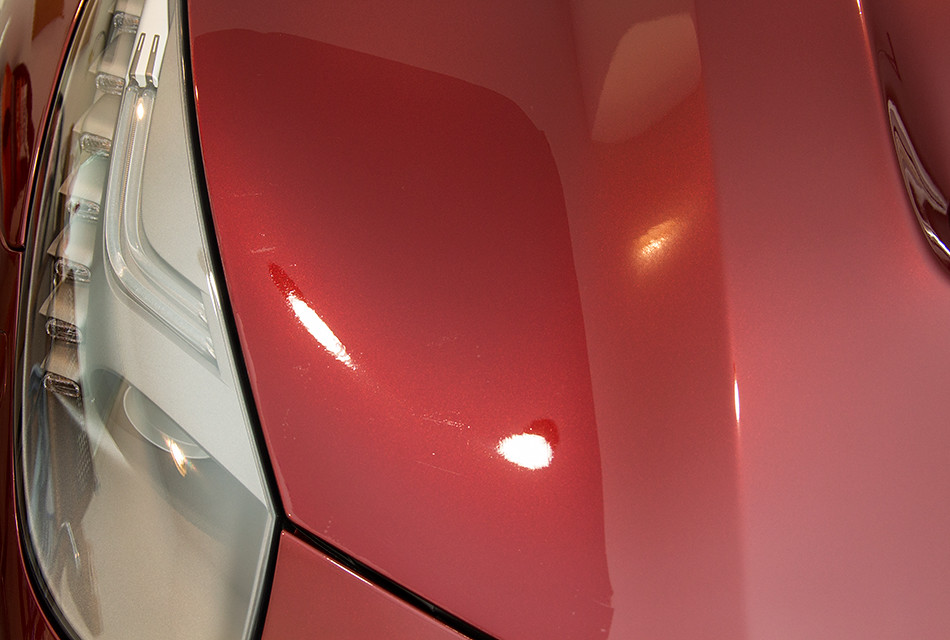
I wiped it off after about 3 minutes, before it had a chance to fully dry up, fearing that it may be too late to remove at that point…
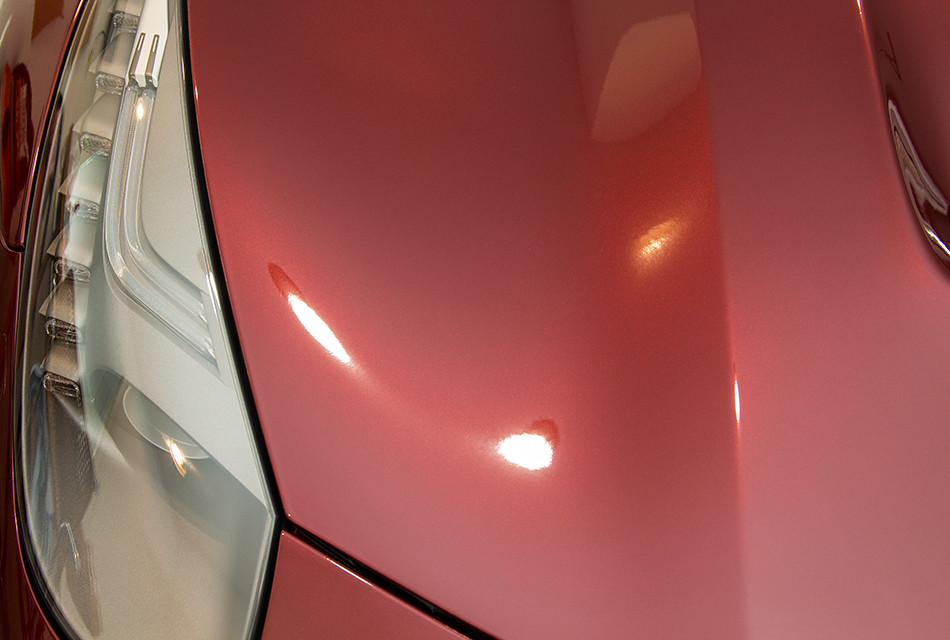
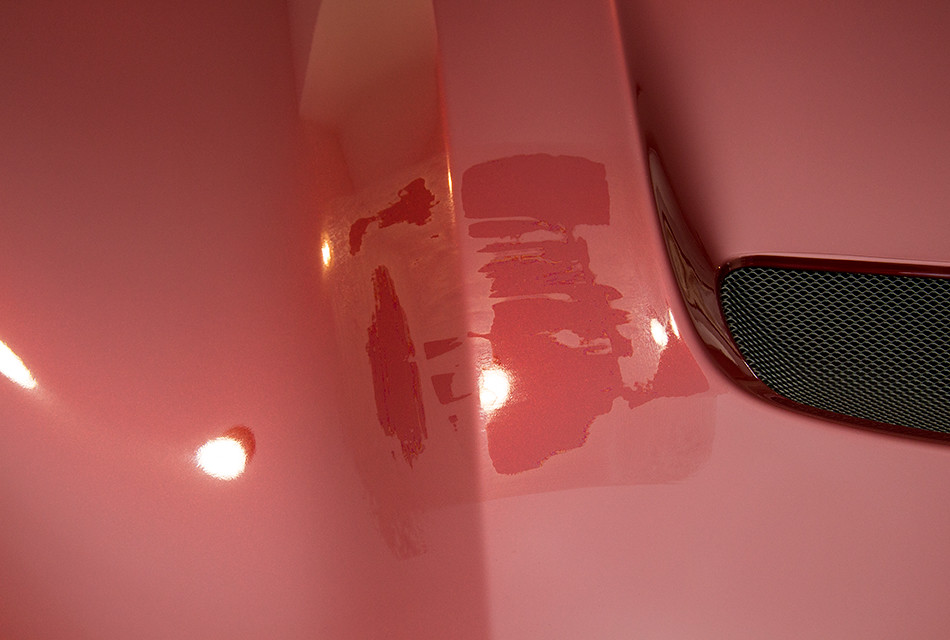
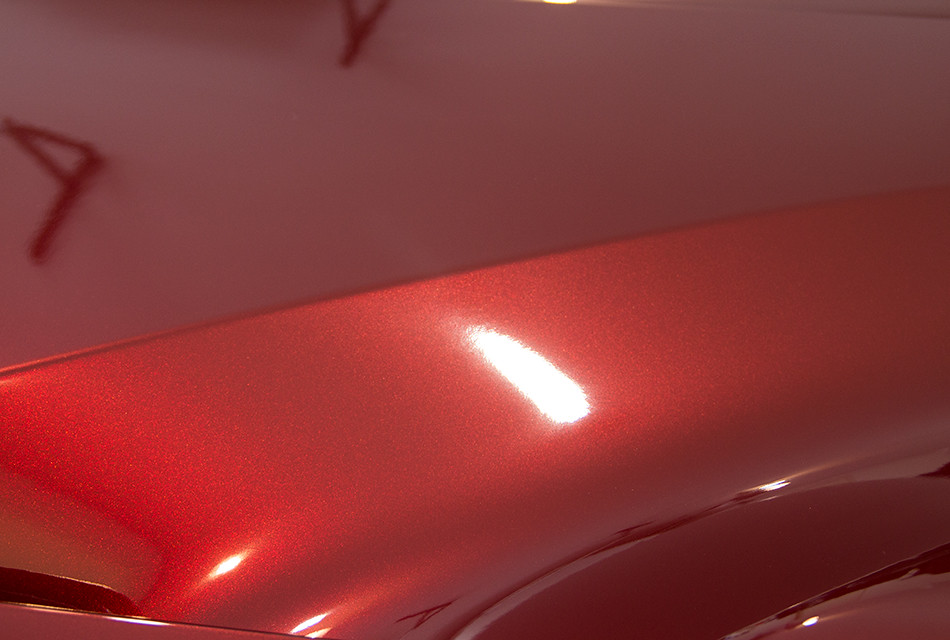
The product wiped off with ease and the finish came out great as expected…
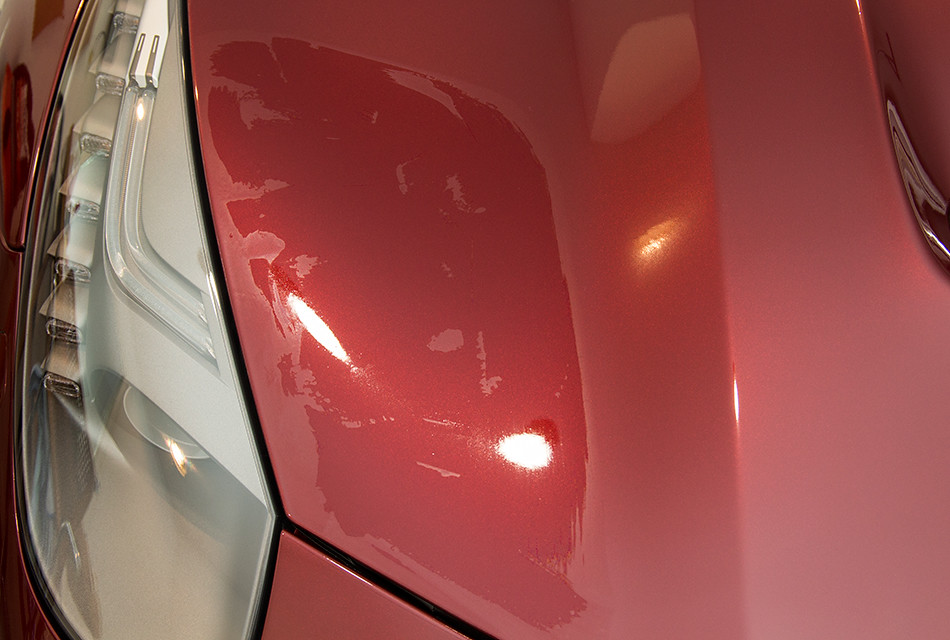
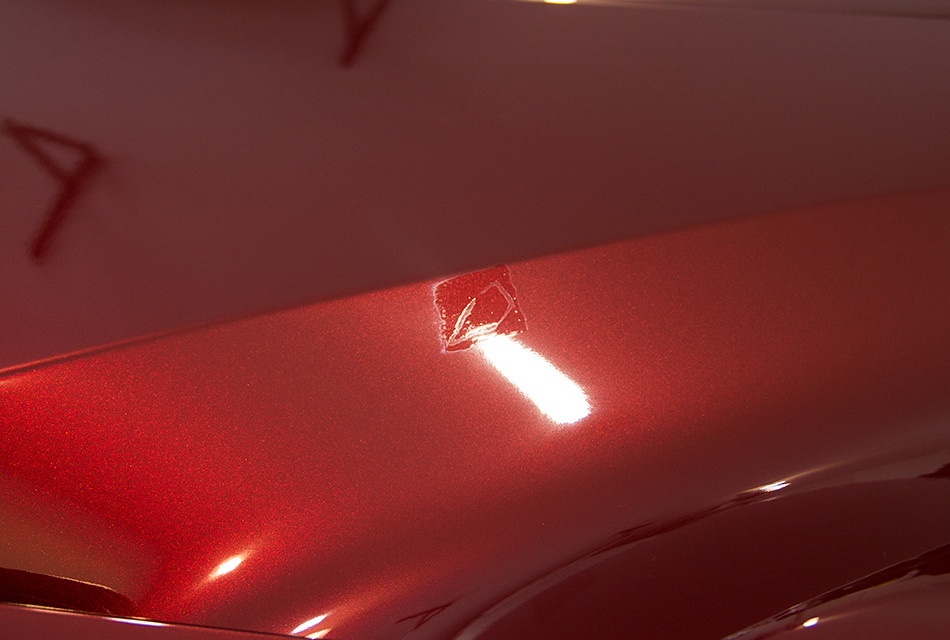
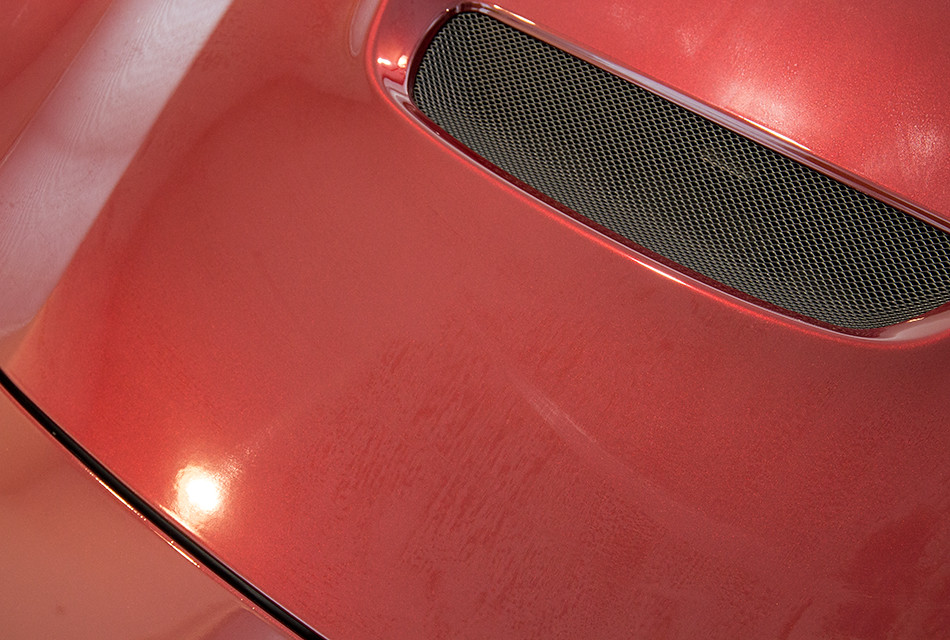
To my pleasant surprise, VS1 was extremely easy to remove after about 3 minutes, so next I wanted to wait around 5 minutes and see what happened. After choosing another small section on the hood I applied it liberally and decided to wait 5-6 minutes…

It fully hazed at around 4.5 minutes, so I decided to wipe off a section of it to make sure it will still come off easily…
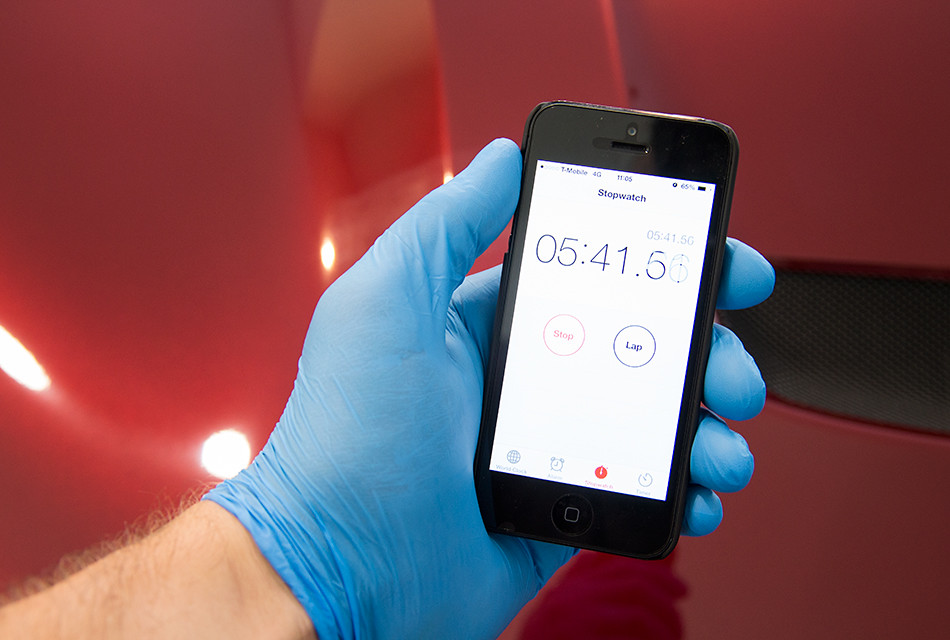
When I saw that it did, I waited until about 6 minutes to remove the rest of the section. For some reason, all I have is a shot of my phone to remember the time I removed it, but I forgot the “after” photo :). It did come out great though, so at this point I was getting brave and wanted to do 10 minutes of dry time.
Chose my next section…

Applied some VS1 somewhat irregularly…
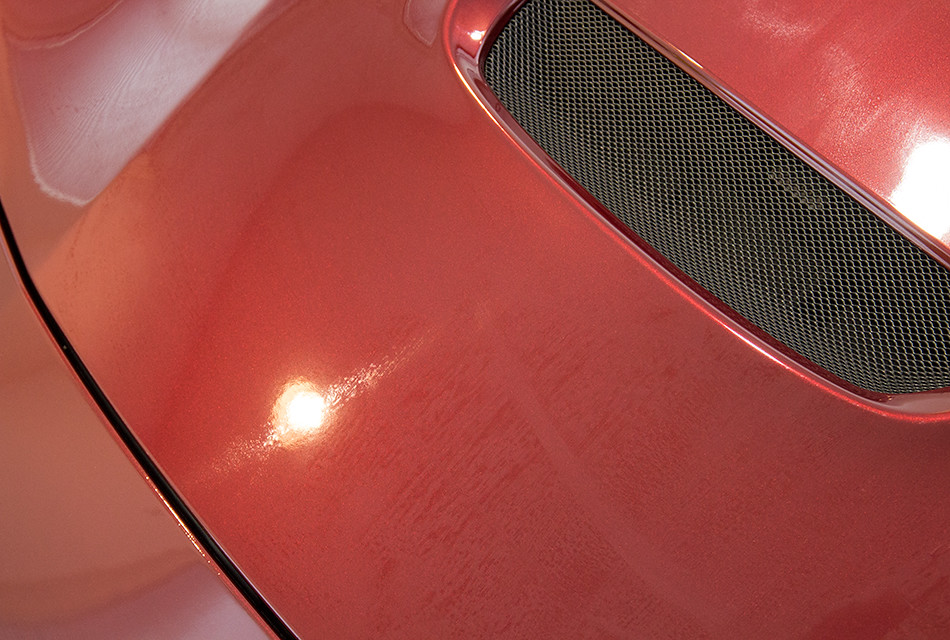
Then waited around 10 minutes. It looked fully dried up and hazy, so I decided to remove it.
As you may have guessed, perfect finish again…

At this point I decided that the product is not too similar to the dry time of VX1, so I said let’s just do 20+ minutes and try and leave a stain…
As the initial application was drying, I decided to apply some over it just for the hell of it. I noticed that the edges of the initial spot, that were already dry, seemed to not “accept” the new product…
It dried completely to a full haze and I figured with that odd of a shape, hopefully I’ll be able to screw it up and leave a high spot that I’ll need to level with the product or even a polish…
But after 20 minutes and a quick wipe, yes again, it easily came off and the finish looked great.
I tried this a few other times both on the paint and the film, all with the same results, so the final task was to be done. Coat the entire hood. For this, I decided to apply to the entire hood, wait 15 minutes and remove…
It started drying as it did before…
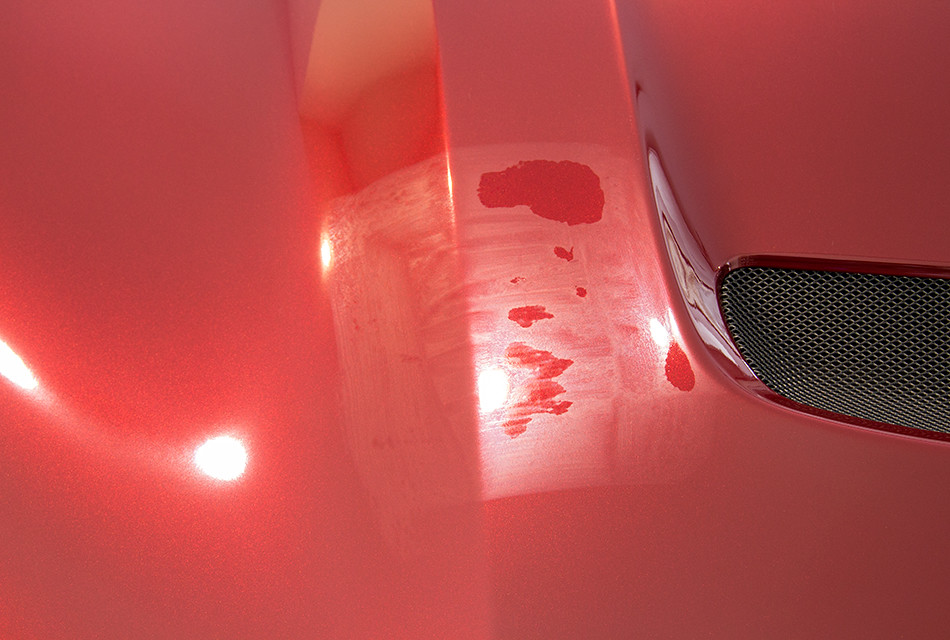
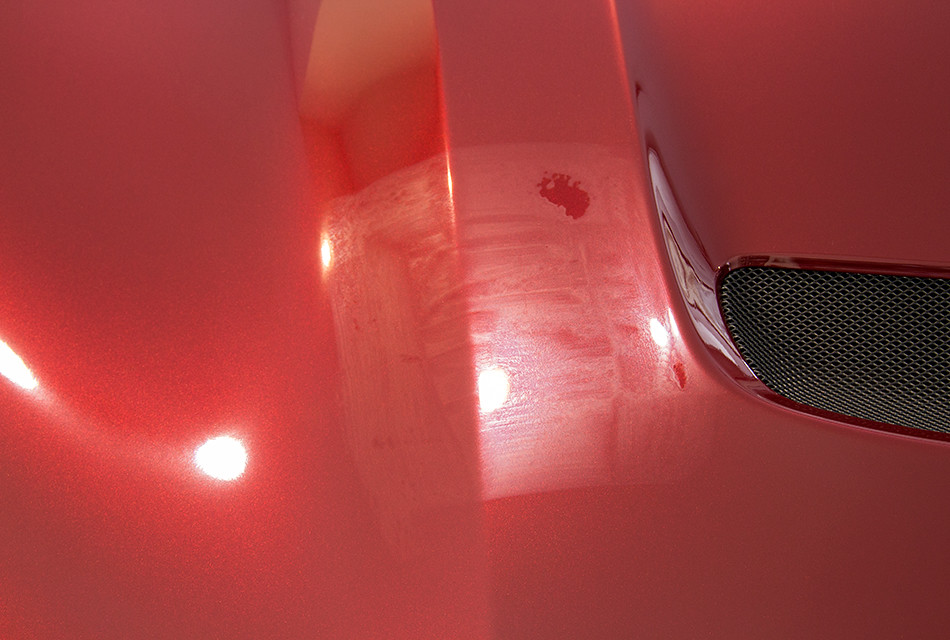
But then I hit an obstacle.. Finally! After about 15 minutes that VS1 Final Coat sat on the paint, it had dried to the point where it was very hard/impossible to remove. I was only able to buff off some of it using a microfiber towel, but it seemed that even if it could come off, I would need a lot of pressure and towels to remove everything. Even then, it didn’t want to come off in some places…
Some of the spots had me a bit worried…
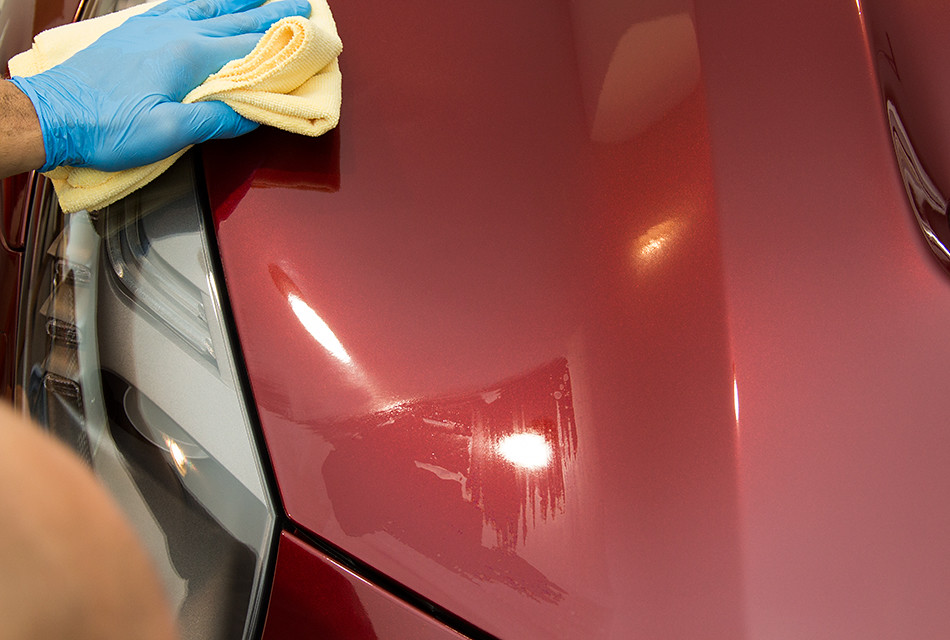
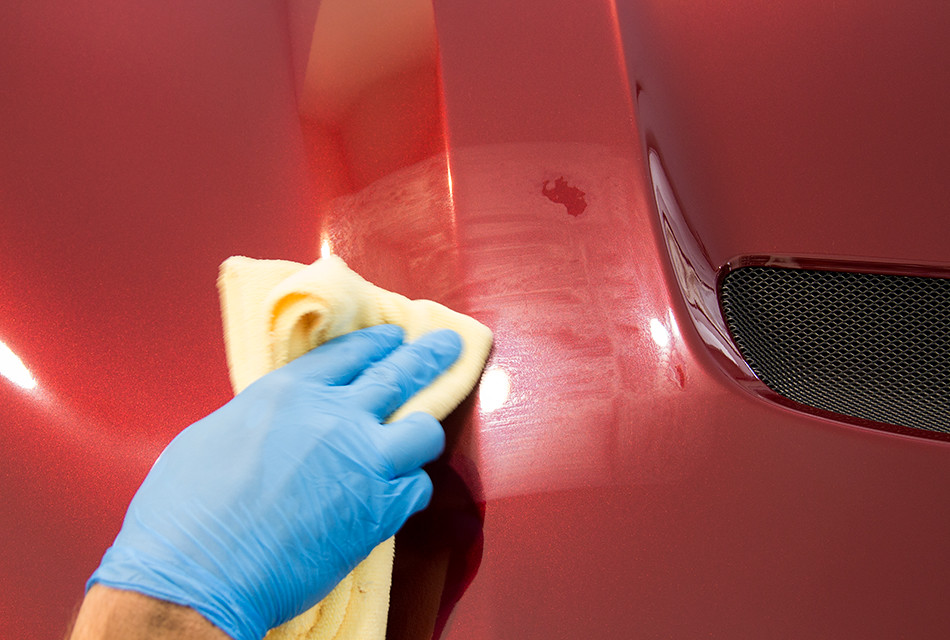
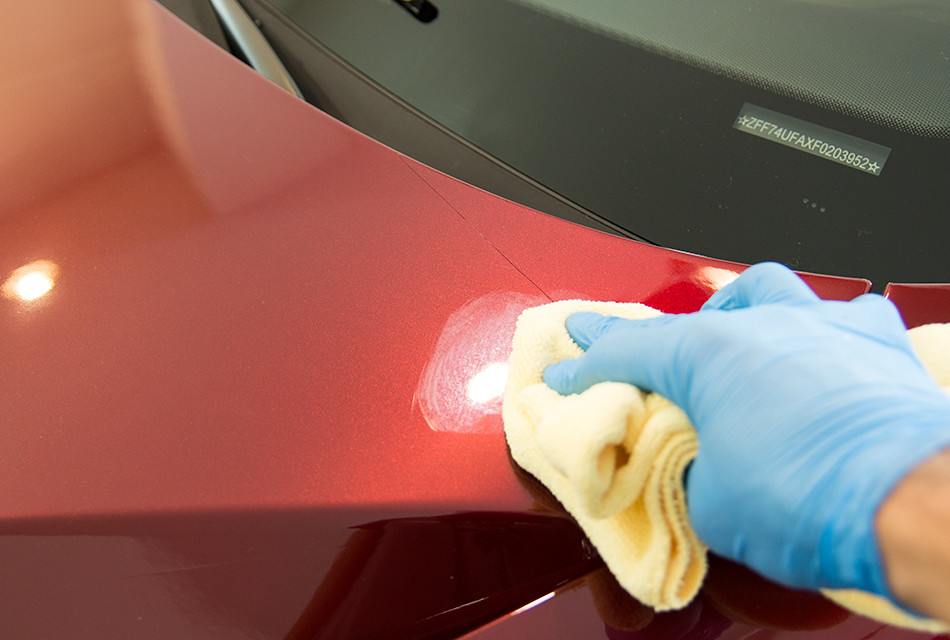
But as with VX1 paint coating, I figured applying some more and removing immediately would remedy the problem. Not only did it remedy the issue, but it was VERY easy to do because of the spray bottle. All I had to do was spray some VS1 onto a microfiber towel or a small section (roughly 1/8 of the hood in this case), wipe with one side, then with a dry side and it completely removed the hardened product on the surface…
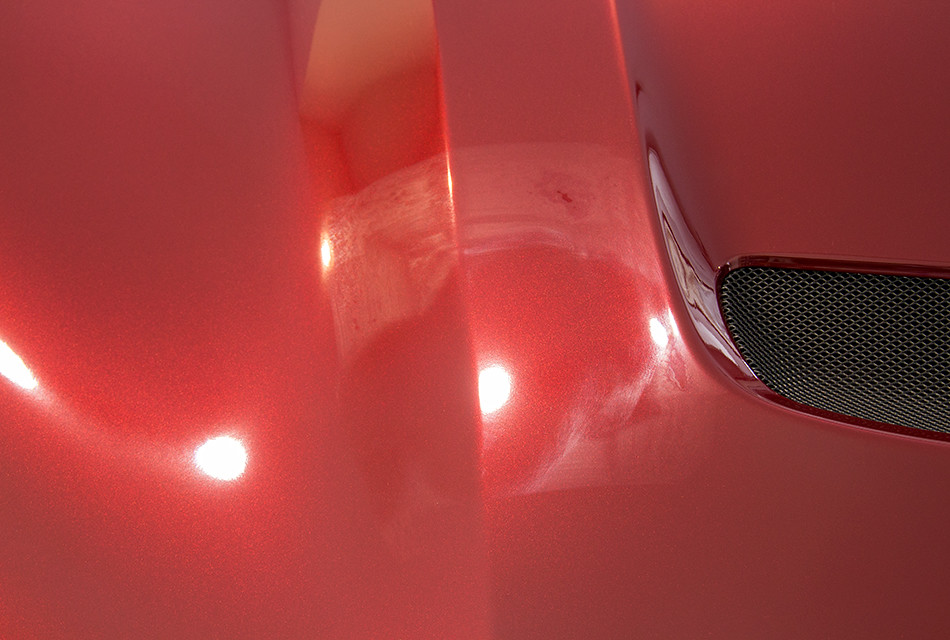
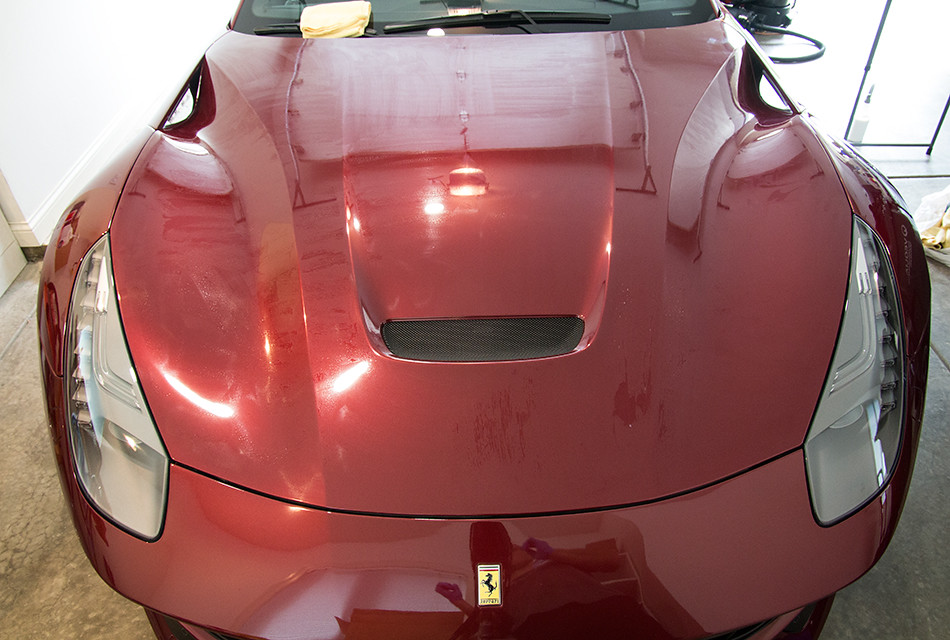
The hood came out looking great and I was very pleased with the new 22ple VS1…
I figured that the reason I ran into the drying issues at 15 minutes on the whole hood was simply because I used a bit less product than on the smaller sections, which allowed it to dry quicker and harden on the surface. I would probably recommend applying it to a few panels at a time (up to 10 minutes) and wiping off. I’m sure temperature and humidity will also come into play, so as with anything else, first try it on a smaller section and figure out the dry time there before proceeding to do the entire vehicle.
Due to the amount of photos and info I wanted to include in this article, I’ve decided it may be better to leave this be for now and do a 2nd part showing a different application process as well as some Pros and Cons of the 22PLE VS1 Final Coat I found throughout my testing. For now, to put it simply, the VS1 product is a great new product which I see myself using in many different applications around the vehicle. Learn more about VS1 in Part 2 of this article.


Nice article I was thinking about getting some for my black mettalic explorer and was wondering on how long do you thinki would have to leave it on if I did it outside I don’t have a garage so I have to detail in my driveway
I would imagine it’s the same whether you do it inside or outside. However, if the temperature is very high outside then you may want to do a few test spots to make sure you’re not leaving it on too long.