
Spilled Paint Removal – Meguiar’s 2000 Grade – Unigrit and SurBuf R Series Pads
by Contributing AuthorsI was recently contacted to estimate the cost of repairing what was described to me as spilled paint damage. Apparently a can of spray paint exploded in the garage this car was parked in, and someone tried to remove it with a Scotchbrite pad. After reviewing the car, and trying to remove the paint with mineral spirits, thinner, and clay, I decided a light hand wet sanding with Meguiar’s 2000 grit paper and compounding with a few SurBuf pads was in in order.

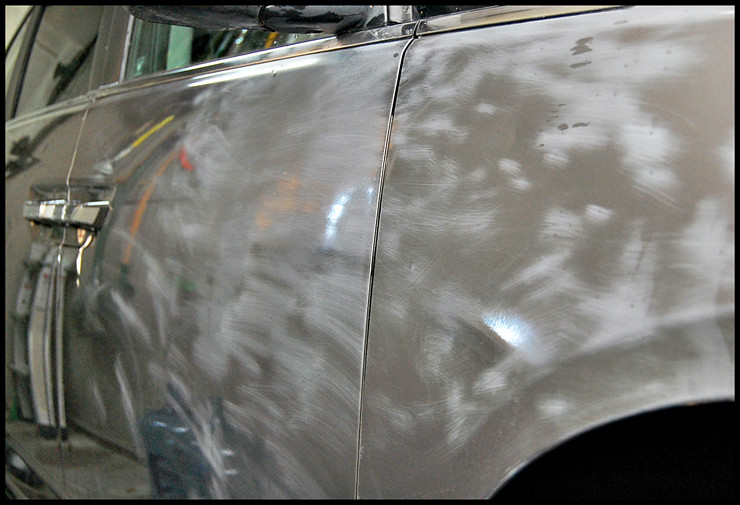
There is certainly extensive damage to this thin factory paint. I wanted to be conservative in sanding as this car has only 3k miles, it will need some clearcoat for the future.
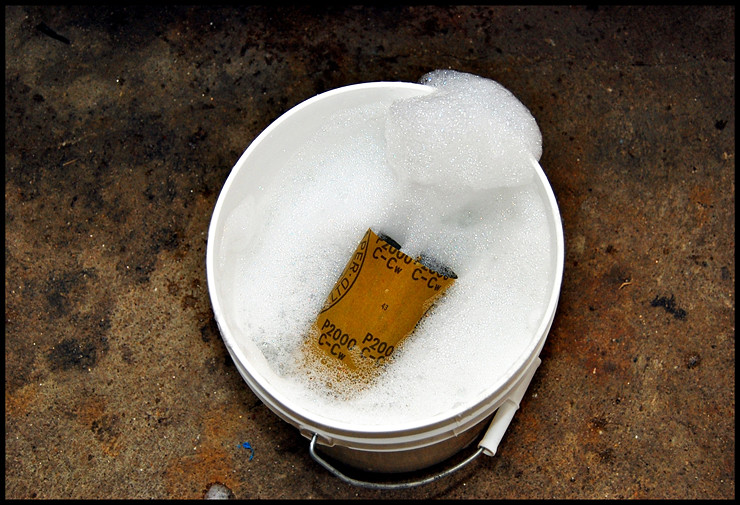
I like to use white buckets for anything I’m going to touch paint with. The white provides a contrast to any debris that may be in the bucket that could damage the paint. This is a 2 gallon bucket I use only for wet sanding. I always add a little soap for some lubricity, and let the paper soak until it curls plus 15 minutes before I use.
Some may not have a air compressor and D/A to use a sanding system, so I’m going to focus on hand sanding. I use a Meguair’s Backing Pad to help reduce “finger marks” and apply even pressure across the paint. You will also want a squeegee and some towels handy. The squeegee is needed to clear the surface of water and check your work.
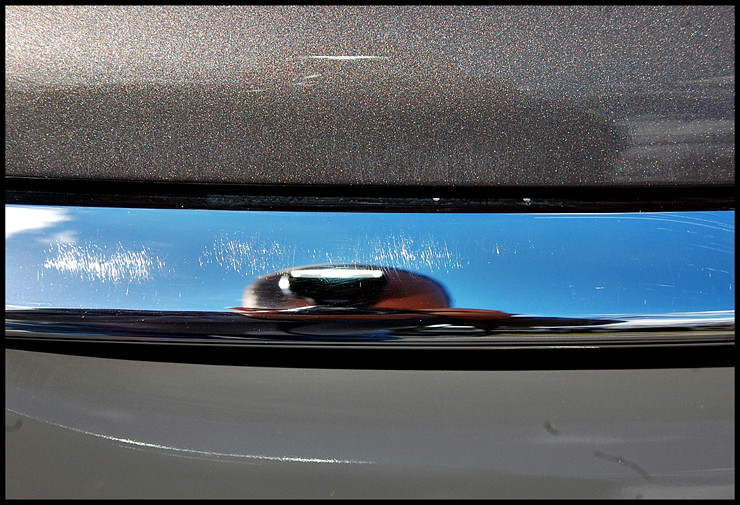
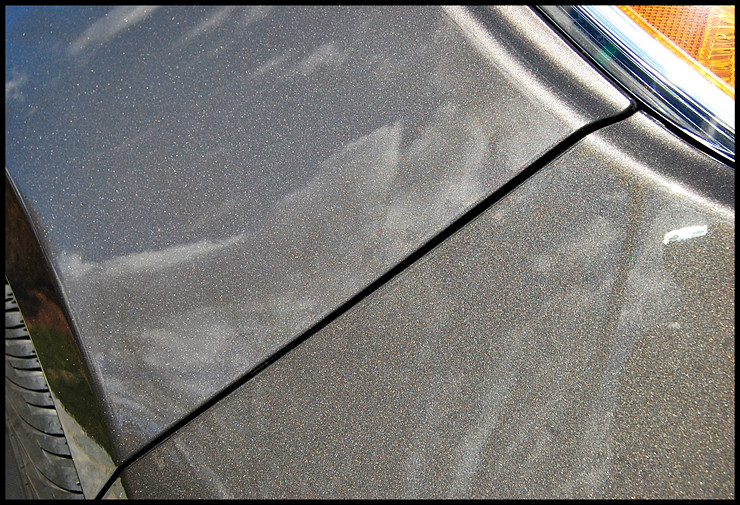
In this case, I am trying to remove damage from a previous sanding. What I need to do is make the paint as even as possible. In the picture below, you will see that after a few passes with the 2000 grit, there are still “shiny” areas. these are low spots from the prevoius damage. I could stop here and start polishing, but there is a high likelihood that these marks will remain visible post-polishing. I could see that the previous damage follows a “North – South” direction. To make my sanding most effective, I sanded in an “East to West” direction to take down the damage and try not to make the “trenches” created by the first repair attempt deeper or more defined.

Here is that damage after compounding with a SurBuf R pad. No good…

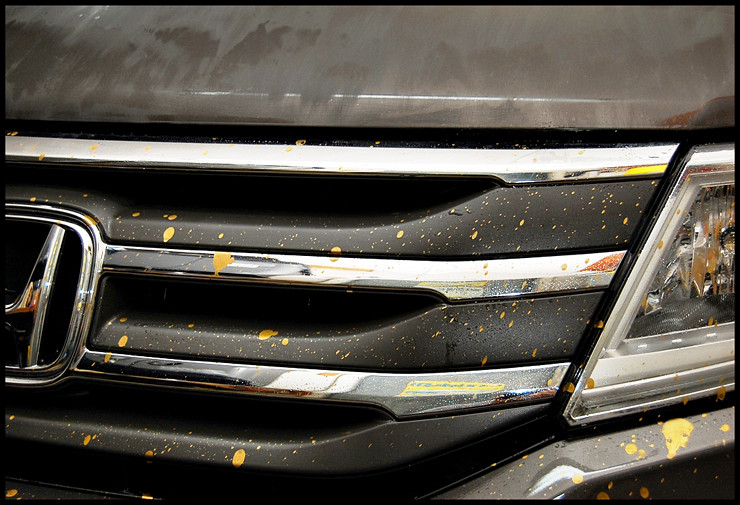
The grille was hit heavily with paint. Its flat finish does not respond well to polishing. I was either going to paint this grille, or polish it will wool to remove the paint, knowing that it would have a glossy appearance after. The chrome was a bit too soft to save, the Scotchbrite pad marks were not coming out…

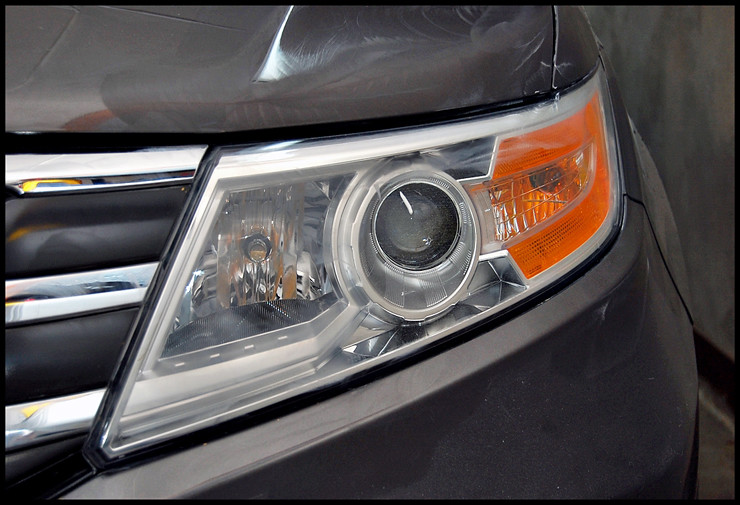
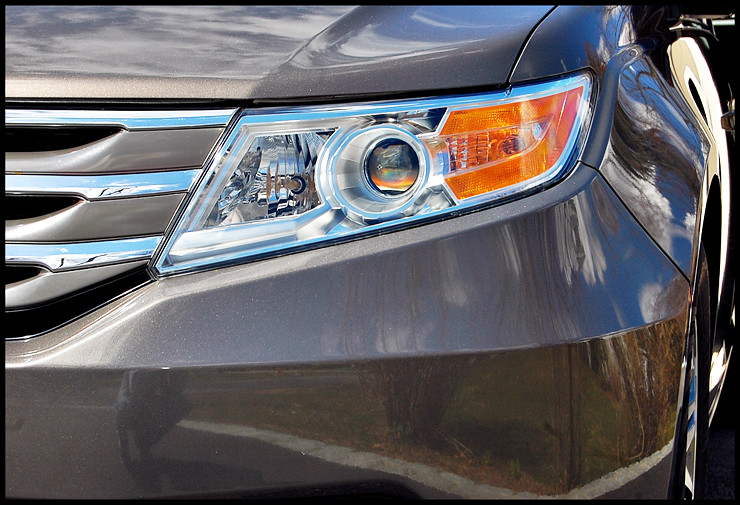
The headlights were lightly sanded with Meguiar’s 2000 Grit paper also, and polished with a Yellow Lake Country 4″ pad. I love using the smaller pads. They were new and came up with no problem.
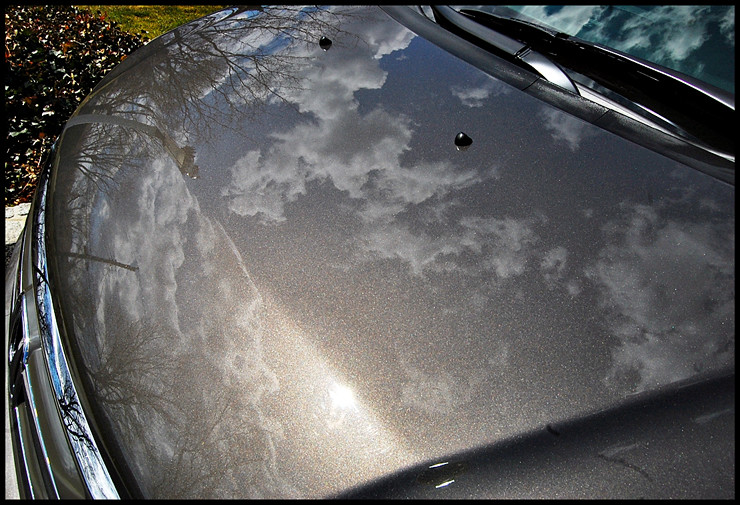
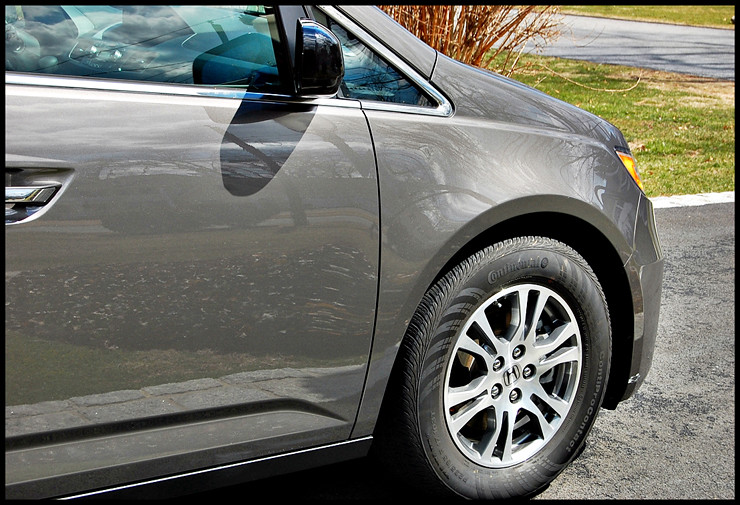
After sanding the bumper, hood, 2 fenders, and passenger door, I polished using Meguiar’s M105 on my Porter Cable D/A with a SurBuf R series pad. These pads are incredible. I was hesitant to try and repair wet sanding marks with a D/A. I’m an old school body shop painter and was trained to polish with 1500 grit paper and a rotary with a wool pad. This Porter Cable D/A with Surbuf R Series pad has changed my opinion. It removed the sanding marks quickly and neatly. I really felt a step after M105 was not necessary, but followed up with M205 and a green pad, and finished with Opti-Seal.
Final comment – Keep your eyes on the damage in paint. The polishes we use are not magic, they are tools. Nothing replaces common sense. I think I was aggressive with both the sandpaper and Surbuf pads. I do have a lot of experience wet sanding paint, I know what can and can’t be corrected as I work. Only experience can teach you that. I look through the water and watch the damage disappear as I sand and polish. If I can’t see, or there is not enough proper light, I don’t proceed.
Surbuf pads are highly recommended for repairing this level of damage, you may need 4 to 6 to do an entire car. I used three for this repair.
Buy Products From This Article
Purchase the products used in this article individually or in one convenient package here!


nice job ! I am a old school detailer as well and a good cutting 1500 grit compound/polish with a wool/silk pad rotary polisher would have resulted the same result and less steps.
Thanks cartoysautospa!
The Surbuf and M105 combo did the work so cleanly and neatly. It left the surface nearly LSP ready with no mess. I did use a Schlegel wool pad and 3M paste compound on the rotary for the painted sections of the grille as it was easier to work into the corners.
Great work! Surbuf pad are pretty impressive. I recently had what I’m guessing was a cat put some light scratches on my hood. The surbuf pad with m/205 took them out no problem.
thanks Brian.E –
I am a SurBuf convert now. I saw the level of correction these are capable of with my own eyes. Very versatile product.
Very good results on a challenging situation Justin.
In any of the paints I have done comparison with, Surbuf/105/PC does a better job of taking out sanding marks…cuts better, finishes better, quicker, and makes the finish polishing step easier as well.
I haven’t touched my rotary for compounding in a long time!
Thanks Tood!
I agree, my rotary is now a final polishing tool with 085rd or 106fa. I have to pick up one of those Festool polishers now.
Wonderful!
Thanks for the time, effort, and knowledge.
Thanks Young!
Happy to share. I am writing something now on how automotive paint is mixed and applied, might be interesting as well.
Talking about “Back from the dead” – wow! Great job giving a second life to a newer car. The pics of the paint say it all: great job!
Thanks Marc! This was one I just had to take on.
I am not sure who I have to ask this question for? however I have a problem to take off sticker from a van or a car. Some are easy but some are very hard to take it off. Is there any special chemical that I can use? or any idea? especially what to take it the excess glue from the surface.
Currently I am using heat gun, plastic blade and a lot of thinner..to remove the excess glue.
The cheapest solution for me is WD-40 spot applied to a rag and then wipe.