The Best Way to Wash and Dry Your Car at Home
by Reece @ DI
The washing and drying process is the most important step in the detailing process as it will remove dirt and grime, while setting you up for all of your further steps or detailing processes. You do not need to be a professional detailer or have an indoor shop to hand wash your vehicle either. In fact, you can properly wash and dry your vehicle in the comfort of your own driveway!
Below I will highlight everything from wash induced swirl marks, how to avoid them, to what gear to reach for and what techniques to use during this process.
What are Swirl Marks?
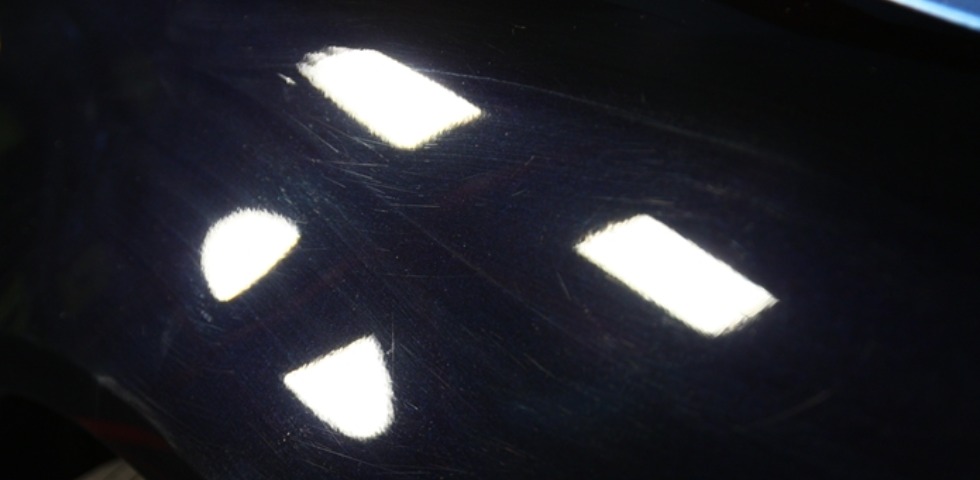
Swirl marks and paint imperfections are tiny scratches or defects in your vehicle’s clear coat that become visible when light hits the paint at certain angles. They are especially noticeable on dark colored vehicles and under direct sunlight or bright shop lighting. Most swirl marks happen from trapped dirt and grime in your wash media, grinding across the surface.
Some of the most common causes of swirl marks come from:
- Reusing dirty wash water
- Automatic tunnel washes or touch car washes
- Using low quality tools and techniques (i.e. shampoo, wash media, drying towels, etc.)
To aid in a much greater risk of wash induced swirls and scratches, you want to follow a few key steps:
- Two-bucket method
- Quality tools
- Proper techniques
Every time something touches your paint, there is potential for scratching. However, below I will cover each of these key steps, allowing you to properly wash and dry your vehicle at home!
Reach for Your Gear!
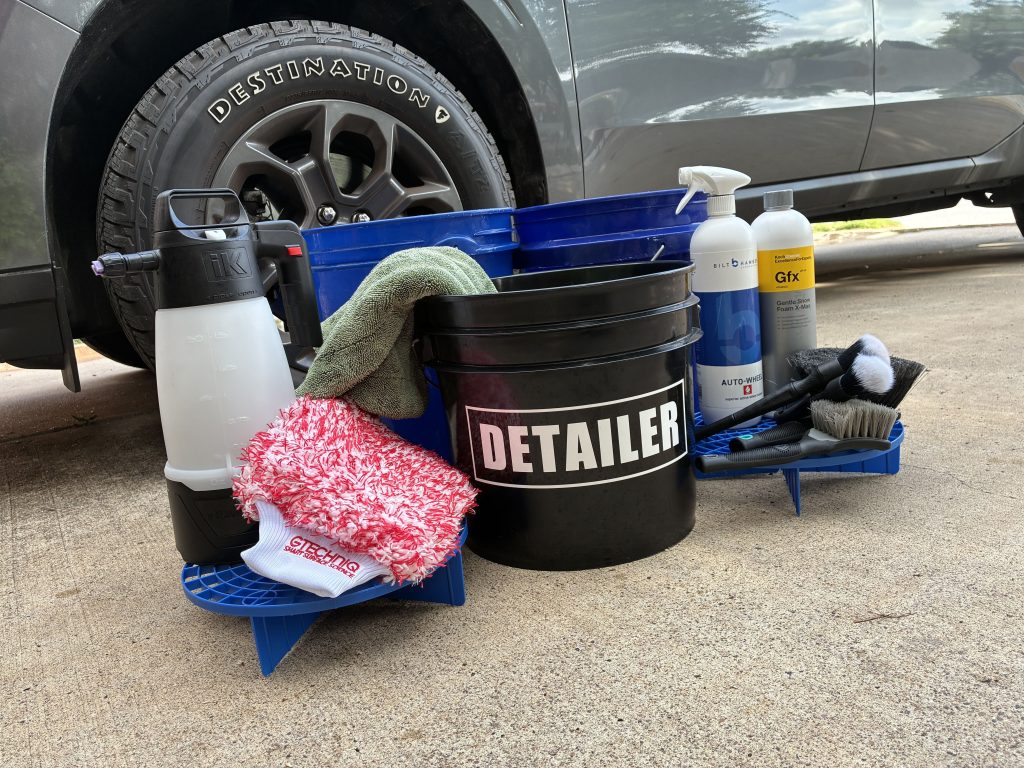
Starting off, we want to make sure we grab some products. Luckily we carry high-quality items here at DI, so you have plenty of items to choose from. In short you need a shampoo, wash mitt or sponge, buckets, bucket inserts, brushes, and your drying towel. You could add more or less to this list as desired, but these are the base items needed for a proper wash.
During this current wash process I specifically used:
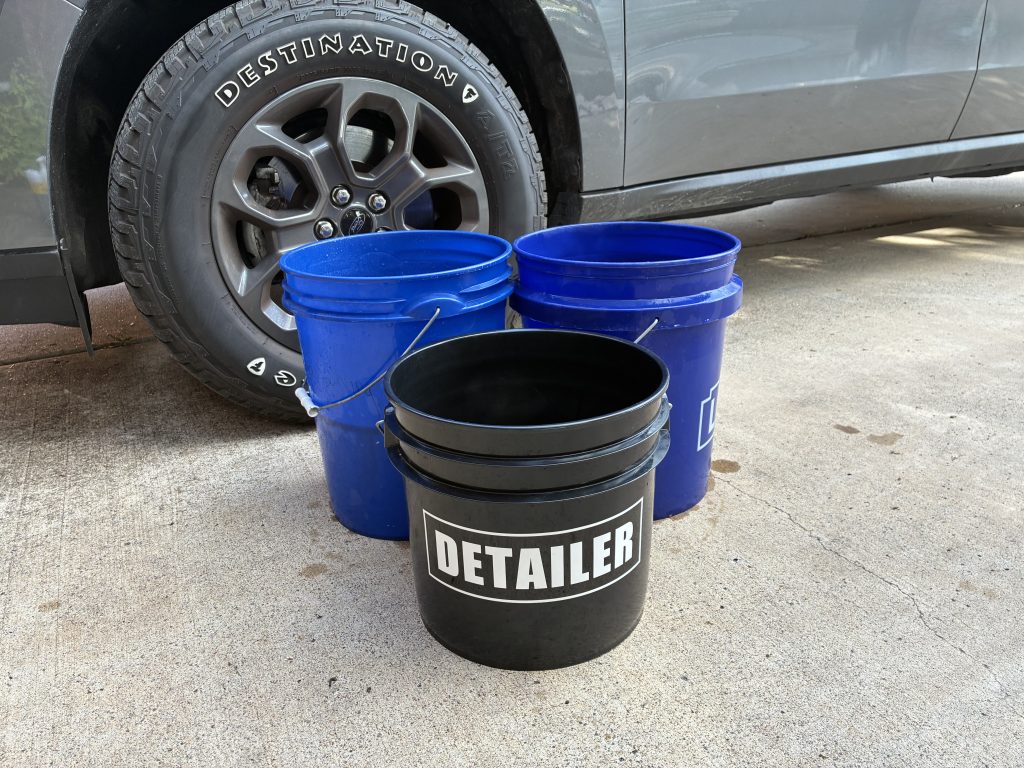
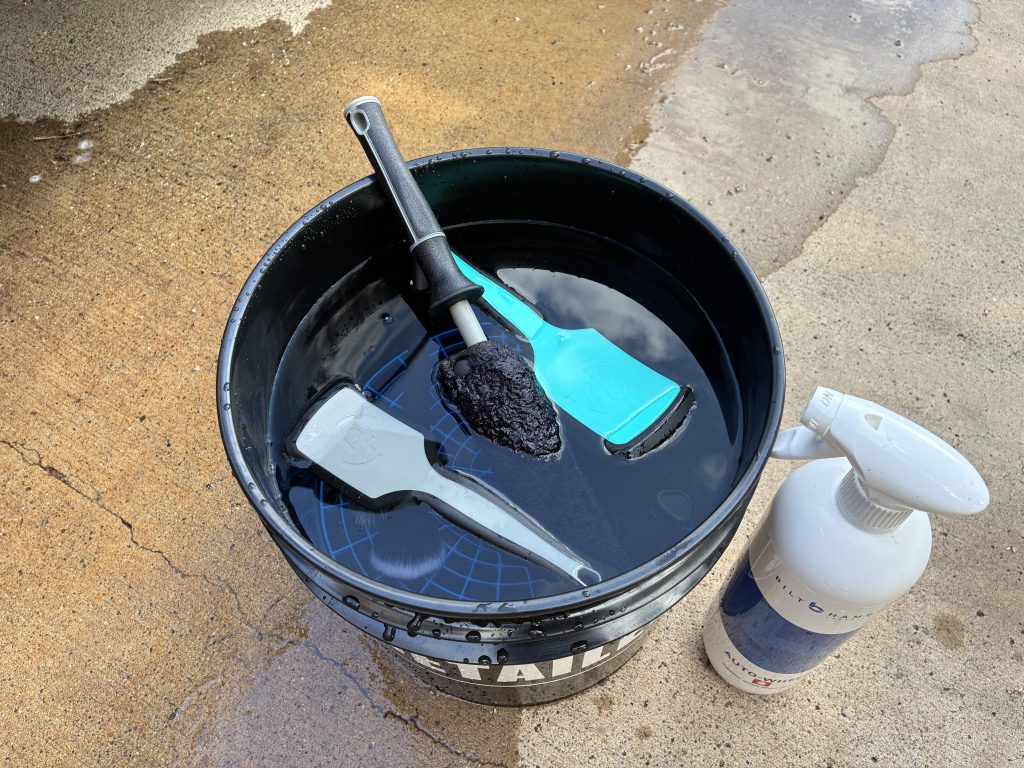
- Three buckets (two for washing, one for wheels)
- Bucket Inserts
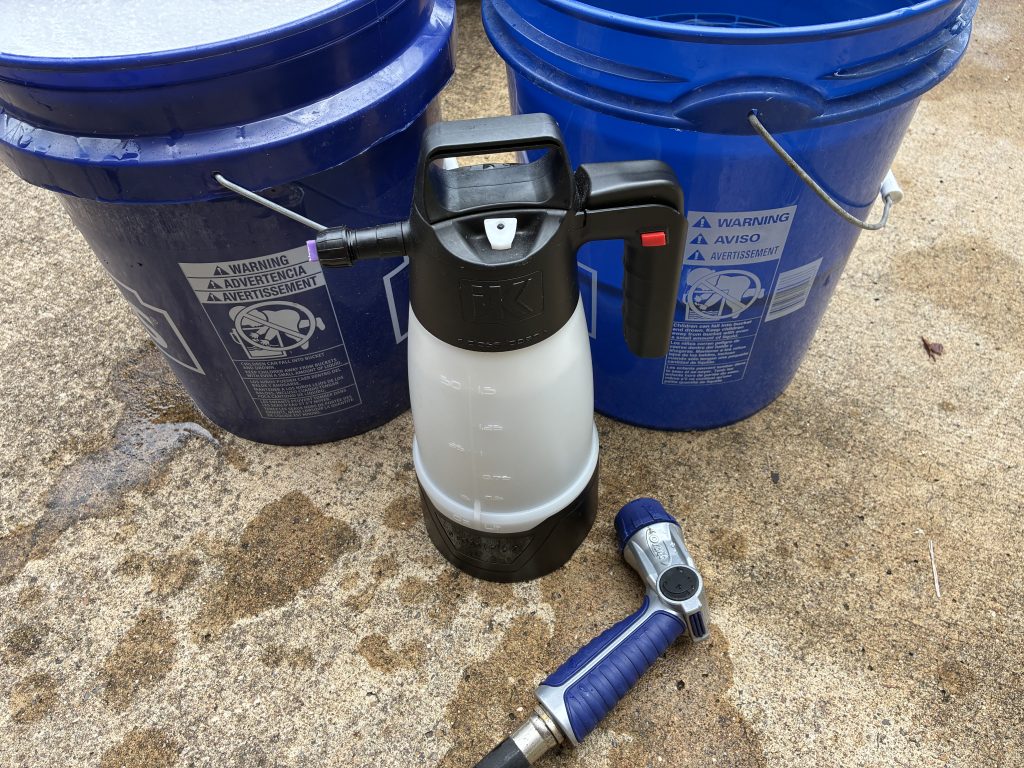
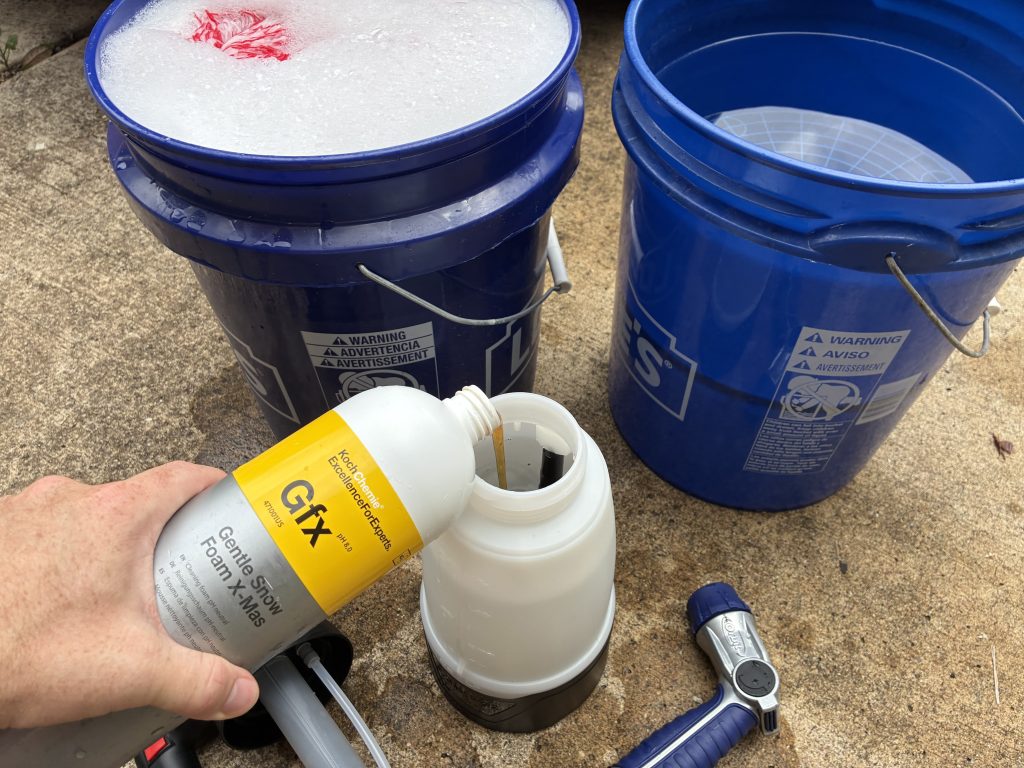
- IK e Foam Pro 2
- Koch Chemie Gentle Snow Foam (X-Mas Edition)
- Gtechniq WM2 Microfibre Wash Mitt
- The Rag Company The Liquid8r M22 Green
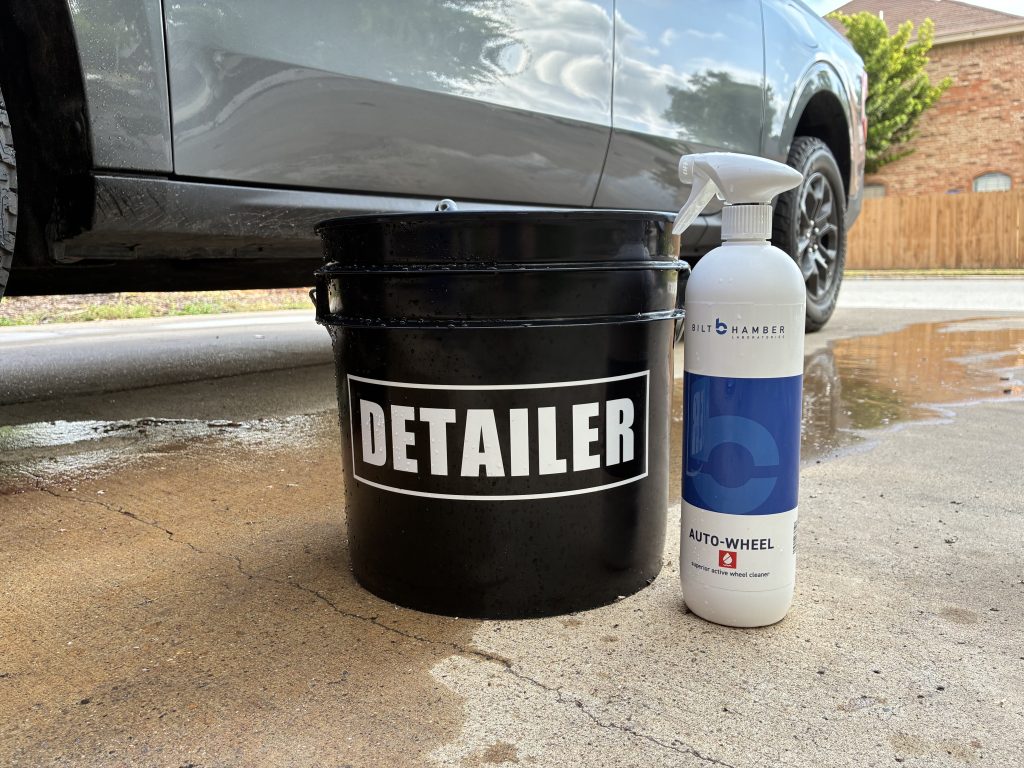
- Bilt Hamber Auto-Wheel
- Detail Factory ProGrip Wheel Face Brush Riptide
- Detail Factory ProGrip Tire Brush – Standard
- Detail Factory Ultra Soft Synthetic Brush Set
- Detail Factory Mini Wheel Brush Kit
Start the Wash Process …
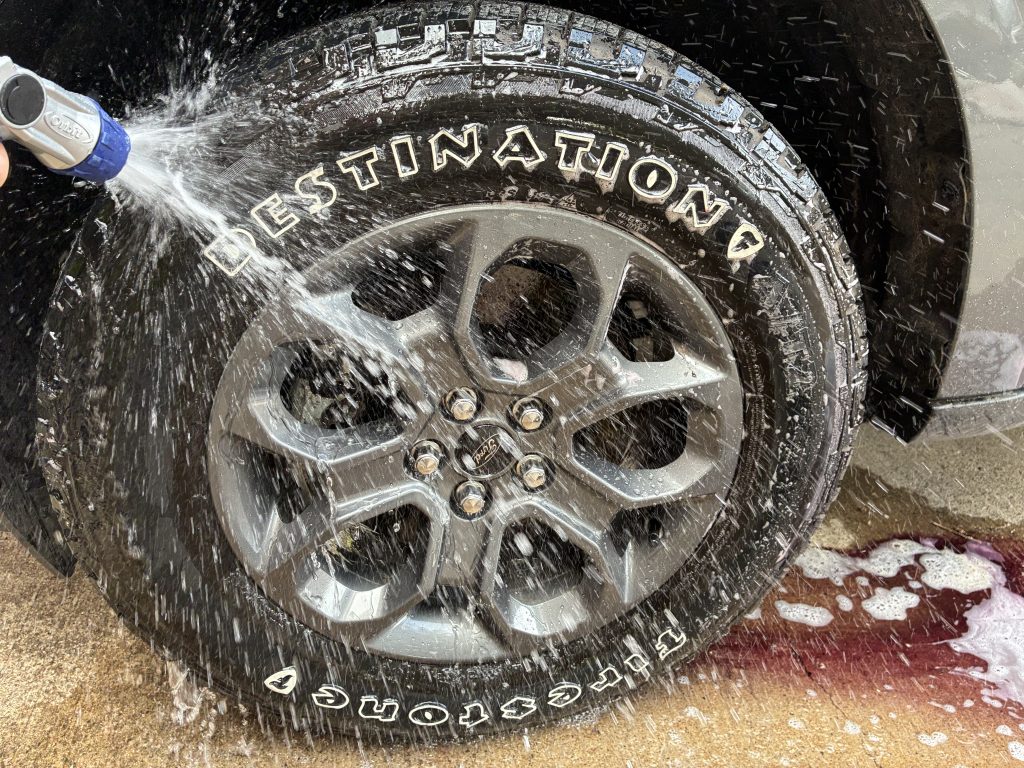
One thing to keep in mind when starting your wash process is that you always want to start with the wheels. The reason we do this is due to the wheels typically being the dirtiest parts of the vehicle, and we want to remove all this dirt and grime first, before moving to the more sensitive (and generally cleaner) paint areas. Also, spraying down your wheels can cause dirt and grime to be sprayed onto the paint, over even some residual wheel cleaning chemicals. Cleaning this area first means that if any over spray happens, it is easily removed when you target the paint areas.
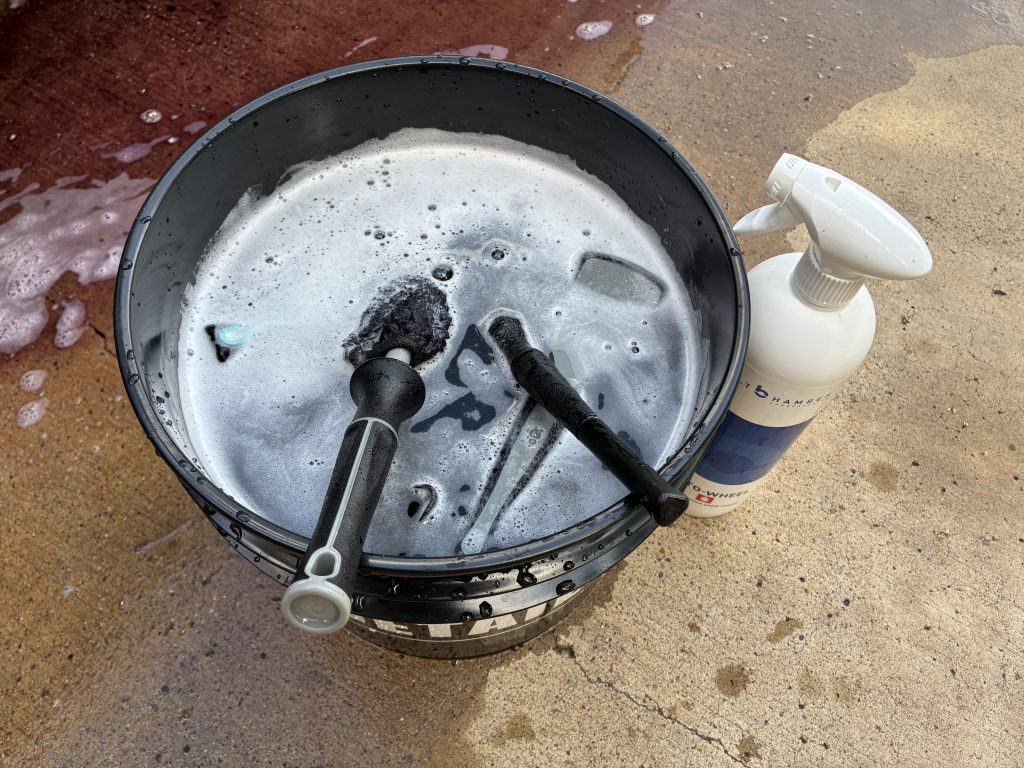
Make sure that you have a dedicated bucket and wash media strictly for wheels. Keep this wash media strictly for your wheels and avoid using it on your paint surfaces. There are too many abrasive contaminants on the wheels and using this media on the paint after wheel cleaning will greatly increase imperfection risk.
I started with a quick foam from the IK e Foam Pro 2 and my shampoo. This helps knock down any loose dirt and grime, allowing me to reach for the Auto-Wheel next.
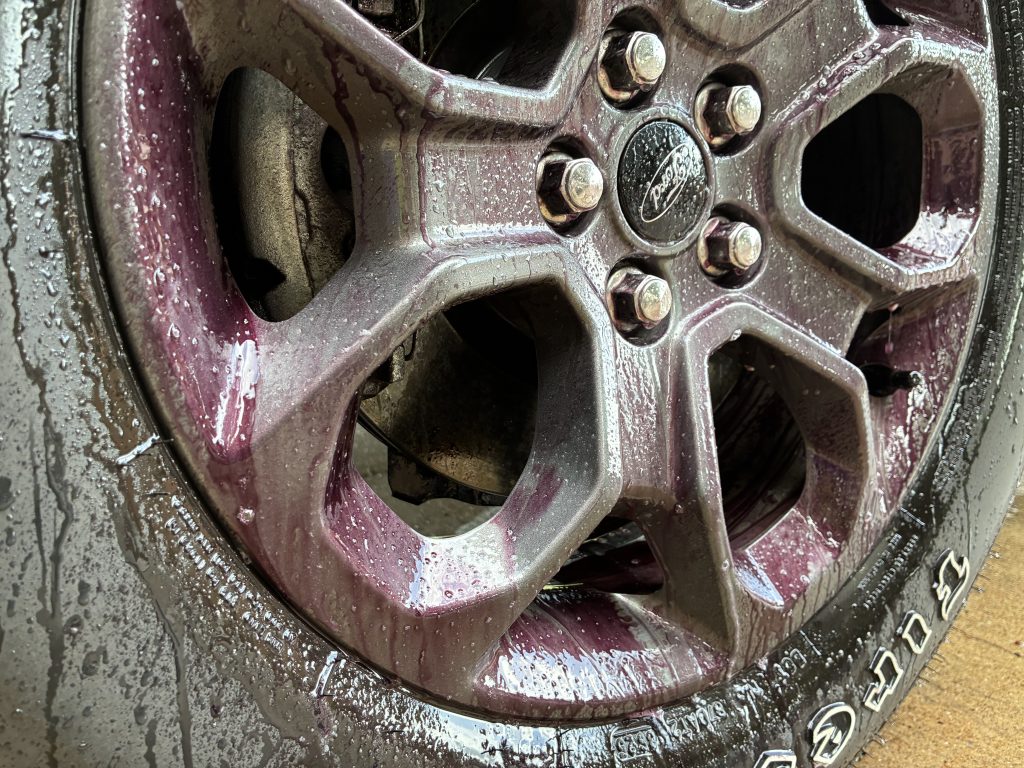
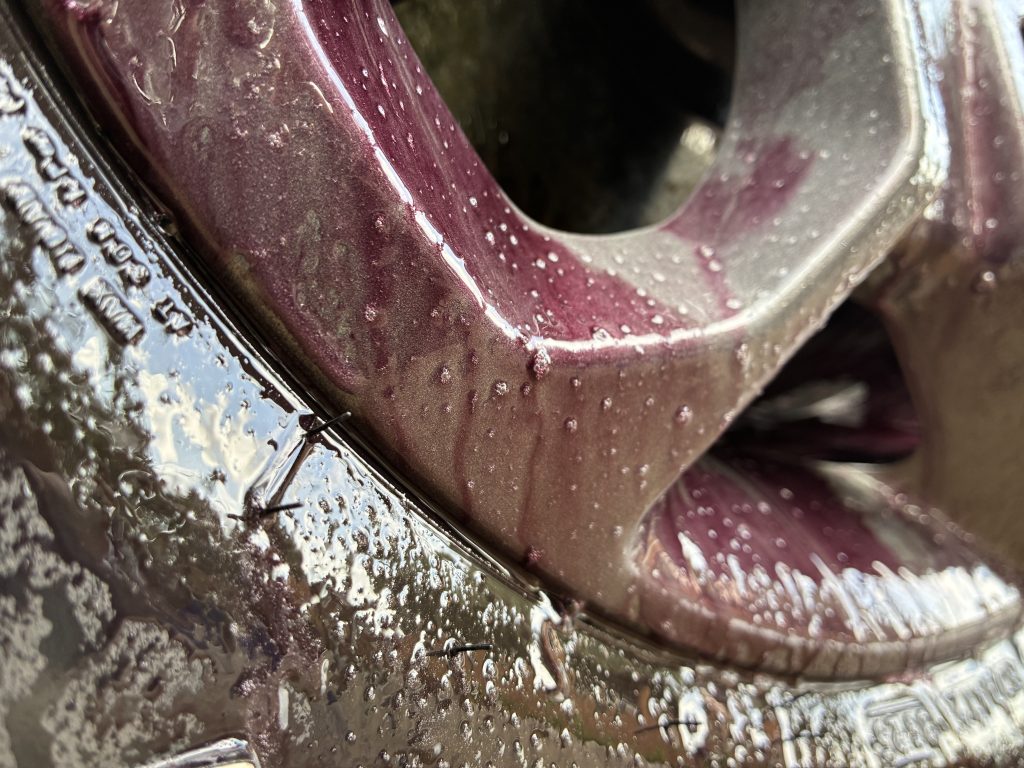
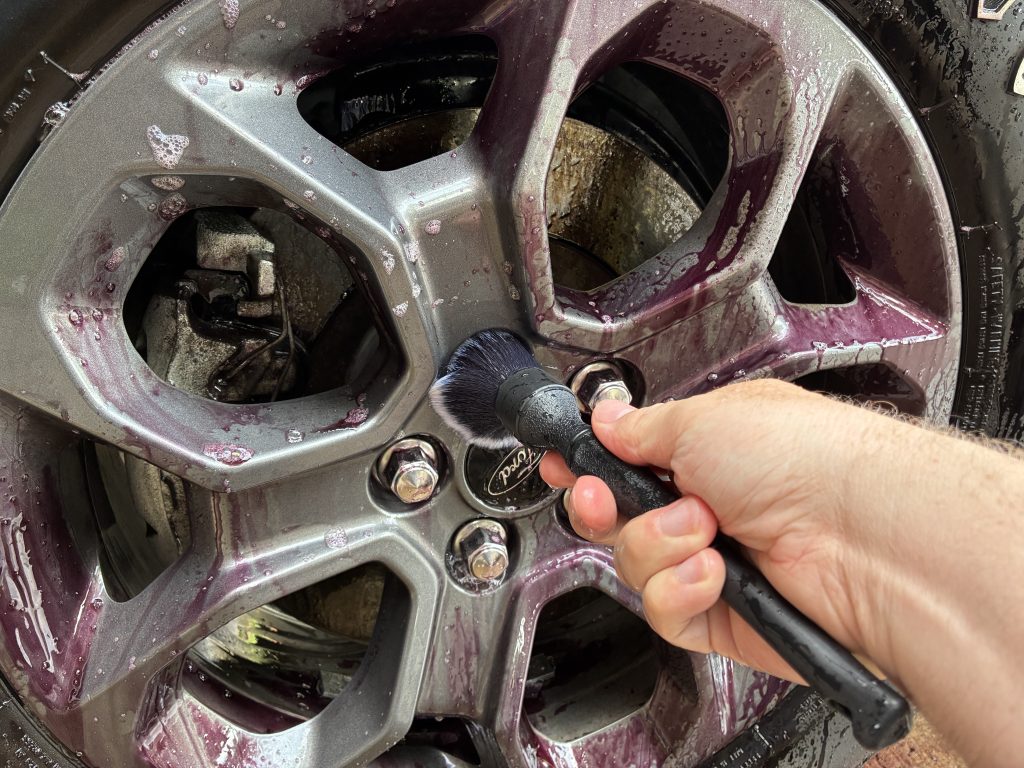
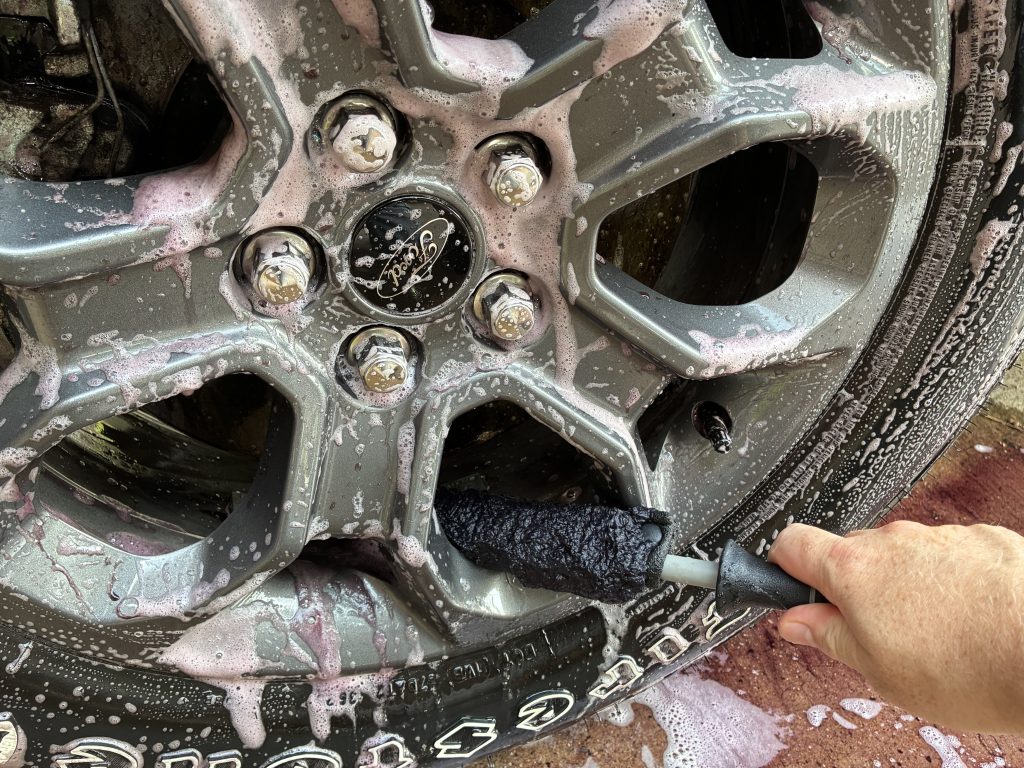
Spraying directly onto the wet surface, let the Auto-Wheel dwell until you see the purple reaction from the chemical. From here, I reach for my brushes and clean all possible areas.
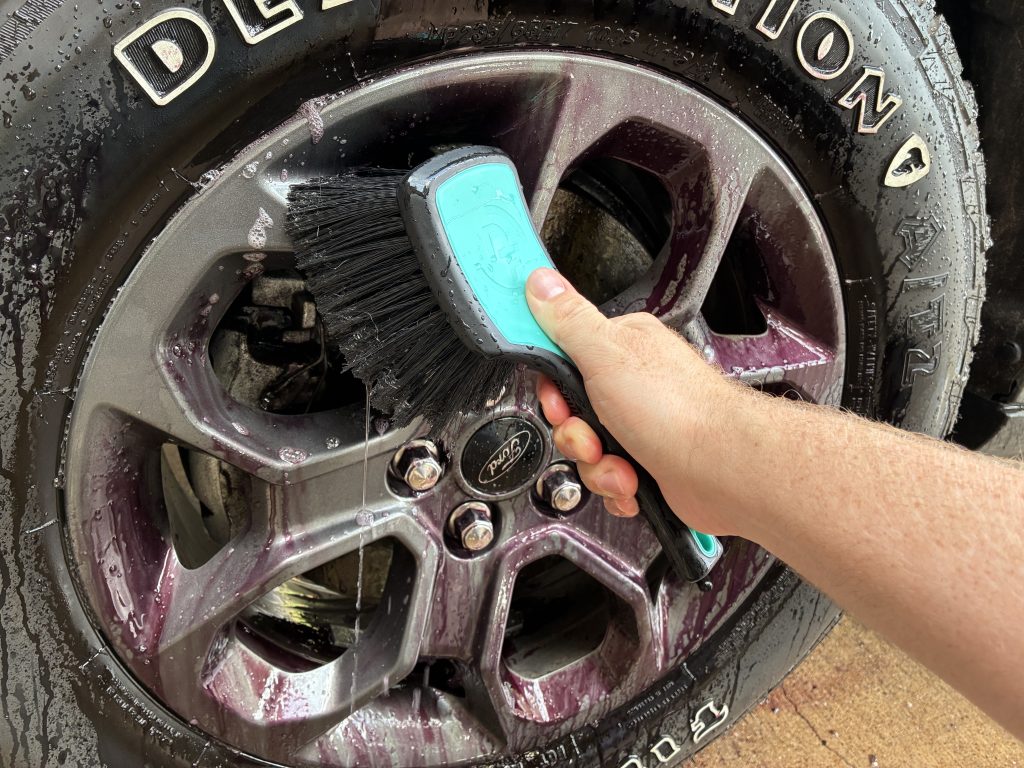
Rinse your brushes before dipping them back into your wheels bucket, allowing you to keep your wash water as clean as possible. Once you are finished cleaning, rinse your wheels thoroughly and move to your paint.
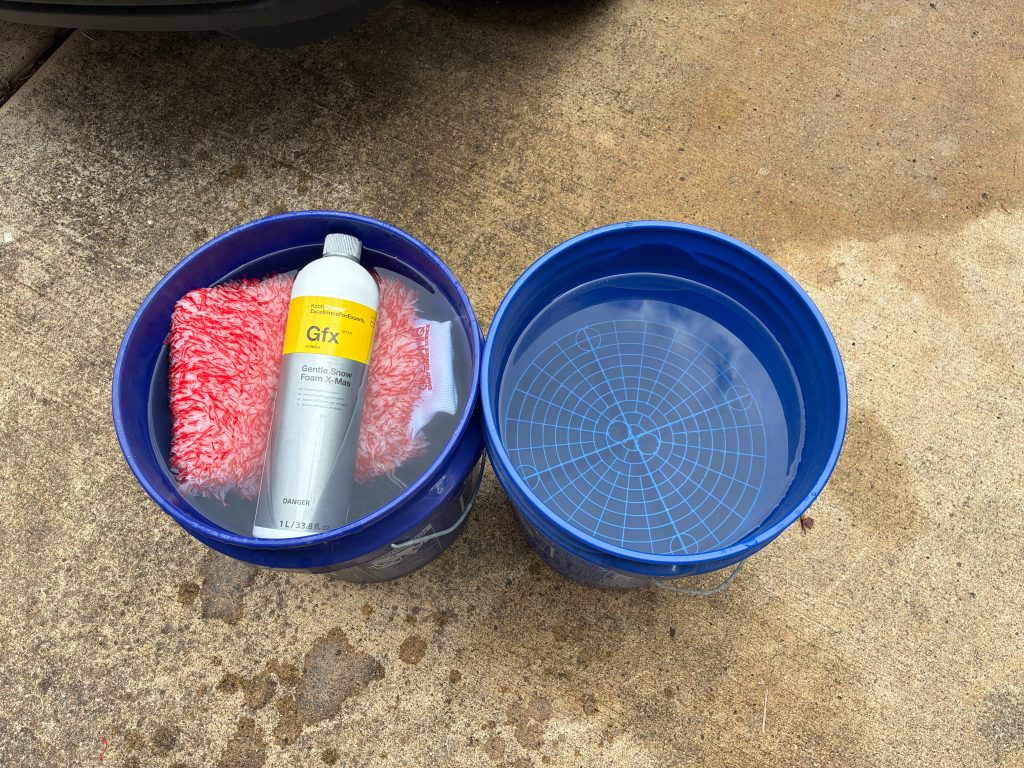
Using the two bucket wash method is one of the safest ways to maintain your vehicle while minimizing the possibility of adding imperfections to the paint. The two bucket method features two buckets, each for a different process.
One bucket with shampoo and water. The second bucket is just water, your bucket inserts, and for rinsing out your mitt or wash media.
As listed in the Washing and Drying section of the Detailing Guide, here are the general steps to properly wash your vehicle:
- Whenever possible, wash your vehicle out of direct sunlight and on a cool surface.
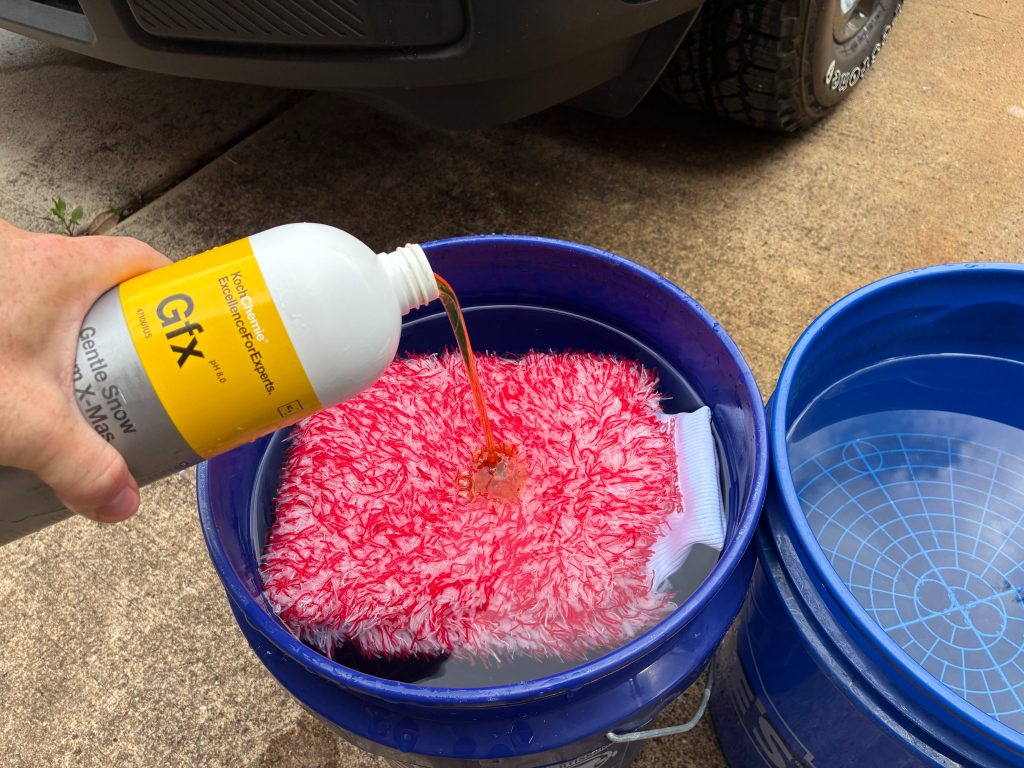
- Add roughly one ounce (or the recommended amount) of shampoo to your wash bucket, then fill with water.
- Starting from the top of the vehicle, gently glide your wash mitt or sponge over one section at a time using light pressure.
- After each section, rinse your wash mitt or sponge in the rinse bucket, rubbing it against the Grit Guard insert to release dirt and debris.
- Repeat steps 3–4 until the entire vehicle has been washed.

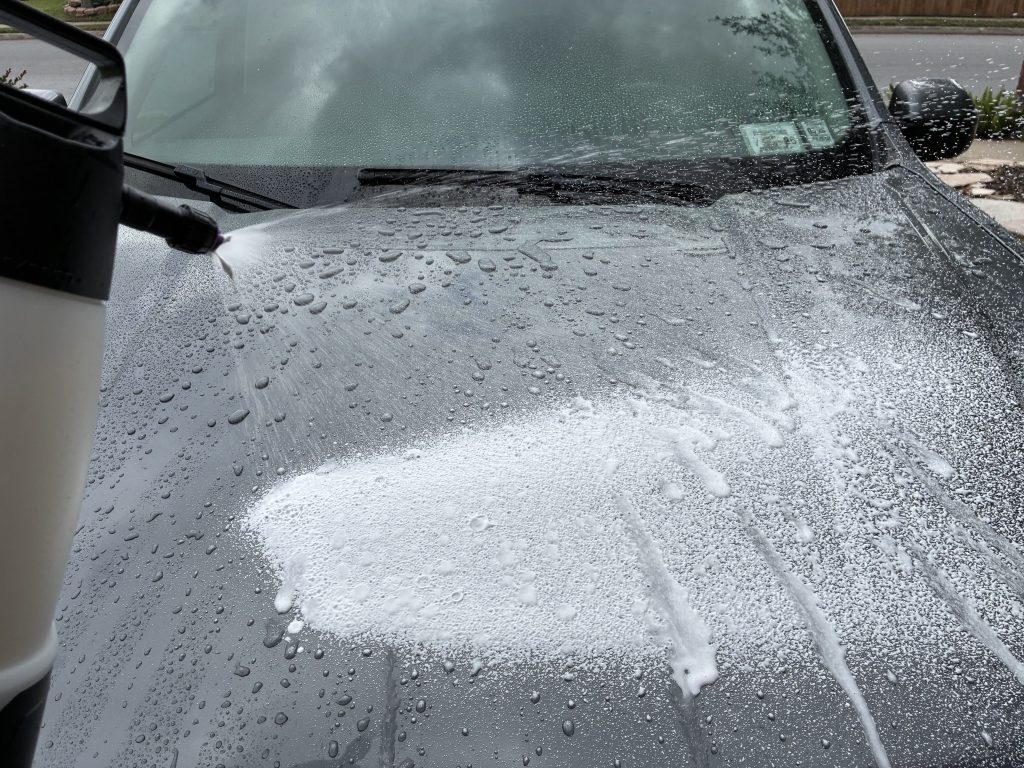
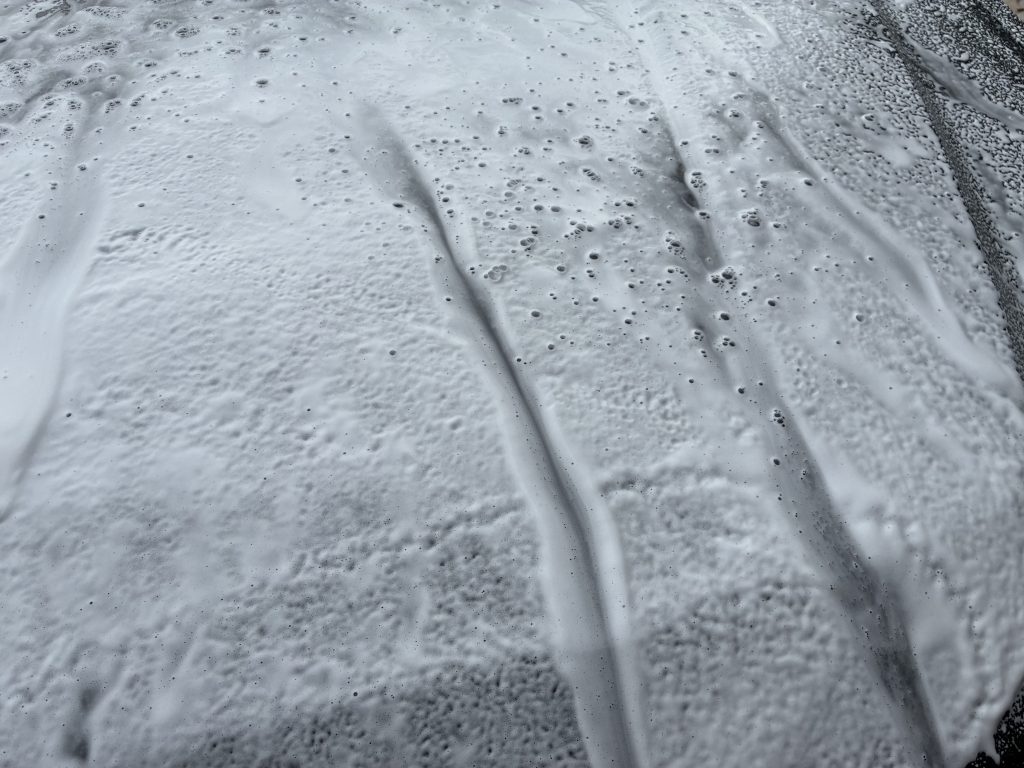
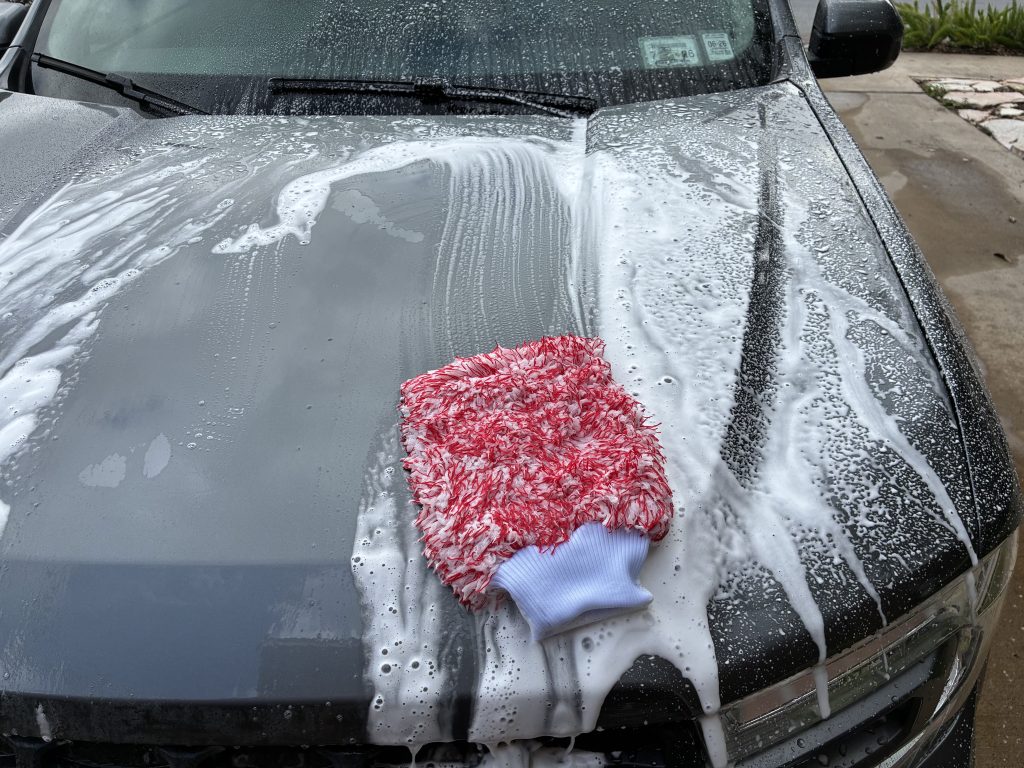
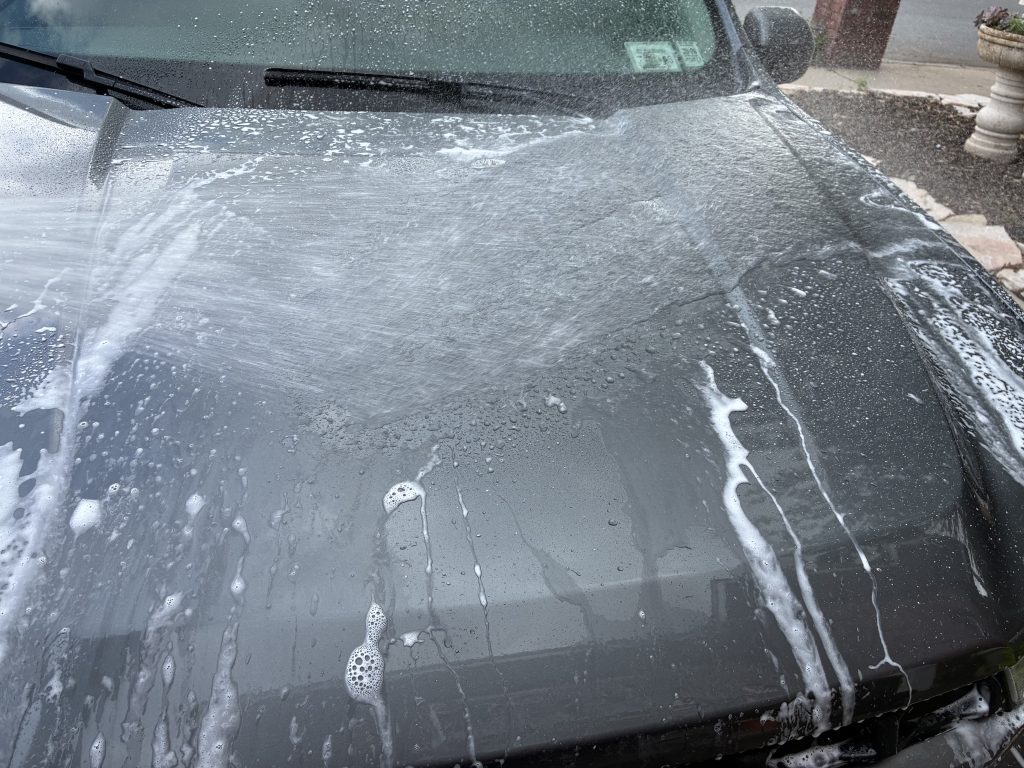
When washing the vehicle, start at the top and work your way down. Wash the roof, windshields, hood, trunk lid, and then move down to the sides. I like to start by foaming the vehicle with my favorite shampoo and the IK e Foam Pro 2. This allows my shampoo to stick to the surface longer, breaking down dirt and grime for easier (and safer removal).
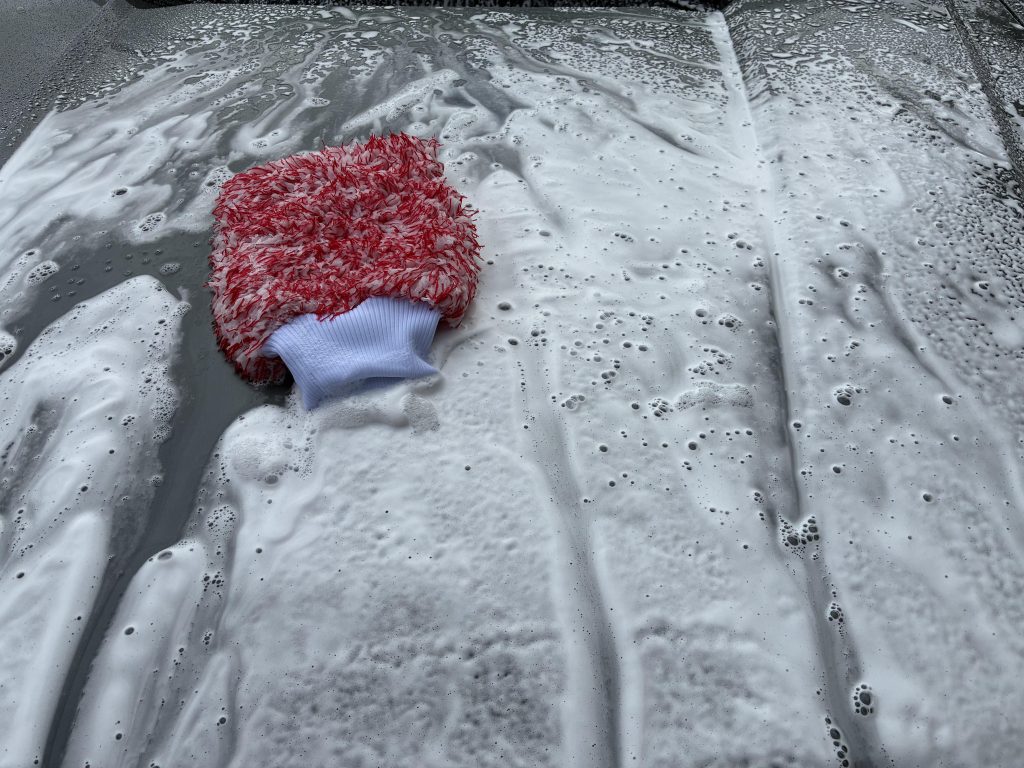
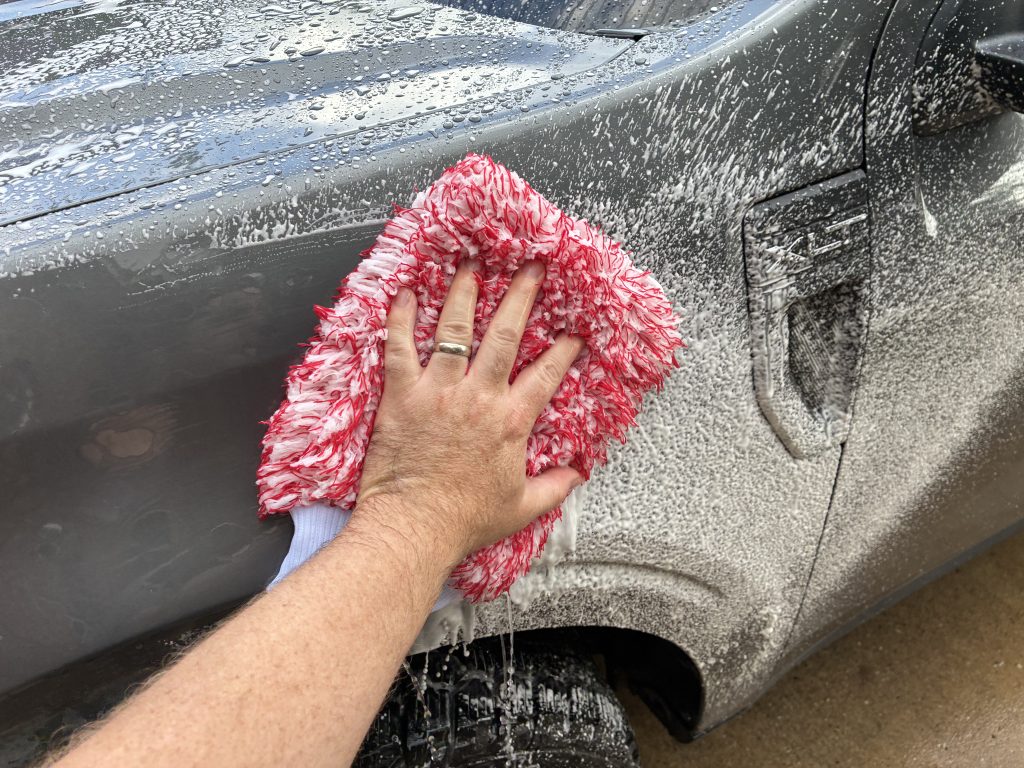
Dip your wash mitt into the wash bucket and clean section by section. For example, I like to start on the hood and move around the car from drivers side front door, drivers side back door, trunk/rear of the vehicle, etc. During this process you want to glide the mitt in a front to back or side to side motion (never in circles), with little overall pressure. Typically I will work in a three to four foot section before flipping and/or rinsing my mitt within the rinse bucket.

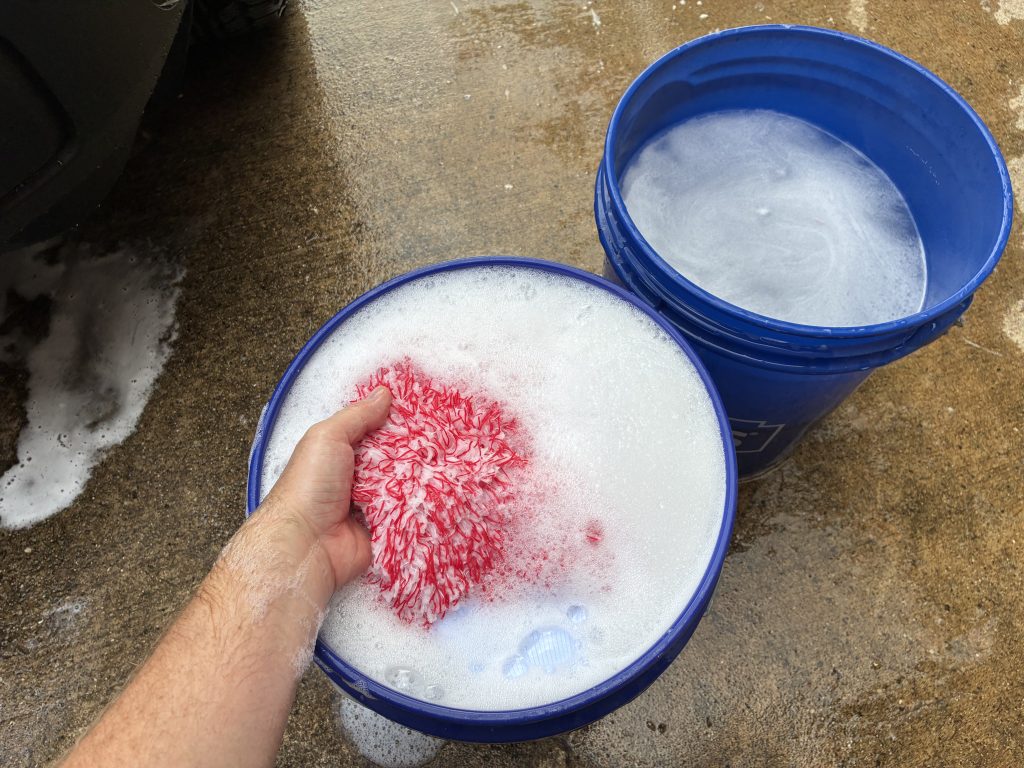
When using your rinse bucket, make sure you agitate the mitt against your bucket insert. This helps loosen dirt and grime from the mitt, dropping it below the insert within the bucket.
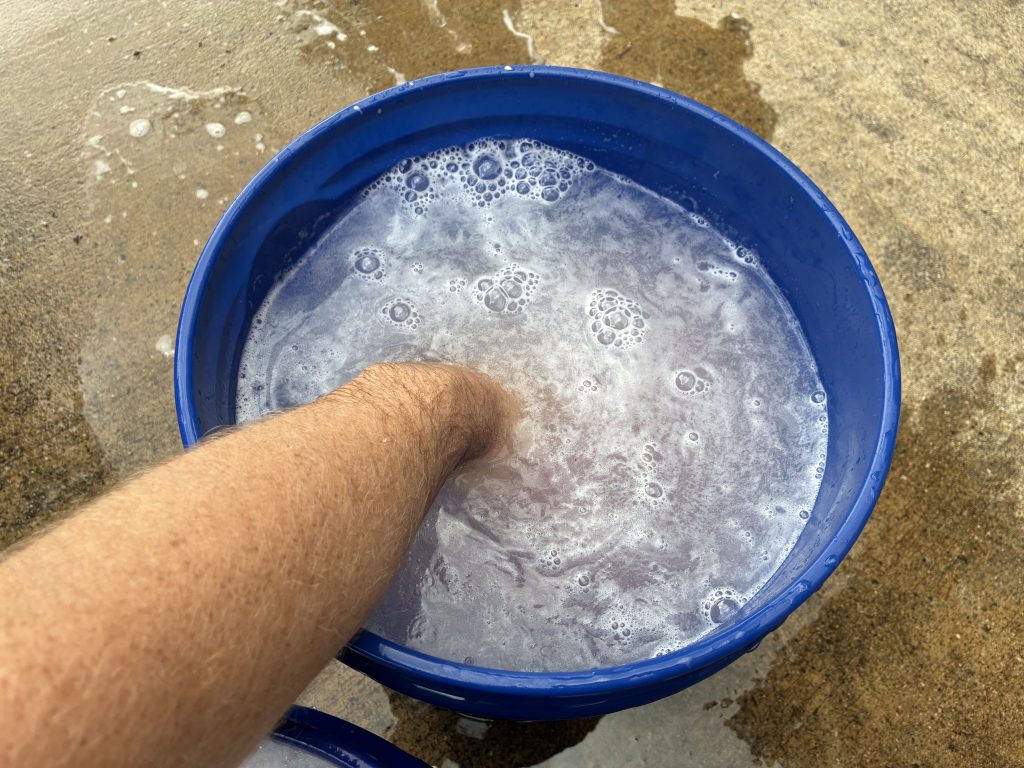
Move to your wash bucket as this bucket has shampoo in it, gently agitate against the bucket insert within this bucket before moving onto the next panel.
Rinse your wash mitt frequently and I would even recommend using a completely separate wash mitt or sponge for the lower areas if they are exceptionally dirty. You can also reach for any paint safe wash brushes for tight areas like exhaust tips, around emblems or within grills.
… Rinse Using the Sheeting Method.
The sheeting method is a simple process that allows you to dry most of your vehicle without ever needing to touch the paint with a drying towel. The main idea behind the sheeting method is to create a cascading effect where the water flowing onto the car combines with the water already on the surface, pulling it down off of the vehicle. Simple physics states that like particles stick together, which is why this method is so successful. When done properly, especially on freshly protected paint, you are left with only a few drops of water on each panel, which can easily be absorbed with your drying towel.
As water drops down the panel, continue to follow with your hose. You will notice the water almost pulling itself down toward the ground. Slowly follow the downward direction of the water until you reach the lower panels of your vehicle.
You will be left with less water on the surface, making the drying processes much quicker and easier overall!
Dont Forget to Dry!
Now that we are done washing and rinsing, lets move into the drying process. At this point the paint is clean, but still wet. The key here is removing all standing water quickly as if it is allowed to dry onto the paint, the higher your risk of water marks. Water marks happen when water dries on the surface and the minerals within that specific water source lightly etch into the surface. Different areas have different mineral content within the water, so it is imperative to remove standing water quickly to avoid any watermarks.
If you have a leaf blower, this can quickly move water from cracks and crevices, stopping possible drip marks. If you do not have a blower, move to drying with a quality drying towel and moving the car in the driveway once you are finished. This will move most water tucked away in a crack and crevice, causing it to drip down the paint. Remove with your drying towel and you are all set!
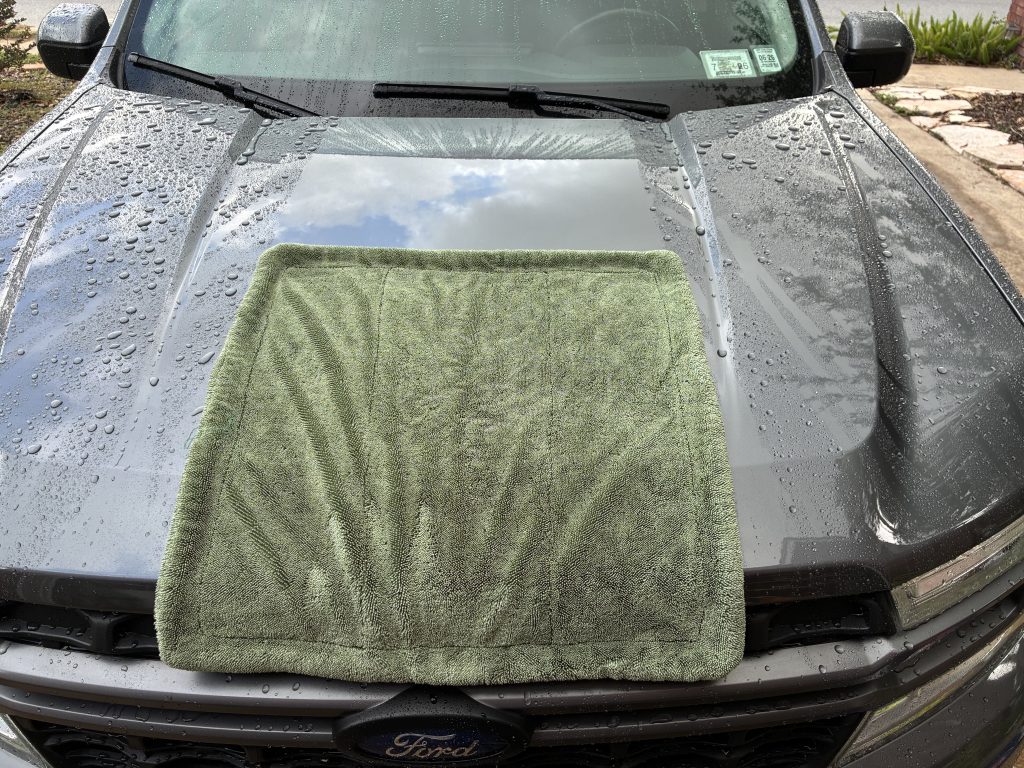
When using a drying towel, gently drag it across the finish to remove the majority of the water.
Finished
If you follow these simple steps when washing and drying, you will keep your vehicle not only prepped for any of your next detailing steps, but it will allow you to keep your ride looking its best at all times.