
Compounding / polishing: The looks of the process from start to finish.
by Eric SchusterI am all sure you are aware that you need to compound and or polish to remove defects. With that said, how do you know you are going about things in the correct manner? How is the paint supposed to look? Why polish after compounding, isn’t it enough? Why cant you just use Meguiar’s 105 and call it done? Lets take a look at the process briefly:
Starting out, you can see the finish was in dire need of some reconditioning. Scratches, RIDS, swirls, oxidation were taking over this paint! So where do you start? Do you use a compound from the start? Do you start with a finishing polish? The correct answer (without having done over 1000 cars in this condition would be to start out with a medium polish and pad combo and check the results. For me, I started this car out with Menzerna powerfinish and a white polishing pad. However, I didn’t get the results I was looking for, so I had to bump up the combo! So what do you think I went to…a cutting pad? a heavy compound? a cutting pad with a lighter polish? AS you can see there are many variables that can produce the desired results! What I actually ended up doing on this car was a three step process using the following combos to give me outstanding results:
Meguiars 105 compound on a white pad
Menzerna 106 on a white pad
Menzerna 85rd on a black pad
*all work was done with a DA polisher
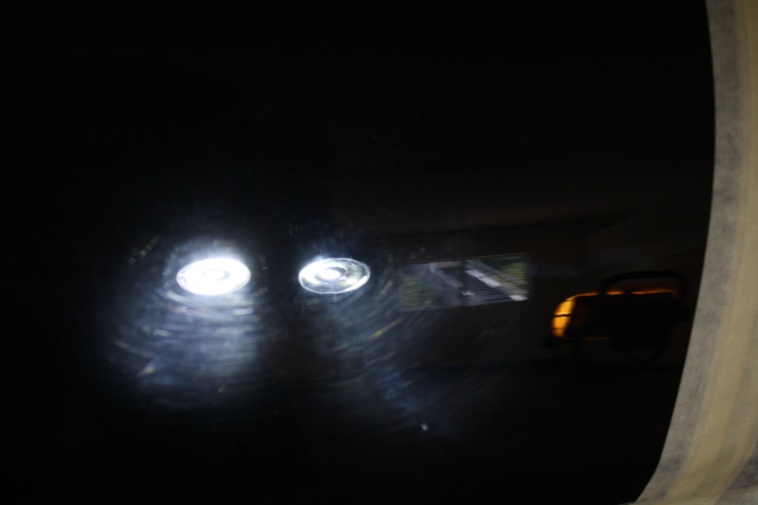
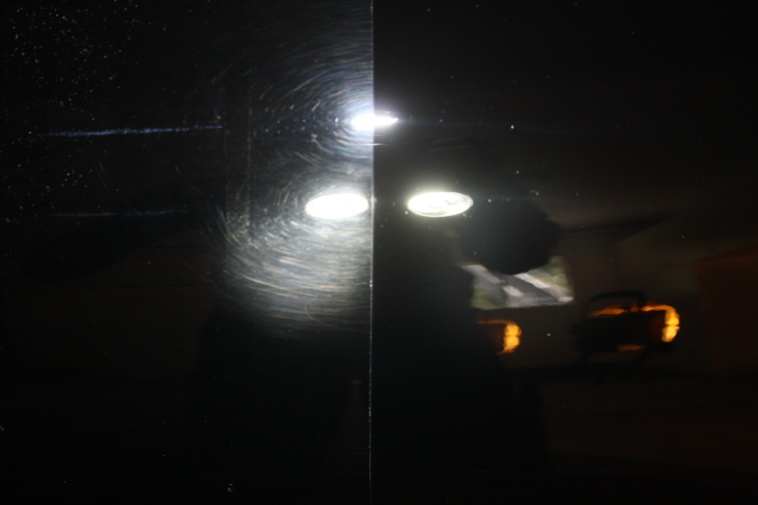
Here is the starting condition of the paint: pretty screwed up!
After compounding, you can see the haze and why you cannot stop after compounding a car and go straight to wax. Sure it looks better, but it still isn’t done right, lacks total gloss, and has actually MILLIONS more scratches in the paint…they are just more uniformed and much smaller! Left side untouched, right side just compounded…
After refining the paint with all the steps, here is what I was left with…a finish that I would gladly put my name on!
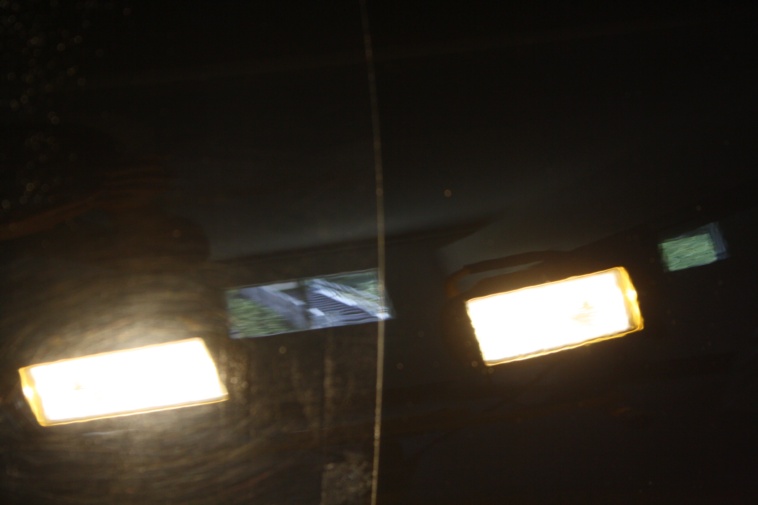
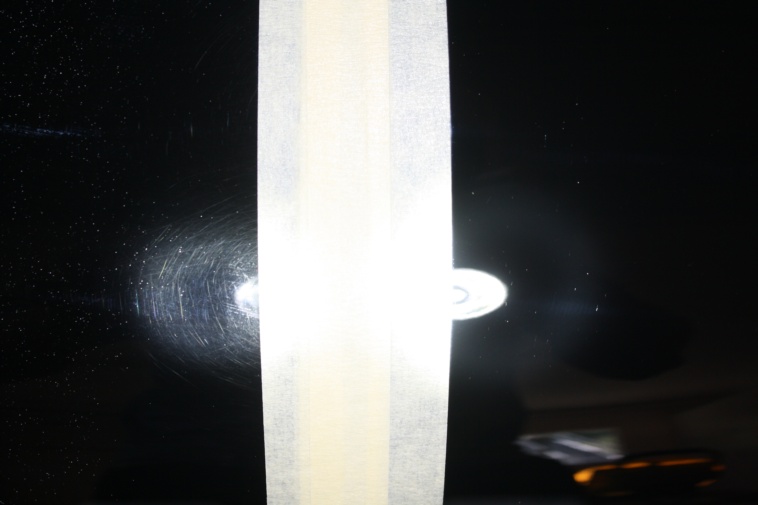
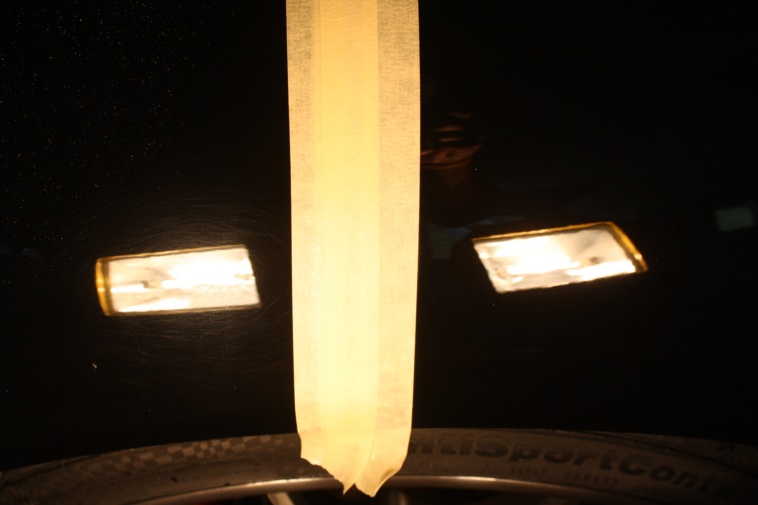
here are some 50/50 shots to check out!
Hope that clears up the compound and polishing process for people with questions about how it will look after each step and why each step has its place in the paint correction process!


Thanks Eric. Very helpful!
Nice work Eric! I think a lot of people get confused when choosing a polish/pad combination. You bring up a great point: no need to step up to a different polish/pad every time a particalar combo doesn’t work. Mix it up and try a different polish with the same pad or different pad same polish.
Thanks Eric.
Eric,
Thanks for the nice article. My question is, how does the average car take you? I just completed a Lexus IS 350 and it took about 20 hours. In your article did you go over the entire car three times?
Thanks,
Jeff
I still get confused on what compound and pad combo to use. I have a porter cable, but every time I use it, I introduce micro-marring into the paint and that never ends well.
Hi Eric,
Thank you for the great write-up. Could you tell me a little more about the approach? The thing I am curious about is how long are you spending at each stage of polishing/compounding. That is… for a level correction you did, how many passes are you doing at each stage of correction?
Thanks!
-Kevin
This might sound crazy but I would like to know if this is even possible doing by hand using M105 & M205 as the only products I have and using the polishing pal with Lake Country Orange cutting & White polishing 4″ pads at my disposal. I dont have access to a DA so that is out of the questions and I really do perfer to do it by hand, no matter how crazy that may seem.
Thanks
Jason
Jeff,
The average car takes me anywhere from 10-15 hours. Now obviously a one step on a M3 is different than a 3 step on a Ferrari. I did just finish up with 23 hours on a Lamborghini, and also 24 hours on a Rolls Royce phantom (exterior only). For this write up, I used pictures from a black Porsche Turbo. The whole car took me 14 hours start to finish, about 13 on the paint alone. (not counting the wash, the tires, wheels, glass, etc). It all depends on the clients expectations and the starting condition of the car.
If you spent 20 hours on a lexus, either you really took your time, the damage to the paint was very bad to start off with, or your process might have been overkill. At the same time, it could have been exactly what your car needed, its tough to say. In my experience with Lexus paint, it cleans up relatively easy with a three step combo. if you would like to email me your process and go over it, feel free to and maybe we can save you some time next time with different products/processes.
Dalton, its tough to say what pad and combo to use. every situation calls for something different. That is why there is not one SET process! I carry about 120 different combos I think for any situation. Sometimes its a heavier pad with a lighter polish and sometimes its the opposite!
Kevin,
There is no one set process for all cars. Softer paint will require less passes to compound, Harder paint will take longer.
General rule, once you find out what combo to use, breakdown the polish all the way. If you stop short, then you are not getting full potential from the polish. There are a lot of factors that dictate how long each step will take. A compound like Meguiars 105 will take 1 min to break down with a white pad, but take only 20 second with a wool pad on a rotary polisher, but about 45 seconds with surbuf pad.
Thanks Eric!
Jason, actually, I highly doubt you will achieve as good results by hand. The machine makes things so much easier and BETTER, not to mention your arms will not fall off!
Thk you. ^^
Thanks Eric, I expected that answer, guess I will just have wait until I get my hands on one of those DAs. Since I can’t get results by hand is it even worth while for me to do a light compound/polish before I put on sealant or just go straight to sealant after I wash/clay the car?
Jason
Jason, I would go ahead and clay it, then clean the paint with something like chemical guys ezcream glaze, then seal it up with blackfire wet diamond. OR, clay it and use chemical guys blacklight as it has some light cleaning ability and sealant attributes for protection, not to mention it looks good!
Thank you for the detailed review, Eric… You guys do a great job on here…
You mentioned 3 products that you used, Meguiars 105 compound, Menzerna 106 and Menzerna 85rd… Where would you suggest fitting the Menzerna SI (PO83) in that line up? Meaning would you use it in place of the Meguiars 105 compound, would you use it before it or after it?
Thanks in advance!
Omar
Omar,
SIP (po83) would be used in place of 105 if you dont need cut cut of 105, or after it. However, if you used SIP, then you would probably be able to stop at 106 (super finish) on a black pad on your typical car (depending on the clearcoat hardness). So your process would be something like this:
105/orange or surbuf
SIP/orange or white
106/white or black
You should be able to finish with 106 and without 85rd, unless you want that total gloss result. 106 finishes pretty close to 85rd. SIP has some pretty good cut on its own paired up with the right pad, and it finishes out with a slight haze that is easily cleared up with just one other polishing step via 106.
hope that helps.
Eric,
Thank you for the prompt reply. It sure does help!
Omar
How long do yu usually wait in between stages of the compounding/polishing process?
The clarity of the paint in the “after” pictures is awesome; it looks as if a rotary polisher was used to achieve the look you obtained. great work, Eric!
Hey eric,
Your post is wonderful. I am actually wondering why you did not go from the Meguiars 105 to the 205 and then the polymer sealant? I usually only use mainly meguiars, but I have yet to use a good cut/polish combo yet. what pads would you recommend to do a 3 step on a newer car (black Infiniti G), that seems to have been nice and swirled up from the dealer, and an older car that needs a nice re-shine (95 Ford)?
Dan, there is no waiting time between steps. I go around the whole car with a compound, then around the whole car with a middle polish, then again with a final polish.
Ben, I dont like 205 on black paints. It micromars with every single black paint I have tried it on with every pad I have tried out. Menzerna powerfinish actually removes more and finishes down better, so I always reach for that first! It might just be me though as other people love 205 after 105.
black infinity, I would go with something like meguiars D300 and then Menzerna powerfinish, then Menzerna sf4500. obviously if you are not getting the cut you want from D300, step up to 105, or if its too much, try powerfinish first. I havent worked on a new black inifinty, so I dont know if the paint is harder or softer, but the older ones were relatively soft paint and pretty easy to work on. You may start out with D300 on an orange pad and be able to jump to Menzerna 106 and a black pad and finish out to your liking…you never know! I have 120 combos with me on every detail between all the pads and polishes and compounds. If you want to play it safe, I would get surbuf, orange, white, black pads, to go along with Megs 105, menzerna powerfinish, and menzerna sf4500…same products for the other car. You can just vary your combos accordingly. here is another article I did regarding combos I like to use
https://www.detailedimage.com/Ask-a-Pro/what-are-some-of-the-go-to-polish-pad-combos/
I wrote that combo article before surbuf was in my arsenal, so substitute the pfw (I only use it on a rotary) with surbuf pad and those combos still apply
thanks for the quick and detailed feedback. I will definitely try it out!
Really nice write up Eric. Thanks. The paint correction you did with just a DA polisher and the noted products is absolutely incredible. I wouldn’t think you could get such a refined finish on the paint with just a DA polisher and a couple of different products. I will definitely be giving what you explained here a try on one of my own cars here at home.