
Ferrari 458 Italia New Car Prep and Paint Correction
by Ivan RajicAfter finally going through some photos taken a couple years ago when I detailed one of the best exotics on the road, I wanted to share its story and some photos on the blog here. The car in question is a brand new 2011 Ferrari 458 Italia. Well, it was brand new at the time of these photos and the detail. I was actually recommended to the owner of this gorgeous 458 by my good friend and our very own blog manager, Todd Cooperider. After seeing the quality of work I performed on his other two cars, a BMW 650 and Porsche Cayenne, the client decided to have me work on the 458 from the start. I won’t spend too much time introducing the 458 as many are already aware of this amazing machine, so I’ll go straight to the photos and some information about the detail.
The car was purchased at a local exotic dealership in Chicagoland, which I won’t name so as not to soil their name online in a blatant manner, but the delivery condition was quite lacking for a $300,000+ exotic sports car! The dealer did whatever prep they usually do, but prior to doing any waxing, they installed paint protection film as the client requested. The film was applied to the entire front end (hood, bumper and fenders), mirrors, rear bumper and side skirts. The film itself was of good quality and the application was spot on, but the dealer managed to ruin it immediately by what could only be described as “waxing the edges of the protective film”! Every edge of the film had wax residue on at least a few spots along the edge, which gave me the opportunity to spend a good 3 hours removing it. There was also wax residue throughout the car in certain crevices and on panel edges.
Aside from the horrible wax application, there were typical Ferrari defects from the factory. While some of the holograms may have been from a bad dealer prep, there were obvious sanding marks on quite a few areas of the car. Overall, I spent about 28-30hrs on the car between the cleaning, correction and wax application at the end. The interior got only a quick wipedown as that was in perfect shape and needed nothing. Onto the photos…
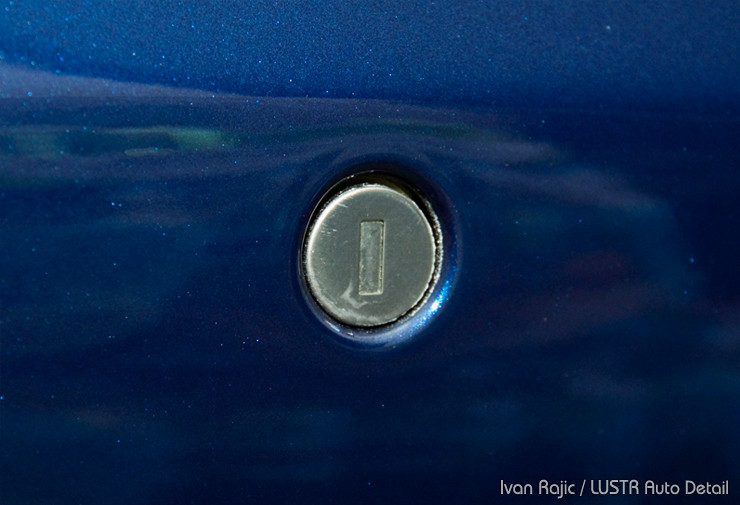
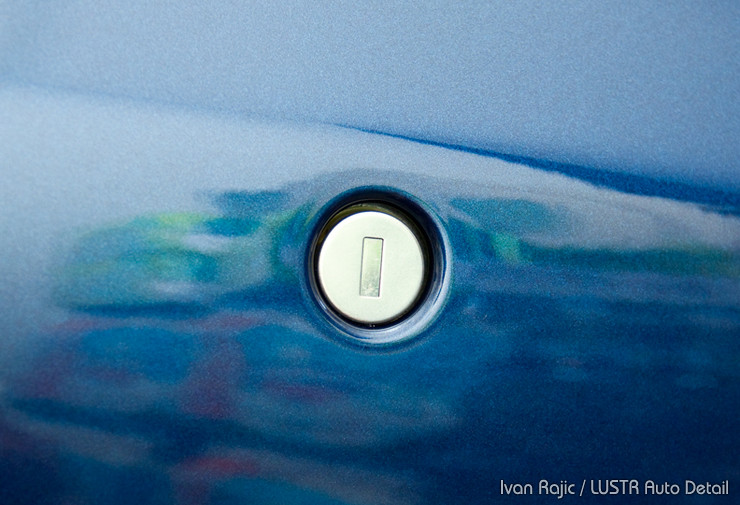
Here we see quite a bit of wax just sitting in the key hole…
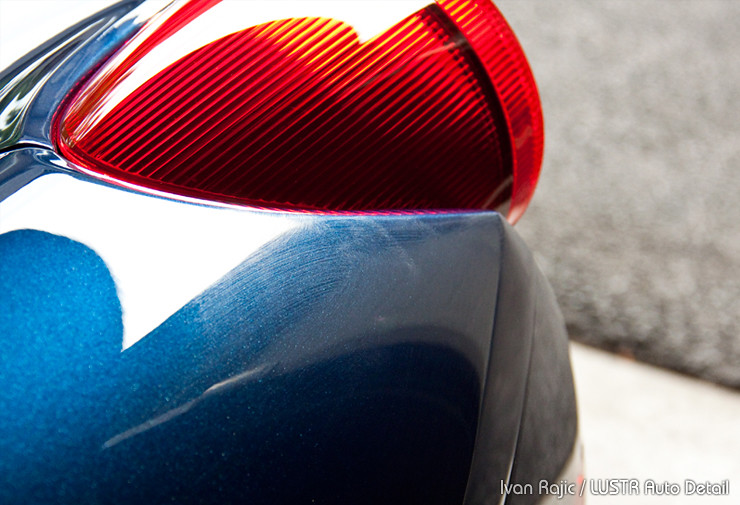
Wax residue left by the dealership “detailers” on the rear driver quarter panel…
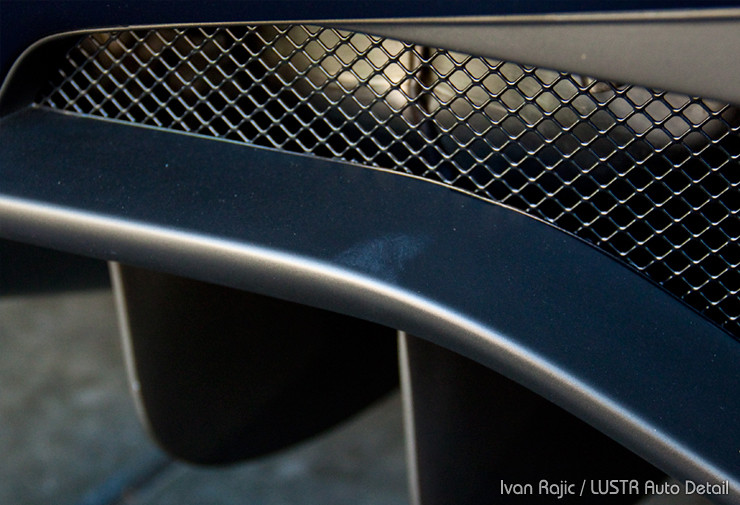
Some wax on the rear diffuser piece…
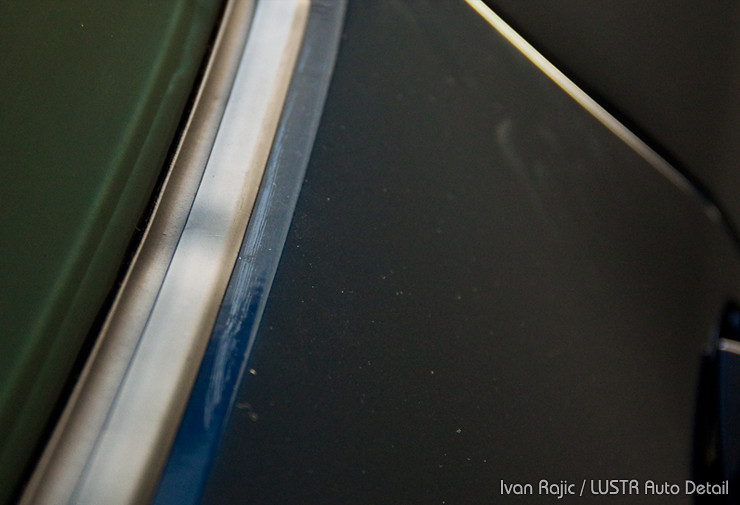
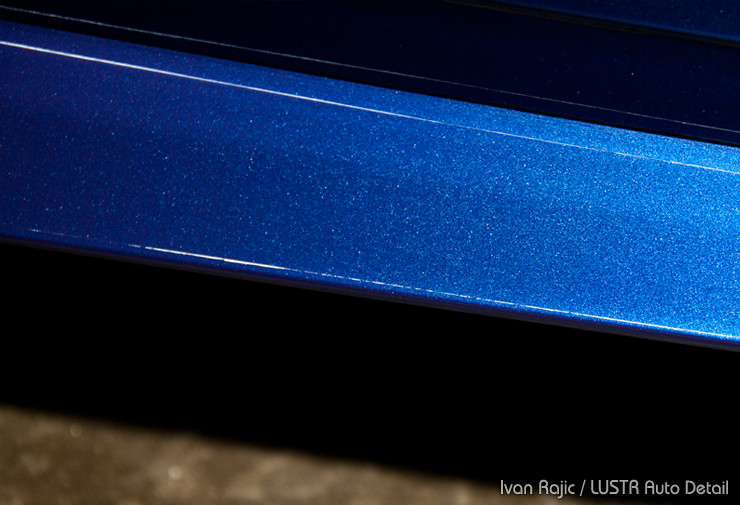
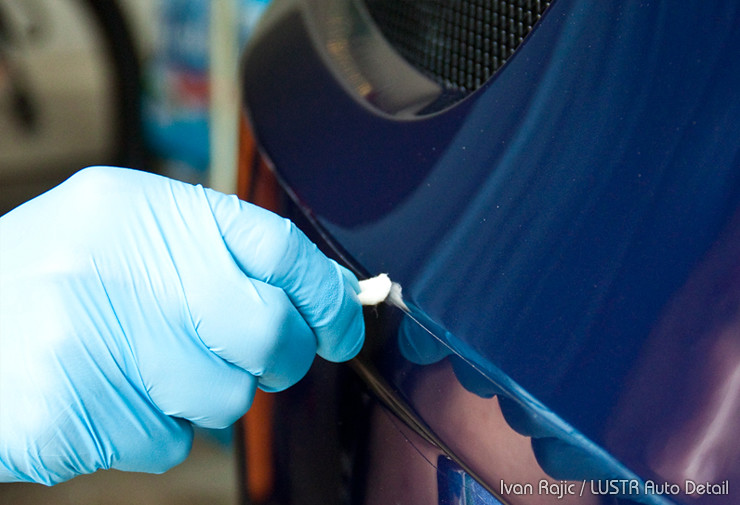
Along the driver door top edge…
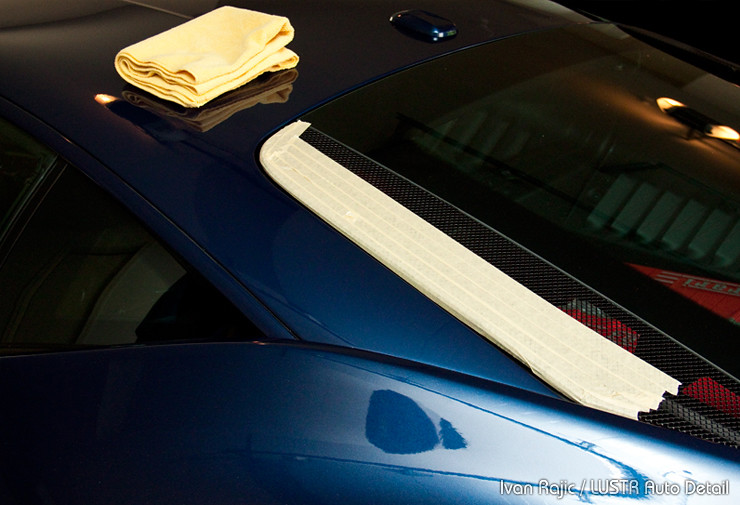
And of course the beautiful job of waxing the clear protection film…
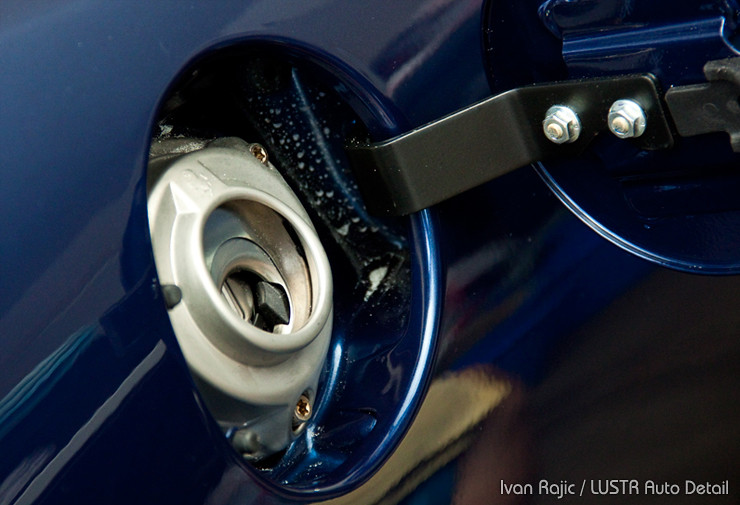
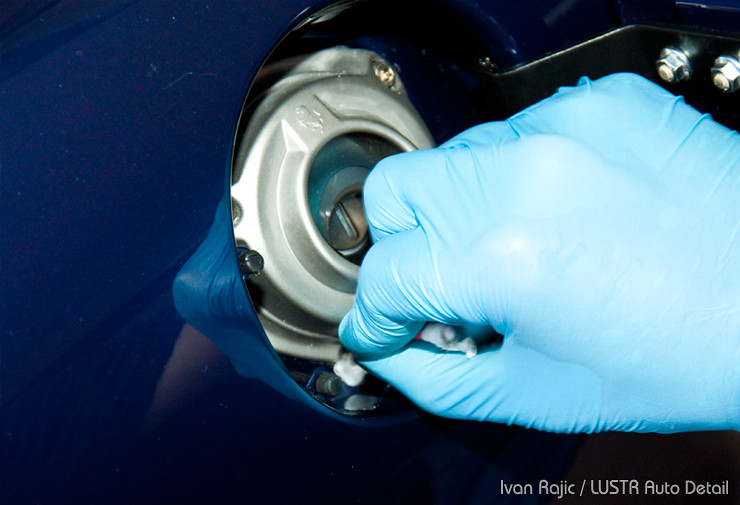
Can’t deliver a $300k Ferrari without some dirt under the fuel door…
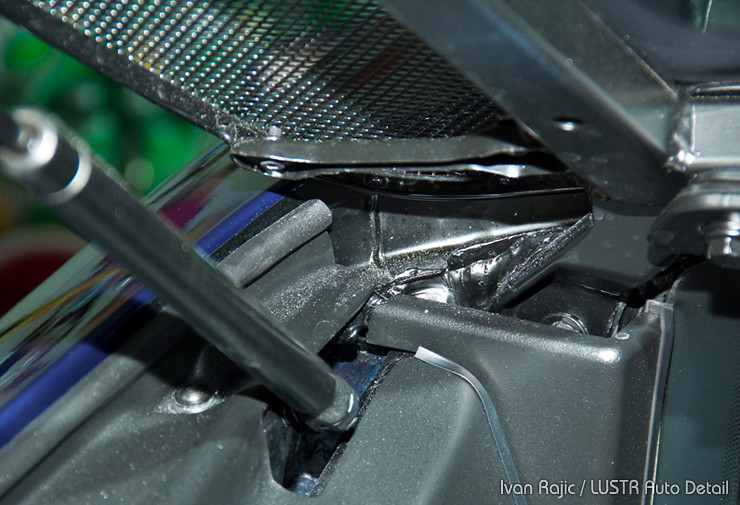
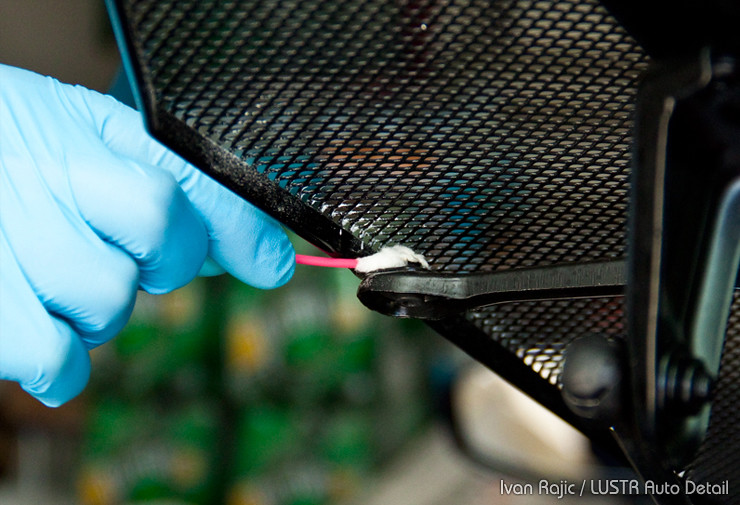
A TON of wax dust and residue under the vent grille by the engine bay…
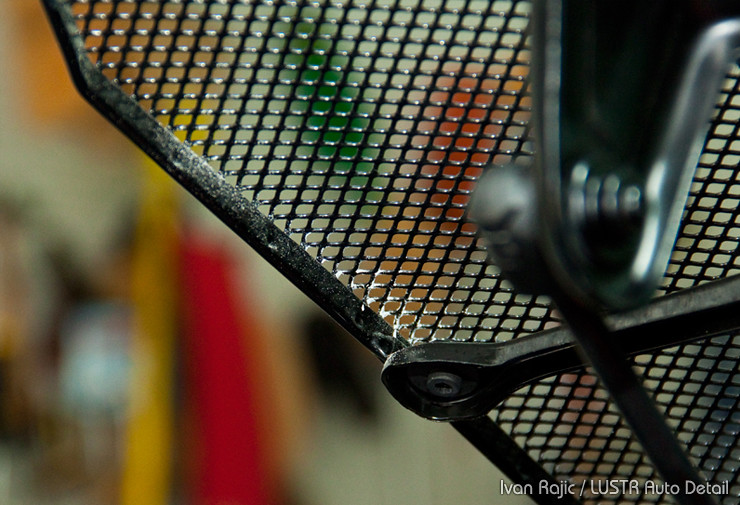
Reason behind all that dust? Someone waxed the actual grille…
Let the cleaning begin! Multiple cotton swabs were used to carefully remove all the wax residue from the film edges…
As well as other hard to reach areas…
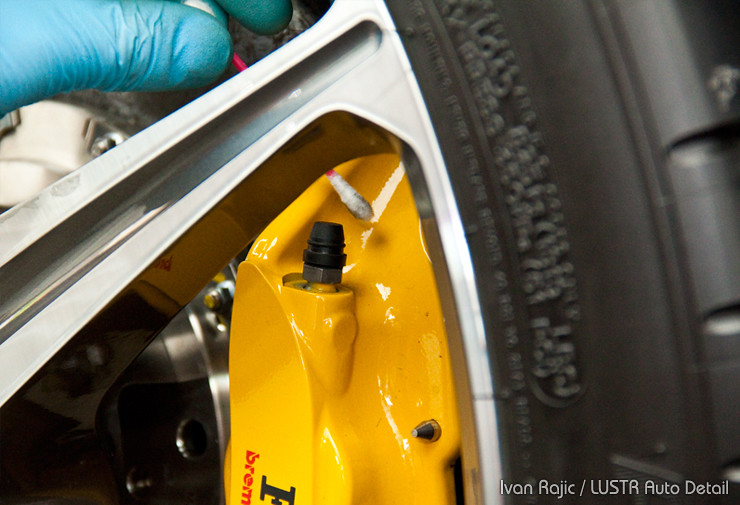
Cotton swabs were also used to give the wheels and brakes a thorough cleaning…
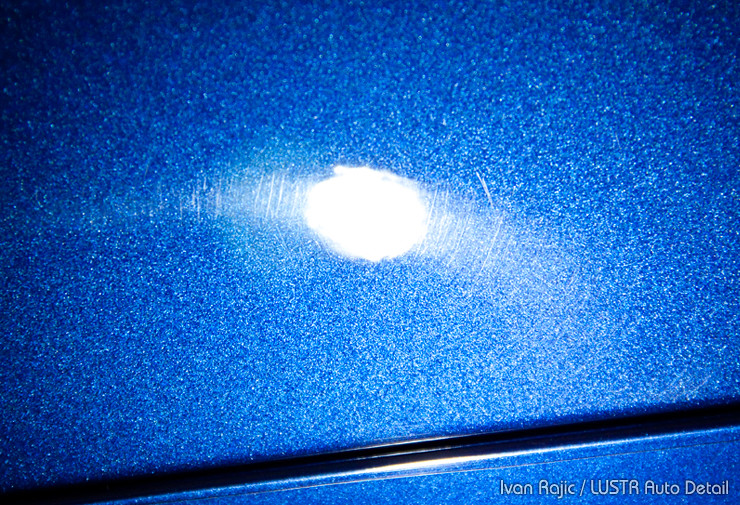
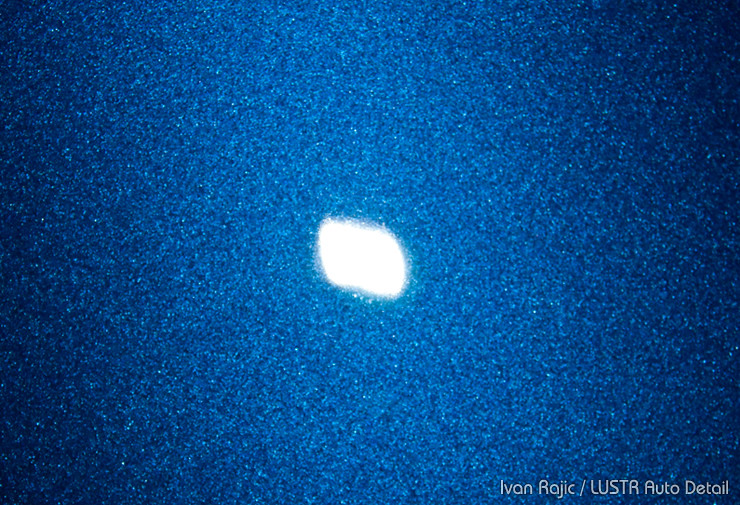
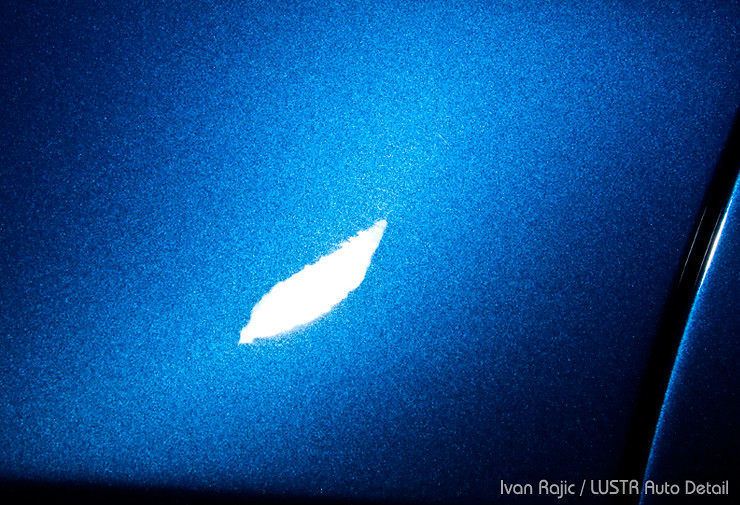
Once the washing and decontamination was completed, I got a chance to inspect the paint condition. It wasn’t as horrible as I’ve seen on some other Ferraris, but it surely wasn’t pretty. There were many sanding marks like the one below…
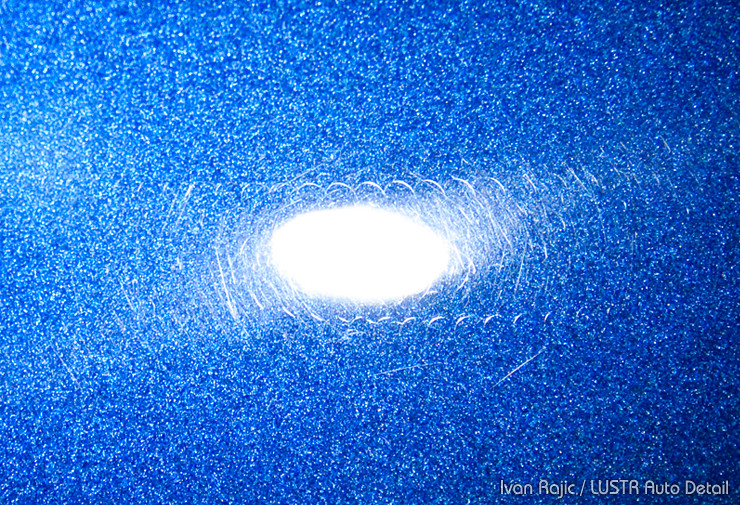
Swirl marks were predominantly present on the upper panels…
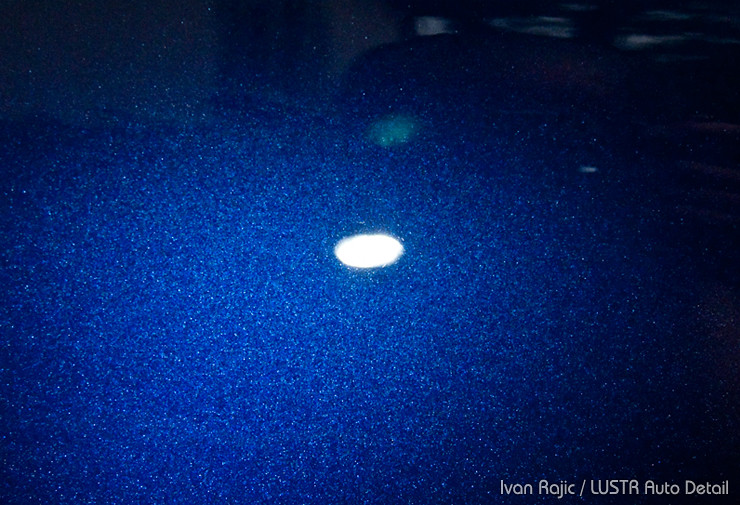
But there were also spots of heavier swirling on the doors and other side panels…
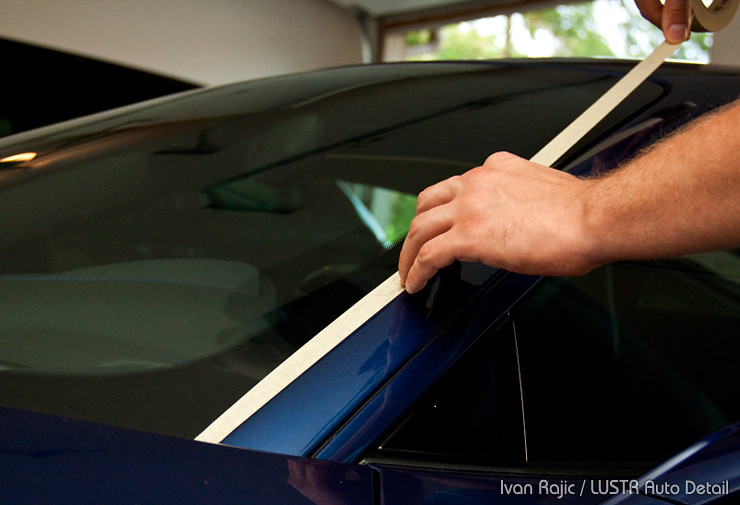
After a thorough inspection and performing some test polishing to find pad/polish combos (more on that later), we taped off areas like window edges, all the protective film edges, grilles, etc.
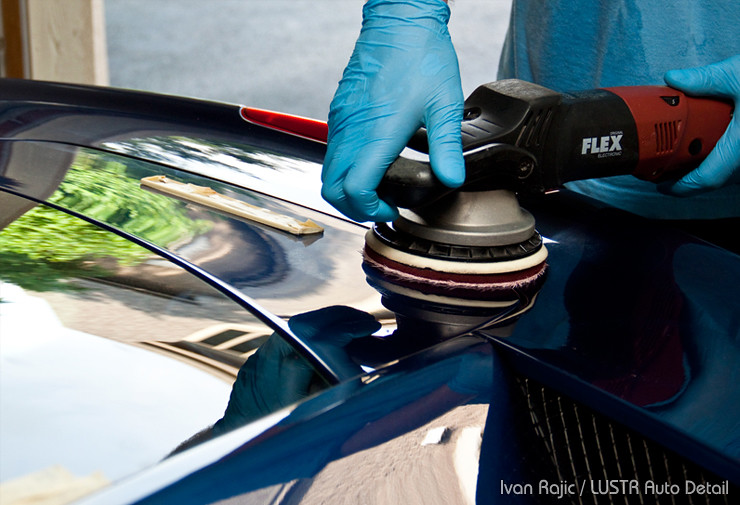
Polishing was done using the Flex 3401 polisher and various pads and polishes to achieve the best results…
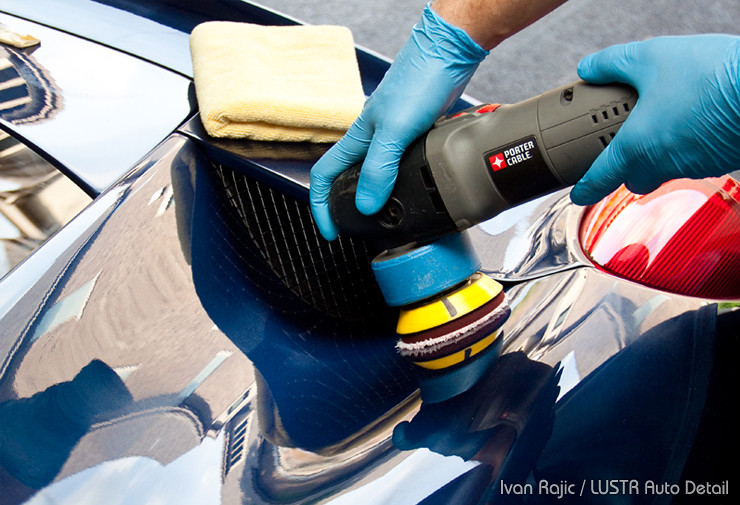
The Porter Cable 7424XP polisher and 3″ Meguiar’s Microfiber pads came in handy for correcting some tighter areas…
After a grueling 3 days and roughly 30 hours of work, we had a proper looking Ferrari 458 Italia!
The wax residue was removed from all areas…
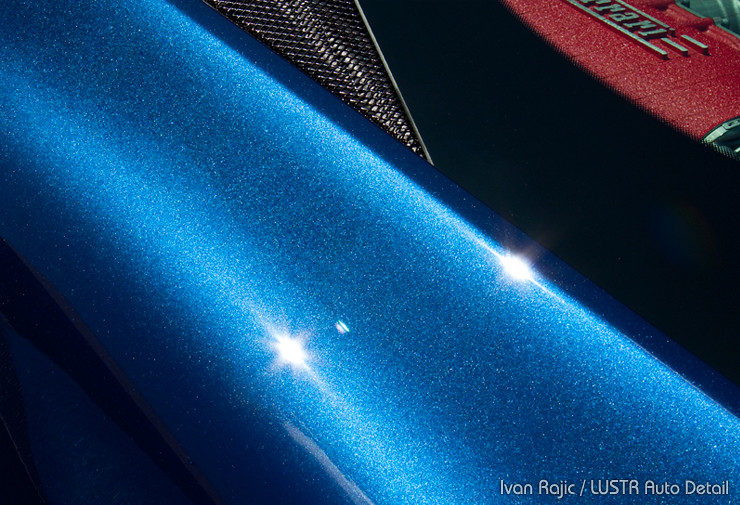
Every square inch of paint was thoroughly inspected and corrected to perfection, which left us with the following results…

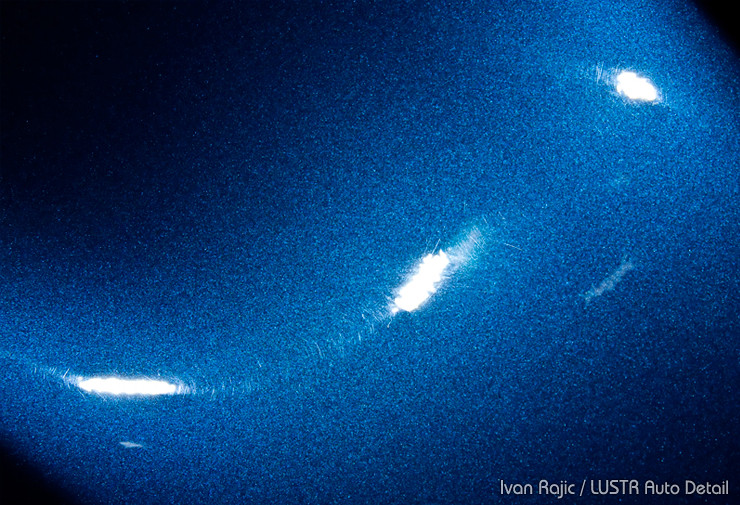
This was the section where most sanding marks were present…
Few other places where there was heavy swirling before…
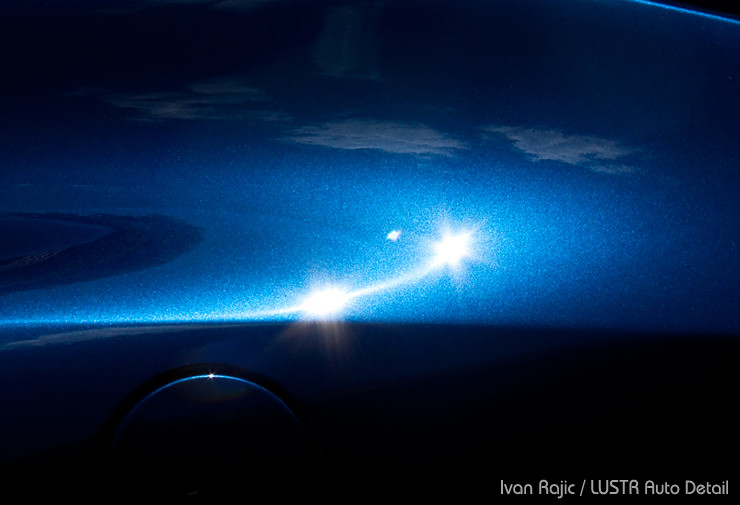
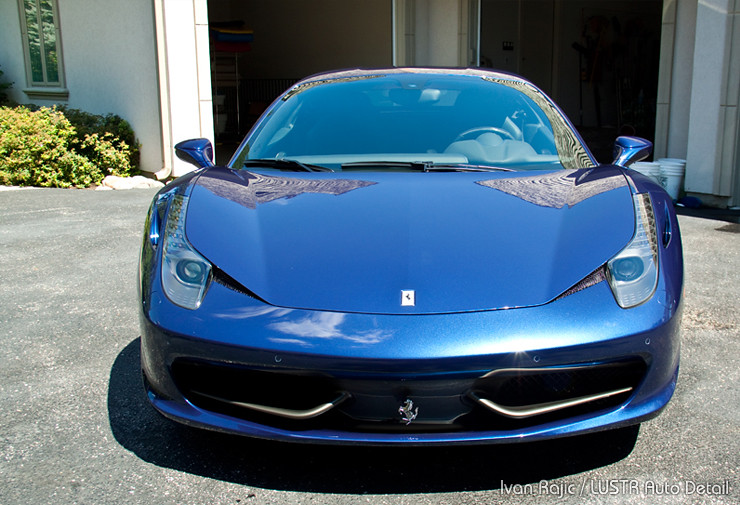
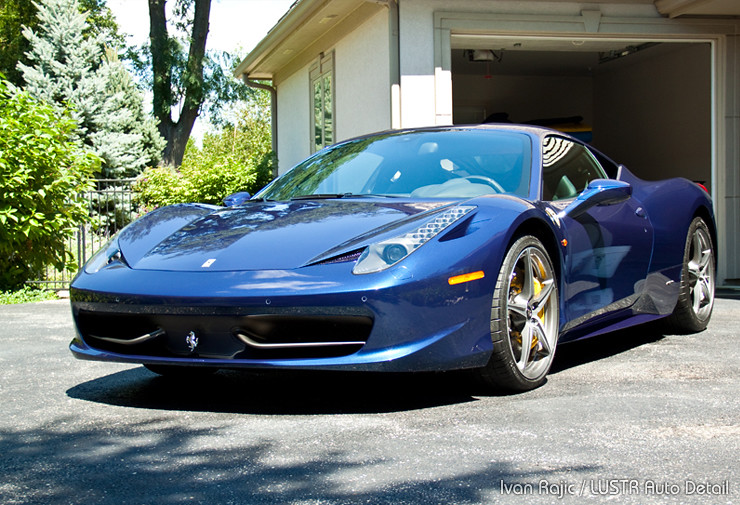
Some outside shots in the sun…

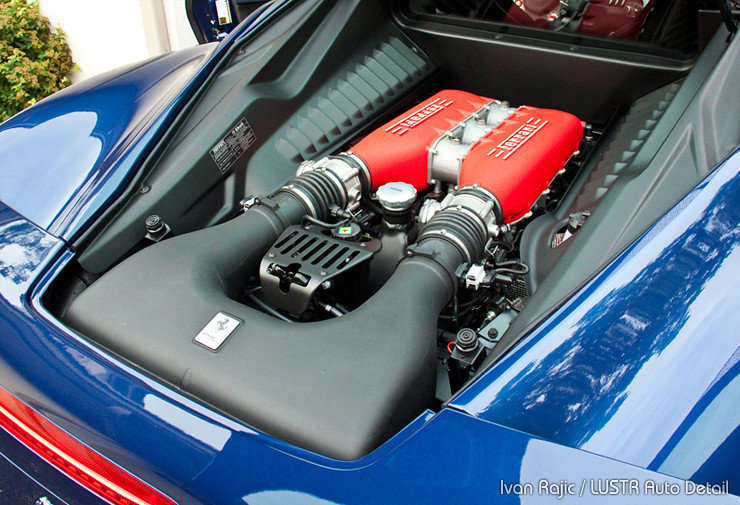
A mandatory photo of that gorgeous engine bay!
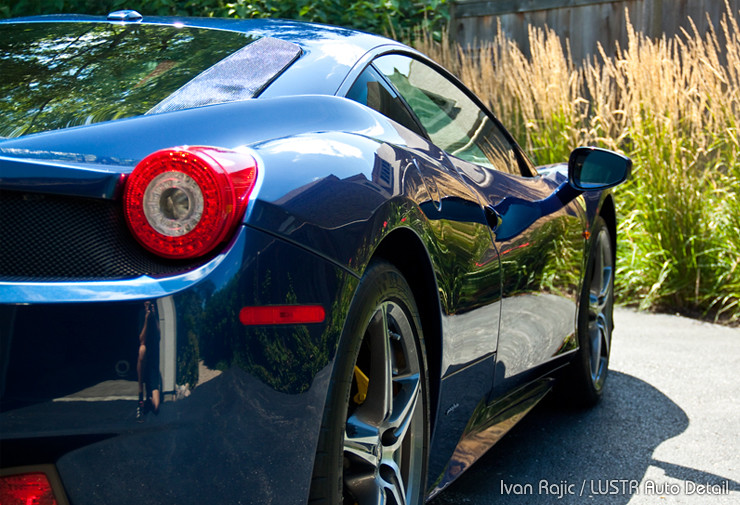
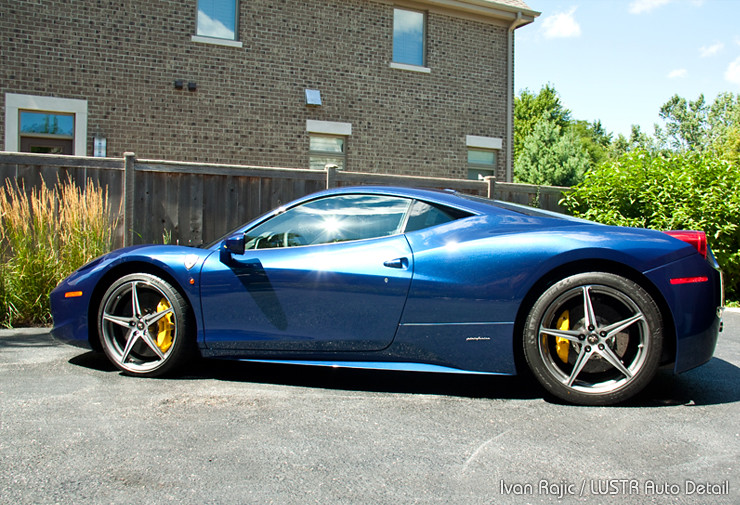
And finally some photos of the 458 enjoying the sunshine in front of the garage…

Well that about covers it. The client did have some photos taken by a professional photographer a few days after the detail, so I will get in touch with him and see if I can have a few to post on here along with the above photos. From April to November, the owner washes the car once or twice a month and I see it every 4-5 weeks for waxing, so the car receives great care and it surely shows. Aside from a few random swirl marks that will catch your eye only if the car is being meticulously inspected in the sunlight, it has remained flawless for just under two years now, all thanks to using proper techniques and quality products.
Some of the products used in the detail:
Flex XC 3401 VRG
Porter Cable 7424XP Random Orbital Buffer
Meguiar’s DA Microfiber Cutting Disc Buffing Pads
Surbuf R Series MicroFingers Buffing Pads
Lake Country Orange Light Cutting Pad
Lake Country Hydro Tech Crimson Ultra Fine Finishing Pad
Meguiar’s Ultra-Cut Compound M105
Meguiar’s Ultra Finishing Polish M205
Menzerna Micro Polish SF 4500 (PO85RD)
Pinnacle Souveran Paste Wax
Well I hope it was as enjoyable to read as it was for me to go through the old photos and grow a new appreciation for this beast!
Thanks as always for reading and please feel free to leave any comments or questions below.


Very Nice…there seems to have quite a drop off of posts like this in the past year. I wish I could visit this site daily and see a new post like this one.
Sick 🙂
What did u use to remove the wax residue? Also I always had a hard time removing the edge of the clearbra.
Thanks guys!
Alan, I sprayed down the edges with P21S Total Auto Wash as well as saturated the cotton swabs to try and break down the residue as much as possible without introducing much marring to the paint.
Wow, I wish I had all day to use 100 cotton swabs to remove wax build up. I use a steamer and takes about 10 minutes to cover a whole car. It’s hard to believe none of these high end detailers on here aren’t using steam.
Mike I think it’s great steam works well for you. From what I know most of us authors on here have used steam and use it on a regular basis, but I never trusted it fully on paint protection film and was even told by a few installers to be extremely careful. Thus, I opt for the safer option rather than quicker one, as with everything else in my business. As for the paint and regular wax residue I have used it before and it definitely works, but I don’t think I could ever go around a car in 10 minutes so props to you for that!
Great work on that 458 Ivan…I did a paint correction on exactly the same car here in FL. That Blu Abu Dabhi is a joy to work on…mine just didn’t have as much wax residue as yours…Keep it up
Great job! Please advise on what products to buy & how to do it for a new car prep (interior & exterior) and paint correction (swirls) on 2013 Mercedes Benz GL (Obsidian Black metallic paint). Thanks.
Thanks MJ.
It’s really hard to give advice on products when I don’t know exactly what the car needs and what your experience is with paint correction. If you look through my articles, one of the recent ones lists a few pad/polish combinations that I recommend for paint correction and these will work on pretty much any paint out there. Mercedes usually has harder paints so you shouldn’t be dealing with any difficult paint issues, so that’s a good thing. If you’d like a list of products for overall vehicle maintenance, please feel free to email me directly and I can forward you a list of products (all from Detailed Image) that I recommend to all my clients for regular washing, wheel cleaning and waxing.
Hope that helps, thanks!
What do you use with the QTips in order to remove the wax and compound residue?
Given a black car with about 100k miles, where the car and paint are in pretty good shape, but there is hard white residue along the outline of a few clear sheets of clear-bra protecting lower fenders, etc., what sort of process would you recommend to work and remove this?
Thanks,
Andy
Hi Andy,
I typically use something like P21S Total Auto Wash with qtips. In your case, I’d say just try any lighter degreaser with qtips or a very fine brush to see how it goes. I’ve seen some residue that’s very old and is extremely hard to remove, so hopefully that’s not the case here. There have also been some old clear bra films where the edges were simply stained and wouldn’t improve completely.
Hope that helps, let us know how it goes.
Just wanted to say what a sweet job! I am in love with the 5th picture from the bottom.
nice job nice to see one in blue
Love what I heard and seen in this article. I have a couple questions? What compounds/polishes were used with the DA buffing/cutting pads. I have never used those. Ive done paint correction after using a wool pad and rotary. I like the idea of cutting with the flex and the DA buffing/cutting pads.
Thanks,
Rhino
Show Shine Detail
Thanks all!
Rhino, for compounding, I mainly used Meguiar’s 105 and a mixture of 105 and D300 compound (3 parts D300 to 1 part M105 to cut down on dusting). For finish polishing, I used Meguiar’s 205 and Menzerna SF4500/PO85RD.
Hope that helps!
Absolutely GREAT work Ivan. BEAUTIFUL!
Goes to show us that just ’cause its a Ferrari, (or other exotic) doesn’t mean the delivery prep boys are properly trained in the “Finishing Arts”. EVERY high-end dealer should send at least ONE of their staff to a good “finishing school” (eg Esoteric Detail Academy etc.) That is the LEAST they can do for their clientele who spend a FORTUNE on their new rides.
Rides that, BTW, SHOULD arrive in pristine condition and, for some inexplicable and unjustifiable reason, do not. Apparently it all begins with so so finishing at the factory!!!
No questions for now . . . just praise. Ferrari of N.A. should hire you for their delivery QC division!
Best,
DB
Thanks for the kind words David!
You are correct in that Ferrari factories/dealerships surely don’t deliver their vehicles as they should look, not for only such an expensive piece of machinery, but also for a legendary symbol in the automotive industry. In fact, Ferrari is notorious for delivering vehicles in just such shape as the 458 mentioned here, with not only the typical swirl marks and buffer holograms, but sanding marks all over straight from the factory! I too agree that dealers should and easily could invest in either some proper training for a few detailers or at least hire someone who cares about these cars to do the correction and deliver them in perfect shape. Factories and dealerships should raise their standards, but the truth of the matter is it’ll probably never happen because 90%+ of people don’t see these defects and are simply more than happy to be driving a Ferrari.