How to Properly Apply SiO2 Based Spray & Rinse Sealants
by Reece @ DI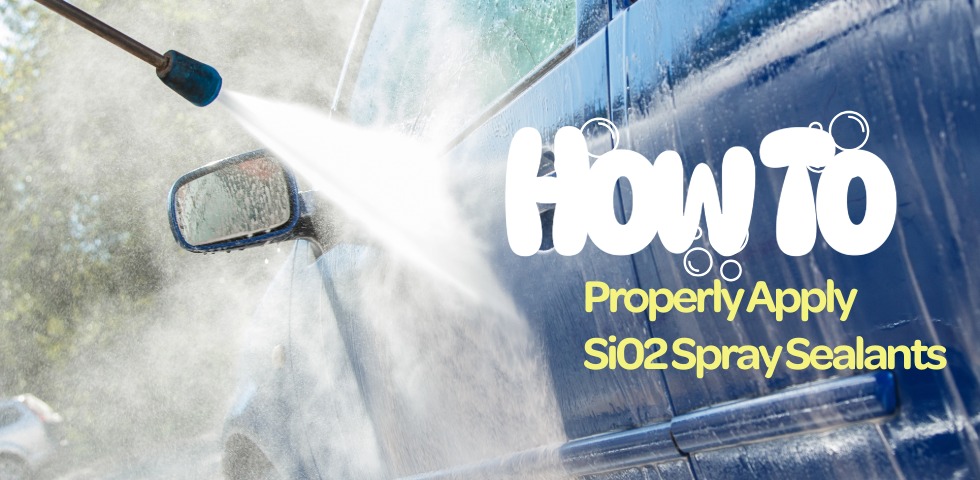
Si02 based spray on, rinse off sealants have become one of the most popular ways to add gloss, slickness, and protection to your vehicle’s paint. They are fast, effective, and versatile, making them an excellent choice for both professional detailers and weekend warriors. However, there is one key detail that separates a flawless finish from a streaky mess.
If you want that perfect, streak free look every time, you need to use a pressure washer during application. Now, let’s break down the process:
Step 1: Start With a Clean Surface
Before applying any SiO2 based product, your vehicle needs to be thoroughly washed. The cleaner the surface, the better the sealant will bond. Make sure you remove all dirt and grime and if you have any embedded contamination, consider using a clay bar first for the best results.
Tip: If you want the best depth and clarity, make sure you polish away imperfections after a thoroughly wash process and before jumping to step 2.
Step 2: Apply While the Vehicle is Wet
SiO2 spray sealants are designed for quick application on a wet surface. This means you can apply them right after your final rinse from your wash process.
- Spray 1–2 light mists per panel (less is more). You can increase your sprays based on vehicle/panel size you are working on.
- Focus on even coverage without over saturating.
Step 3: The Critical Step…Rinsing with a Pressure Washer
This is where most streaking issues happen. If you simply mist the product and then rinse with a garden hose, you will likely end up with uneven sheeting, patchiness, or visible streaks when the vehicle dries.
Why the pressure washer matters:
- Forceful water impact instantly breaks down and distributes the sealant evenly.
- Prevents concentrated product spots from drying unevenly.
- Activates the SiO2 formulation for consistent beading and hydrophobic effects.
Think of the pressure washer as your “final mixing” tool, without it the product does not get the uniform spreading and finish that it needs.
Step 4: Dry Thoroughly
Use a high quality drying towel to remove any leftover standing water. At this point, the protection is already in place and most of the water has sheeted off the surface, so you are simply targeting any residual water for a spotless finish.
Final Thoughts
A properly applied SiO2 based spray sealant will leave your paint glossy, feeling slicker, and sheeting water like crazy.
These spray sealants are some of the easiest and fastest protection options on the market—but they are not foolproof. If you have ever been frustrated by streaks, the problem likely isn’t the product, it is the rinsing process.
Using a pressure washer isn’t just a nice extra, it is the key to unlocking that perfect, spray on SiO2 spray sealant finish, every time.