
New to Detailing Product Guide – Paint Correction Edition
by Ian Martinez
If you are wanting to get in to paint correction, this is, by far, the most daunting aspect of detailing. One because there is so much information out there, but also because you have the highest chance to do some significant damage to a vehicle.
The most important thing to remember about paint correction is to be careful. You are removing paint after all and if you remove too much, there is no going back So make sure to proceed with caution and when in doubt, back it off.
The most confusing thing for beginners is there is not a step by step guide for paint correction. Why? Because that solution does not exist, there are so many variables in each scenario and variances of what people consider “good” condition. Almost every car can be washed the same, but almost every car needs to be thought of differently when polishing.
These are my personal favorites when performing paint correction, once you get the hang of it you can mix and match and try new things when you know what you are supposed to be looking for in a product’s performance.
Chemicals
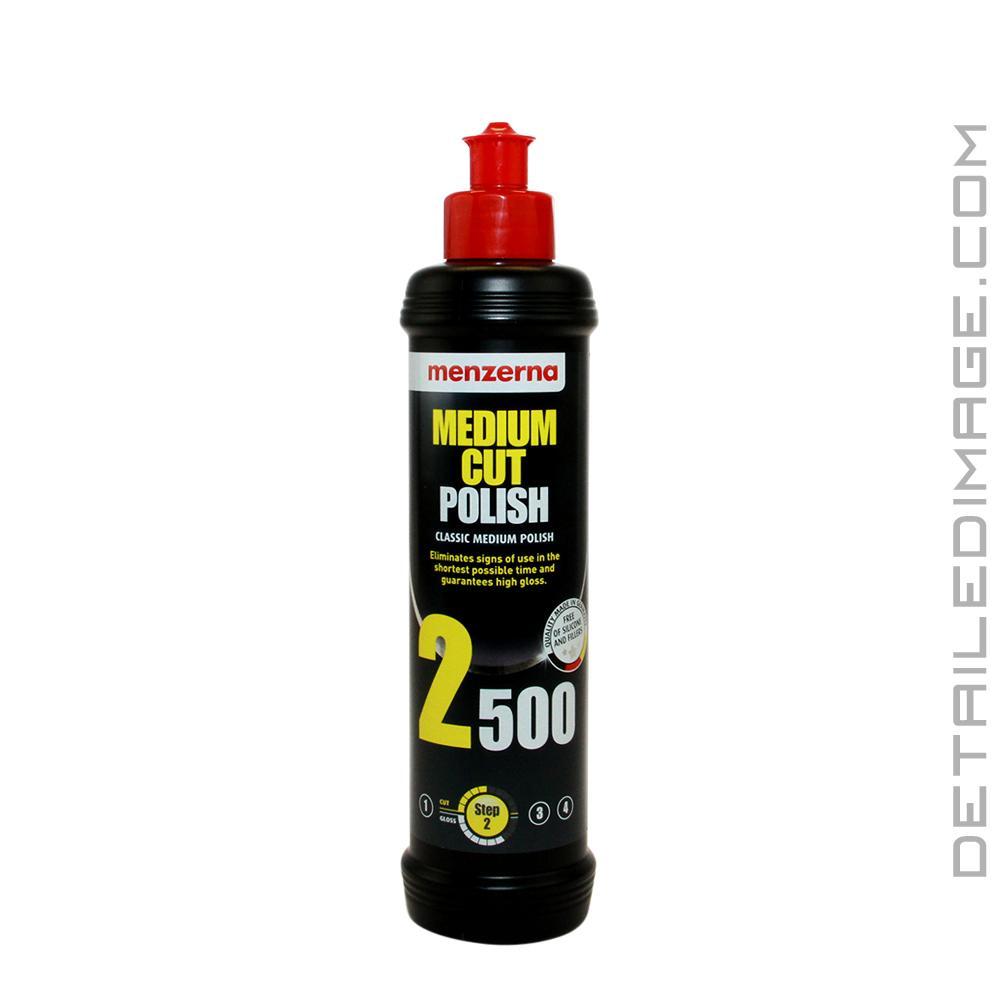
One-StepMenzerna Medium Cut Polish MC 2500 Very easy to use one-step polish. Used when the damage, (swirls, scratches, holograms) are not that bad. Finishes down really well and many times does not need a follow up polish. |
 |
Heavy Cut CompoundFor when you have some really nasty swirls and scratches. removes up tot 1200 grit marks, it really does. Absolutely needs follow up compound/polishes to refine the finish back down. A lot of dusting and a very thick compound so ti can cake up your pad. So clean out your pads often and use multiple pads. |
 |
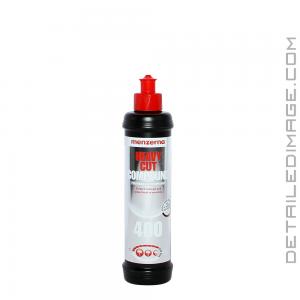
Standard CompoundMenzerna Heavy Cut Compound 400 This is my go-to compound if i need two-steps. Removes most swirls and scratches with ease and finishes down nicely, ready for a polishing step. Low dusting. |
 |
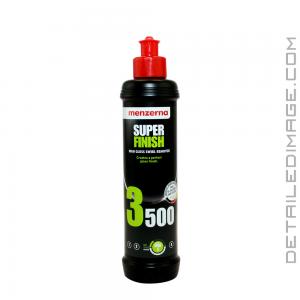
Final PolishThis can be done if the finish just needs to be brighten up and not a lot of actual “correction” done. Works amazing paired with The Heavy Cut 400 for a two-step combo that finishes down beautifully. Low dusting. |
 |
Pad ConditionerI use this to help give the product a little more lubrication to help it move through the pores, or fibers, of the pad while polishing. Put your polish or compound on the pad and a quick spray or two of this. you want your pad to be “seasoned” as Kevin Brown would say, meaning having your product throughout the pad so you get and even and efficient cut. |
 |
Tools
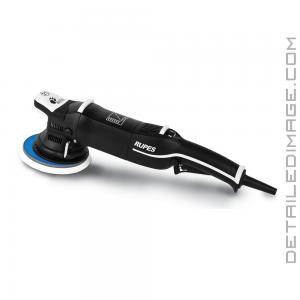
Large Area PolisherThe best polisher, hands down. Super smooth, cuts like a dream and finishes down just as well. I know its expensive, but trust me it is well worth the cost. |
 |
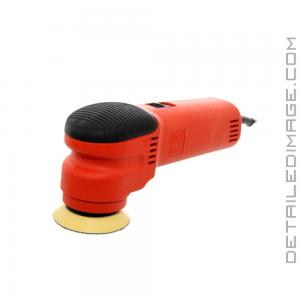
Small Area PolisherYou need at least a 3″ polisher for areas like bumpers, mirror caps, etc. The Griots Garage is a workhorse that will get the job done. There are better polishers for this on the market, but because the smaller surface area means more power at a smaller point, you don’t really need a more expensive polisher, especially if you are starting out. |
 |
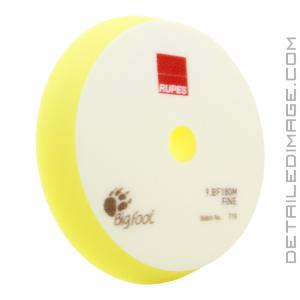
One Step PadBuff and Shine Uro-Tec Yellow Polishing Foam Pad Soft, pliable pad that still have enough bite to help the cutting ability. Pair it with Menzerna 2500 and you have a great universal one-step system. |
 |
Cutting PadMeguiar’s Microfiber Cutting Disc 3″ – 6″ The go-to cutting pad. Cuts great, easy to remove product from, lasts long. |
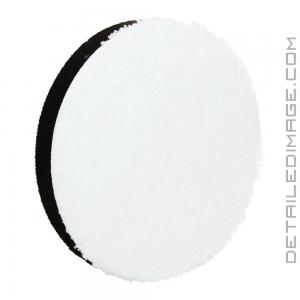 |
Polishing PadMy go-to polishing pad. Just really good. Soft, good thickness, great balance. Perfect finishing pad. The pad sizes are 1″ over your backing plate size due to the pad being flared out. |
 |
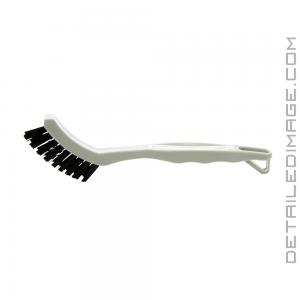
Pad BrushUse this after every couple passes on both foam and microfiber pads to help get out the excess product and clear coat you have removed. Just run your polisher at medium speed an run the brush over the pad to remove. |
 |
The best thing to do is to get the right tools an practice. You can read 100 articles and watch 1,000 videos, but until you get the polisher in your hands and really see how each step affects the paint.
Buy Products From This Article


What would be most common way to use the proper way to make a three or four year old vehicle with towel swirls in and all other paint defecs
Coated my truck about 2 months ago with Adams Graphene era mic coating. Used Rupes yellow a d Sonax Perfect finish prior and was very impressed. Now I noticed a few high spots and searches/swirls that I must have missed. What should I use to get to the scratches to fix then re apply the coating? Also is there something I can use to correct scratches that occur in the ceramic?
Sorry for the typos
You would need to remove that coating in those spots and then reapply. To remove most good coatings it will require you to polish off with something like a cutting pad and a compound of your choice. Then polish and reapply. When checking for high spots of shear to look at it with multiple types of light sources. A few options are to have your led lights that cover a large area, then try and isolate the light source (turn off other lights, close garage etc) and then full sun. Walk around multiple times and look from different heights and angles.
Yes Sir, thanks Ian. I guess Sonax cut max would do the trick?
Yes that would work!
Thanks for the information. I find that a 21 throw polisher doesn’t cut nearly as well as my Makita rotary polisher. There are often times clear coats that present with high solids, that don’t seem to budge in my experience without a very aggressive compound and a wool pad on the rotary. I have yet to see a dual action polisher, of which I own every type, 21, 15, 8 and forced rotation, that can compete with rotary. Yes, rotary will often leave some holograms that require finishing down with a second step no matter how long or adept you are under time constraints etc. but nothing compares to the cutting power. Yes you must learn technique or you risk burning edges or even the paint itself. However train on a panel which you can have at it so to speak and another level of correction opens up.
Warren – Rotary polishers are great, just not something we recommend to beginners without some extensive training first. Dual action units will offer a great deal of correction power, without the risk of burning through the paint that rotary units can offer. Once you get the hang of rotary units however, the correction power is hard to beat for sure!
Speaking of rotaries, does anyone still finish with one? Seems to leave a “clearer” finish than a DA? Slight difference, but still there.