
Pad Cleaning Using a Power Washer
by Greg GellasI am always looking for ways to make detailing easier. For me, gone are the days of scrubbing pads in the sink with pad cleaner and a brush. I have enough pads now that I wait until I have a handful of dirty pads to clean, and then pull out the power washer. WHAT!?!
When DJ Mayo first told me to use a power washer I said, “DJ, you use a power washer to clean the pads!? The water pressure doesn’t blow apart the pads?” He assured me that it was the most effective way to get the pads perfectly clean. I was concerned about blowing pads away. After losing one pad I learned the exact process not to use anymore.
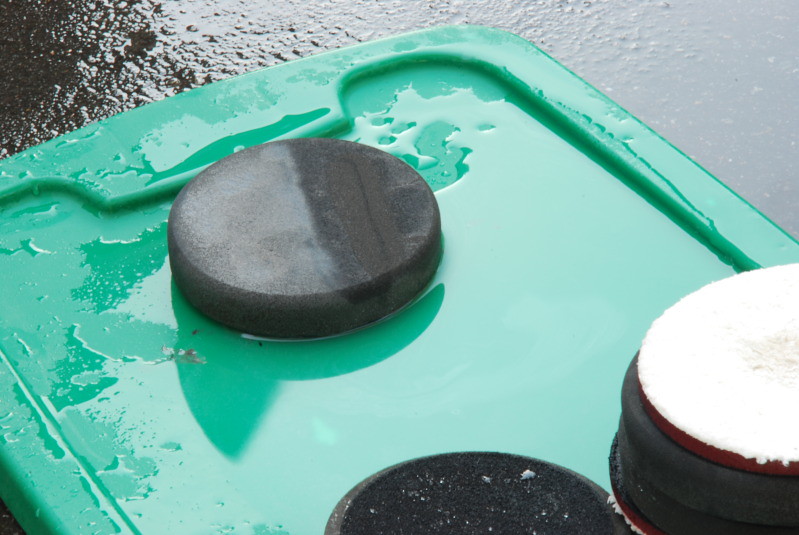
If you see the black pad below you can see the water beading on top of it. The sealant I used with this pad, actually caused the polymers to cross link into the pad. This used to be near impossible to get out in the sink with a brush.
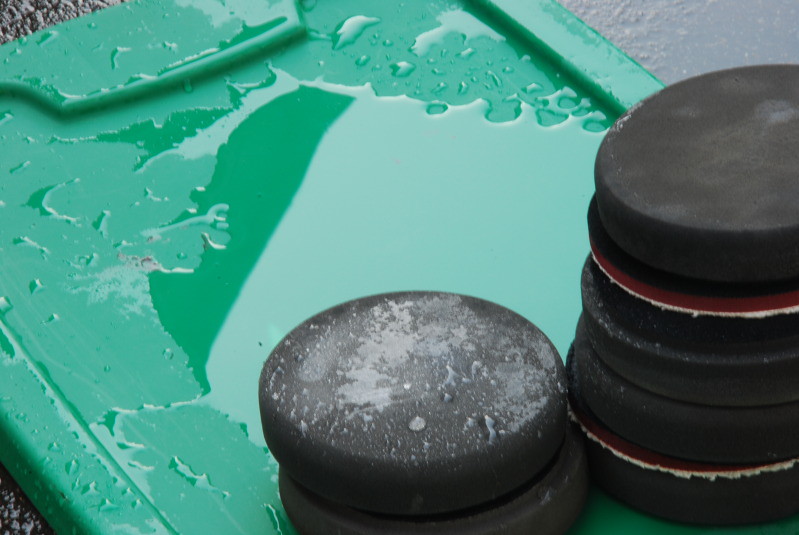
Simply grab your power washer, I put them on the top of a Rubbermaid container so the pads aren’t resting on the ground where debris and particles can get into the pad. I also have power washed the area around the top so there is nothing that can bounce up and contaminate the pad.
Don’t hold the nozzle close to the pad. I make sure that the water stream is about the width of the pad. Also make sure the spray is straight down on the pad. You can then use the spray to release product from the pad using a back and forth motion. If you angle the stream that is when pads start flying.
I don’t just use this process on foam pads, Meguiar’s MF pads love a good pressure washing. All the product is easily removed from the pad.
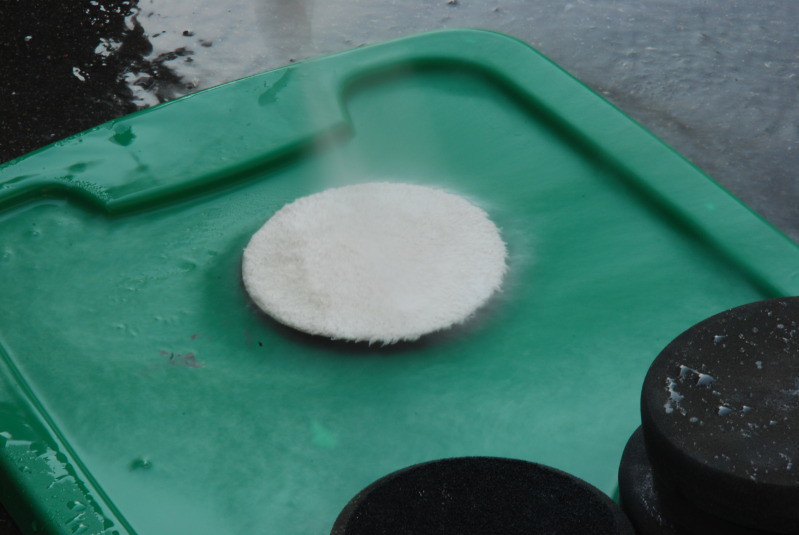
What you’re left with is a perfectly clean pad. Simply wring out the pad and then rest it on a wire rack to dry.
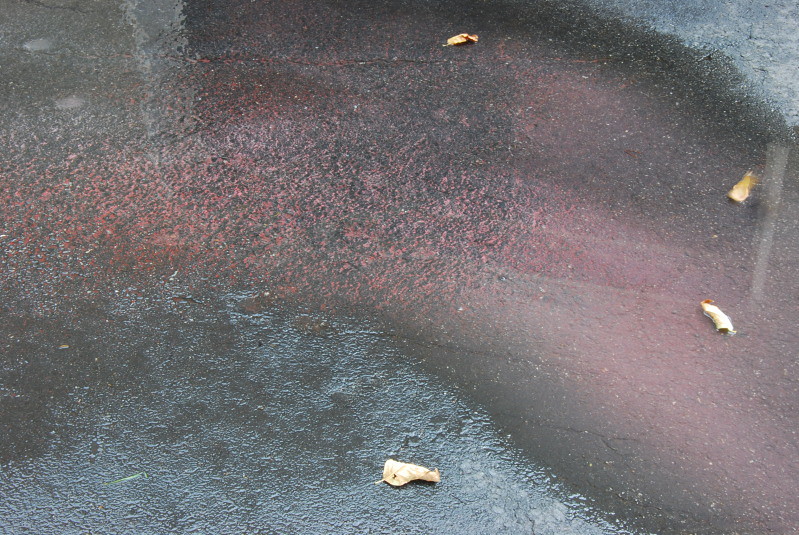
If you’re lucky enough to have recently done a Single Stage paint you will then be able to see the paint residue left on the ground after power washing the pads. 🙂
Enjoy your new found pad cleaning procedure. It will make cleaning faster and for me easier.
Related Posts
- Detailing Essentials #6 | Polishing Residue Management
- 1967 Sunfire Yellow Corvette Stingray Detail
- Ask-A-Pro: How to Clean Sealants and Wax from Pads?
- Full Wet Sanding of 2005 Acura RL in Nighthawk Black Pearl to Reduce Orange Peel.
- Detailing Projects: Ferrari 488 Pista #2 Paint Correction, Clear Bra, & Ceramic Coating


Great article Greg! I too am always looking for better ways to wash all my pads and this has been a great technique. I still mostly use my method mentioned in the article I wrote on here (in the sink with Meg’s All Purpose Cleaner) because it seems usually even with the power washer I need to wring them out a bit to get all the residue out of the pad.
Have been doing this for a while, but I also after wringing out the pad put it on the buffer/Da and give it a quick spin. Helps get a little more water out of then to help drying time.
Awesome article! I do the same as Tony Kiger with the pad drying and throw it on the rotary at 3000 RPM’s for a little to help sling the water out. Also I throw the pad foam down on the rack to help in drying or else the velcro backing holds water.
Thanks guys! I can remember getting little chunks/balls of products in the pads while hand cleaning, the Power washer really removes everything.
I also will spin the pads if I have the time, but will use my rotary to spin the pads. The DA’s don’t like to be spun without pressure, and can potentially do damage to the bearings.
Good Article..I like to power wash pads at the end of the day so none of the material gets hard on the pad.Then I take home the pads and wash again with palmolive oxi under hot water to insure that the pads are clean and no suds are in any of the pads .
Terrific pad cleaning system Greg!
If detailers who want to try your Rubbermaid “pad cleaning bench” (or something similar) and want to make sure the pad(s) stay put, they can buy a few adhesive-backed velcro strips and stick them to the “bench” surface – then just press the pads on as you would to a backing plate.
Just an idea . . .
D B
David,
Thanks, I tried putting some velcro on there they came right off. So I then epoxied them on, came off again. I am waiting for an entire sheet of velcro to come in, and secure that to the Rubbermaid “pad cleaning bench” 🙂 I was thinking of Staple gunning it on and then folding the bottom of the staples over so their flat and hold the sheet on. I will update everyone once that velcro comes in.
Greg G
I use Adam’s pads, and just throw them in the washing machine and dryer with my other towels (drying towels, nothing that will transfer product/residue.) Easy. Not a “during” method, but works great between detailing days.
It’s silly that I never thought of this myself. Thanks for the bit Greg!
please learn your pronouns…….
they’re
there
their
it pains me to see such abuse of the King’s English in a man of your age and abilities.