
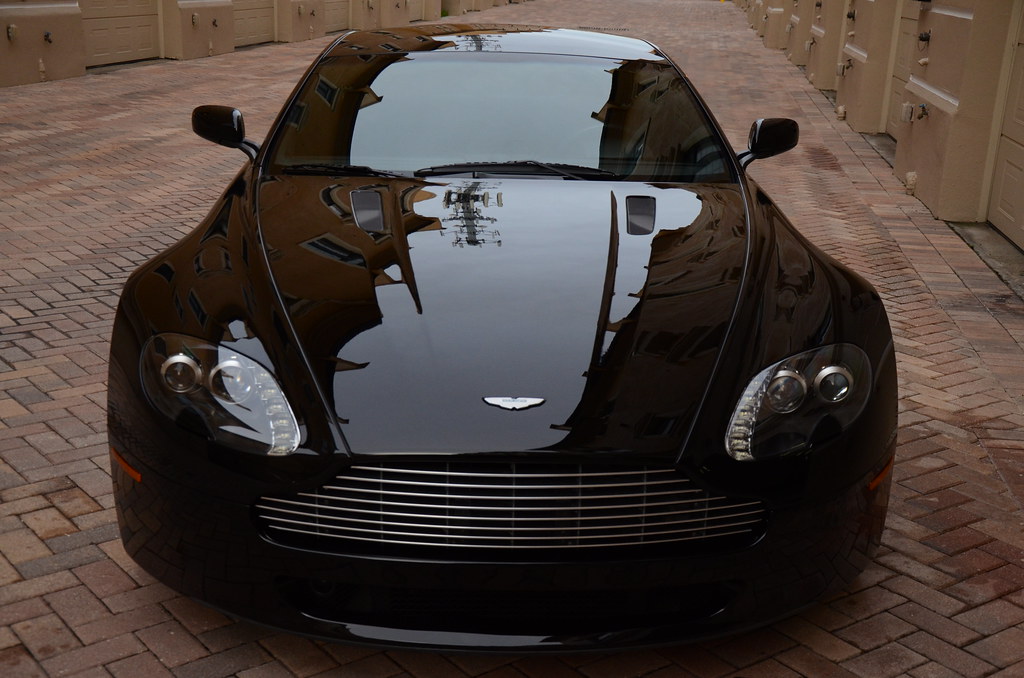
Aston Martin V8 Vantage Detail
by Brian GuyMuch like most exotics, this Aston Martin V8 Vantage was full of manufacturer D/A sand marks, rids, pigtails and other fine scratches. This detail took 3 days and was completed in Tampa FL. After the correction was complete, all materials were protected with a range of Swissvax products on the wheels, tires, trim, paint and metal surfaces. I used many other products which can be purchased directly at Detailed Image and you can find a list of them below!
- Rupes LHR15
- Flex PE 14 Rotary
- Porter Cable
- Megs cutting and finishing disc’s (3″ and 5″)
- Meg’s 105 and 100
- Various foam pads, 3″
- Sonax Wheel Cleaner
- P21s Auto Wash
- Clay Magic
- Metro Vac
- DI Microfiber
- Isopropyl Alcohol
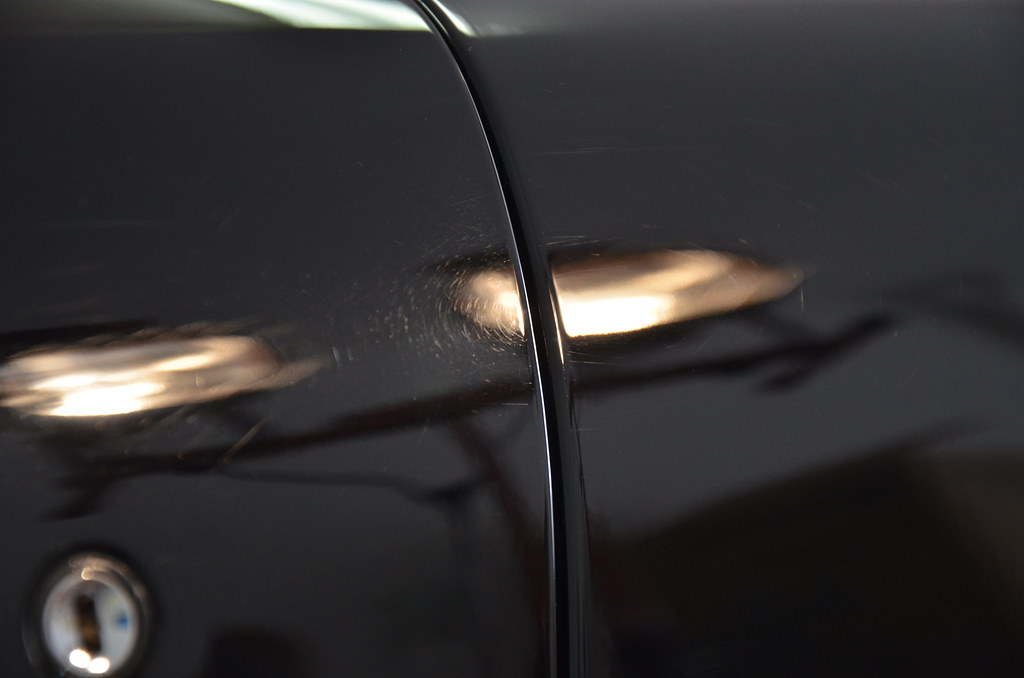
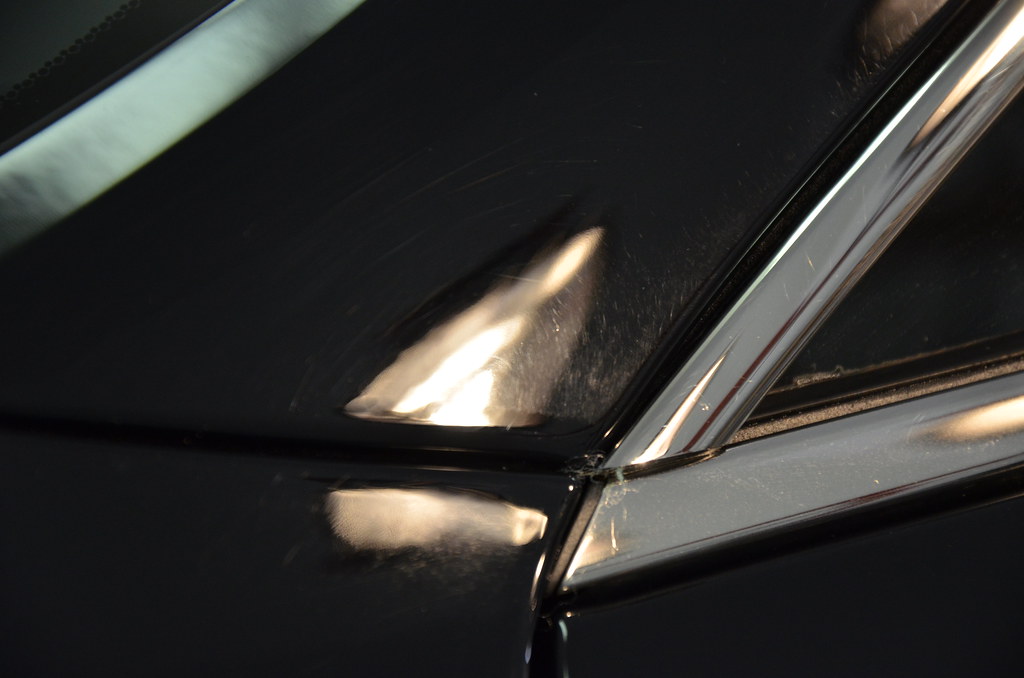
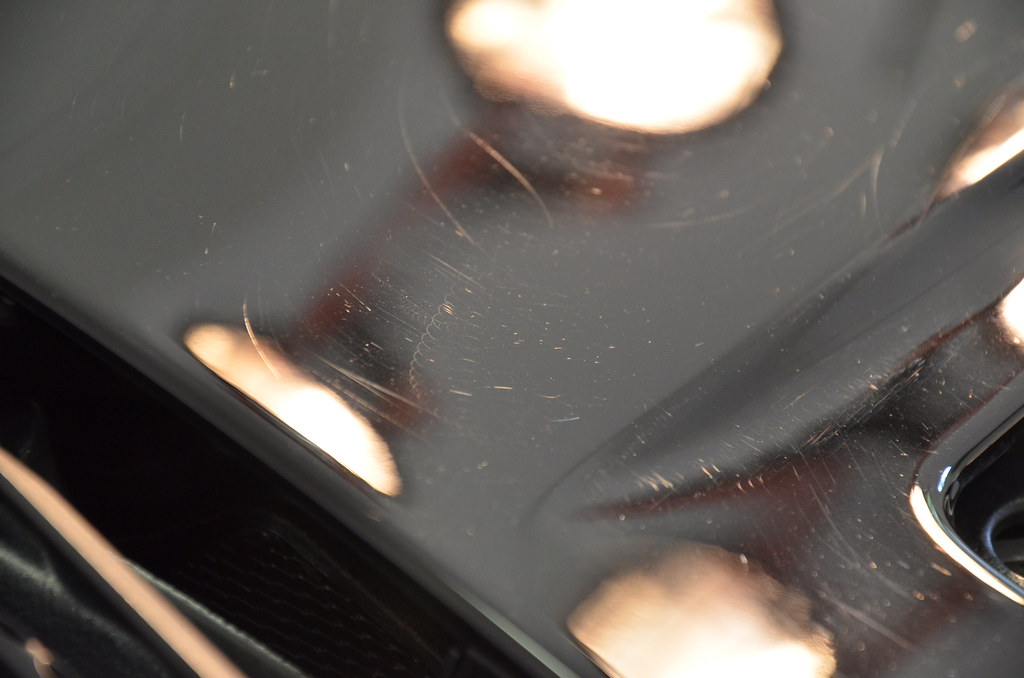
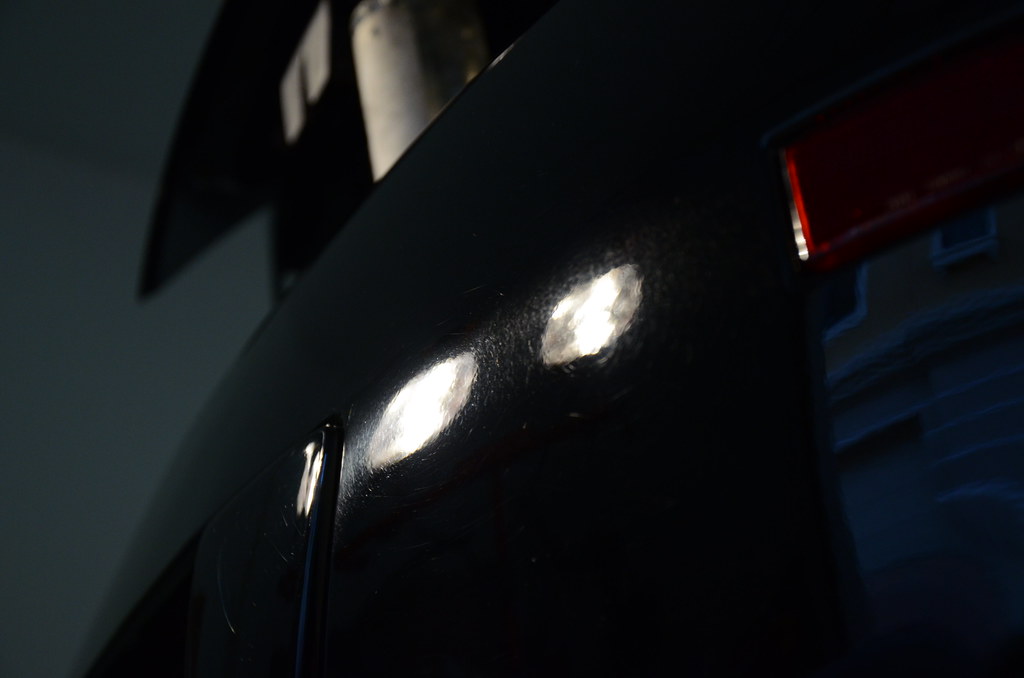
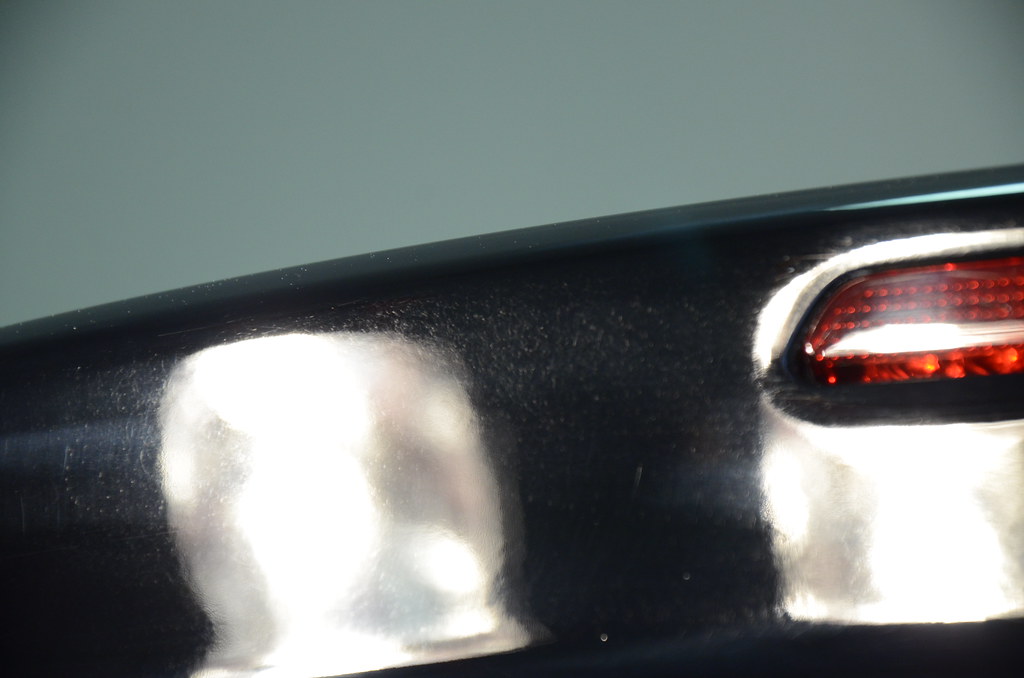
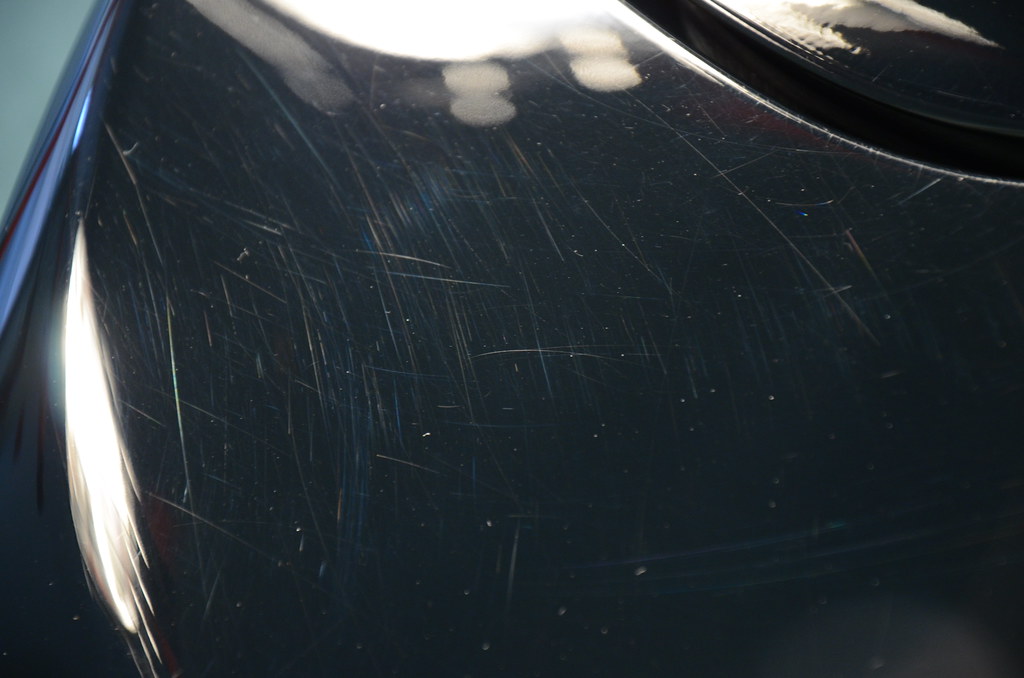
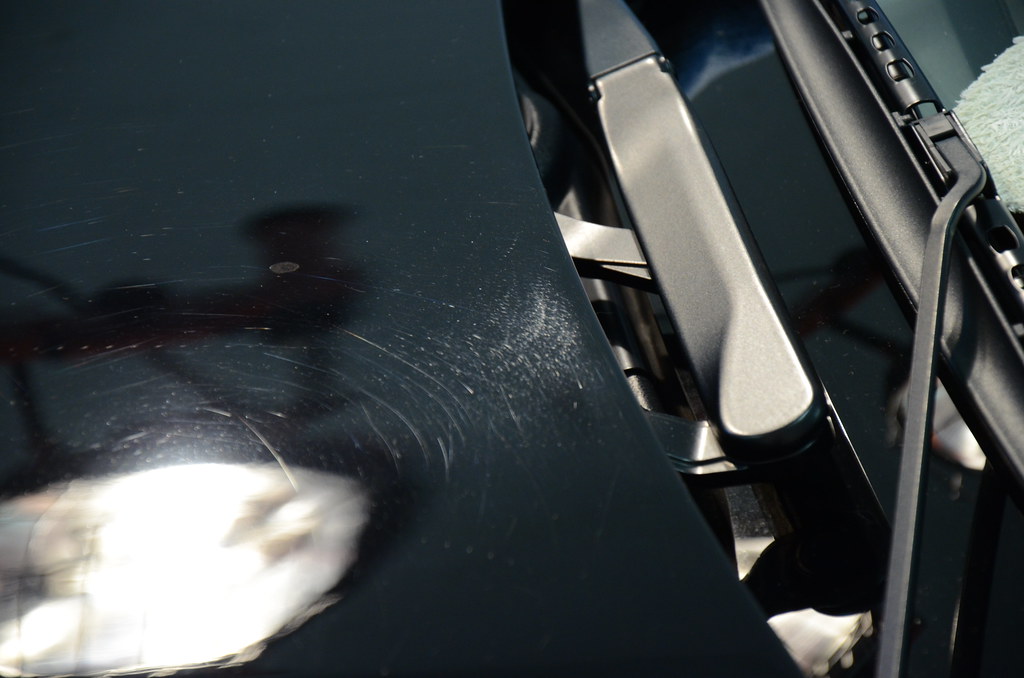
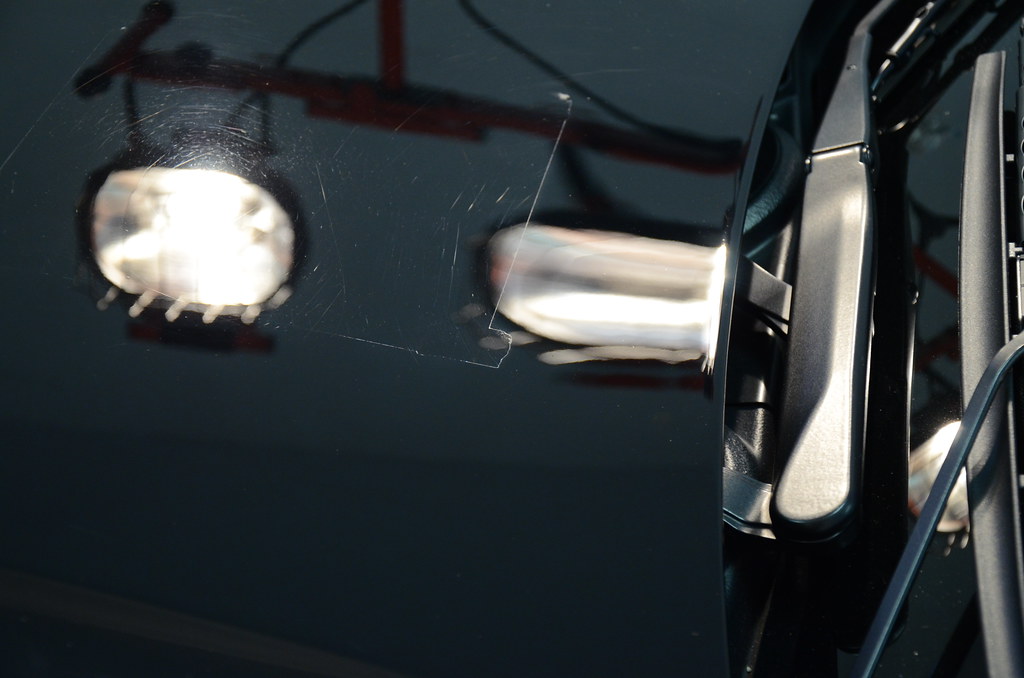
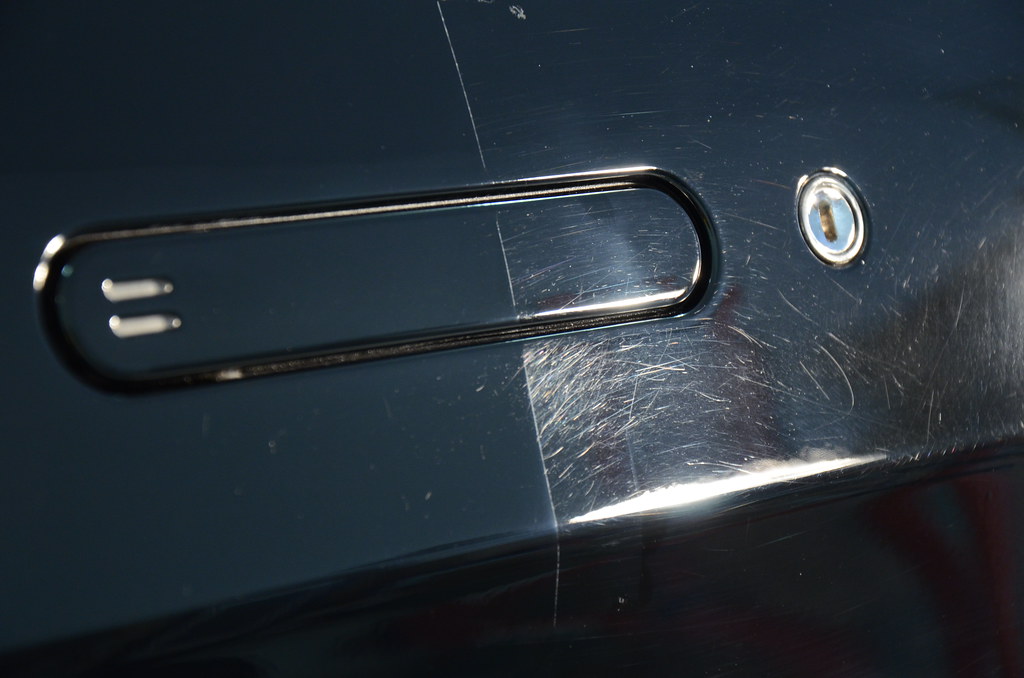
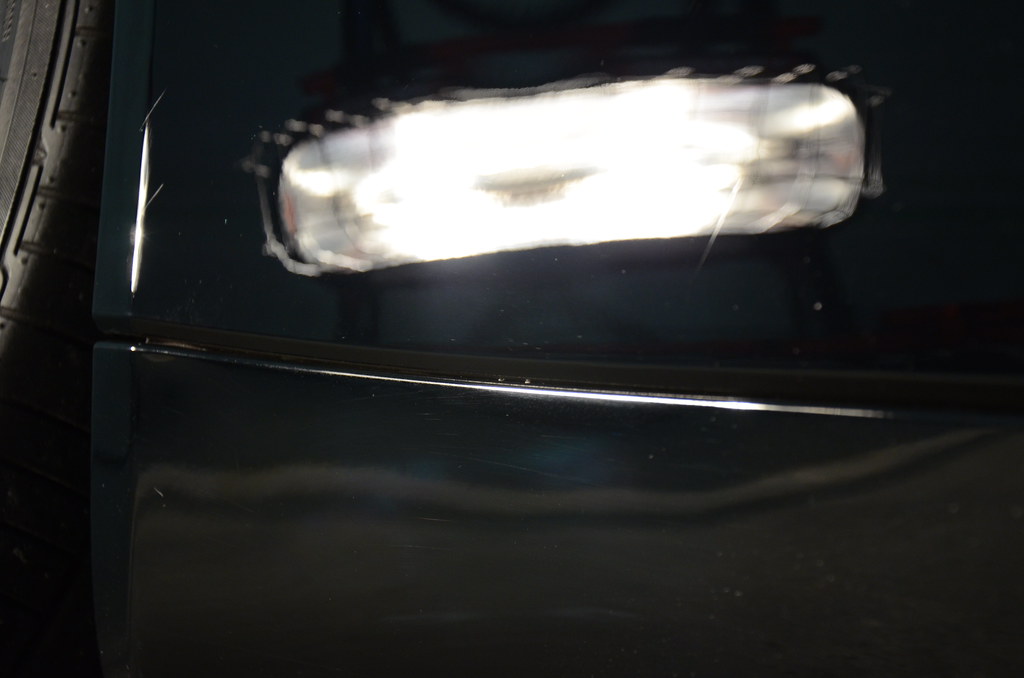
Through this write up I’m going to show a lot of variations of manufacturer D/A sand marks. More often than not the buyers of these types of vehicles don’t see the defects left behind. A simple polish or a light wax from the dealership or whomever, will very easily mask over most of these marks and this doesn’t mean that they’re not there (even with a brand new purchases). After a decontamination and full IPA wipe down, we can see the paint how it really is. I personally love these types of details and even more so when the amount of marks found indicate that the car has never been corrected! After a full paint correction like this, you’re left with a better than the day it left the factory finish! You will also be left with the car displaying more luster than it ever has before.
To start off this detail a full wash, decontamination and wheel cleaning was performed.
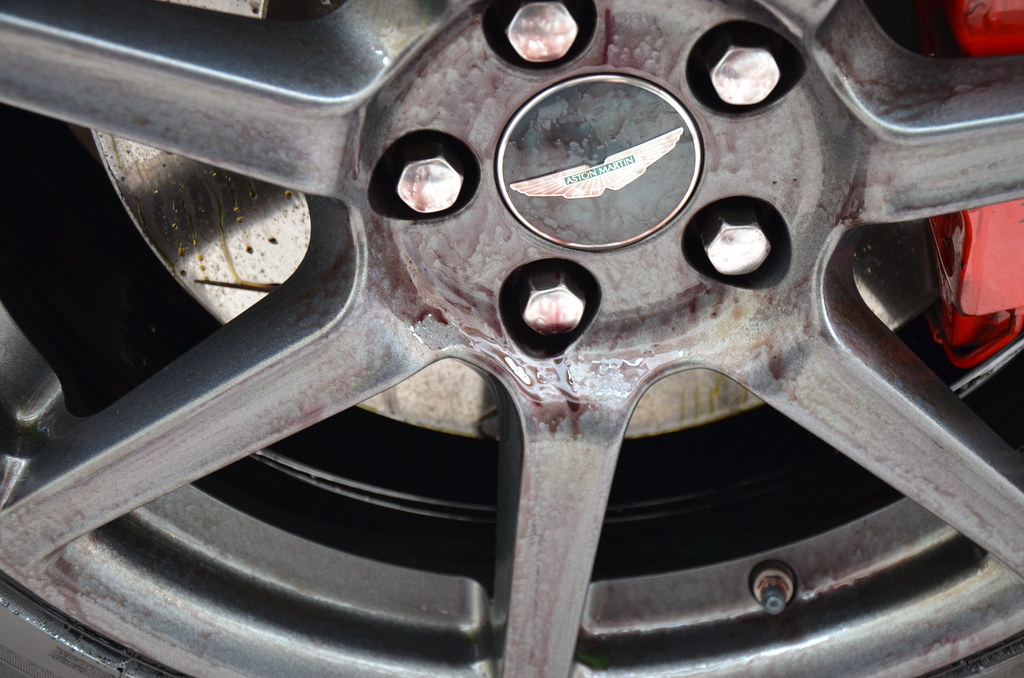
Above are the wheels after agitating with the Sonax Wheel Cleaner. The P21s Total Auto Wash was used on the wheel wells for a good cleaning. Getting rid of the gunked up excessive tire shine and the barrels of the wheels took some time to get completely clean.
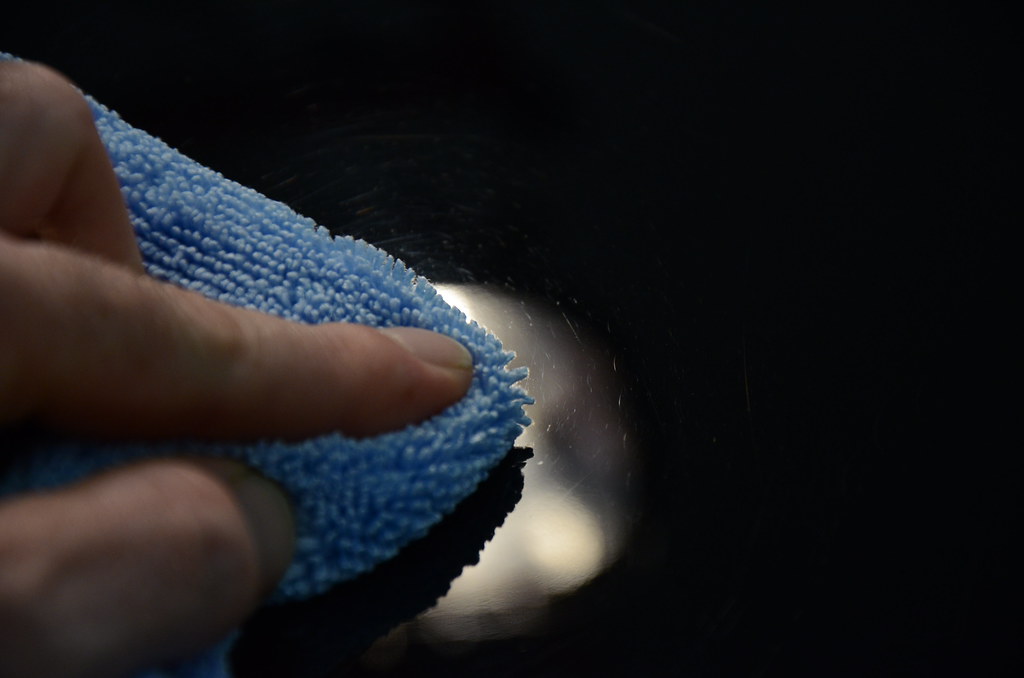
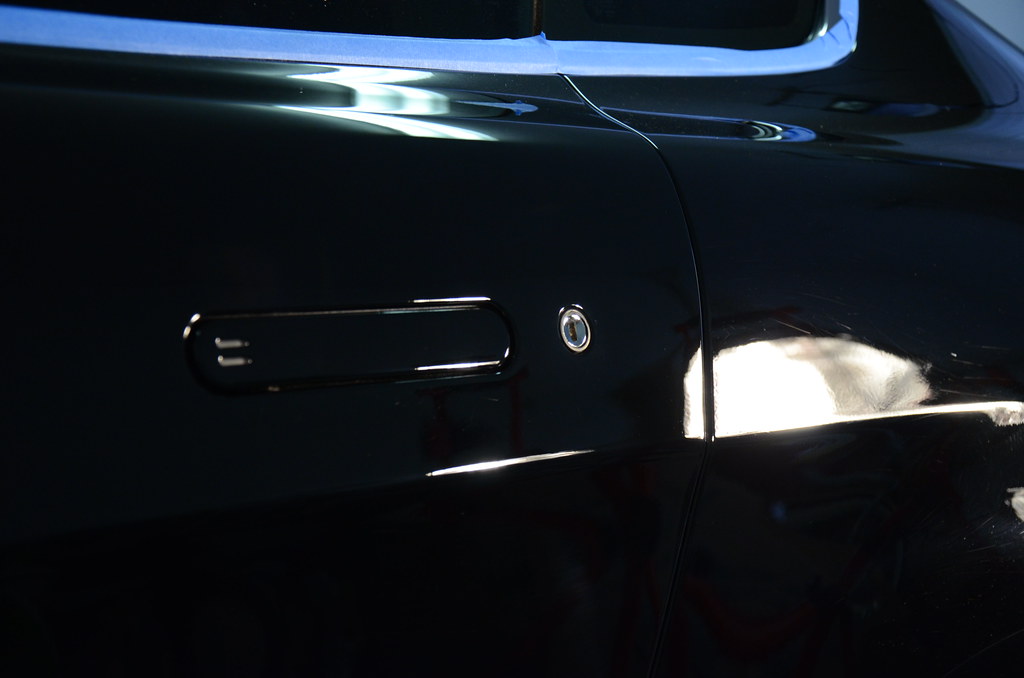
Below are a few pictures of the after wash process. A full IPA wipe down was performed and a few small pieces were removed.


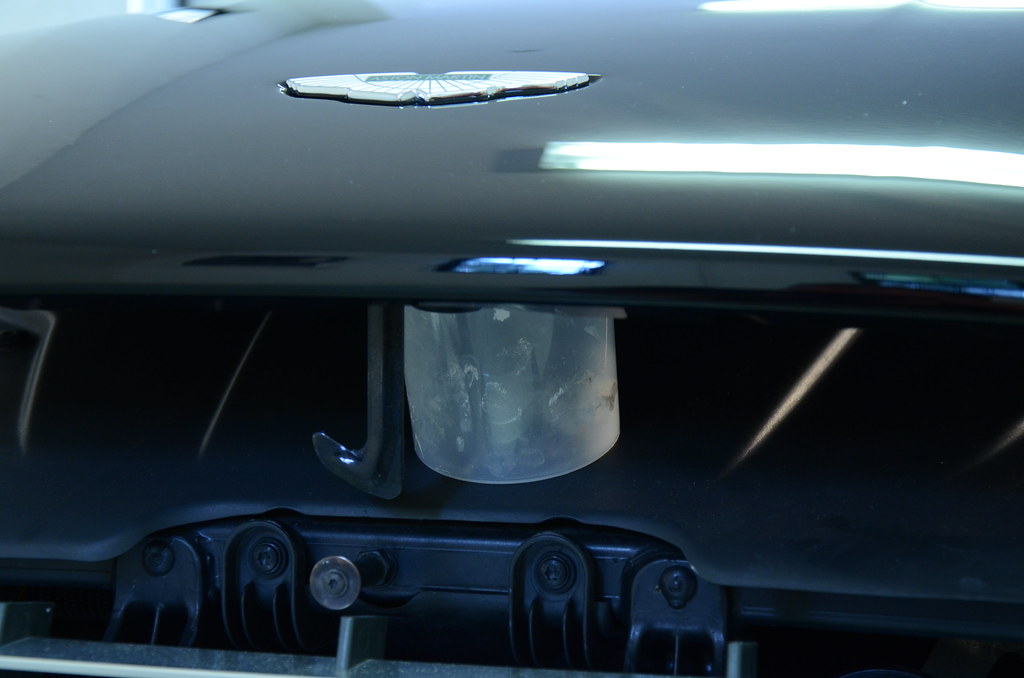
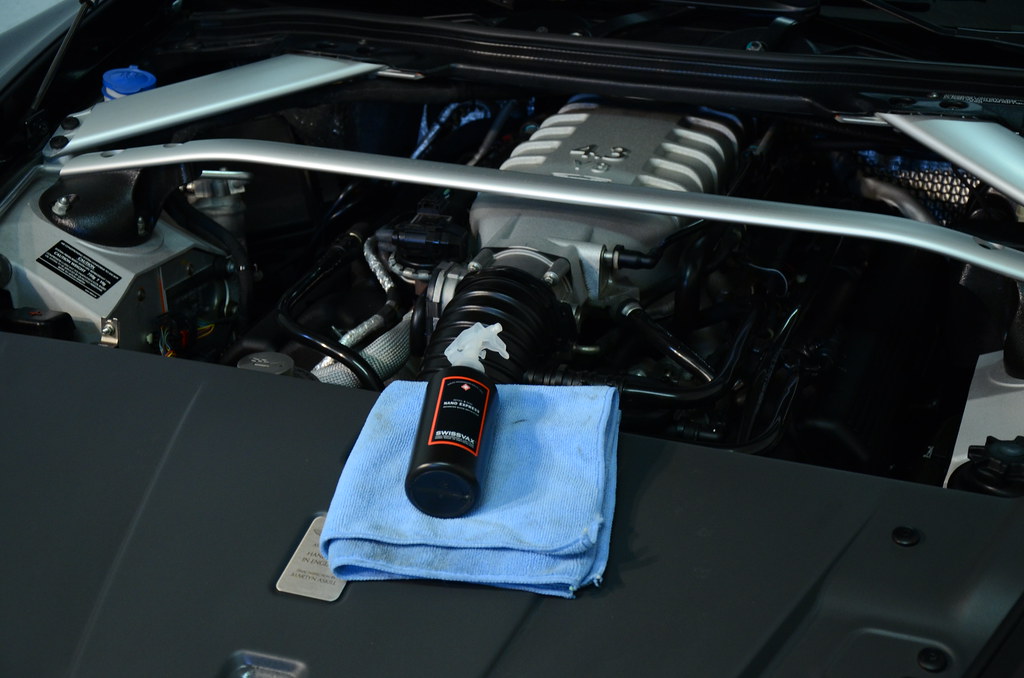
A clay bar container was used to prop the hood up
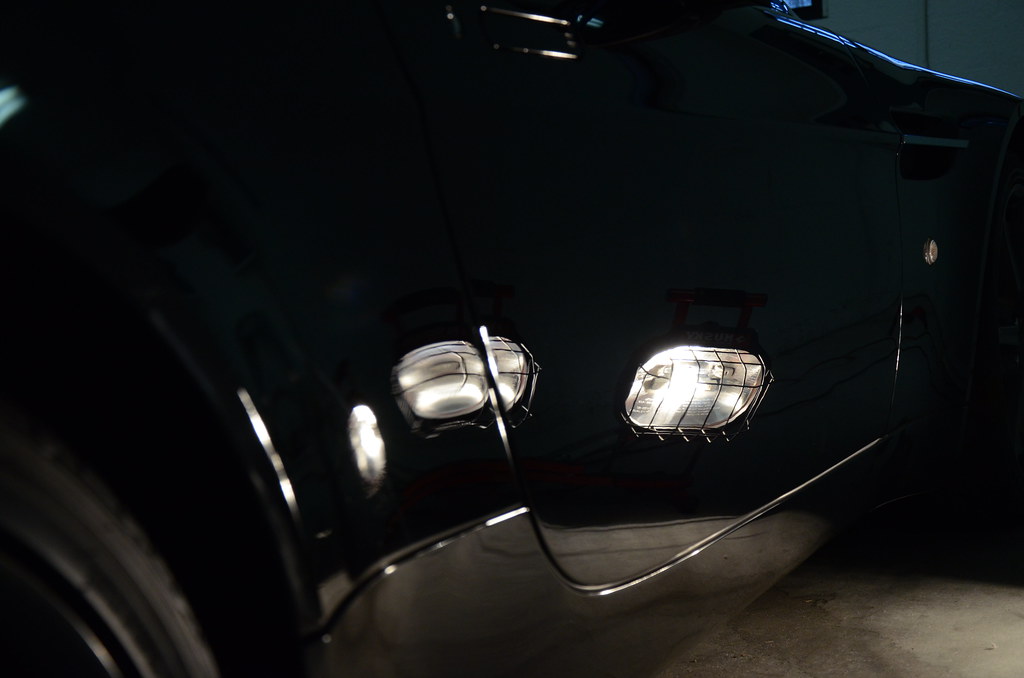
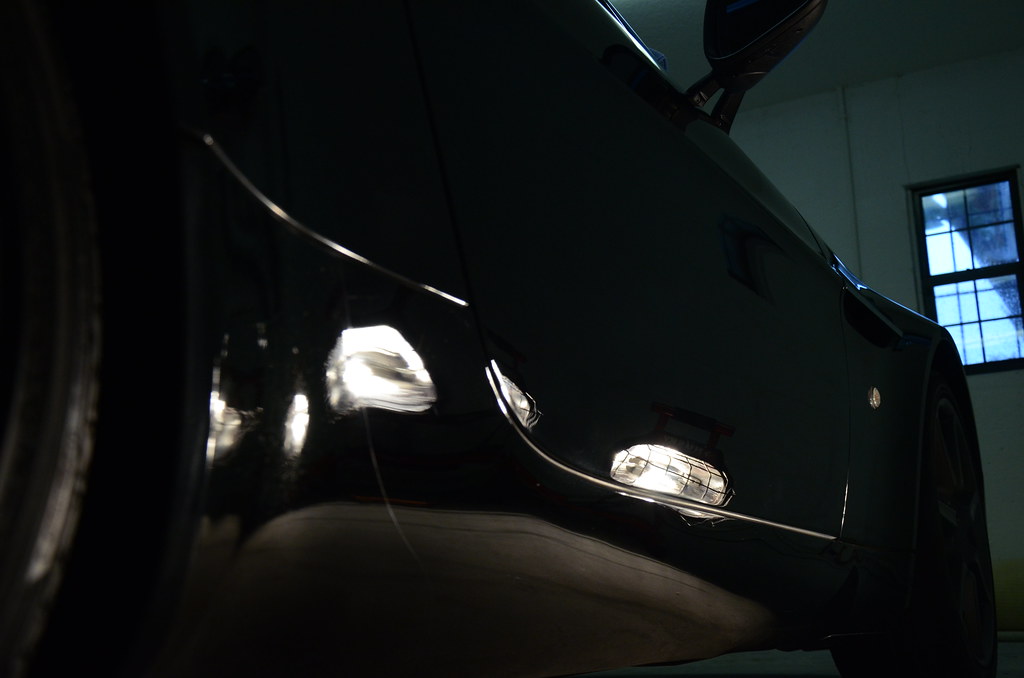
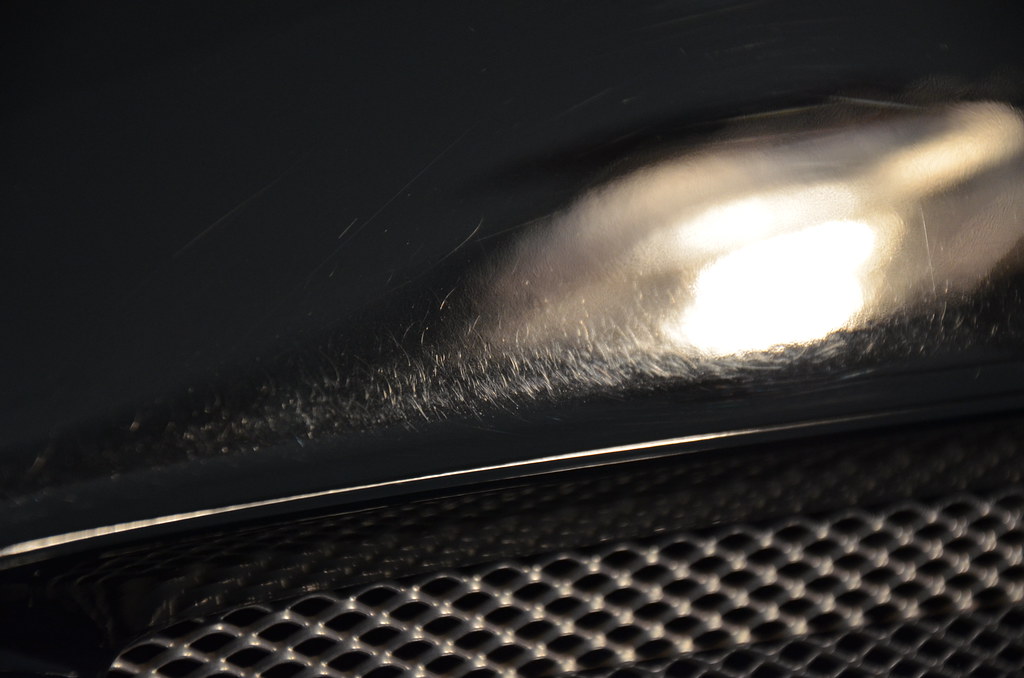
The lower end of the car and rockers had my attention, as both of these areas were really bad on both sides of the car.
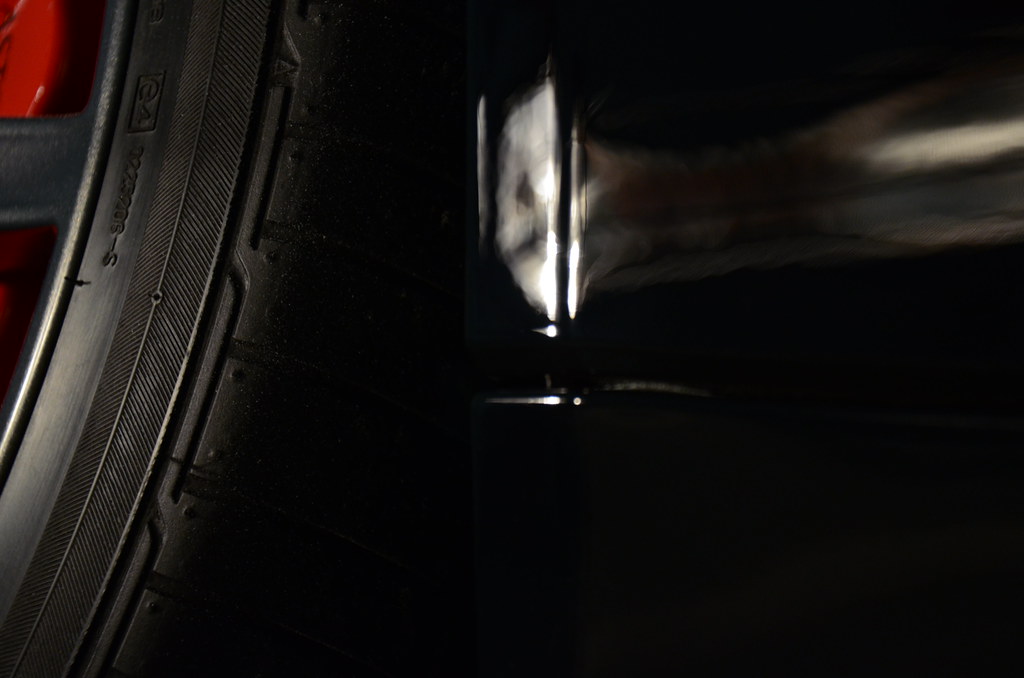
Work in progress below.
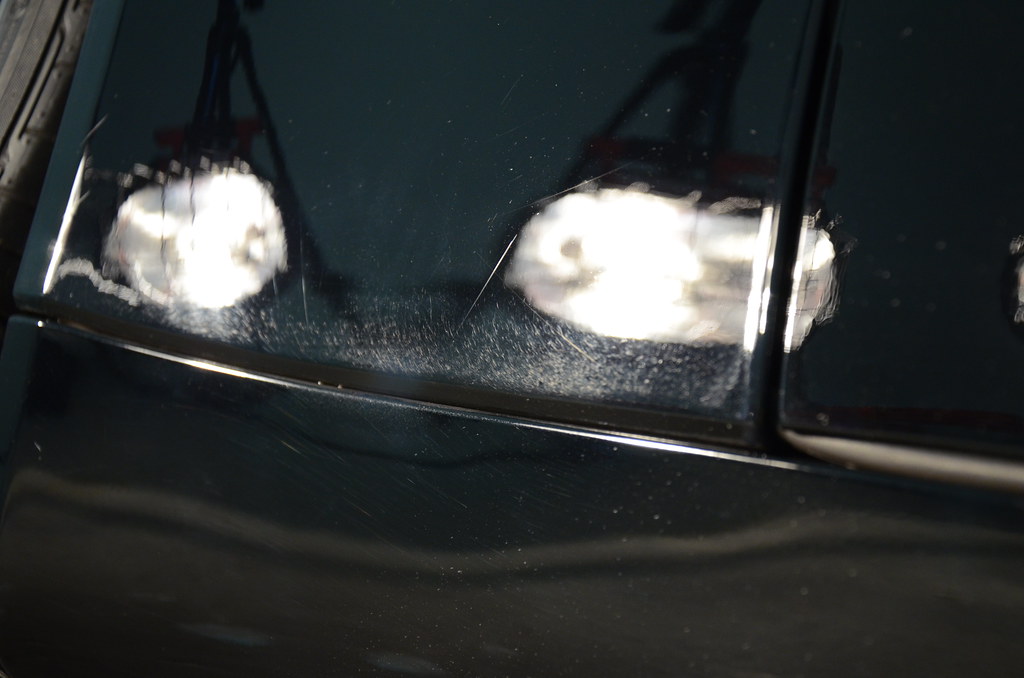
Below you can see smaller clusters at the bottom of the fender.
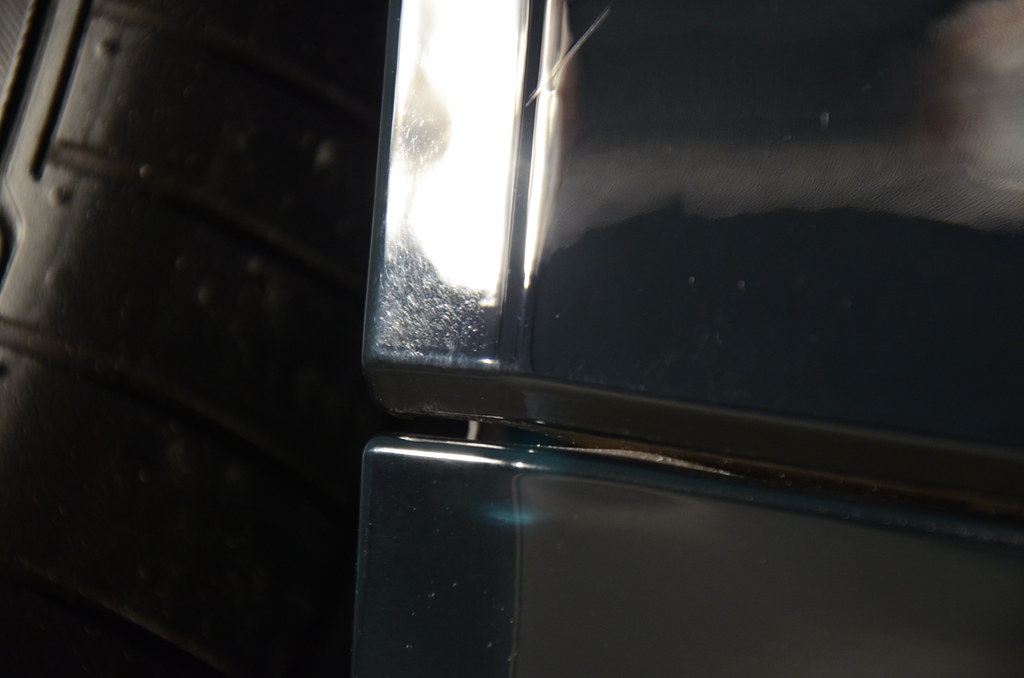
Here they were handled.
Under the bonnet the trim, piping, hoses etc. were protected with Nano Express.


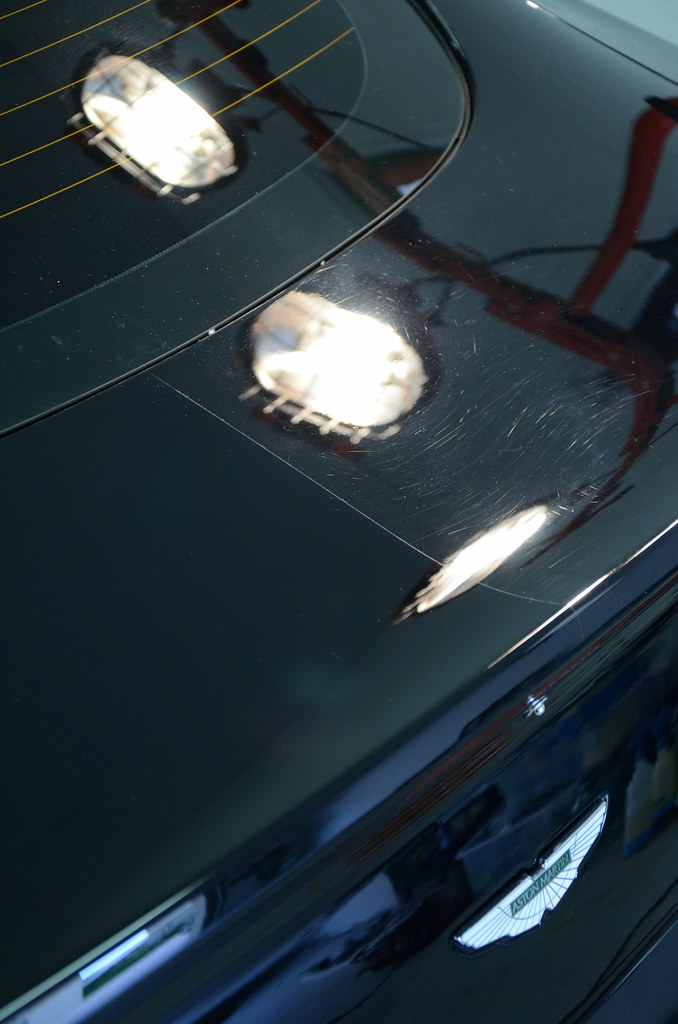
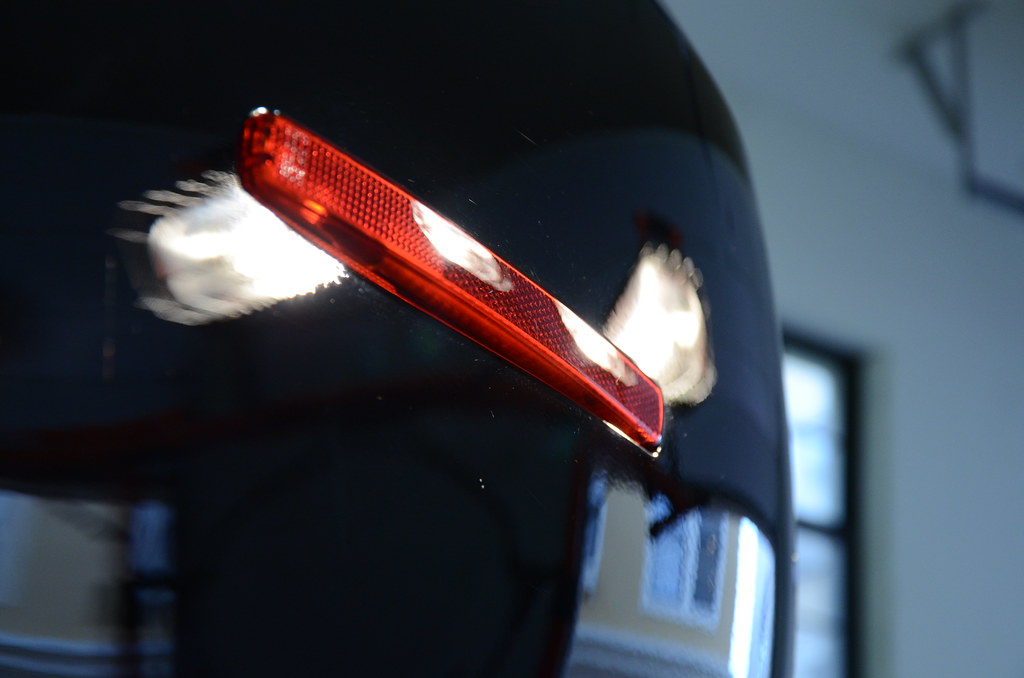
I started the correction process at the rear of the car (Lower rear bumper, trunk lid etc.). This area I find with not just with this car, but with most, feature the larger groups of “clusters” from D/A sanding rids. I worked my way from the back to the top, the front and then down the sides. The lower rockers and the bottom of the door seals were also heavily rid’ed. I used up a ton of pads in this detail which included a lot of 3′ cutting disc’s. Having a clean pad helps cut these ares a little faster with less passes. The 3″ foam pads on the rotary also helped me get into tighter areas with precision.
I hope you liked checking out this detail and if you have any questions please feel free to ask!
Buy Products From This Article
Purchase the products used in this article individually or in one convenient package here!


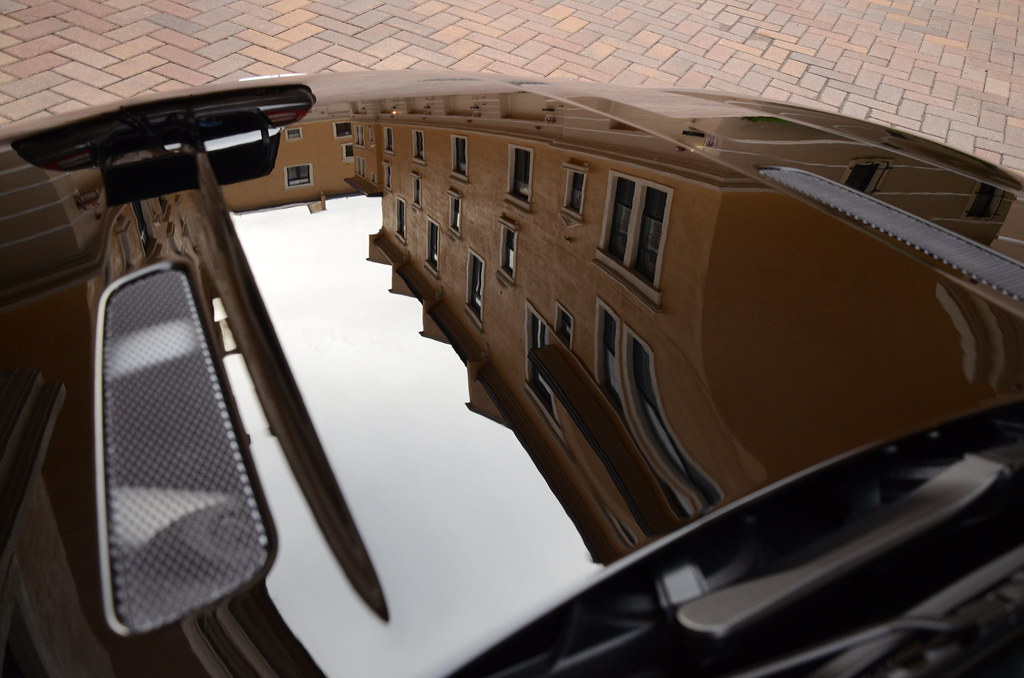
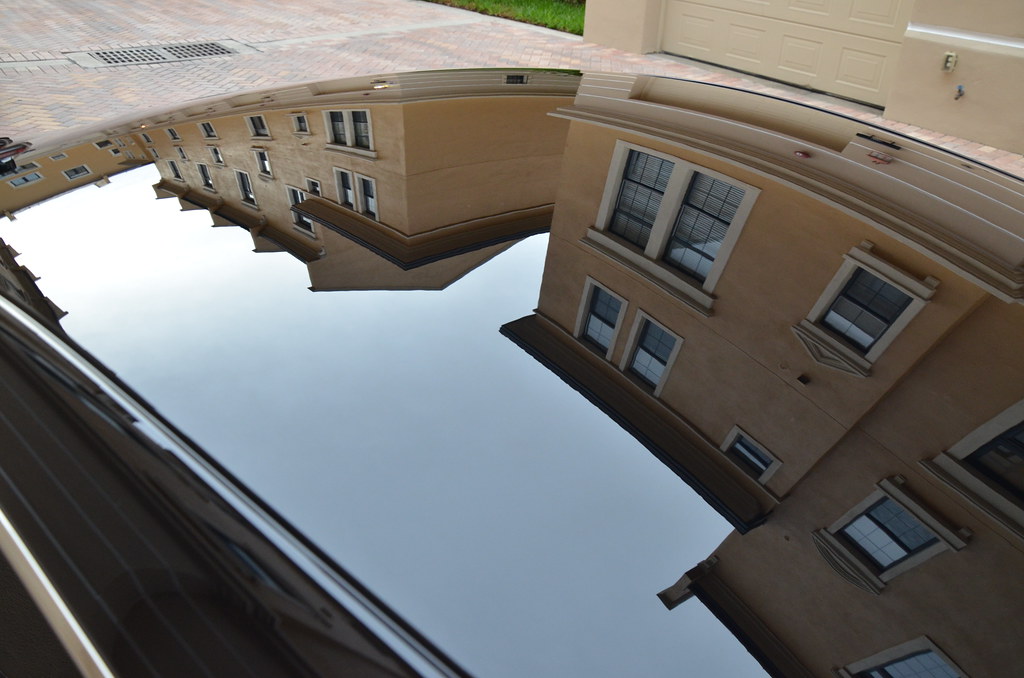
Very impressive, love the top roof shot where you can see the reflection of the buildings (second to last picture). Its so clear that I at first thought I saw a missed mark, and it turned out I had a dust spot on my monitor. I do have to ask, is Sonax wheel cleaner your go-to product? Also, when it comes to the IPA, is this step performed after you have gone over all surfaces with the clay bar, instead of a secondary wash? What sort of lube did you use for the clay barring process?
Jeff,
Sonax wheel cleaner is not always my go to. (However I do love the product) These wheels were heavily caked up from the inside out. I spent a little over an hr in cleaning the wheels alone, before washing and decon of the paint.
You are correct. Yes, I IPA the car after clay bar process and after each pass with a polisher. As far as the lube I used…. I have a few drops of Swissvax Car Bath (shampoo) in a 16oz bottle with purified water I use for lube.
Thanks for the kind words!
Brian
Thanks for the response! I will be going through with a crimson red BMW328 that is in need of some fairly drastic help in the next couple of weeks. Always look to any of the pro’s for advice on what they use. Not telling you how to write blog posts, but maybe make a quick list of the products you used up top. Great write up, and great photos, looking forward to reading more of your write ups in the future!
Hello Brian,
I see you used Rupes LHR 15 and Flex rotary. Could you, please, add some lights on your correction process. Which compound/pads for each machine and what finishing polish and wax/or sealant you used.
Thanks
Moheb Hanna
Lancaster, CA
Moheb,
I used Megs 105 and 5″ cutting disc’s followed up by Megs 100 and 5″ Finishing disc for the larger flatter sections of paint. (With the LHR 15 at speeds 4-4.5)
3″ cutting disc and Megs 105 with the Porter Cable also works very well to cut the D/A sanding rids in tight locations or by edges.
My flex rotary has been hooked up to a 3″ backing plate for a while now since the release of the Rupes….
I used the Flex for the tighter areas (a lot on the rockers in this detail) With foam pads and 105 & 100. again, keeping with the same use of products.
Once the car was corrected using Megs 105 & 100…. IPA wipe down, I used “Swissvax Professional Cleaner Fluid” on a Black soft uber pad. Then the car was topped off with a coat of Swissvax Shield Wax.
Thanks for comment and thanks for viewing. Hope this helps some.
Kindly,
Brian
good work as alway Brian
Thanks Man!!!!
Thanks Brian!! very impressive work
Hello Brian
called you about 3 weeks ago on when the MODESTO would be available,you called and said you would call me back never herd back from you ,whats the deal.
Tom,
Email sent. Thank You
Kindly,
Brian
Nice photography, beautiful results. But what’s a “rid”?
Thank You Mark!
Rids are: ( Random Isolated Deep Scratches )
Hey Brian , I know you do coatings as well. Is there a product you would reccomend to present to a potential multi-dealership contract for upselling paint protection. In place of the product they offer now ( cilajet). Which they are not so impressed with. Also important , one that may carry a warranty for a 2 or 3 year term ! Thank you very much
JT,
I would recommend Modesta. However no warranty would be added.
It is a very suitable product for paint protection (especially for new cars) with a added bonus for up sale. Application needs to be spot though and not done in a rush if you will.
Brian, what product do you use 1st megs 105 or 100 and why. Your finished product is amazing, I’ve just started detailing about 6 months ago, my jag looks just like the Aston so whatever help I can get I appreciate. I used the 100 first and it came out terrible, what did I do wrong, thanks Rich
Rich,
Depending on the paint… I like doing this… I use 105 first with a cutting disc followed up with 100 and a Foam pad. Sometimes I feel I can get a better finish in the correction process with foam.
Meg’s 100 will do a great job. Were you using cutting disc or foam pad in your process? and also, What machine are you using?
We can make it work! Let me know!
Kindly,
Brian
Amazing results mate!
Fell in love with the beauty. Phew. Blown over. The first pic of the finished car is my new wallpaper.
Thanks.
Thank You!!!
Hi, I desire to subscribe for this blog to get most recent updates, thus where can i do it please assist.
Today, I went to the beach with my kids. I found a sea shell and gave it to my
4 year old daughter and said “You can hear the ocean if you put this to your ear.” She placed the shell to her ear and screamed.
There was a hermit crab inside and it pinched her ear. She never wants to go back!
LoL I know this is totally off topic but I had to tell someone!