
Ferrari F430 Spider Mini Restoration
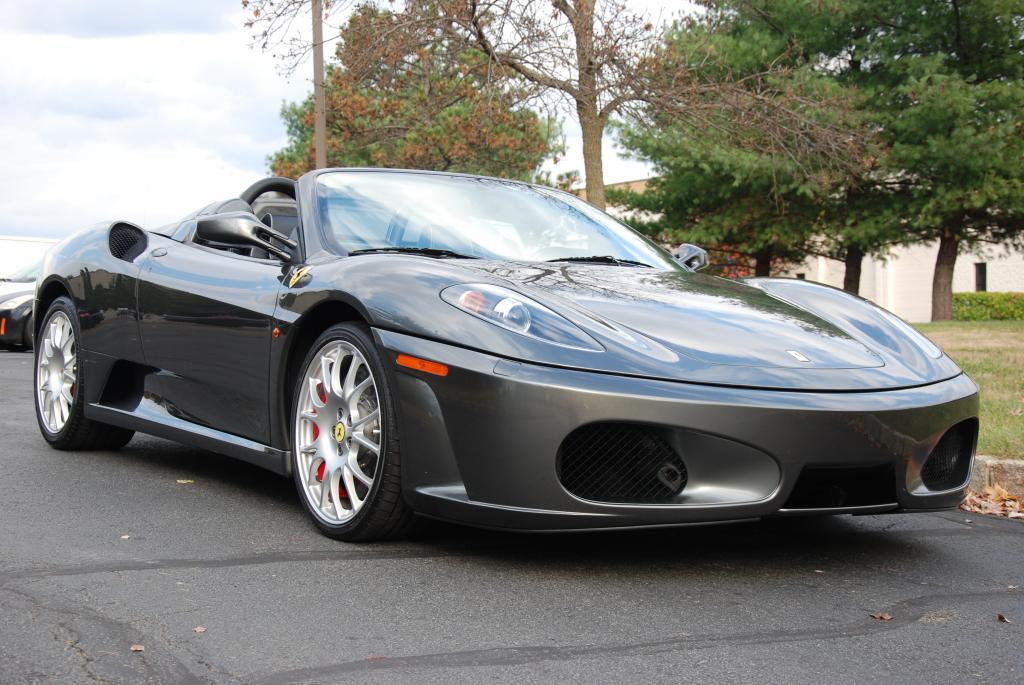
by Greg GellasRather than just a detail, this project was more of a restoration to this 2005 Ferrari F430 Spider. Considering the turn around time that was required for this car, and the work performed, I knew this was going to be in the shop for a bit. With full paint correction, a coating, fresh paint protection film, and the interior pieces being sent out for re-finishing, this was going to be quite a project.
First thing I did was a full wash and decontamination of the paint. Using Chemical Guy Citrus Wash and Clear the car was washed. I then went around and used Iron-X on the painted surfaces for an added deep cleaning. Finally I clayed all of the paint, using Optimum No Rinse as a clay lube, and followed that up with another rinse. Knowing that the car wouldn’t be moving from its spot for a few days, this needed to be done before removal of the interior pieces.
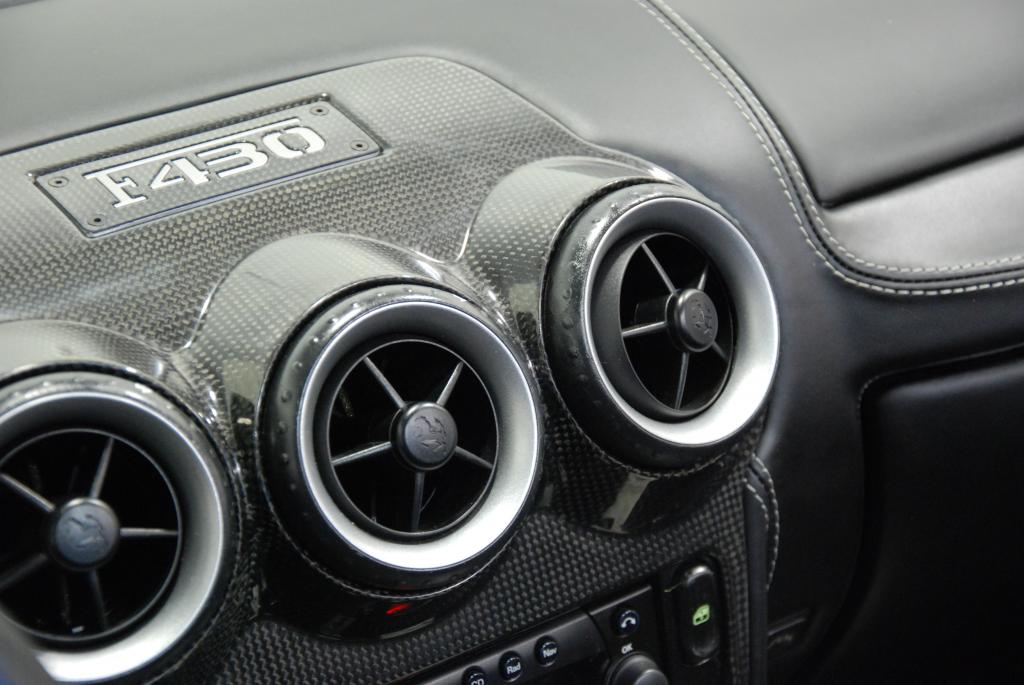
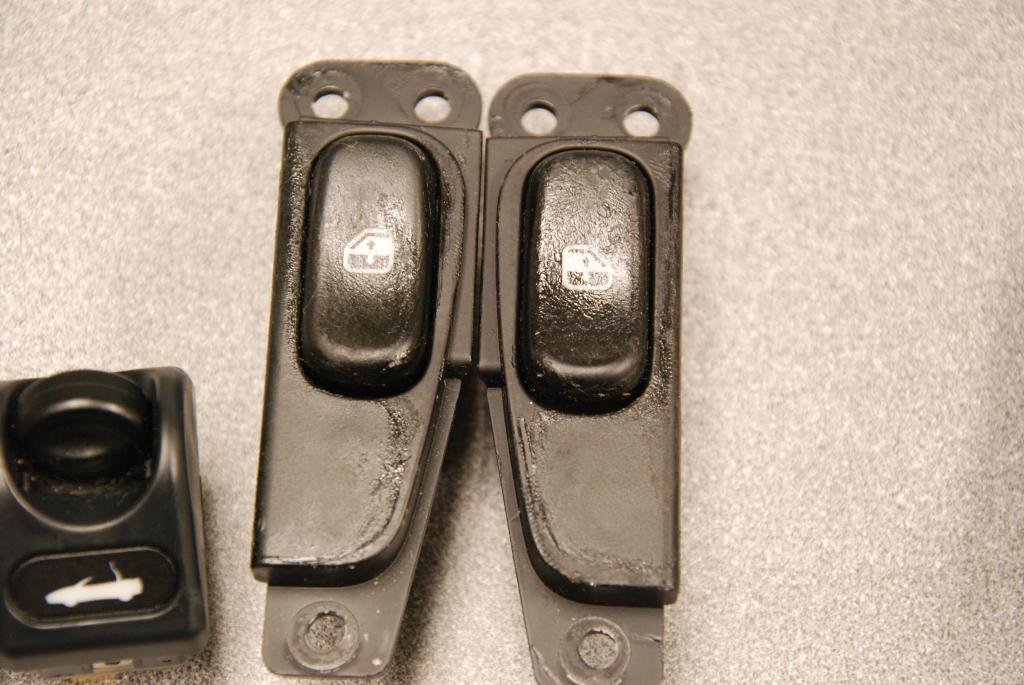
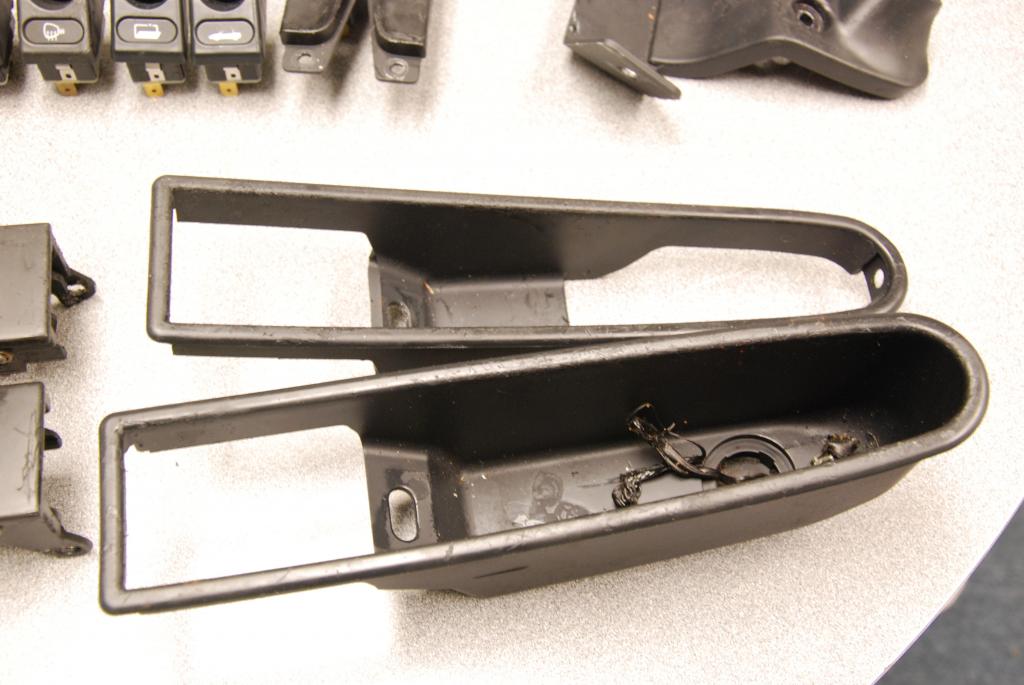
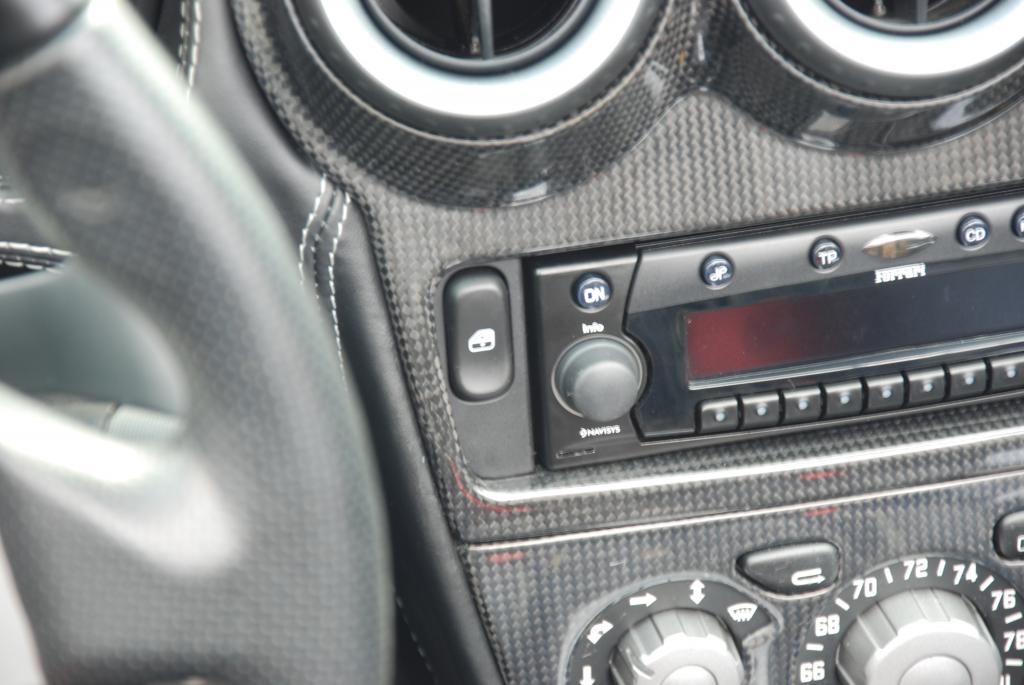
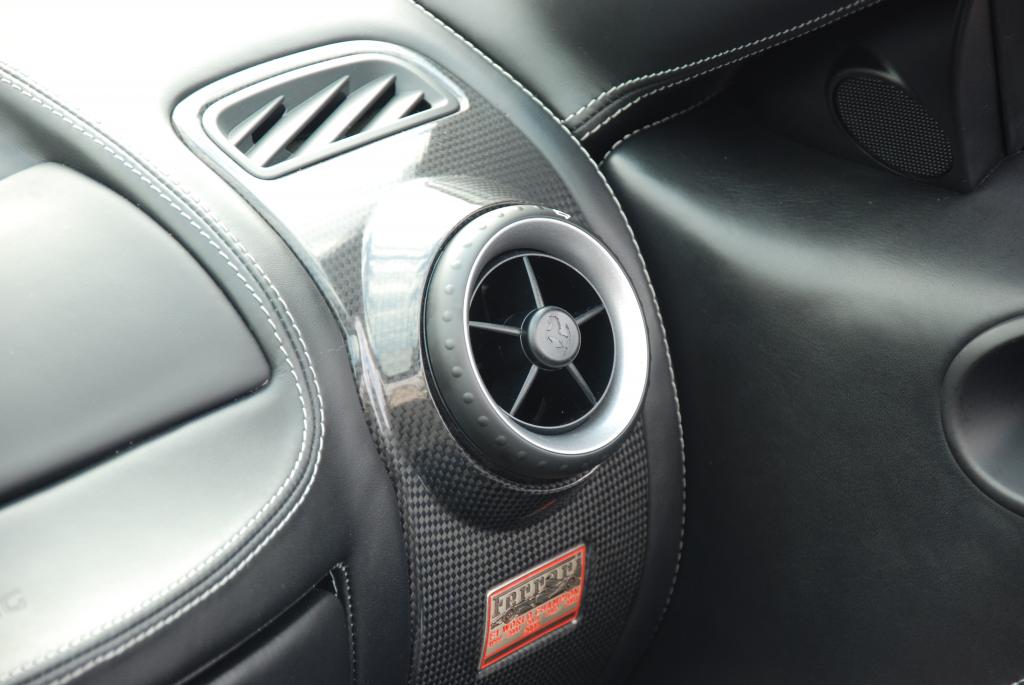
The car was now prepped and ready for removal of the interior parts that needed to be sent out for re-finishing. As you can see the interior pieces have turned sticky, and the finish is coming off. This is actually very common. Some of the exotic car companies are know for inferior interior trim. For me these cars are built for performance, not their interior trim pieces 🙂


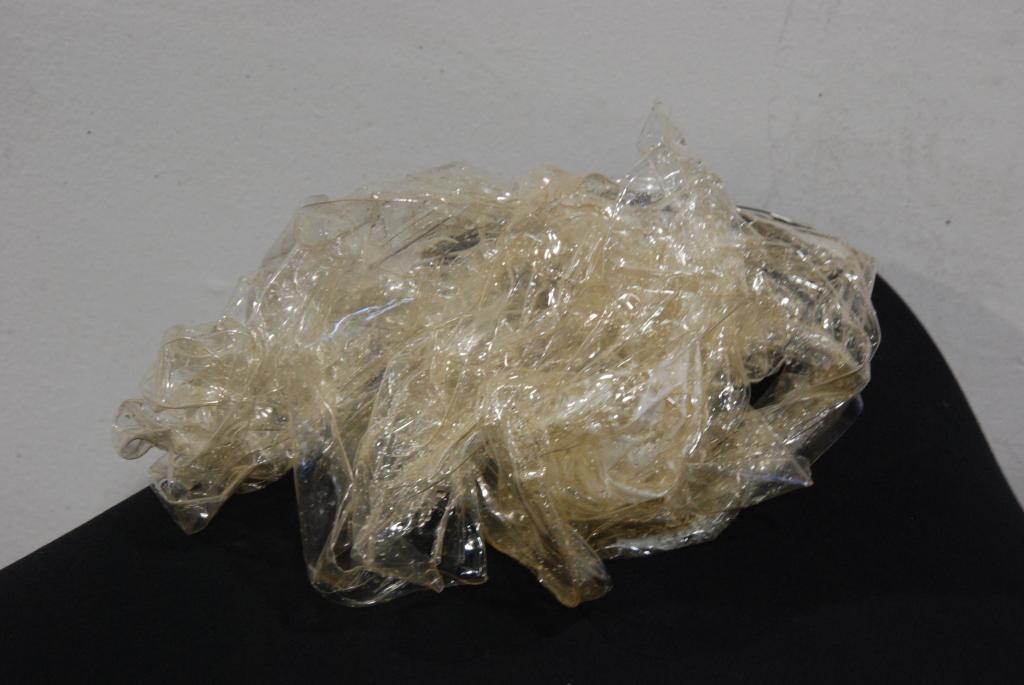
The paint protection film on the hood had a yellow hue to it. It took away from the appearance of the entire front end. We removed the film and after the paint correction, we replaced it with fresh film. As you can see from the picture below, this film has really turned yellow and without replacement it would have just ruined the entire job to leave it on the car.
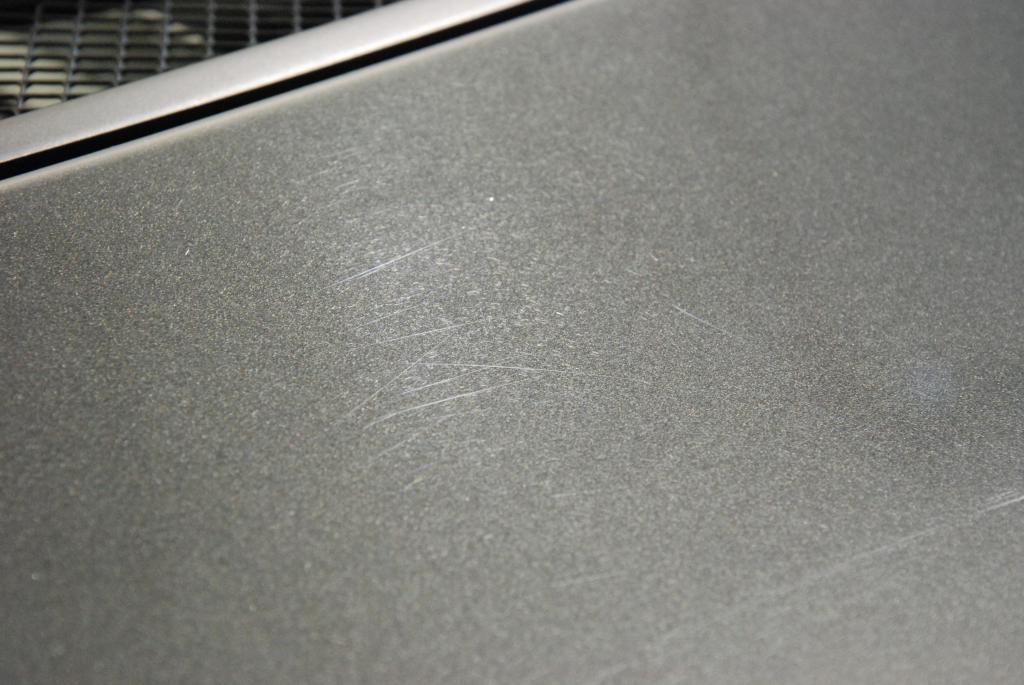
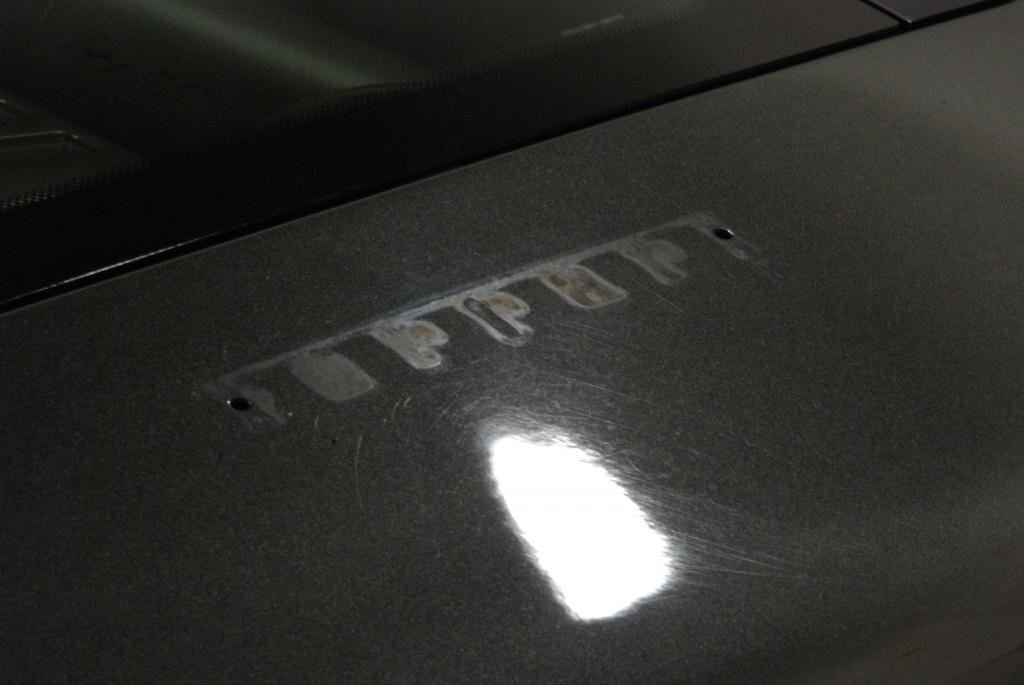
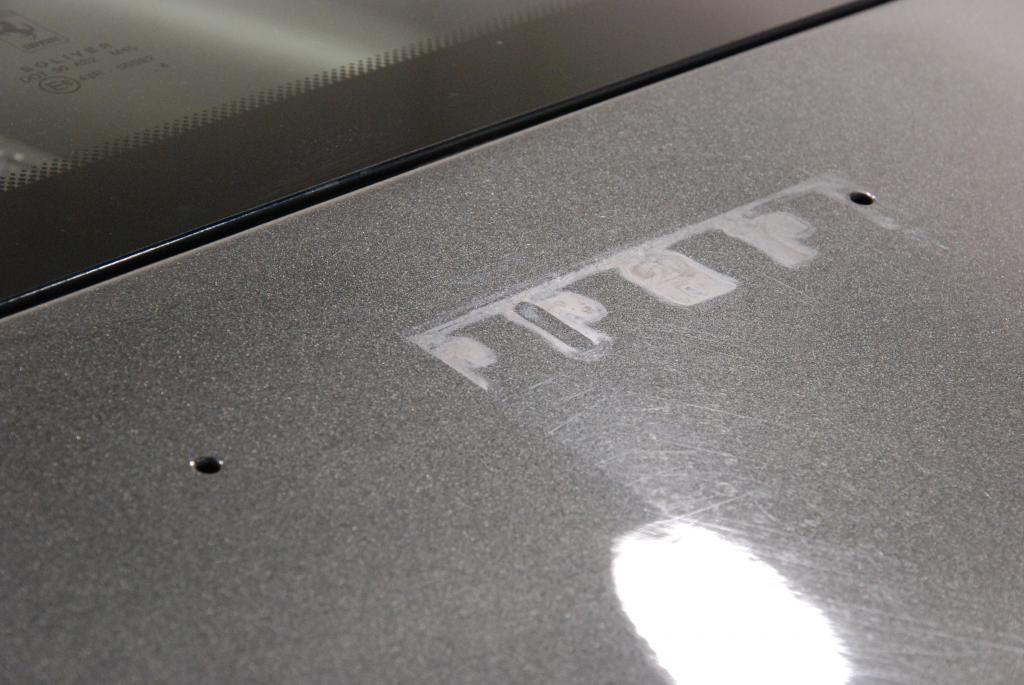
Once we removed all the interior pieces, I wrapped them up in bubble wrap and shipped them out to be re-finished. I was now able to start on the paint correction. As you can see, there were sanding marks and random scratches throughout the entire surface.
Using Menzerna FG400 and a Meguiar’s Microfiber Cutting Disc I achieved the correction I was looking for. I then followed up with a White Rupes pad and some M205.
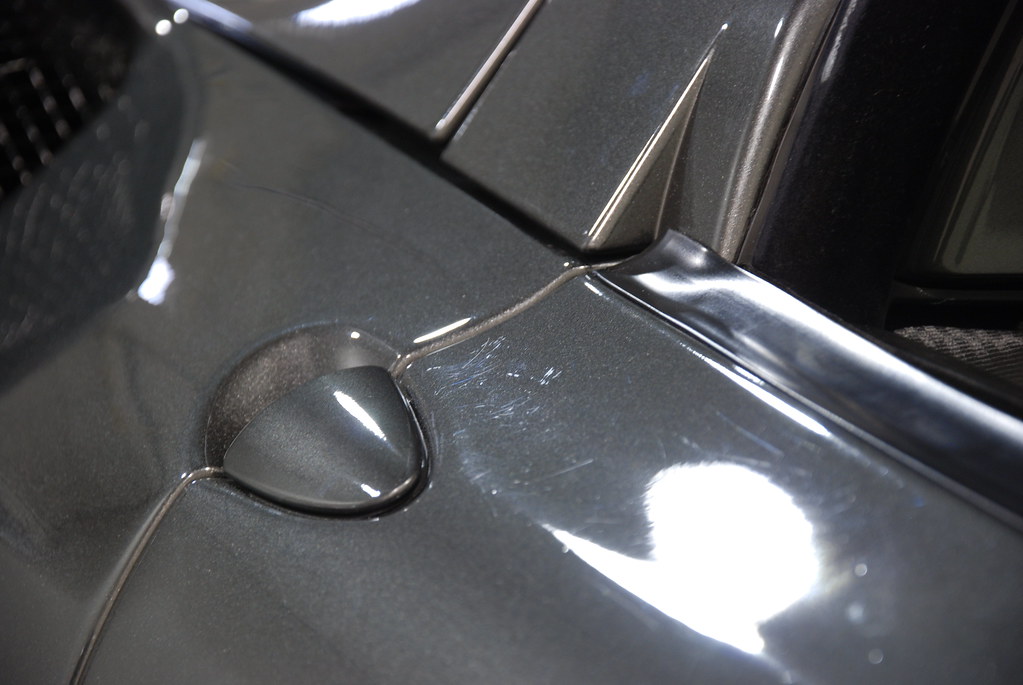
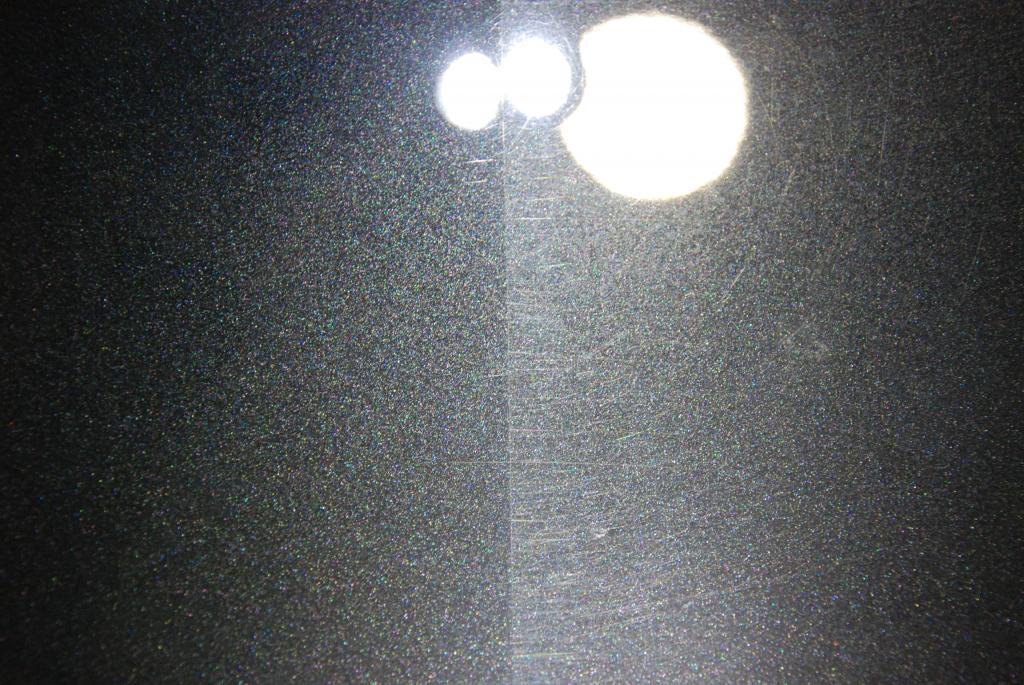
Using the door seam as a stopping point, you can see how bad the paint was on the door and the amount of correction we got on the rear quarter panel.
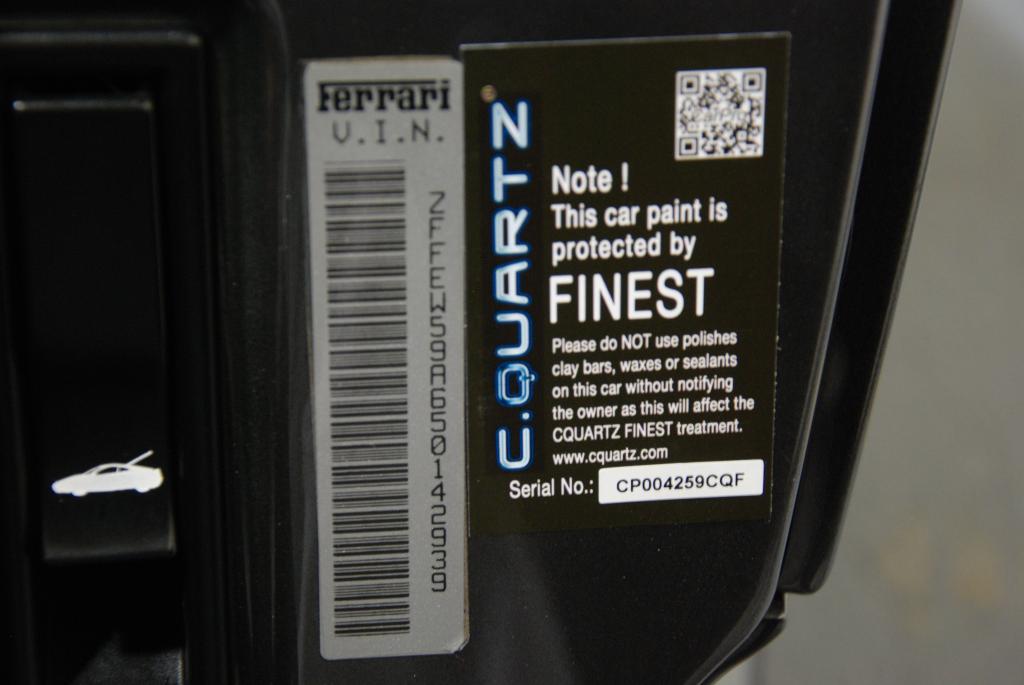
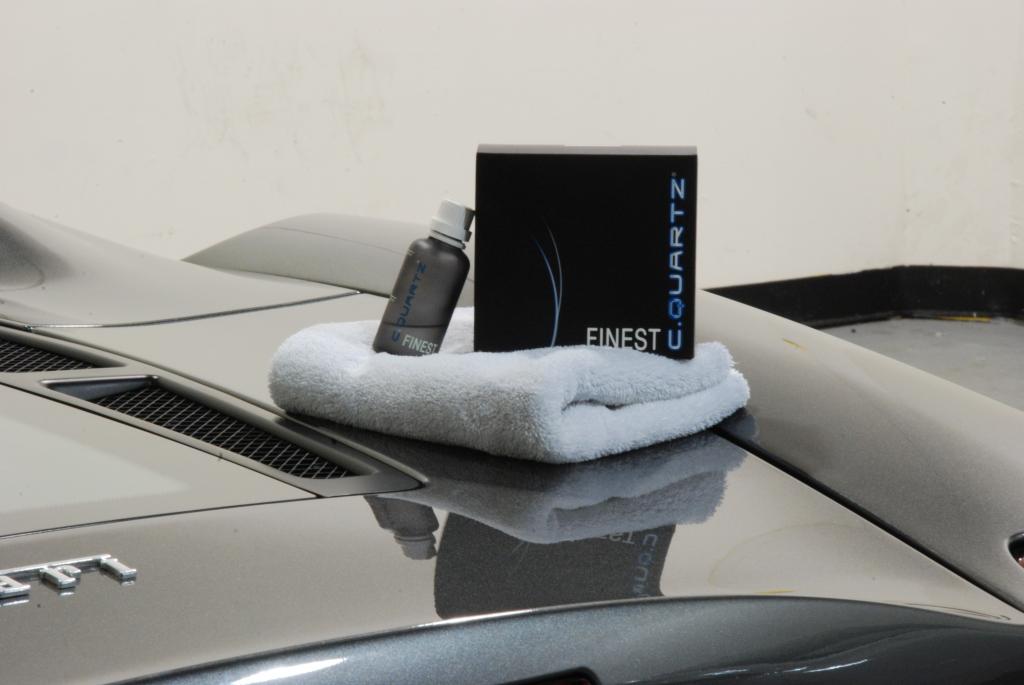
This was followed up with two complete wipe downs using CarPro Eraser. This car was going to get coated with Cquartz Finest. Finest comes with a sticker, showing that it was applied and requesting the car NOT to be polished. In addition it comes with a two year warranty.
Some key benefits of Cquartz Finest
Water contact angle: 100~110° • Sliding angle: 15~25° • Thickness: 2~3µm Features: • Stays clean and glossy longer • Harder surface: Resistance to fine swirls and marring • Self cleaning effect – Dust blows off and dirt washes off easily • Self cleaning effect – Low sliding angle ensure less droplets left on surface • Resistance to brake dust and iron contaminants • Resistance to bugs, tar, and bird bombs • Resistance to UV and other environmental contaminants • 2 Year Limited Warranty
Finest can only be applied by an authorized installer.
With an amazing hardness, awesome water contact angle, and amazing gloss, Finest is a really nice coating.

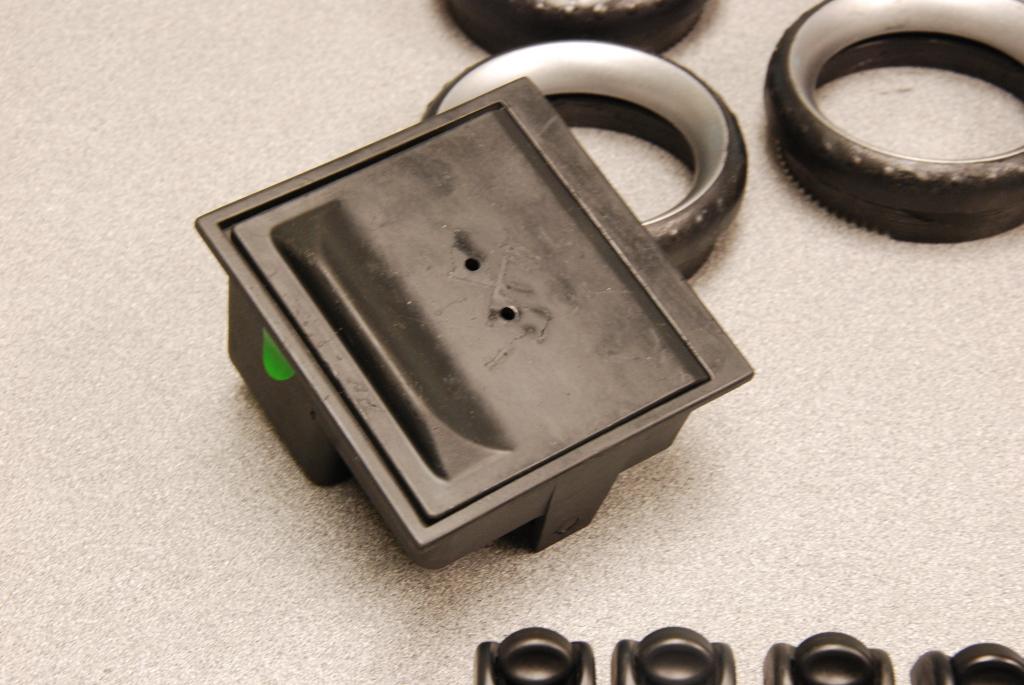
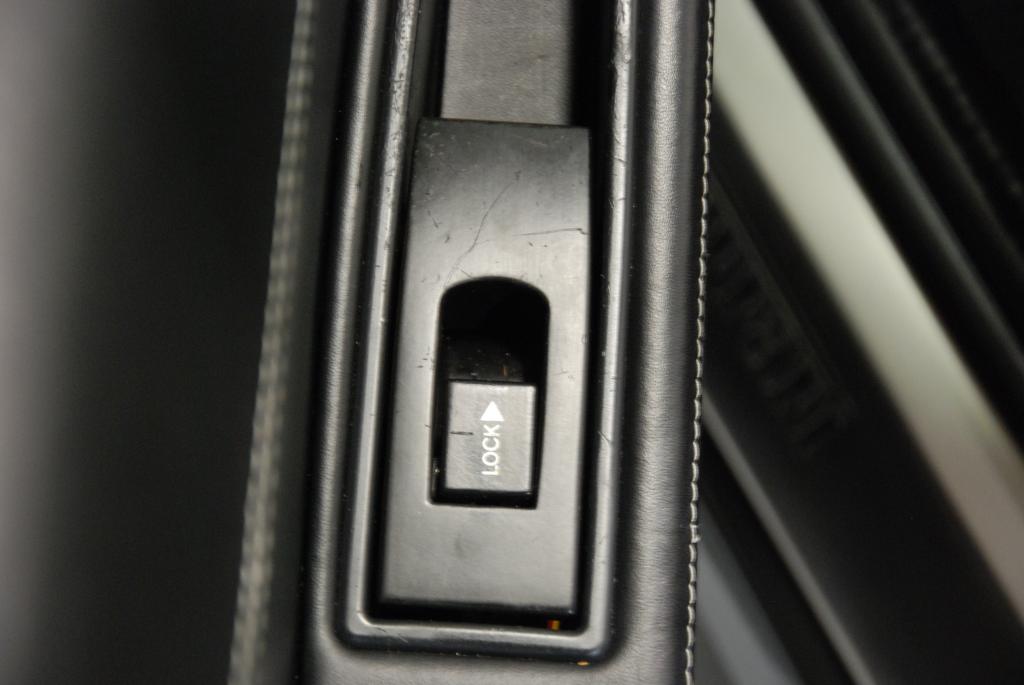
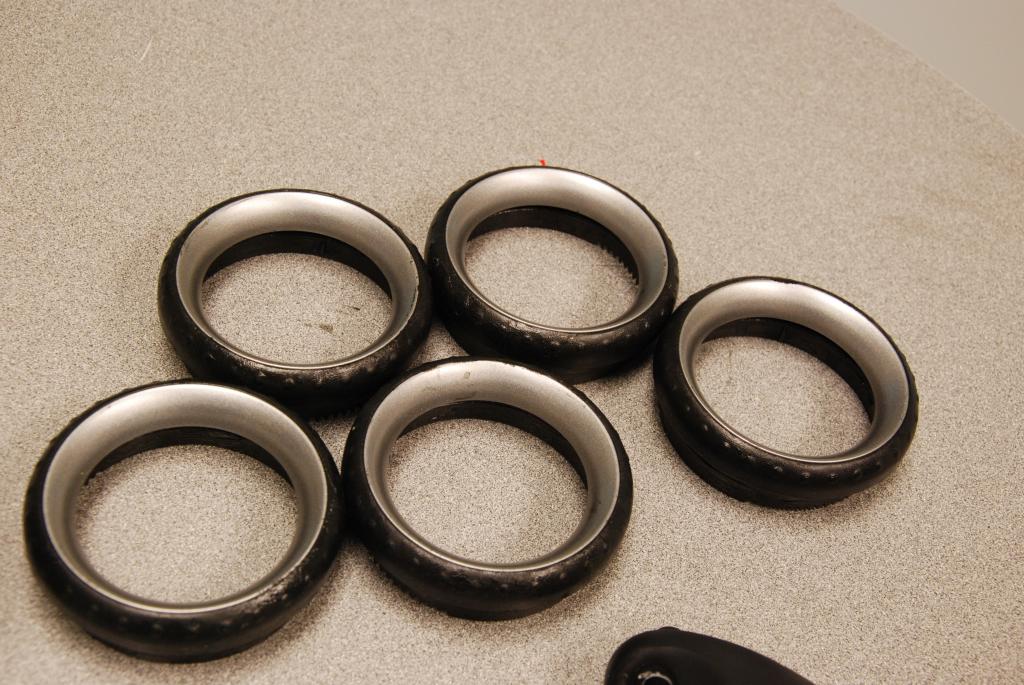
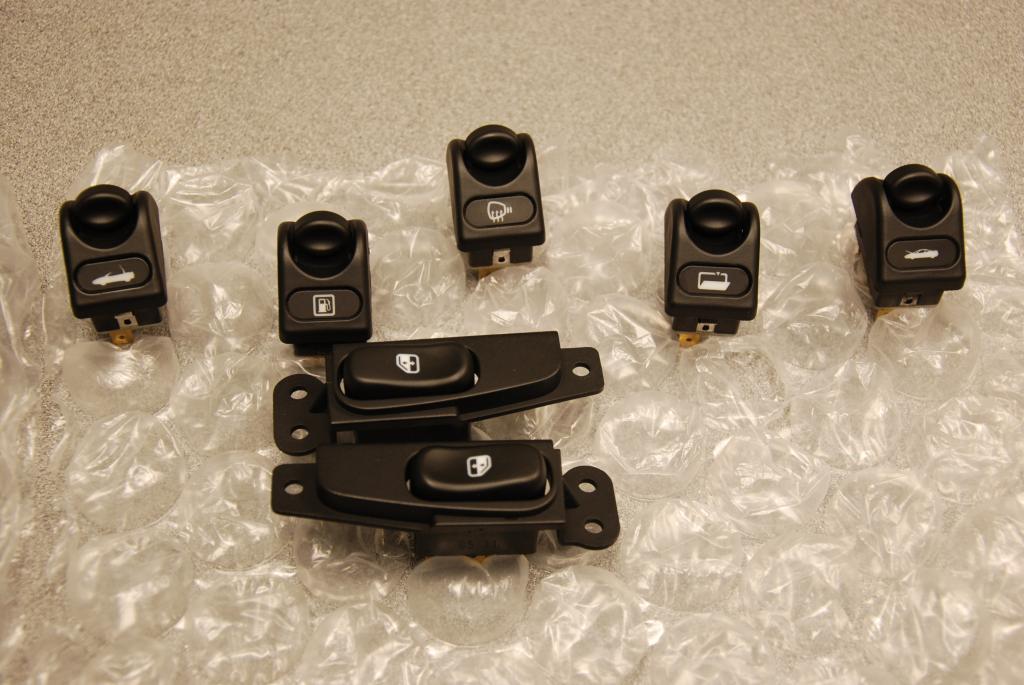
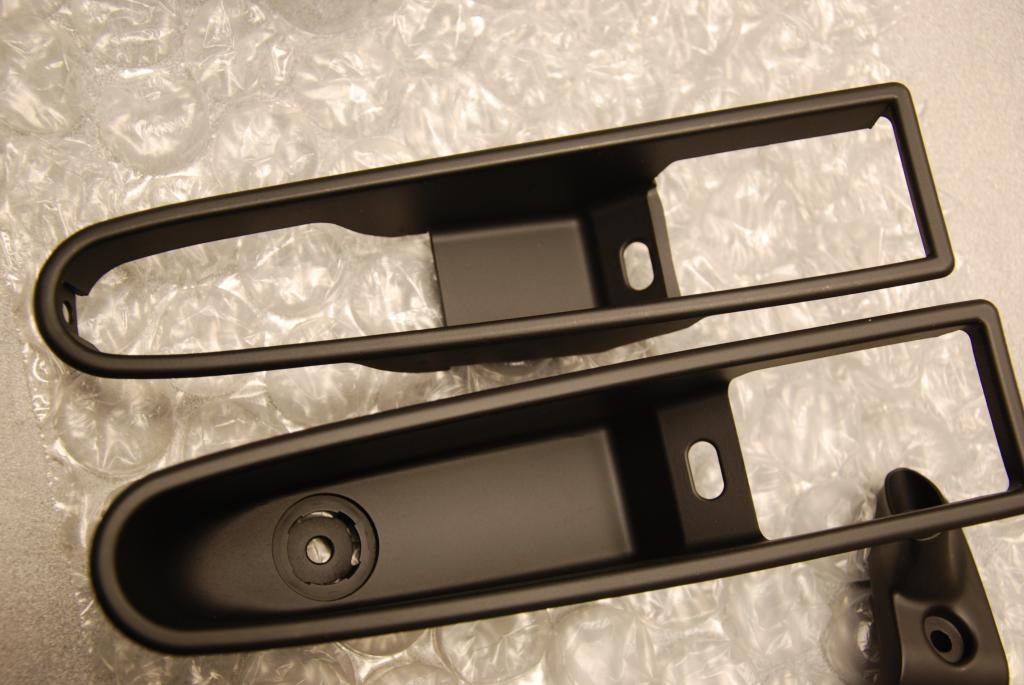
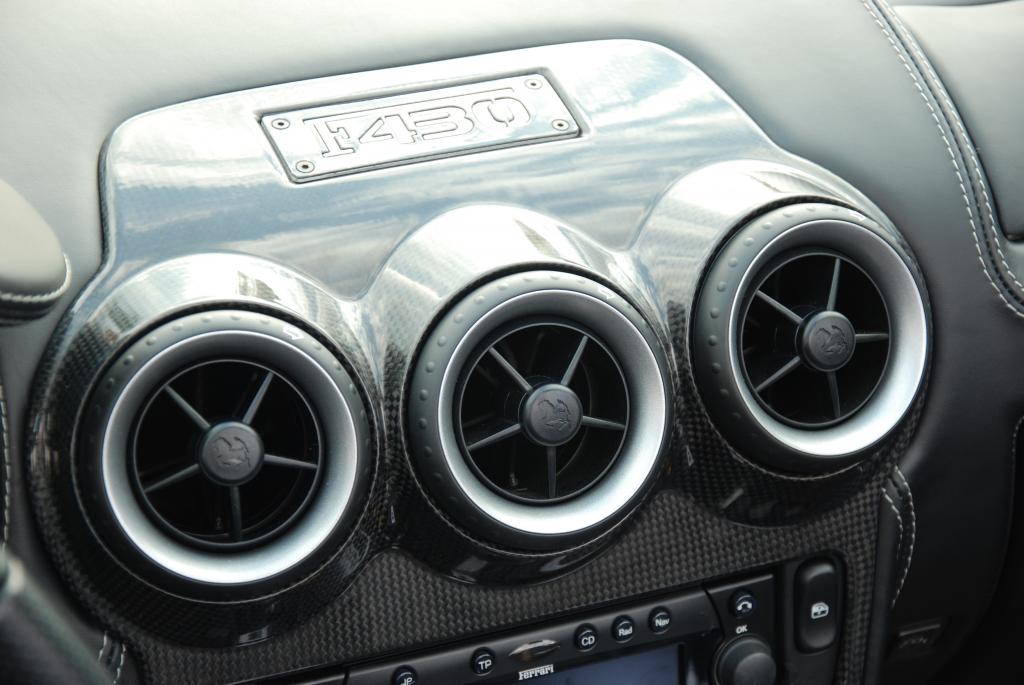
The re-coating of the parts had to look correct and had to last. Here is a nice little overview of the new coating placed on these parts by the company who refinished them, “Our process involves stripping the parts clean, prepping them, and refinishing with a fresh hard coating. Unlike many soft coatings, our coating will not fade, bubble, ripple or get sticky”. You can see below that the finish on the parts is near perfect and it looks just like a factory finish. The only difference is that this is a finish that will truly last. Now that the parts were returned and refinished we can re-install and move forward with completion.


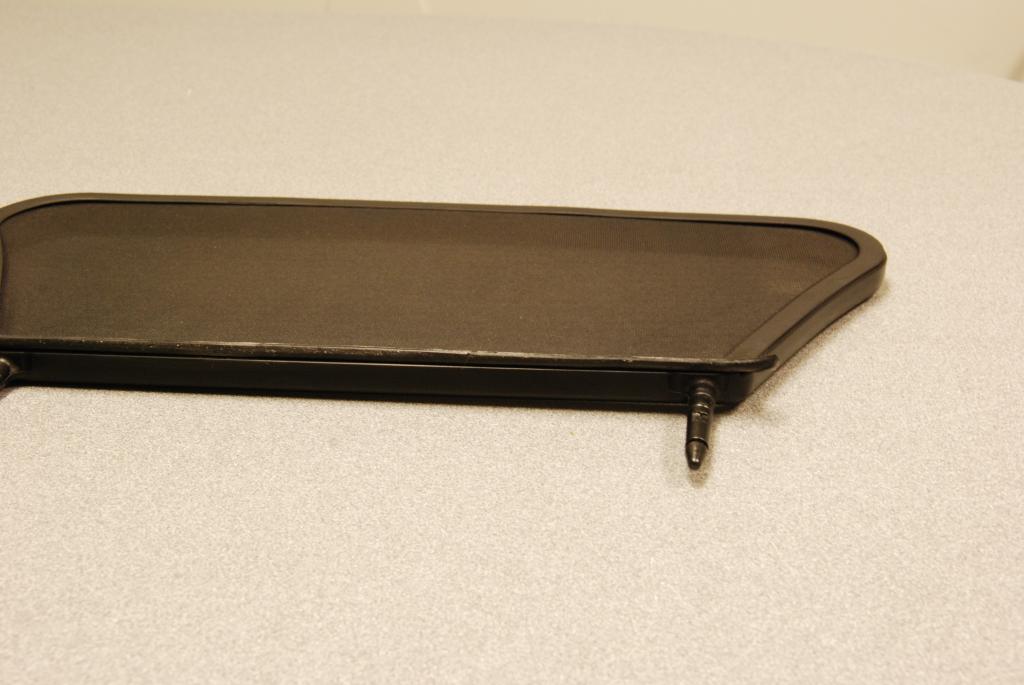
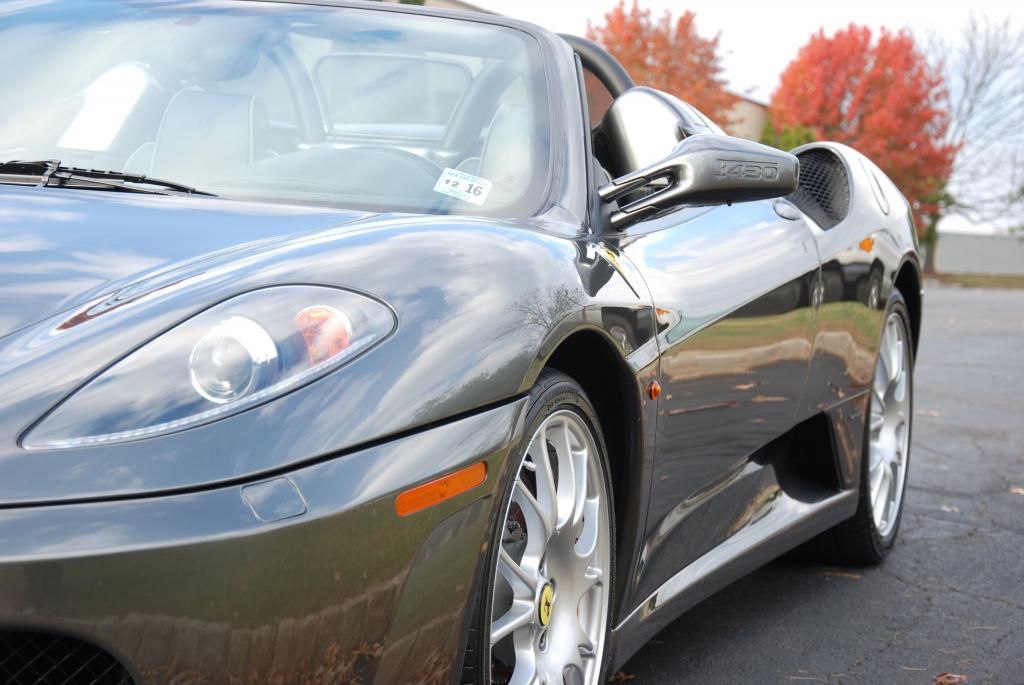
While the parts were out for re-finishing, I decided to go around and take care of some small things that I noticed needed some attention. Seeing that the gasket around the wind blocker wasn’t perfect, I removed it in order to fix it.
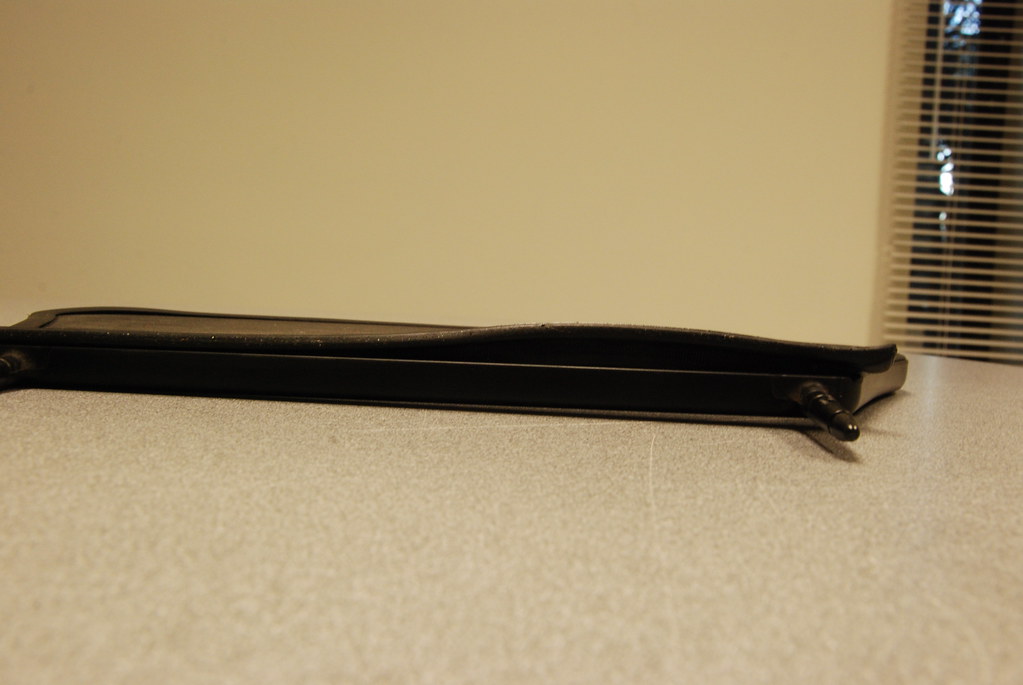
This simple thing had a large effect on the look of the wind blocker when on the car. Before, the style line was wavy and your eye drew right to that. Now, that it is back in the style line, it will be straight and look correct.
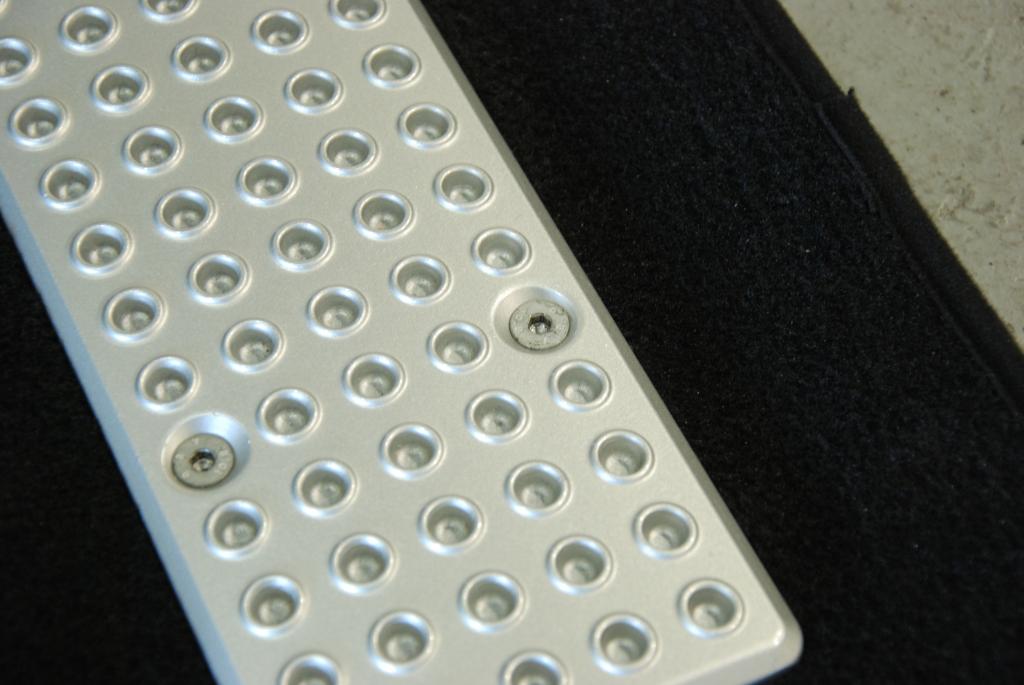
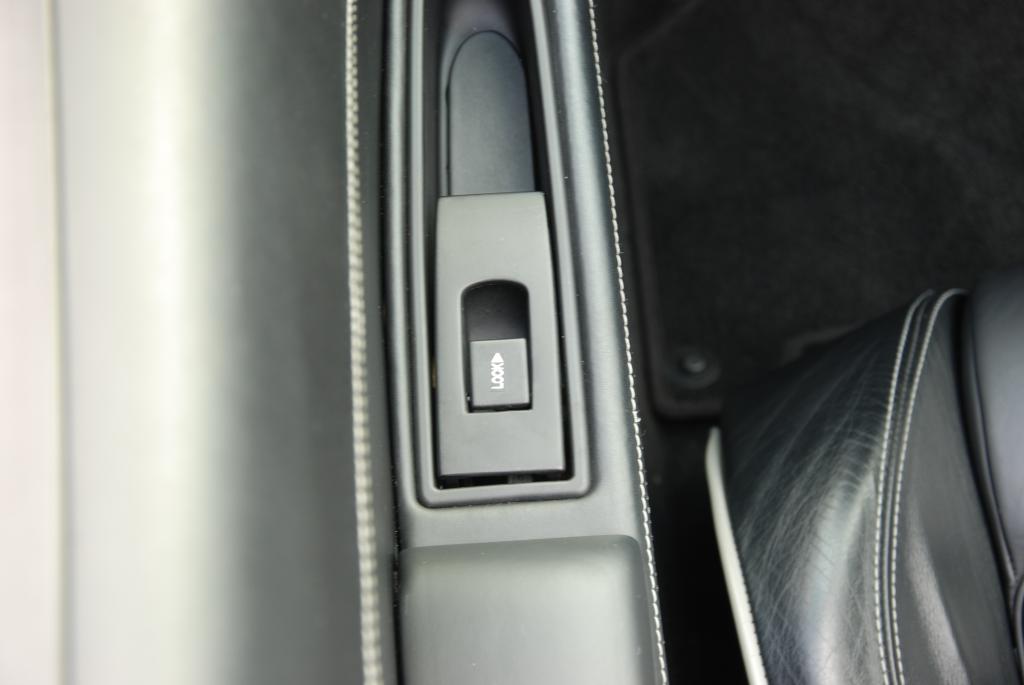
Then I noticed a bolt that wasn’t screwed all the way in.
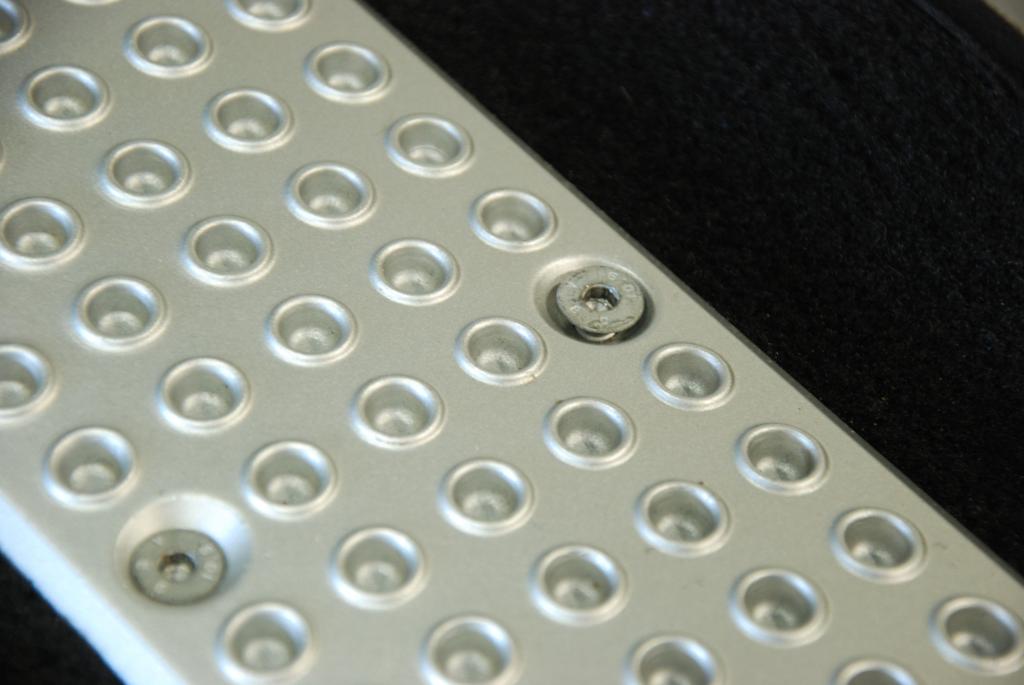
Again securing something as simple as this makes a huge difference in appearance to that panel.
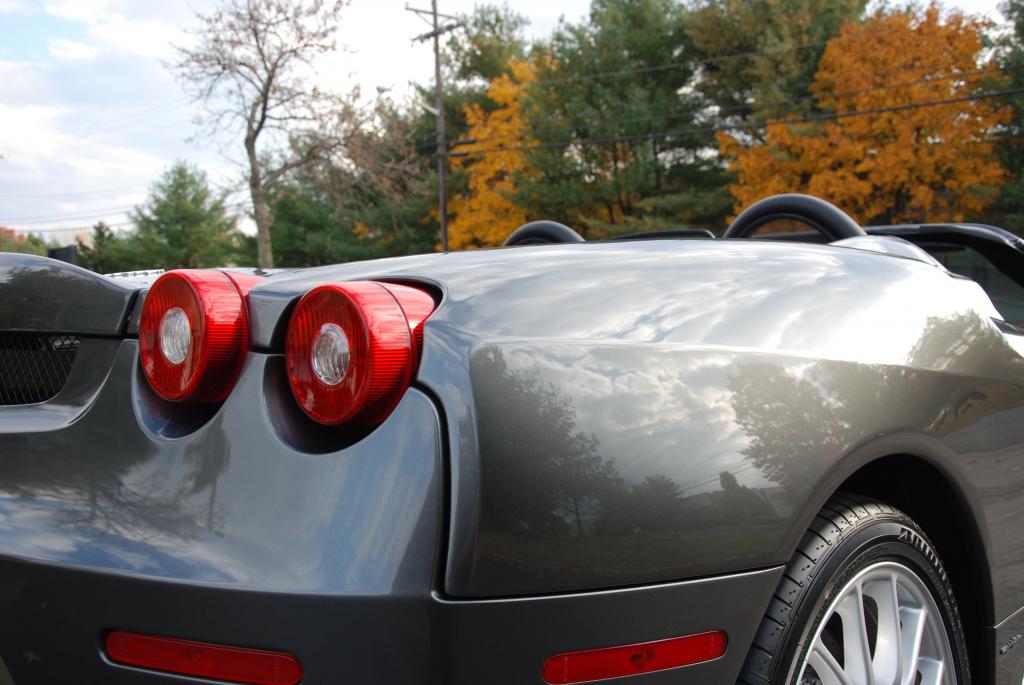
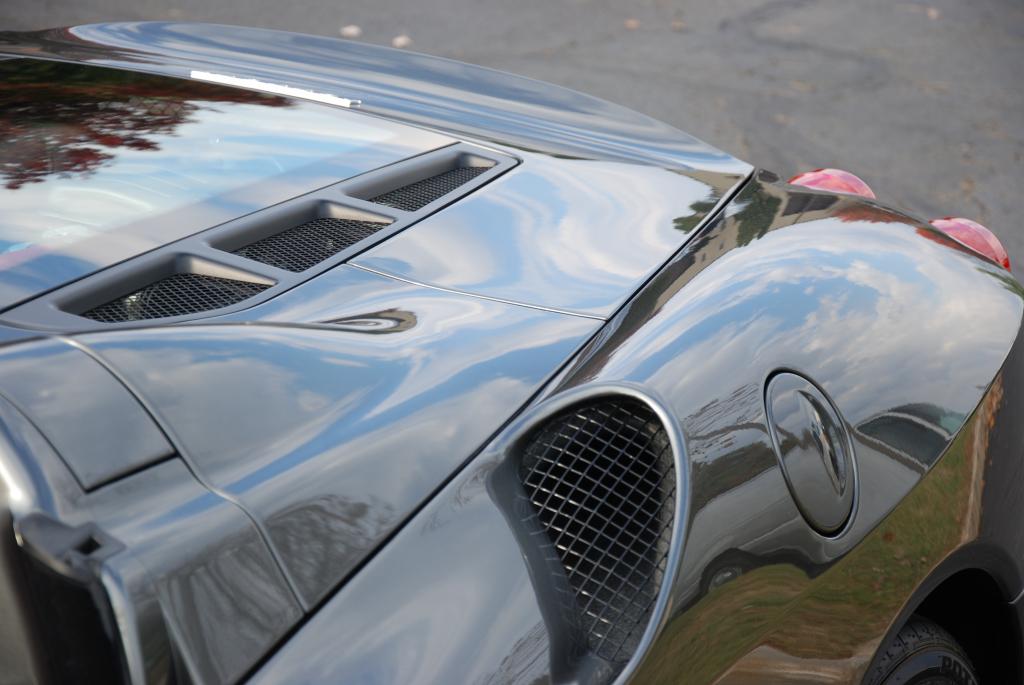
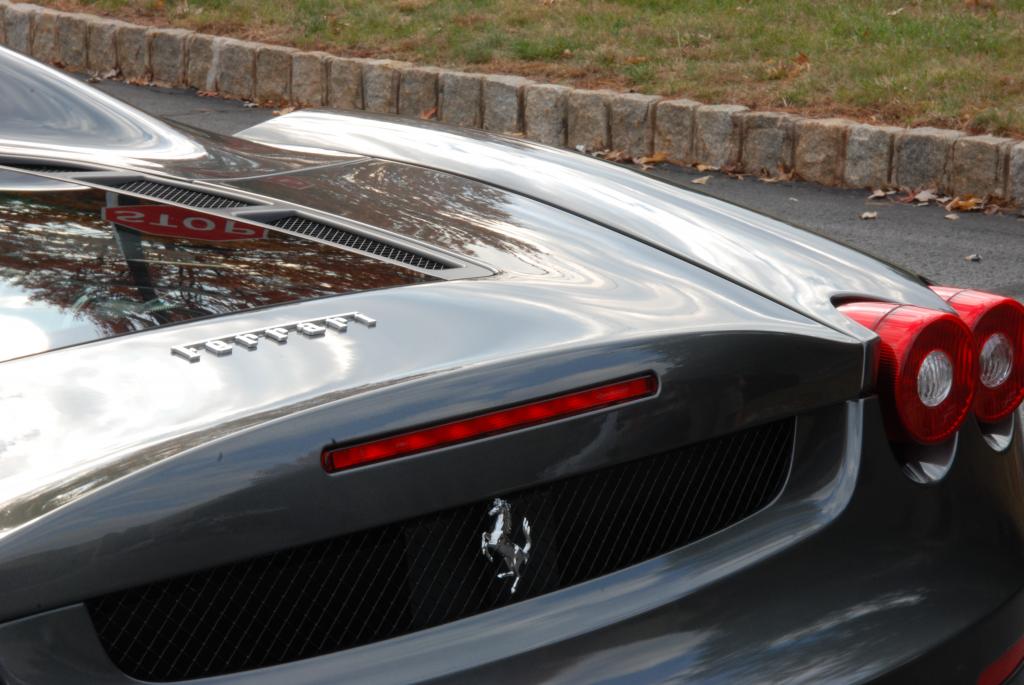
I also noticed the third rear brake light was not centered or aligned with the rear trunk lid.
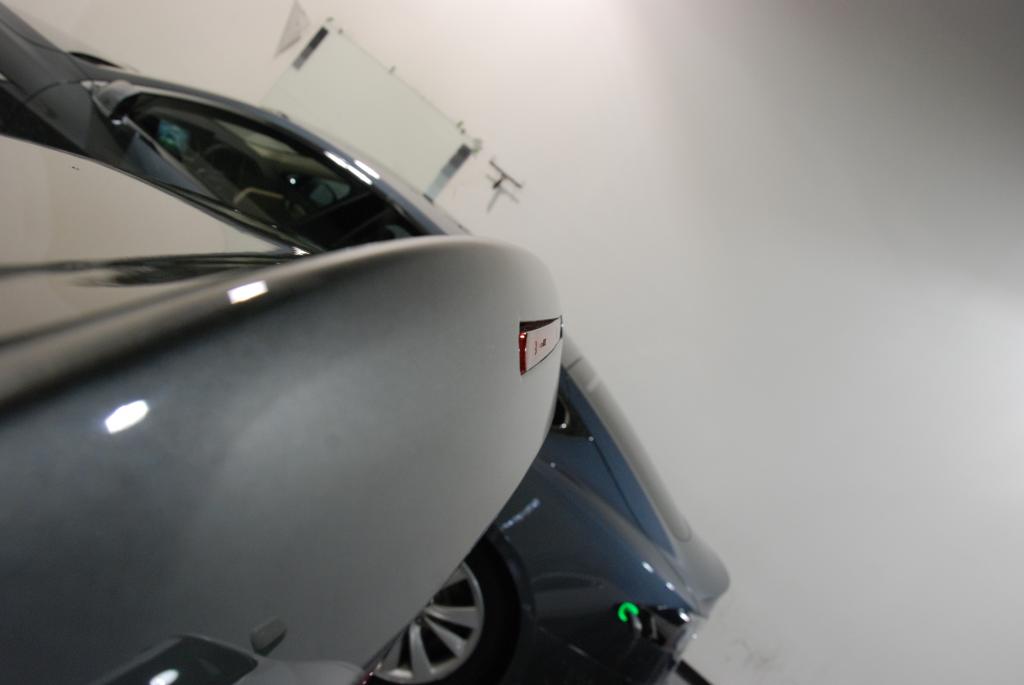
I adjusted that to ensure it was centered and even with the panel. Not something I normally would do, but it was so far off that it needed to be done.

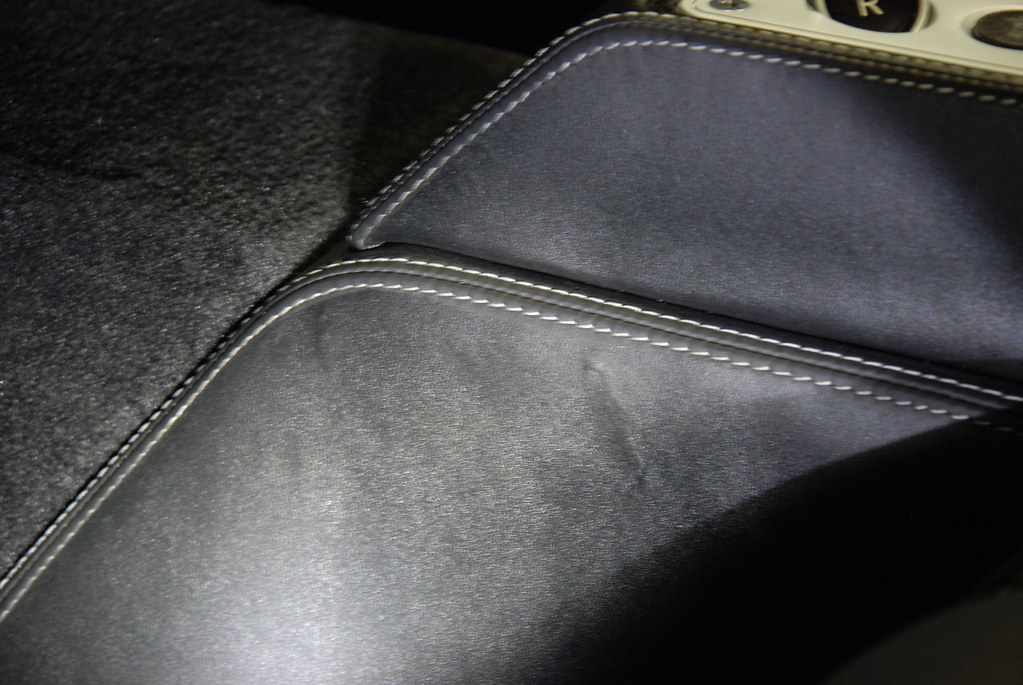
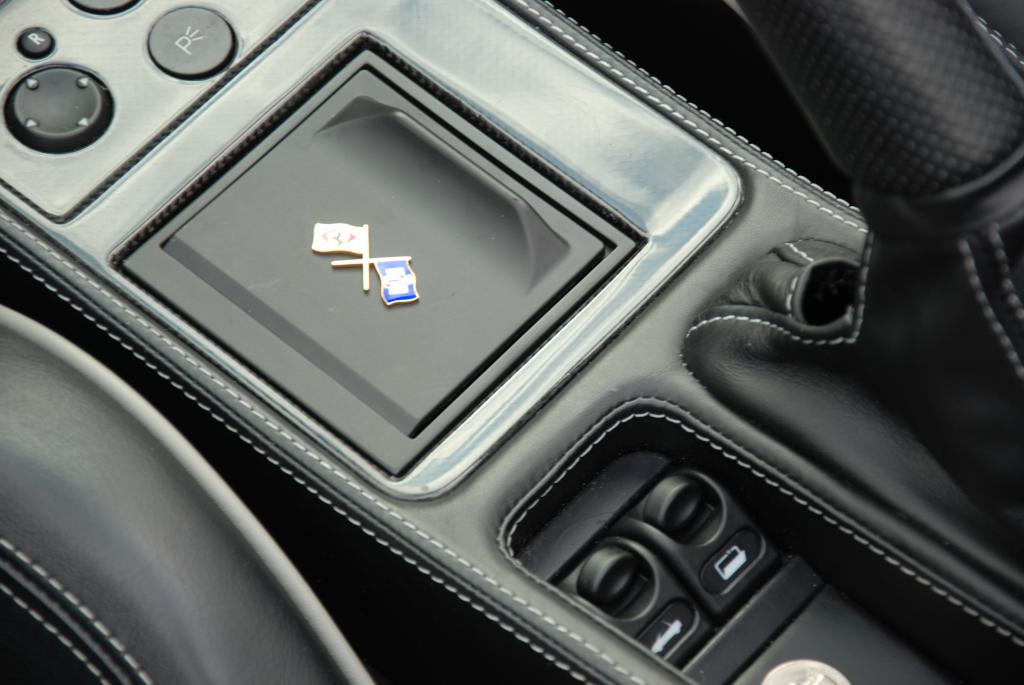
I noticed the client had some cuts and scars in the leather. This was located in the center console area and this is not a normal area to get damage. Damage normally occurs on a seat bolster, or somewhere that see’s more “traffic” so I went ahead and repaired the leather.
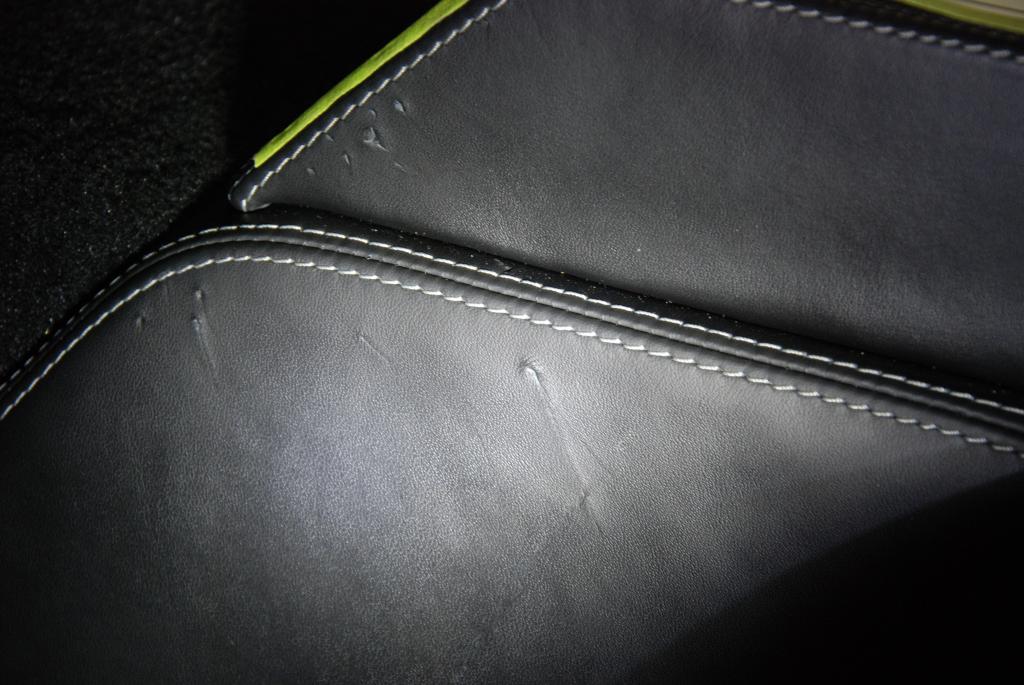
Just two slight imperfections were left in the leather, but overall it was much improved. The owner also noticed this right away and was really happy to see that we went ahead and fixed this for him.
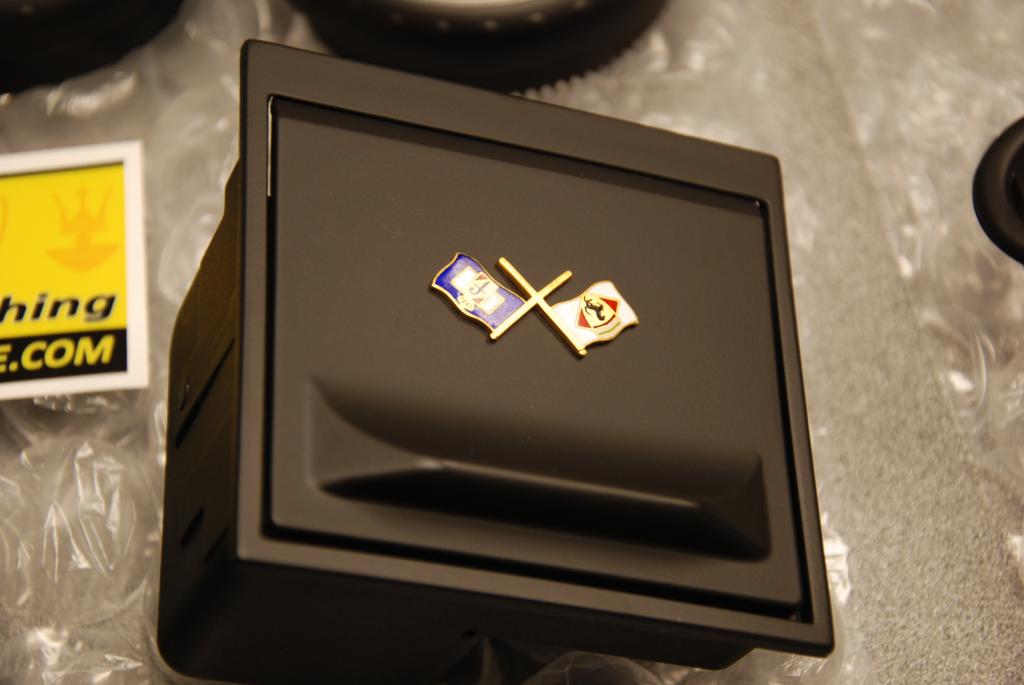
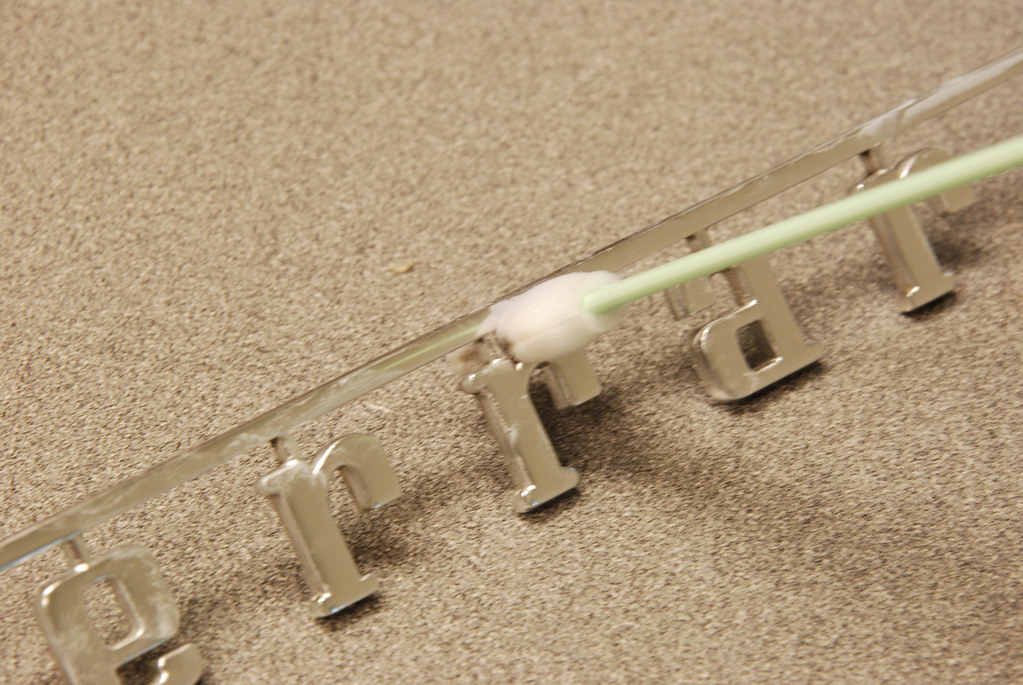
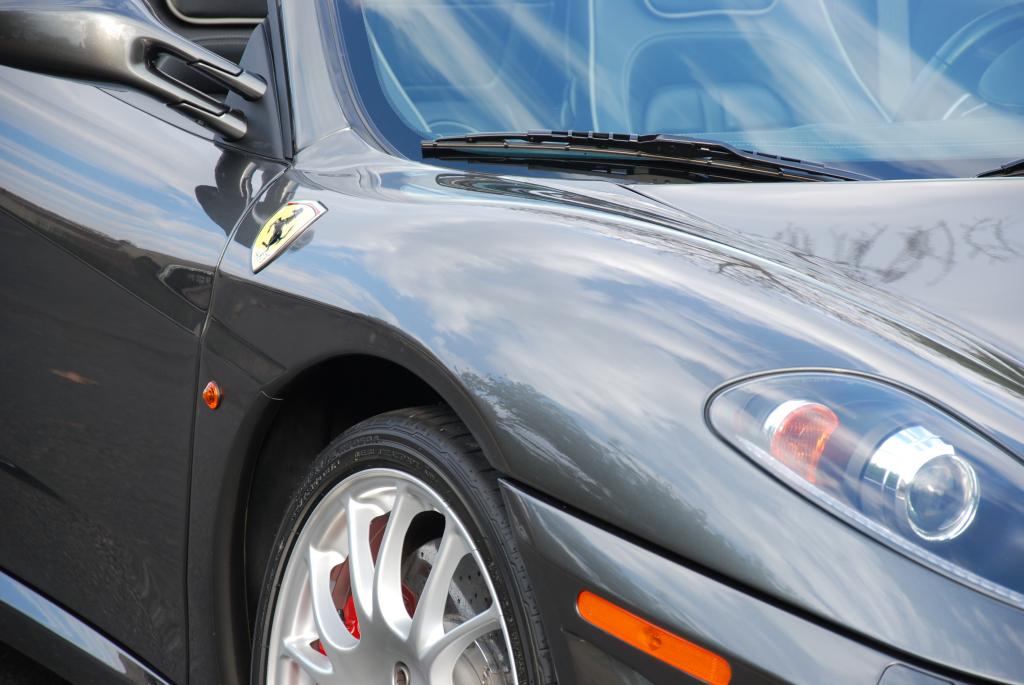
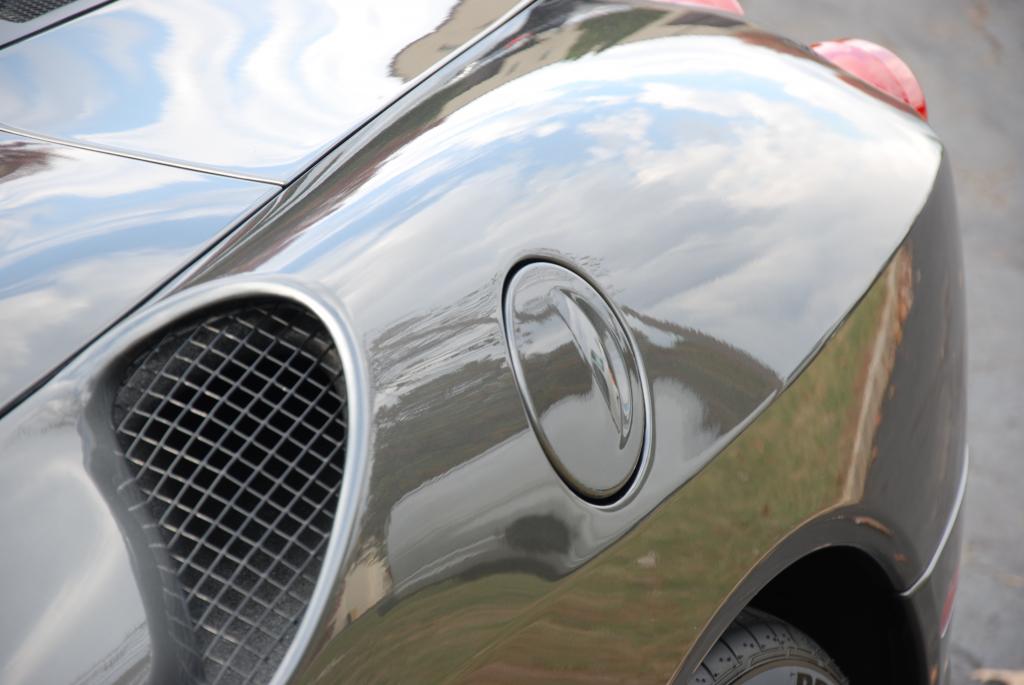
It’s the little things that make an overall big difference. Polishing the emblem while off the car allowed me to get into areas I couldn’t while it was mounted to the car.
The interior pieces came out amazing. The owner was thrilled not to keep getting black on his hands anymore every time he touched a trim piece.
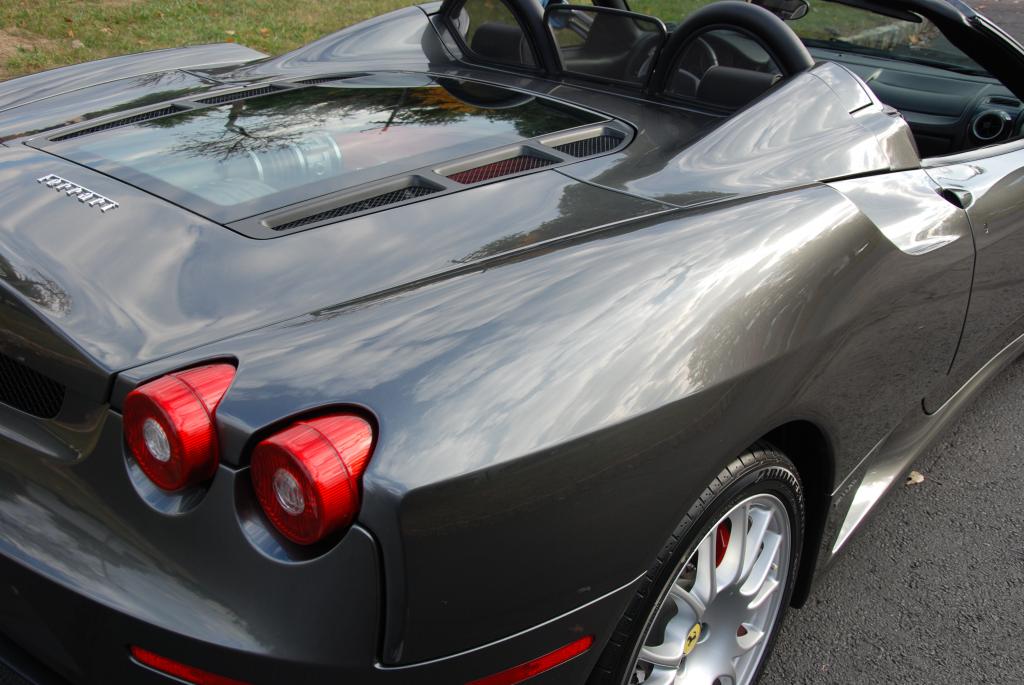
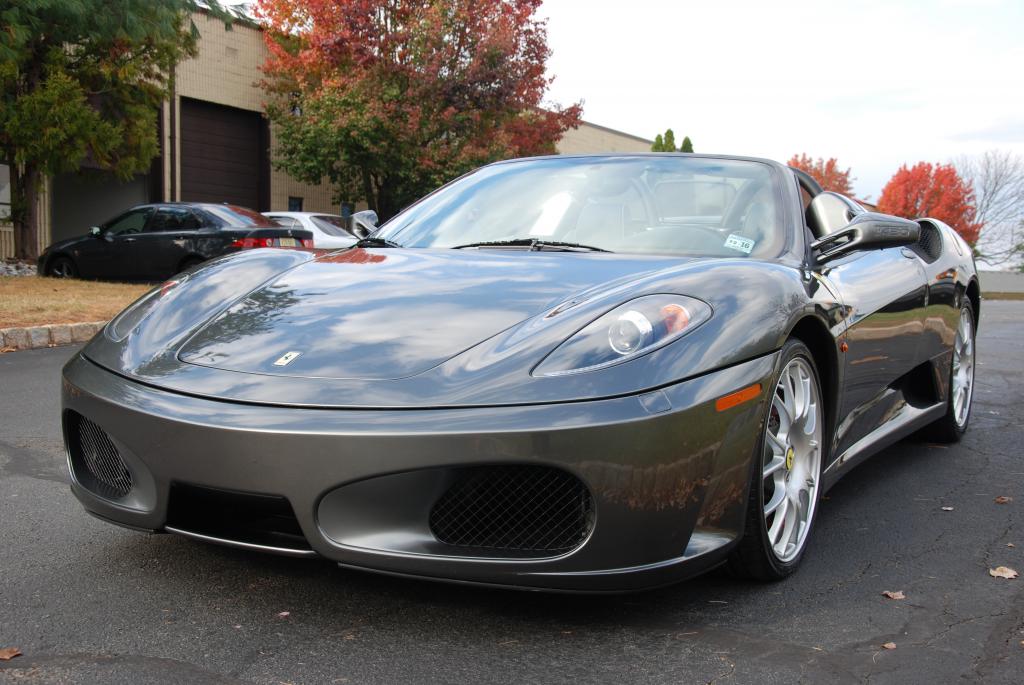
The depth, color, and gloss that we achieved from the paint correction was also quite nice. 🙂
As always thanks for reading 🙂


Greg,
Fantastic work on this car. I remember our phone conversation about some of this detail. I’m glad to see it turned out terrific. look forward to reading more articles that you write.
Barry
I was lucky enough to see this finished vehicle, and I can say these pictures do not do this car any justice…it looked like a sheet of glass was over the paint. Greg did an amazing job on this F430.
came out great Greg! Ive looked into the SNM service for my Ferrari clients as well.
I am lucky enough to have seen the car before and after as I am located in the next building from Greg.
Huge transformation in the car – the interior was a true night to day situation. The car looked showroom new when it was done.
Great work, Greg!
Great work on this one Greg! Looks like a new car again! 🙂
Awesome turn around! Great Detailing Job Greg!
Great job Greg!
Greg, Nothing short of an amazing job!! As the owner of this one, I was more than impressed with transformation Greg did here …. You can see his passion for perfection come through in this outcome. I actually found Greg on this site through other articles he wrote (am a loyal detailedimage.com customer) and as you’d expect from the photos have and will continue to make many recommendations his way. Doesn’t get any better work than this…..thanks
Barry, thanks can’t wait for your cameo appearance here. Thanks guys! Really cool car and a fun project.
Tom, thanks for the kind words, glad you are totally happy! I plan on coming by in the spring, I will email once it gets a little warmer.
What is the name of the company that did the trim refinishing? Also, could you explain the leather repair process/technique. Thanks.
Wow! what an amazing transformation!
Sweet Job !
Amazing job Greg! Just was wondering if you could go into depth on the leather repair process. It’s something that doesn’t seem to get touched on much. The results you were able to get were amazing considering the level of dammage!
Amazing article!
I also want to restore my Ferrari but for that I need some suggestions. From this article I got to learn some new things that how can I restore my Ferrari?
So thank you for sharing this article.