
Creating your own compact and portable test fixture
by Chad RaskovichSo, you finally took the plunge and purchased a new polisher to take care of your baby…only problem is that you’ve never used one and now you’re afraid to use it on her. You definitely aren’t alone, in fact this is a scenario I see quite often, which is partially what prompted this article. However, the heart of my article actually has more to do with amateur and pro detailers who are faced with the problem of finding a way to test out new products and techniques, without using their own vehicle as a test subject. Why not use my car, you say? Because repeated polishing sessions will quickly thin your paint and eventually lead to a strike-through or premature clear coat failure. Using a client’s car may be an option for some, but I personally find that I’m often pressed for time on a job and therefore don’t typically have the time to play around with new polishes, especially when they don’t immediately have the results you expected (a subject on which Greg Nichols covers in one of his most recent articles). My personal preference has also been to get a good feel for a product long before I use it on a client’s car, especially when it comes to products intended for paint protection. So, outside of having the shiniest lawn mower in the neighborhood, the most commonly suggested solution to your lack of a test “subject” is to head out to a local junk yard or body shop and grab a scrap panel. Using a piece sourced from a body shop or salvage shop can definitely be a very good option; however, scrap panels often bear significant damaged, are quite large, hard to mount securely because of their shape, and they just take up too much darn space when they are not being used!
Have no fear, the perfect solution to this issue has been around for quite some time and even made an appearance several years ago on the Meguiar’s forum. About a year ago I was fed up with my scrap hood and began looking for a more efficient and space-saving way to test new product. During the search I stumbled on some images that I remembered from that Meguiars forum of the past. Intrigued, I reached out to the poster to inquire as to how I could create my own test subject. After using this “device” for about 6 months I continue to be very happy with the outcome and therefore decided that this idea needed be shared! Now, since I’m a firm believer in giving credit where credit is due, I asked for permission to share the story behind these cool little fixtures along with some of the creator’s original pictures, taken during a training class at the time. I’m sure some of you reading this have seen his name mentioned before, although he goes by several: KB, BuffyDaddy, WAXMAN, Czar of Car, Poobah of Polish, The Almighty One, or simply Kevin Brown. 😉
Below is a quote from Kevin about the history of these test panels as well as some photos of his setup.
“I came up with the idea.
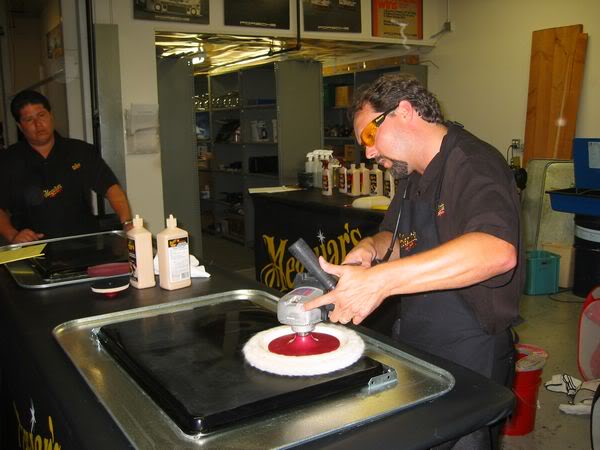
When I used to sell Meguiar’s at car shows, I needed a way to demonstrate how to use rotary and random orbital machines. I figured that each 6′ table could handle two demo stations, so I set up a total of 4 demo stations using the pans to polish on. Each station had short plexi panels of 3 sides, so a customer could watch the demo, yet remain clean should any polish splatter occur.
Originally, I started out using small cookie sheets- the kind that were thin and flat, with two edges bent at about 45 degrees. I made a 3/4″ thick Plexiglas base to mount the pans to, and used Velcro to hold the pans in place along the bent edges.
Once Jason Rose and I decided to do the NXTti (iNtense eXtreme Training tech institute), he requested that we have larger spans of paint to polish on. We considered hoods, but they were very large to transport (we did in fact use a couple hoods as well as polishing stations).
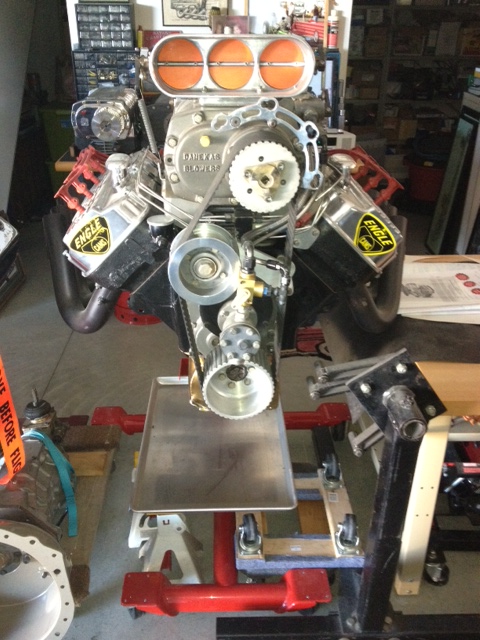
One day, I saw a full bake pan at my friend Dave’s house. In his garage, he had several engine stands, and one of the stands had a full bake cookie sheet mounted underneath the engine (apparently to catch fluids, bolts, etc.)
I realized how great the backside of the pan would work for the demo, and he mentioned they cost about $5 each at a restaurant supply store. So, I went down and bought a couple dozen, and had my contact at the local college paint them for me. I had eyeballed the brackets at Home Depot, so I bought 4 of them to see how the set-up worked. Worked just fine, so I was going to have several sets made out of stainless steel, but ran out of time.
I also needed a way to catch sanding lube (M00 Hi-Tech Wash & water), so I placed an larger flat oil drip pan under the brackets (you can see the pans in some of the NXTti shots online).
Anyway, they work great, are cheap to buy, and easy to have sprayed. Most body shops will paint them cheaply if you ask them to spray the pans using whatever left over paint they may have (most times they’ll just grab a pan or two and spray them along side a car they’re repainting).
Kevin Brown”
Where the idea originated:
Here are two pics of the fixture taken from one of the Meguiars NXTti training classes…some of you may also recognize Jason Rose in this pic.
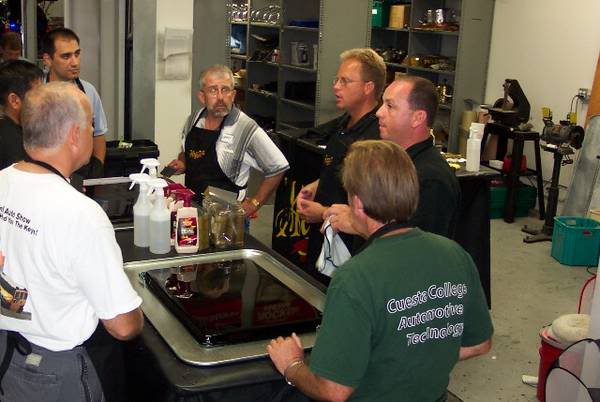
And here is the Poobah Of Polish himself, next to the great Mike Phillips!
On Kevin’s advice I ordered up a bunch of 12-gauge 18″ x 26″ aluminum sheets pans from an online baking supply store. My father happens to be a body man and a painter, so I simply brought him the sheet pans and requested they be painted solid black with lots of clear. However, I also requested that he split them up and use two different grades of clear so that I could have some variation in paint hardness to play around with. 😉
When it came to mounting the sheet pan, I didn’t want to drill holes into my work bench so I mounted Kevin’s recommended brackets to an old piece of counter top I had around the house. This mounting method allows me to easily transport the fixture anywhere and simply place it on a table top or even a set of saw horses. I found the brackets at my local Home Depot but decided to go a step further and used some foam gasket to hold the sheet pans in with a more snug fit, while at the same time reducing noise and vibration.
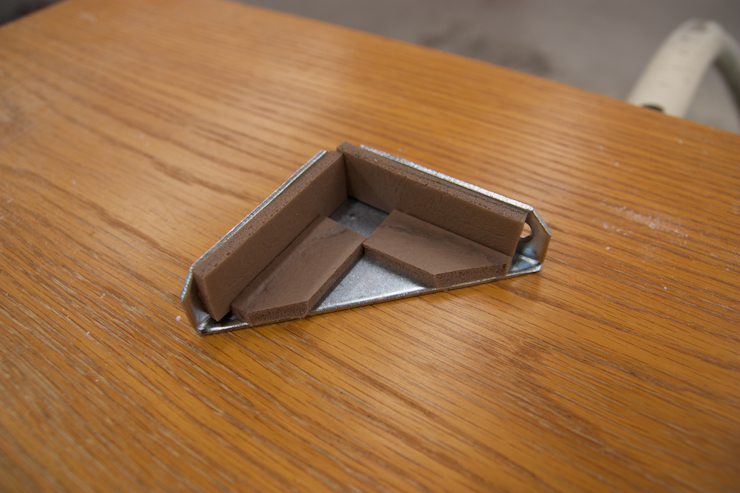
Here is my fixture with the section of counter top and the brackets mounted to it.
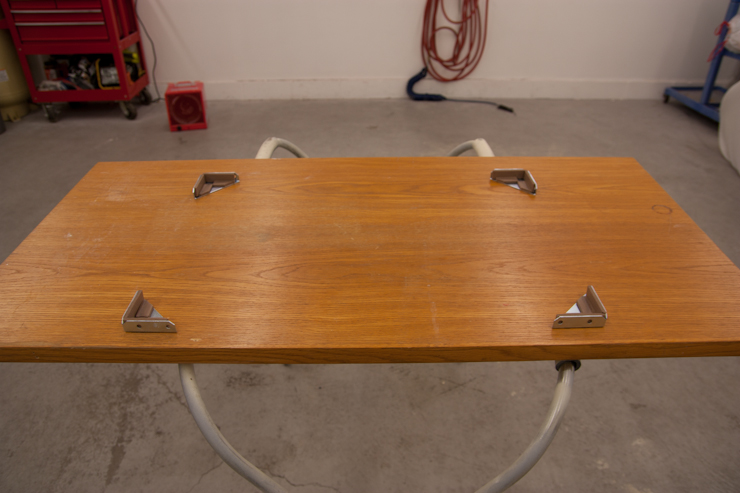
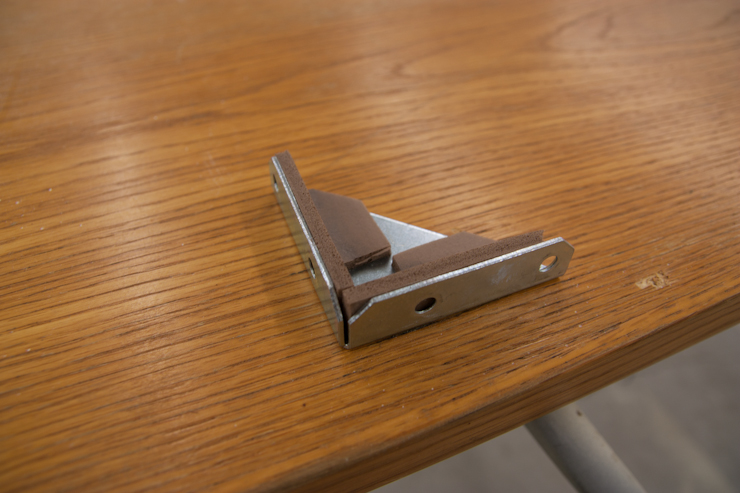
Close up of the brackets
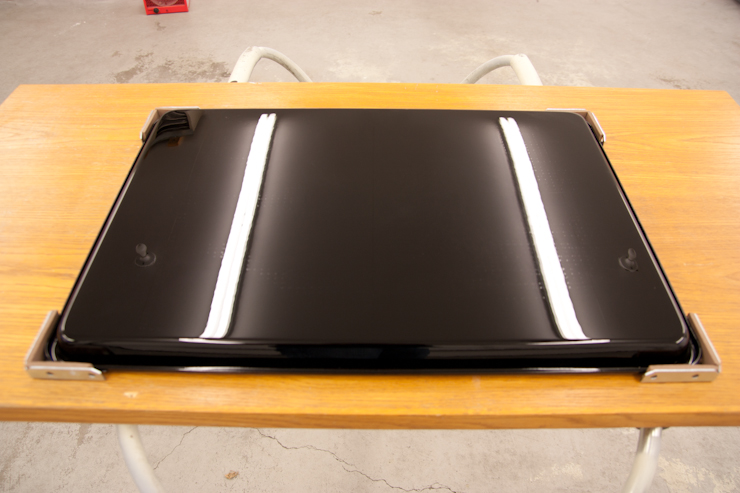
Sheet pan placed securely into the fixture.
The number of uses for these sheet pans is endless; I’ve used them for trying out new wet sanding media, testing new polishes and pads, new methods of applying coatings, durability testing…the possibilities go on an on!
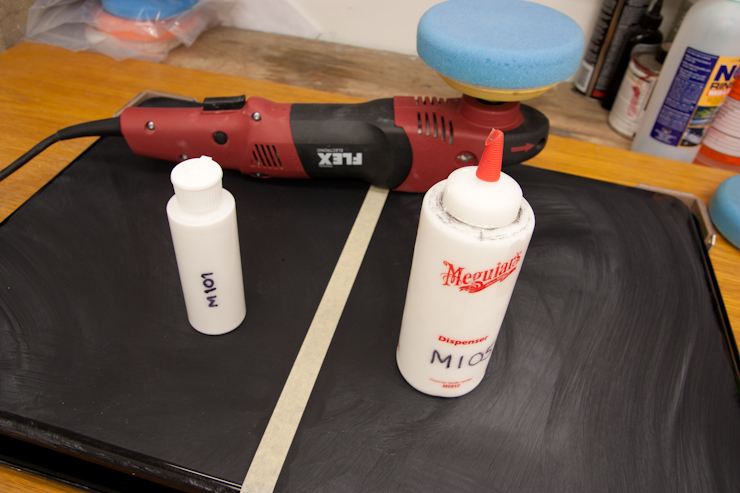
Here are some pics from a day when I was playing around with wet sanding methods as well as testing out some (at the time) prototype Lake Country pads and the new Meguiar’s M101 Compound, which is not currently sold in the US.

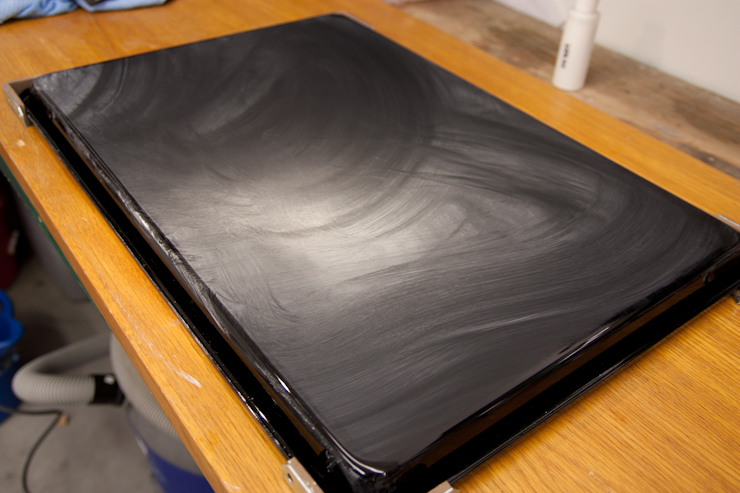
Wet sanded panel (1500 grit/DA)
The contenders
Sheet pan is very secure in the fixture, though it may help to place a MF towel or even a foam pad under the sheet pan to reduce vibration and flexing.

As always, inspect your results under various lights
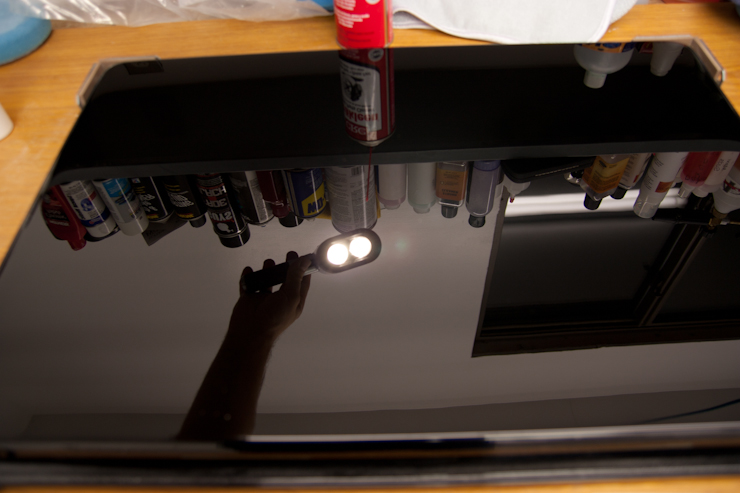
Added bonus! The sheet pans can double as mirrors too! Hey, who’s that handsome guy sporting a killer DI T-shirt? 😉

So, the moral of the story: if you are in the market for a more compact and versatile way to test out products and to hone your technique, I strongly suggest looking into the aforementioned as a great solution. The pans also happen to stack very nicely on top of each other and they can even slide under you bed for easy storage! (cheesy infomercial bit) 🙂
I really hope you’ve enjoyed this article and, of course, I also want to send a huge “thanks” to Kevin Brown for both the idea and allowing me to share his story and photos.


I can’t thank you enough for this. I have been dying to start practicing but too scared.
Fantastic article Rasky! Thanks for sharing!
One of the best ideas/articles I have seen in a while. Thanks for the tip. Also, I see a national sheet pan shortage coming soon.
Good idea, it will give me practice with my paint gun too, I’ve been wanting to use it and practice with it what a good way to help both painting and detailing skills!
Thanks Guys!
Adam, I actually just picked up a couple HLVP guns (full size and a mini). They came in a kit and I mainly got them to test coating applications with, but when it comes time to repaint the sheet pans I may just try doing that myself too. 😉
Rasky
I totally agree what a great way to practice painting and laying down paint and then actually correcting it with detailing, it’s a great way to hone both skills, now if I can just set up an area to deal with all the fumes and overspray, I would get right to it, I also have and HVLP gun and mini gun, but like I said I need some practice with it
Adam,
There are tons of videos on YouTube and threads on auto body forums for making make-shift spray booths in you home or garage. 😉
Rasky
Great tip. Would using automotive spray paint and clear work well for painting the pans?
Bill,
Yes, you would definitely want to use automotive paint. You “could” potentially use rattle can paint, as I’ve done some nice painting with them in the past, but ideally it would be done with a proper spray gun and quality paint.
I agree one of the best articles written!!!!
Great article! It sounds like exactly what I need. Do the pans have to be 12 guage or can they be 18 or 19?
Hey Jimmy,
The thinner metal is going to flex and vibrate a lot more. I have not tested them, but you may be able to get away with a lighter gauge as long as you have good support on the back side. 😉
Rasky
Great idea for training guys at work!
Great job Chad!
I read this article a while ago and thought of you as a straight up genius. For product/polisher testing this could be invaluable.
-Travis
Awesome idea. I have a few baking sheets coming to me tomorrow. Getting them painted and cleared soon. Perfect thing to test out a Paint Thickness gauge on different techniques of polishing, sanding, etc to see how much each step removes.
Thanks!! Really needed this info so I can develop my techniques.
Thank you very much for this great write up. Really need to a few of these made for testing and perfecting my technique.
Idea, to help reduce vibration & stiffen the pan some but a piece of sound deadening material on the unpainted side of the pan.
https://www.amazon.com/Noico-deadening-automotive-Insulation-dampening/dp/B012B5EMGO/ref=sr_1_4?ie=UTF8&qid=1500062470&sr=8-4&keywords=sound+deadening+material