
CarPro ClearCut: Initial Impressions
by Matt CarterI have been excited to get my hands on some of CarPro’s newest products since they were introduced at SEMA. We have some favorites from their product line that are used heavily in our shop and enjoy great results. CarPro ClearCut caught my eye as I was interested to see a new cutting compound from CarPro given the success we have enjoyed with Essence and Reflect.
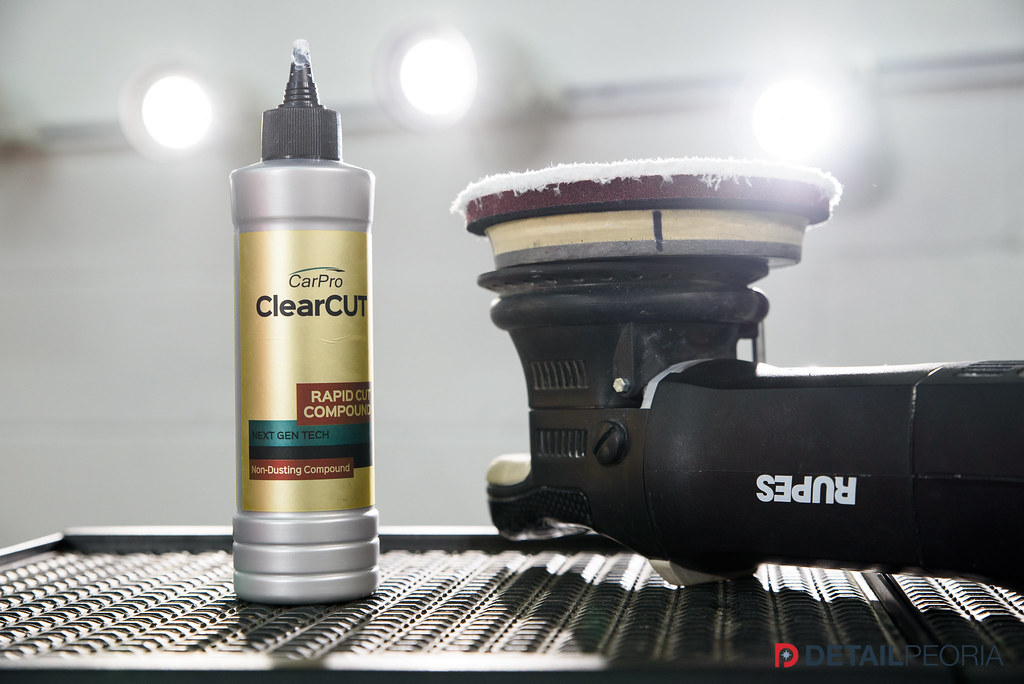
Compounding is one of my favorite parts of detailing. The entire process of detailing a car is therapeutic to me but nothing is quite as much as mowing down defects on a heavily swirled vehicle with a large throw machine and a heavy cutting compound. Seeing the major transformation as you wipe away product is great, but watching defects melt before your eyes, wooooo that’s what I’m talking about. So good. CarPro ClearCut is designed to become transparent as it breaks down so I was eager to see if I was going to be able to work out some stress during my first session with the stuff. ClearCut also touts low dusting, easy removal and no fillers, all traits of a great compound. I had the perfect test for it in the form of a 2015 M235i with plenty of love-marks; let’s see how it performed.
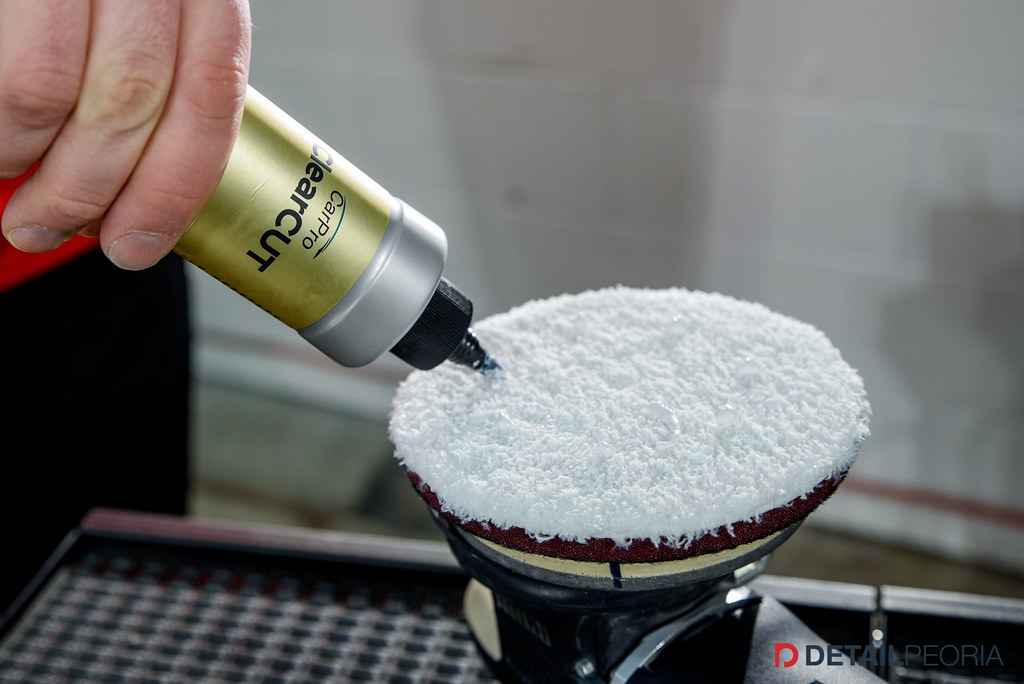
This car was in for a 2 stage paint correction process so we performed a test panel with ClearCut on a brand new microfiber pad. The instructions call for 7-8 small dots of product be applied to the pad and to spread the product on the section of paint being corrected. I dab the products on each portion of every section I do out of habit but it is an especially effective step for compounds with diminishing abrasives. You spread the full effect, un-worked product over the whole section and it will help ensure you get even repeatable results throughout the section. The instruction on ClearCut indicates that the first few passes should be done with light pressure, moving to heavier pressure for the final few passes. My test sections showed I was reaching my desired results in 4 passes using this method. This was counter-intuitive to me as I always work from heavy to light pressure when compounding. I did try a section with my normal process and experienced a considerably shortened working time.
I spoke with a representative from CarPro to understand the reason for this technique. He explained that it has to do with the 2 forms of abrasives in the product. ClearCut has diminishing and non-diminishing abrasives. At the beginning of the cycle, the max amount of carrier and solvent is required for the larger, aggressive diminishing abrasives. As you make it to mid-cycle, the diminishing abrasives should have been worked down to align with the non-diminishing abrasives allowing you to apply more pressure and still achieve an even cut. I am by no means an expert when it comes to the composition of a cutting compound but I can attest to the effectiveness of the method described in the directions. The working time is normal and what I would expect for most cutting compounds when working from light pressure to heavy. Working time is nearly halved if you try to work it the other way around for my first test with this product.
Below are some images from a section on the rear door of the driver side of the car. This area was typical of the condition throughout the car. The second image is after a light and a medium pressure pass. The third is after 2 heavier passes and you can see the product becoming clearer on the paint allowing for a good indication of where you are at in the process.

Original condition:
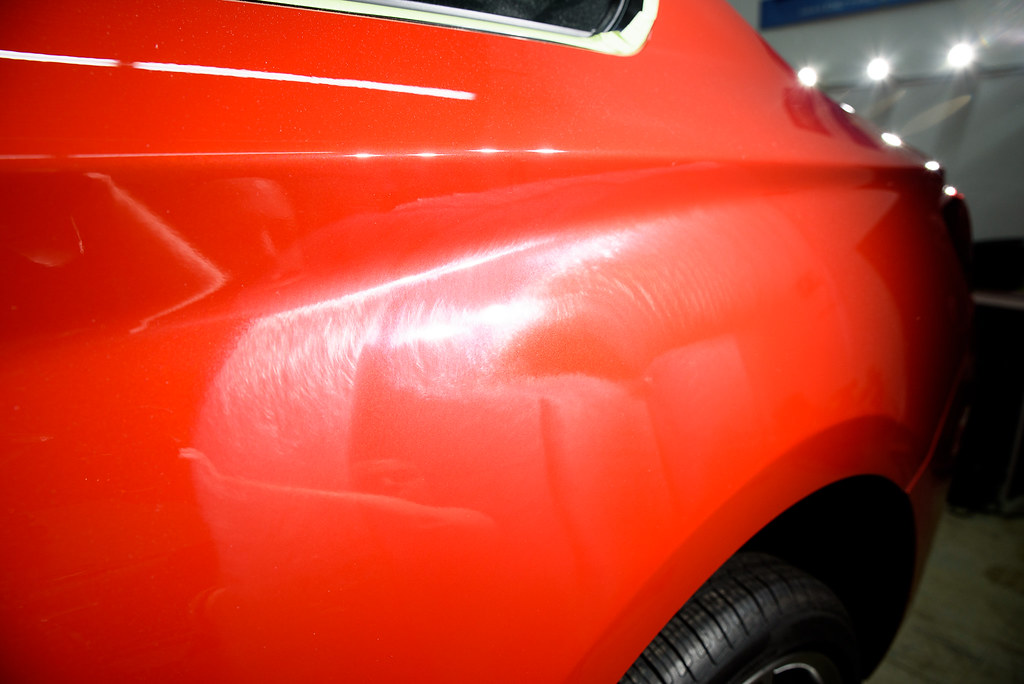
Product after first 2 passes:

Product after all 4 passes:
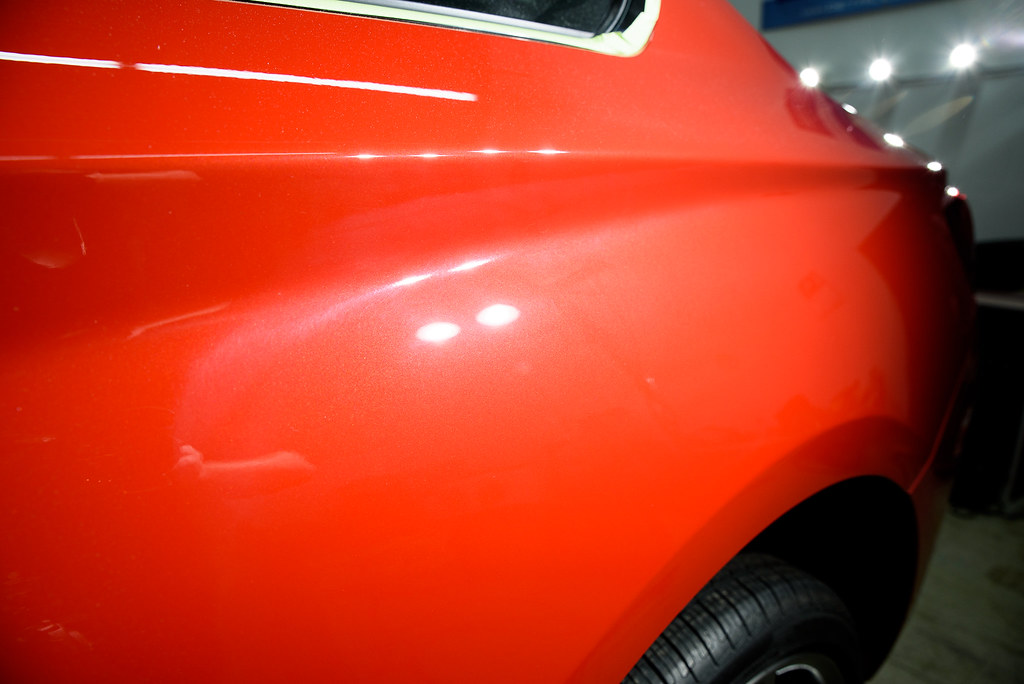
The final result shows the defects have been removed leaving light marring from the heavy cutting process. This would be further refined with a final polishing step before coating.
This attribute is incredibly important to me. I need to be able to see the deeper defects after the initial haze and marring is removed so I can adjust my final passes as needed. Spending more time with some of the pesky scratches as I go along. As detailers, it is our job to achieve the desired results with the least amount of clear coat removal as possible. Being able to see what you are working on helps to avoid dialing in an extremely aggressive process throughout the entire car to level the paint to the bottom of the deepest defect. An added bonus, watching scratches melt before your eyes just one of those oddly satisfying experiences. I don’t know, maybe it is just me.
My initial impressions show that, so far, they have achieved what they set out to do creating a cutting compound that can effectively remove moderate to heavy scratches and swirl marks with low dust and a translucent working appearance allowing you to see your work. I am glad to have this in my arsenal.


Thanks for the comprehensive review. Looks like another winner from CarPro. My go to compound is Menzerma FG 400. As far as defect removal how does it compare(if you have used 400)? How is wipe off compared to say Megs 105 and their TSOs? Thanks
I haven’t used FG400, a staple in our shop is Griot’s Garage Fast Correcting Cream. Compared to FCC the cut is a little lower. Wipe off is on par with a Megs 105, I do need to use it on a wider variety of paints to make a better assessment.
I love ClearCut. Combined with a blue/purple wool on a forced rotation polisher and 3-4 passes is all that is needed. I had results using wool that turned out better than the samples shown here with what looks to be Microfiber pads. Good stuff for sure.
I am glad you are having good success with this. Sounds like a solid combo. I do see it hazes a fair bit as seen above but it did polish out very nicely. I will be sure to include the final result in future write ups. This one has turned out to be one of my favorites for the year.
Can it be used on plastic headlights?
Will applying medium pressure to start be a good way to adjust cutting power downward?