
Safe Removal of Bug Splatter
by Reece @ DI
After a long winter in the northeast we cannot wait for spring and summer, bring on the warmer weather! With this warm weather however comes bugs, which are less than ideal for our vehicles.
Bug Splatter & Why Removal is Necessary
Due to the acidic nature of bug splatter, it is extremely important to remove this contamination as soon as possible. If you do not, just like other acidic contamination we all hate, bid bombs, they can etch into the paint. Once the bug splatter has begun to etch, no chemical cleaner will remove the etching and polishing will be needed to remove these marks. Simply put, remove as fast as possible to avoid any unnecessary polishing!
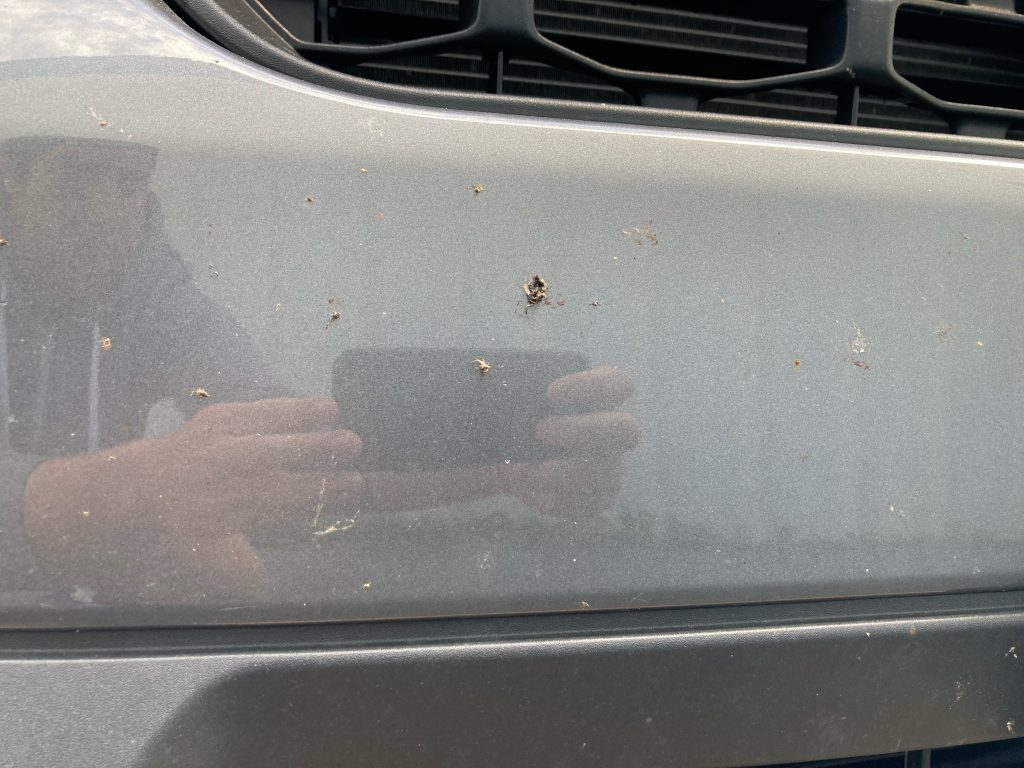
This past weekend I headed up to Lake George NY for the day and if you have been to a lake, you know the bugs can be a problem for the front ends of our vehicles. Just take a look at the photo below!
How to Remove Safely
The key to safe removal is to start your chemical cleaning processes asap. Meaning, after a road trip perform a quick inspection of your front end. It is not a guarantee that you will become a victim of bug guts, but if you are this check will allow you to target them quickly.
For me I reached for the Gtechniq W8, but we carry many great cleaning options from various brands. Check out our Degreaser section for more Bug Removers, All-Purpose Cleaners, Tar Removers and more. The reason I reach for the W8 is it does not have a harsh smell and is pH neutral, so while it cleans well, it is also very gentle.
To start, simply spray your cleaner, targeting the splatter.
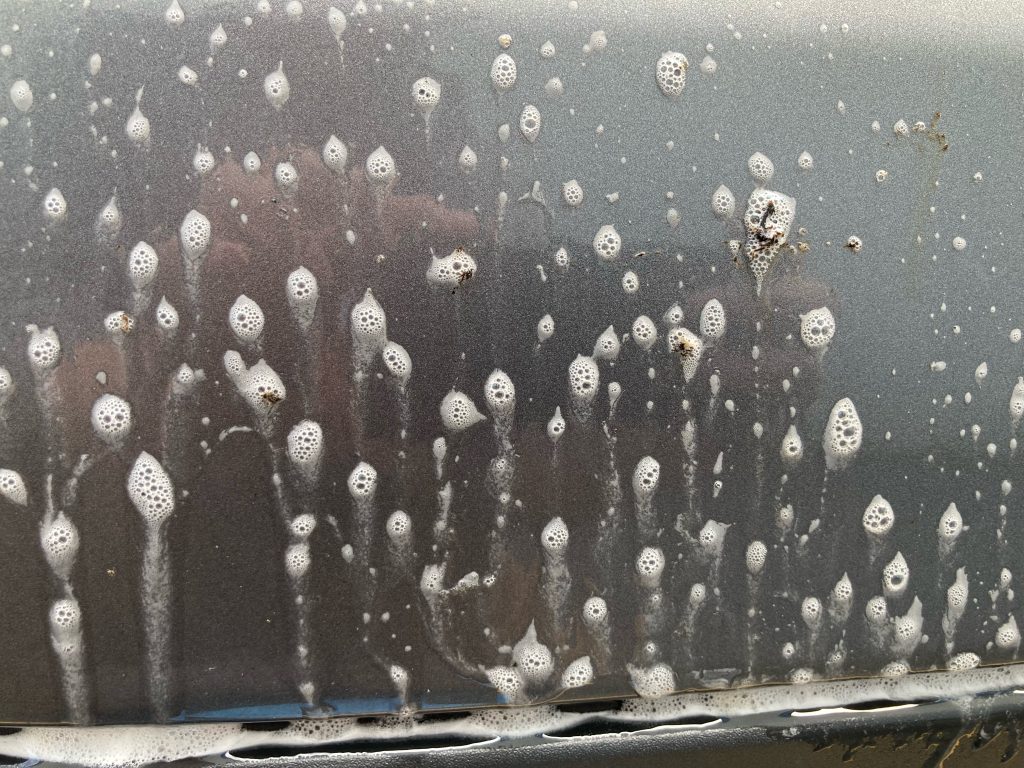
Here is my first spray, which I let dwell for about 3-5 minutes. This allows the cleaner to break down the splatter, pulling it from the surface for safe removal with your wash mitt or microfiber towel. Repeat these steps as necessary.
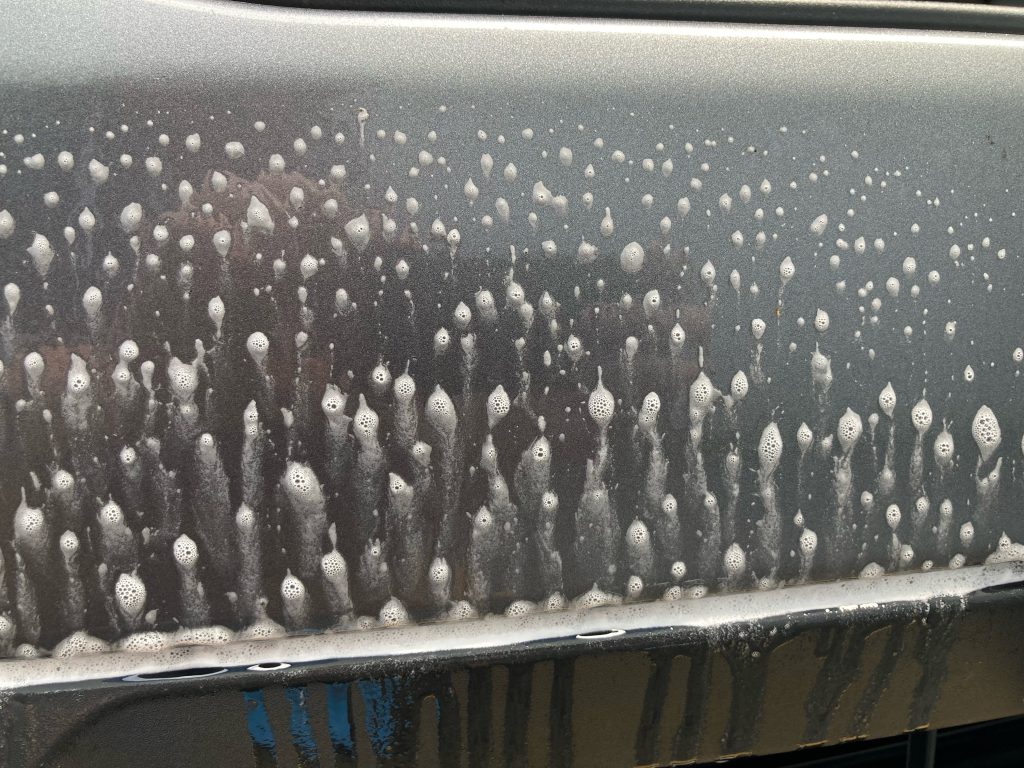
For me, I had to spray a second time as I had some splatter remaining, but after that second spray the paint was clean and free of bug guts!
I used a microfiber towel, but a wash mitt or bug sponge for heavy cleanings work great as well.
How to Combat
Just swerve and miss all the bugs! All jokes aside, it is very important to ensure your paint is properly protected. It does not matter if you are using a coating, sealant, or even a wax, any form of protection is extremely helpful. These protective layers are not a cure-all as bug guts can still penetrate these layers, but they will protect from them etching as fast and can even make cleaning easier. For me, my Maverick is coated, so I did notice that removal was easy and the coating prevented any etching from the acidic guts. Simply put, protecting is extremely important, but removing quickly is your best combatant!


