2014 BMW 750 LI: Removing Dealership Holograms
by Zach McGovernThe owner of this vehicle had recently purchased the car and noticed that there were odd looking defects all over the vehicle. Upon inspection it was very obvious that the vehicle had been damaged by the detail shop at the dealership. The vehicle was covered in rotary holograms which are created by improper use of a rotary buffer. Thankfully we were able to restore the paint to its rightful glory, and the new owner can enjoy this incredibly luxurious ride. Follow along as we walk through the steps involved in this project, and as usual, I will include a full product list at the very end.
The vehicle was quite dirty when it arrived, so I opted to go with a traditional foam and hand wash rather than a rinseless wash.
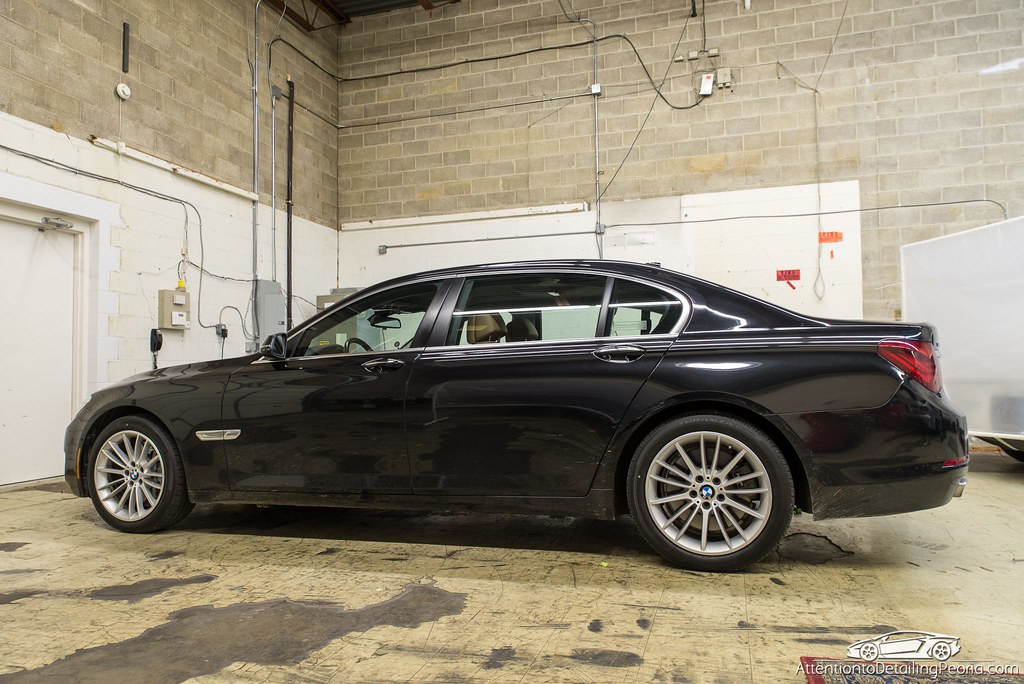
I began by cleaning up the wheels and tires before covering the vehicle in a rich layer of foam courtesy of Meguiar’s Hyper Wash. After a pressure rinse, the car was hand washed, and then decontaminated with a fine grade Nanoskin Mitt.
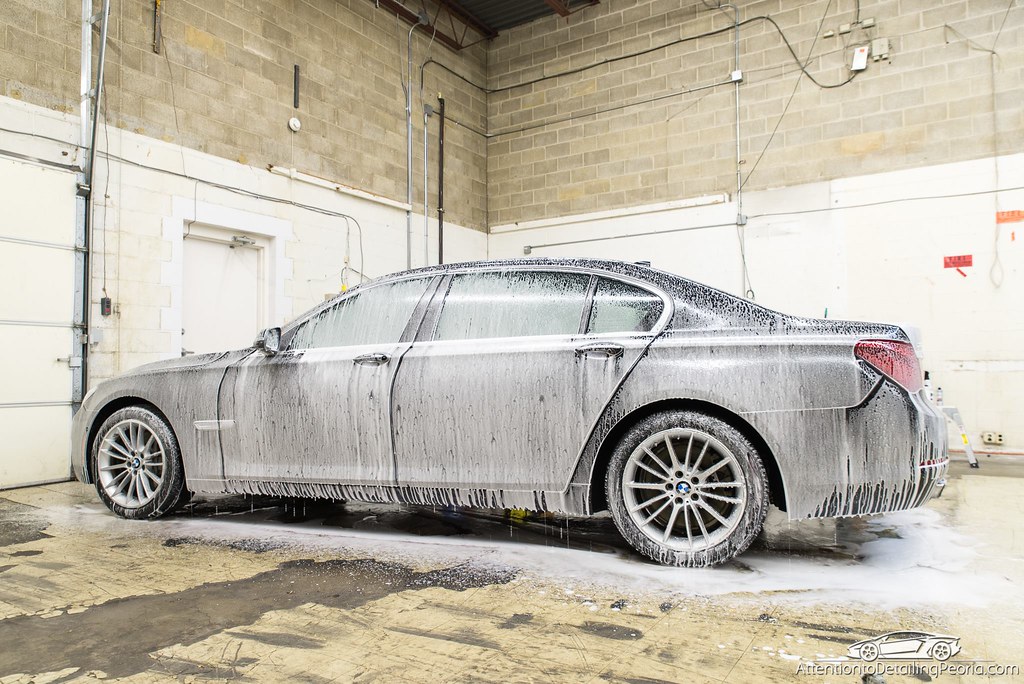
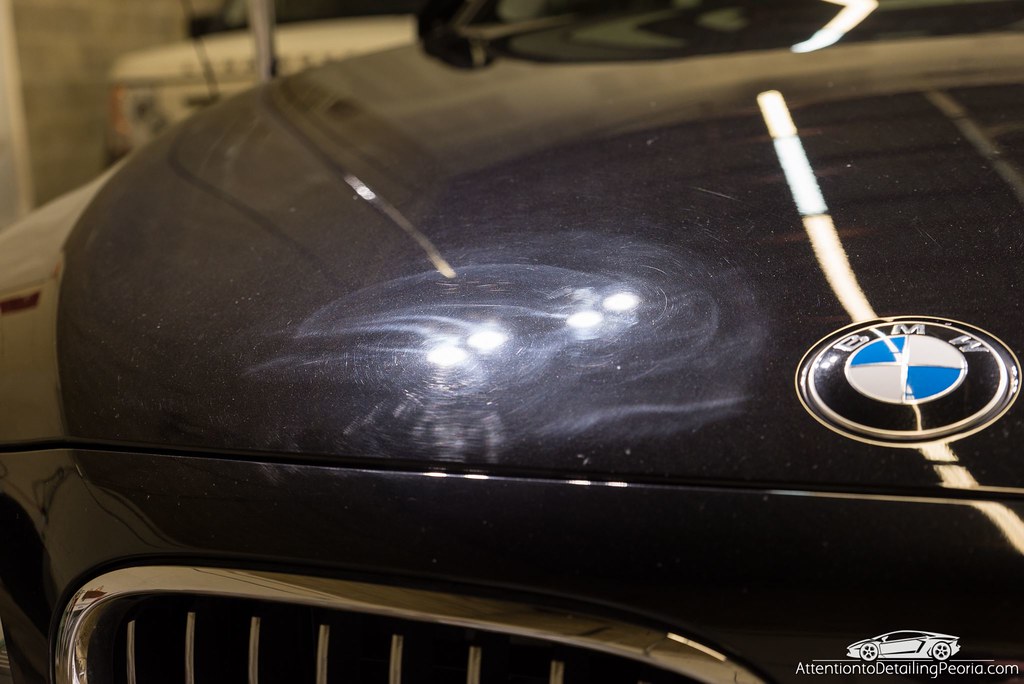
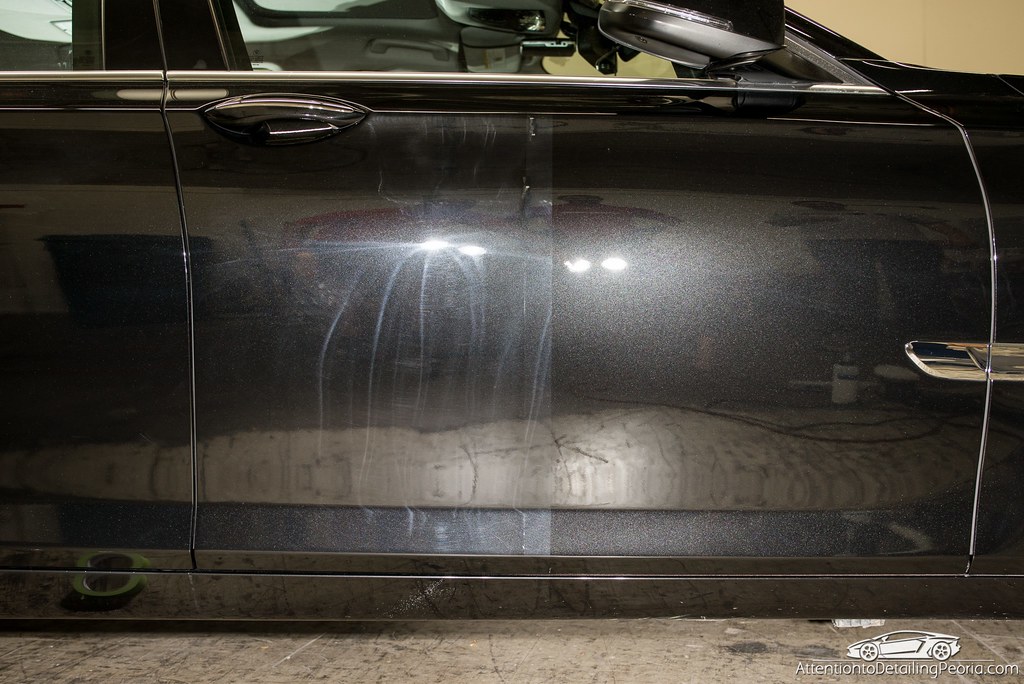
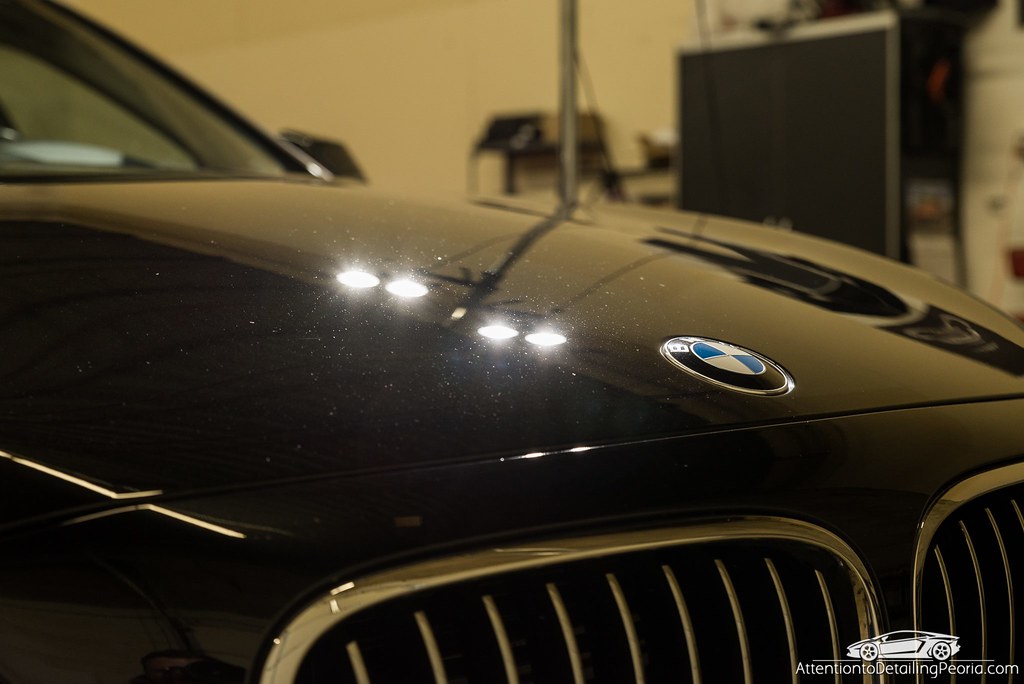
With the paint free of all dirt and contamination, we began a thorough inspection to understand the true condition of the paint. It is not difficult to see that there was a lot of room for improvement.
There were a lot of rotary holograms (buffer trails)…
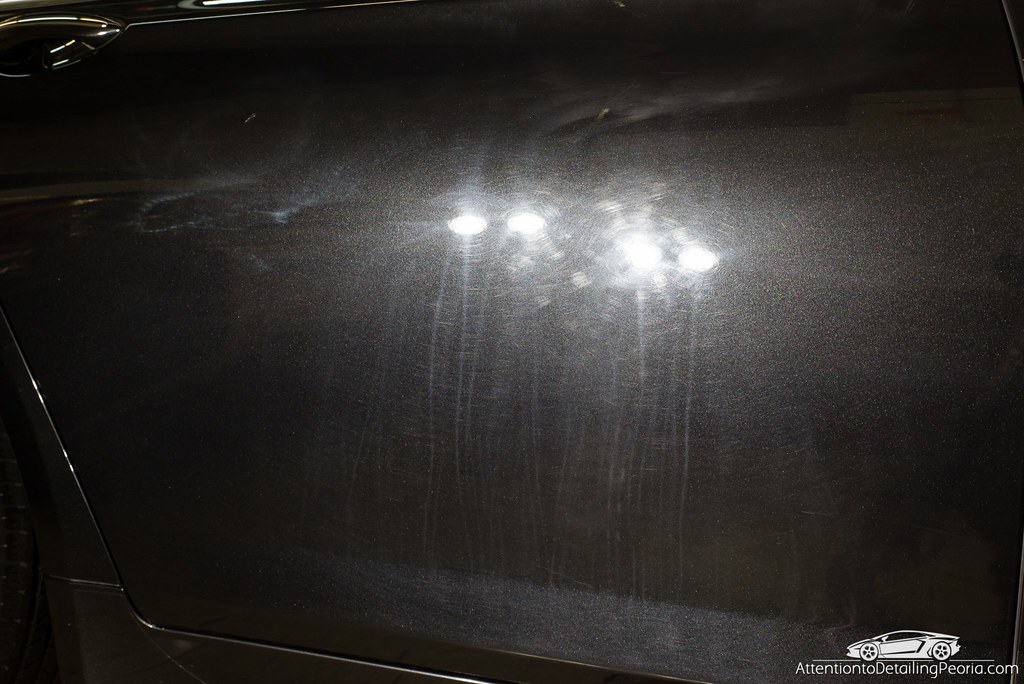
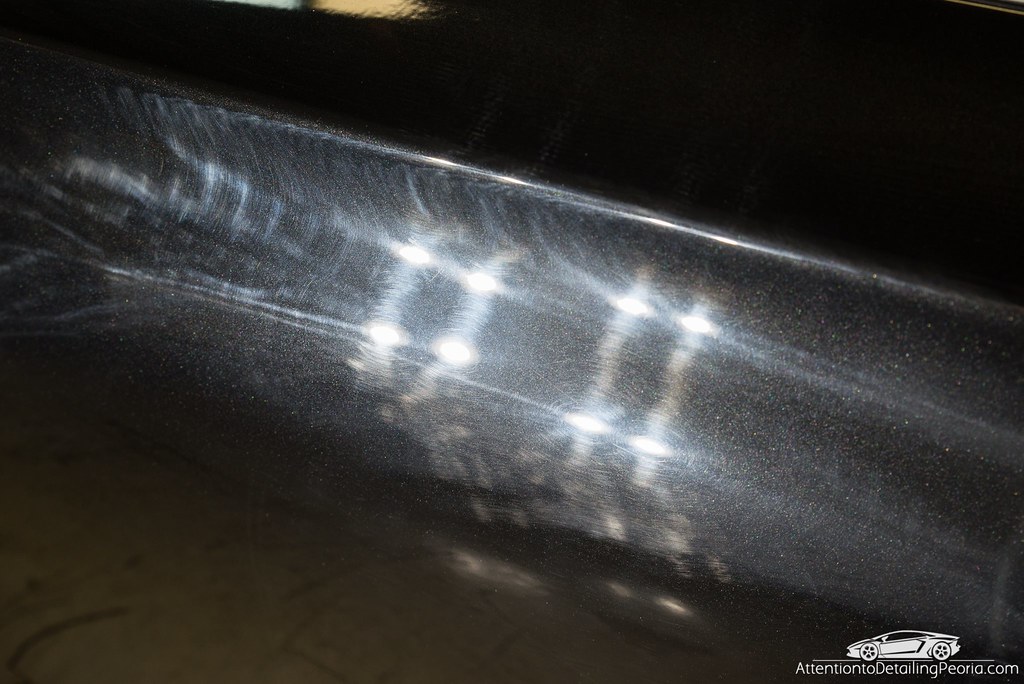
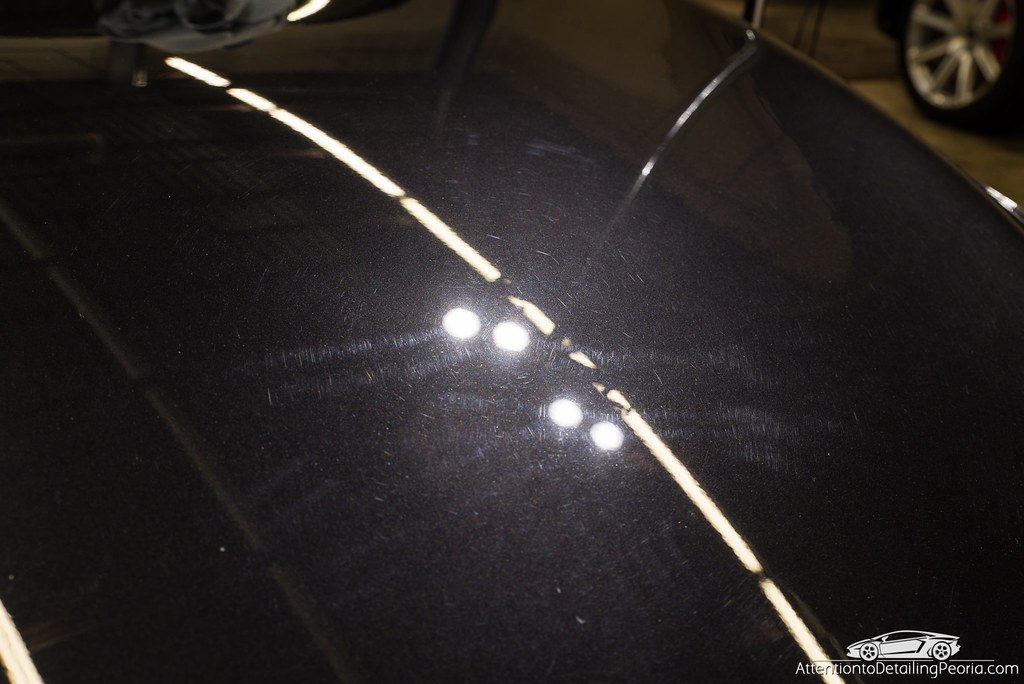
Swirl marks and scratches…
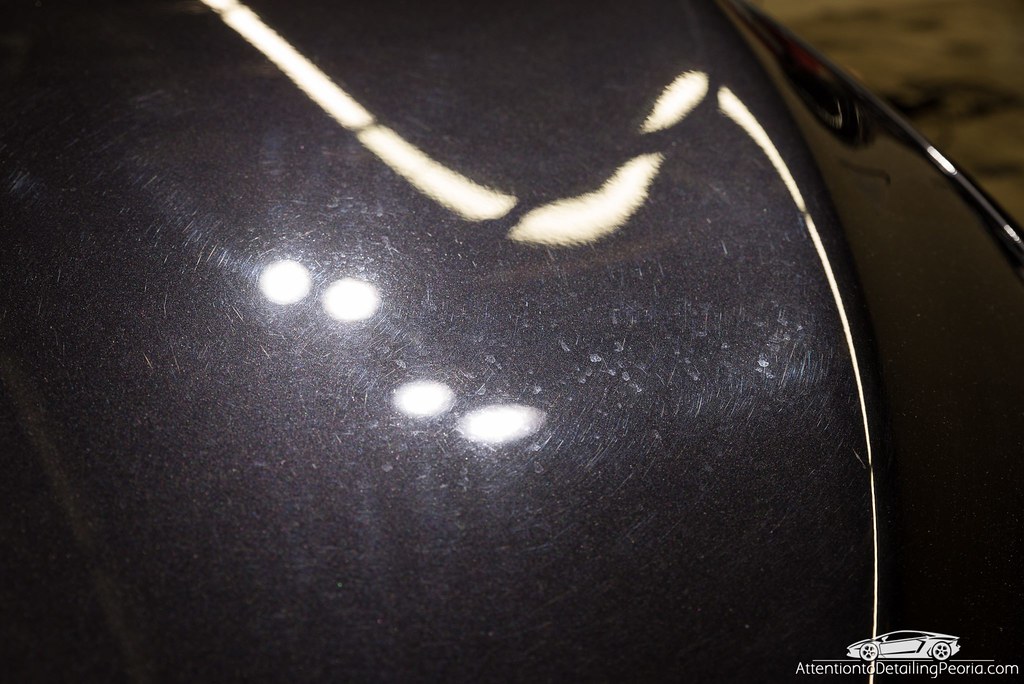
Water spot etchings…
I began my test spots on the driver’s door. After experimenting with a few cutting compounds and polishes, I found a great 2-step approach that was producing the results we were after.
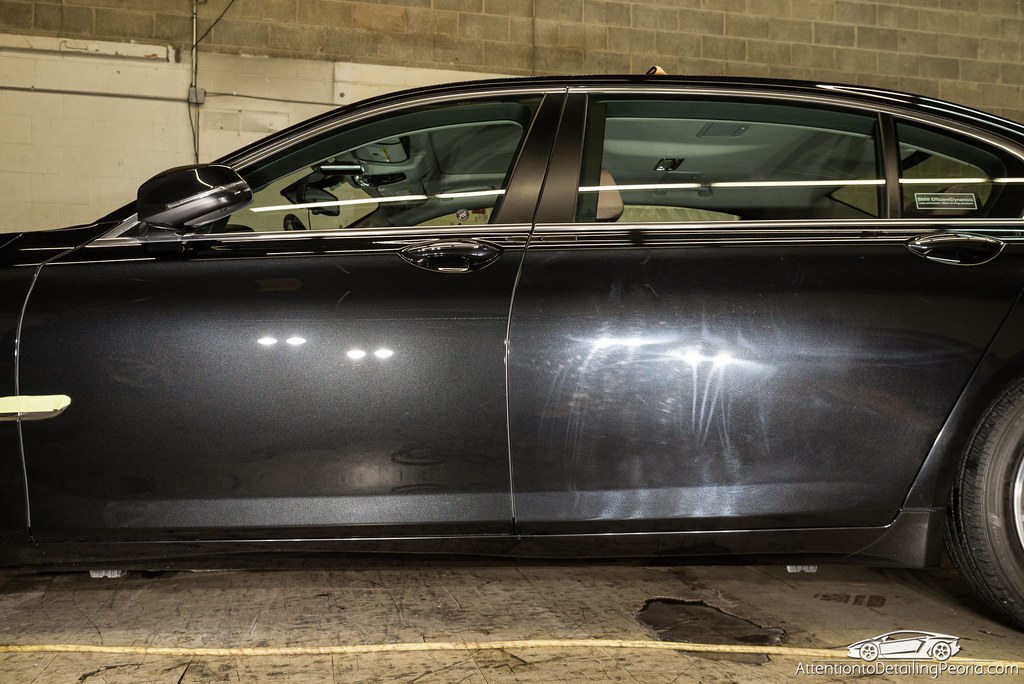
The paint was compounded with Meguiar’s D300 and then polished with Meguiar’s M205. Talk about a difference in clarity!
After a long day of work, the entire vehicle had been compounded and polished, revealing the brilliant finish of this black sapphire metallic paint.
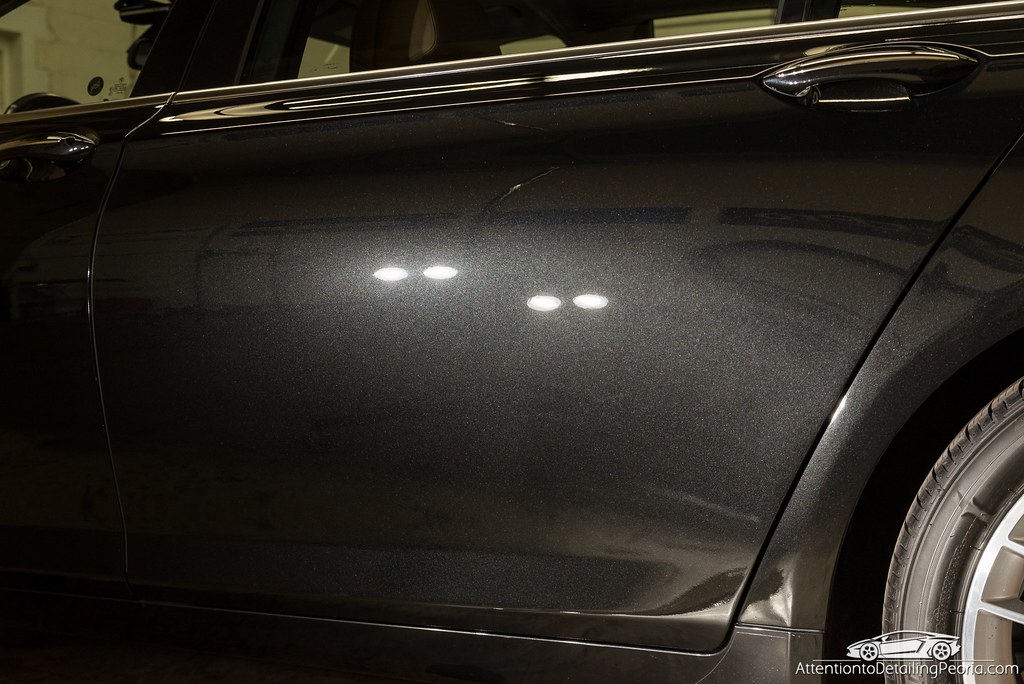
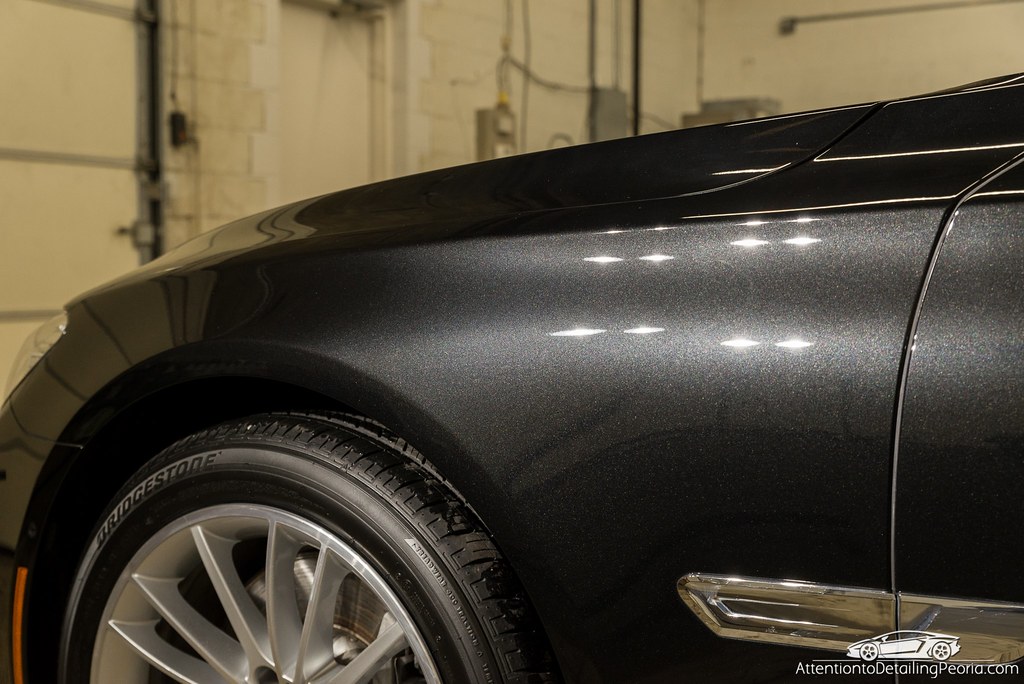
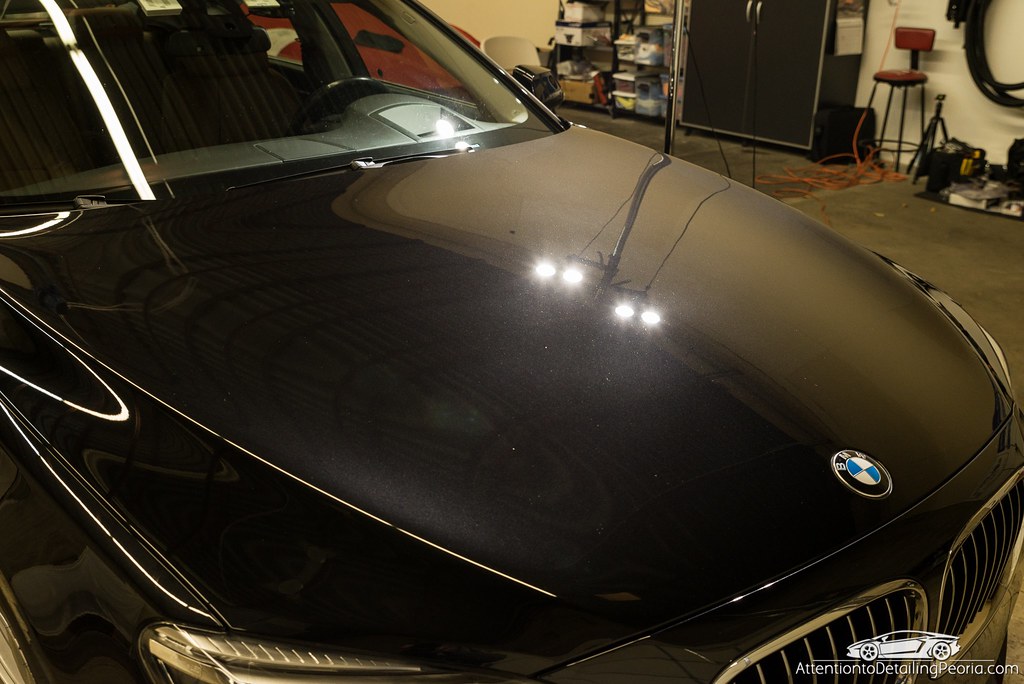
Aside from the deeper defects, the paint was in exceptional condition. Holograms, swirl marks, water spots, and other superficial defects were successfully removed.
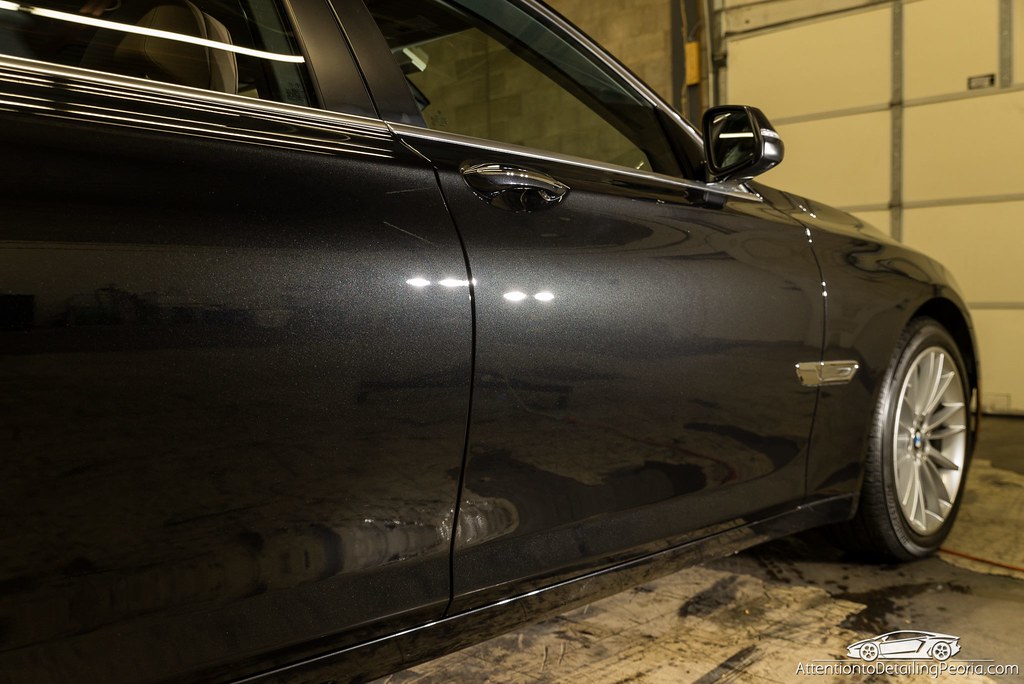
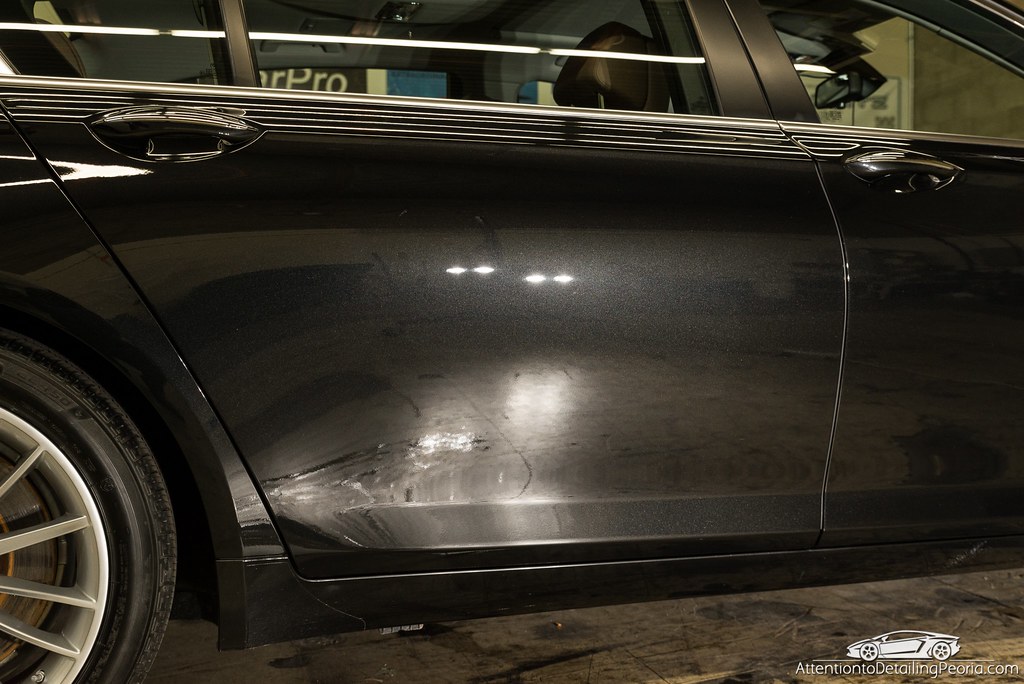
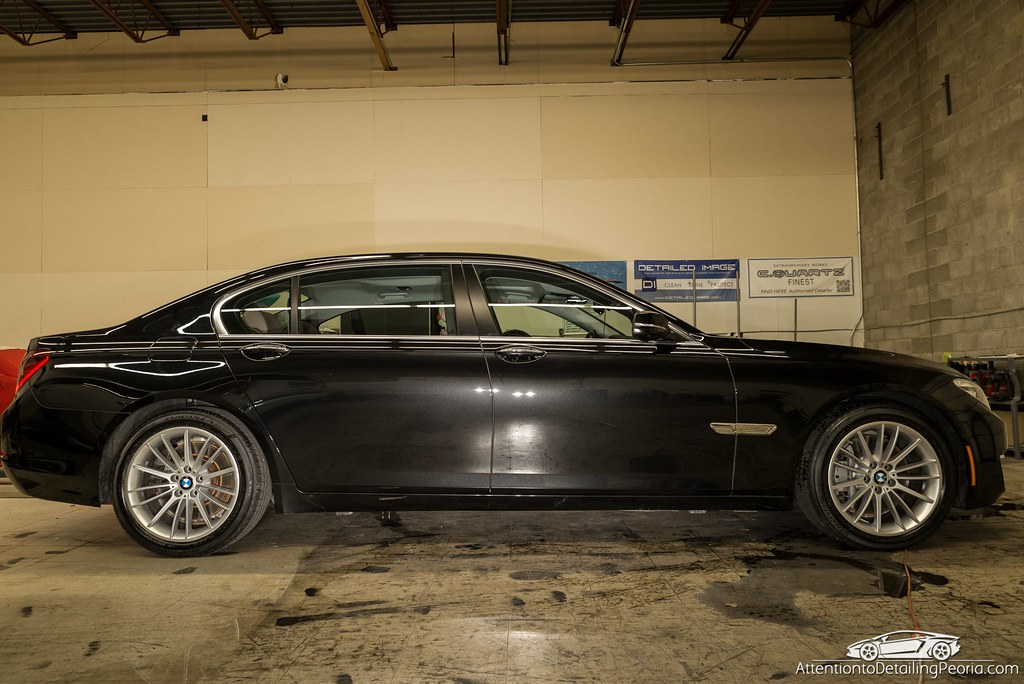
We had all of the curb rash repaired while the vehicle was with us, so the exterior truly felt like a brand new car when the owner came to retrieve it.
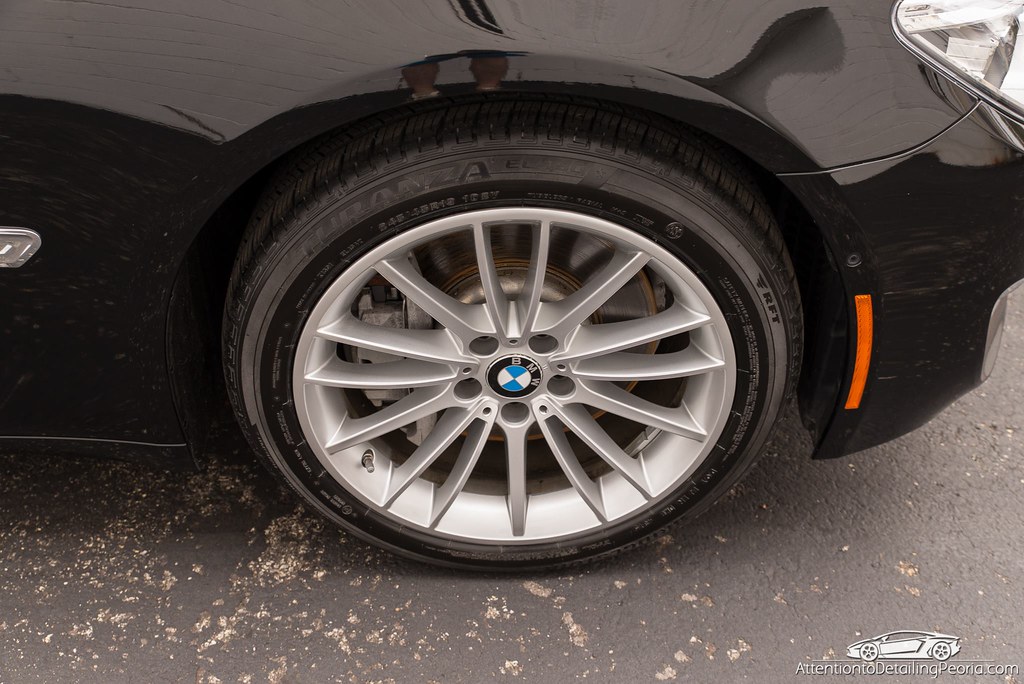
After correction, the paint was thoroughly wiped with Optimum Paint Prep to prepare for a coat of Optimum Gloss Coat for durable protection and even more gloss. Unfortunately the sun wasn’t out, but the car still looked outstanding when we pulled it outside!
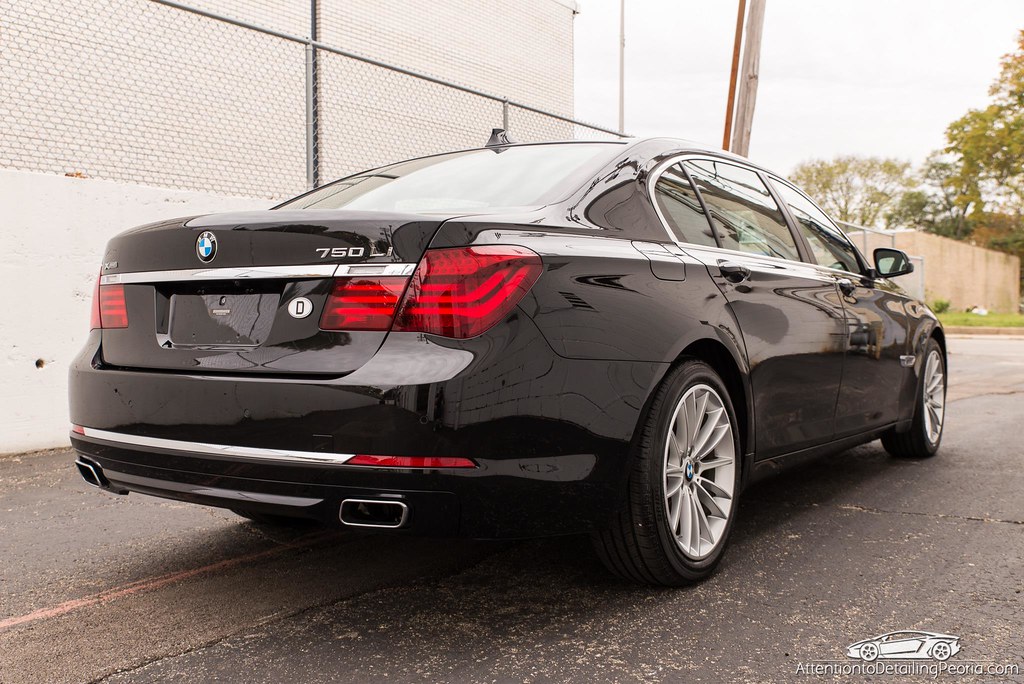
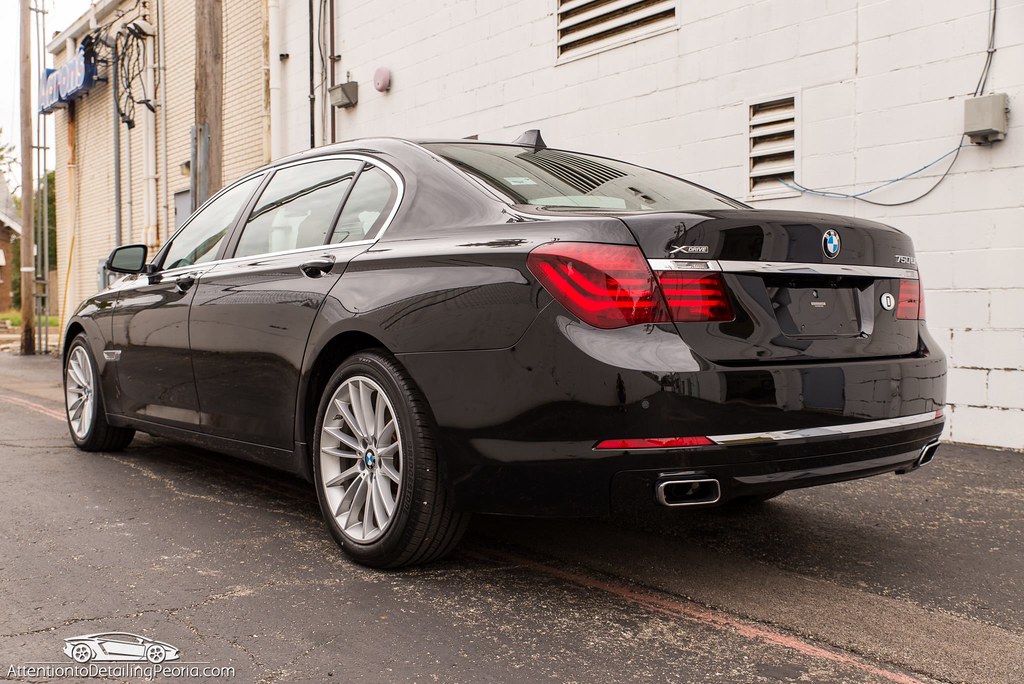
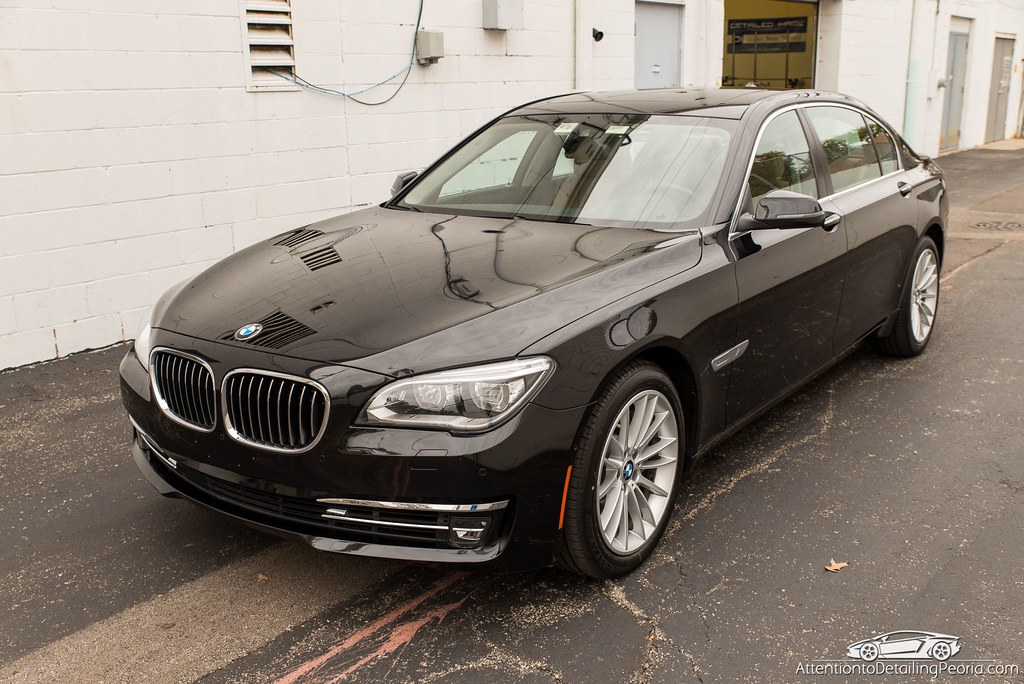
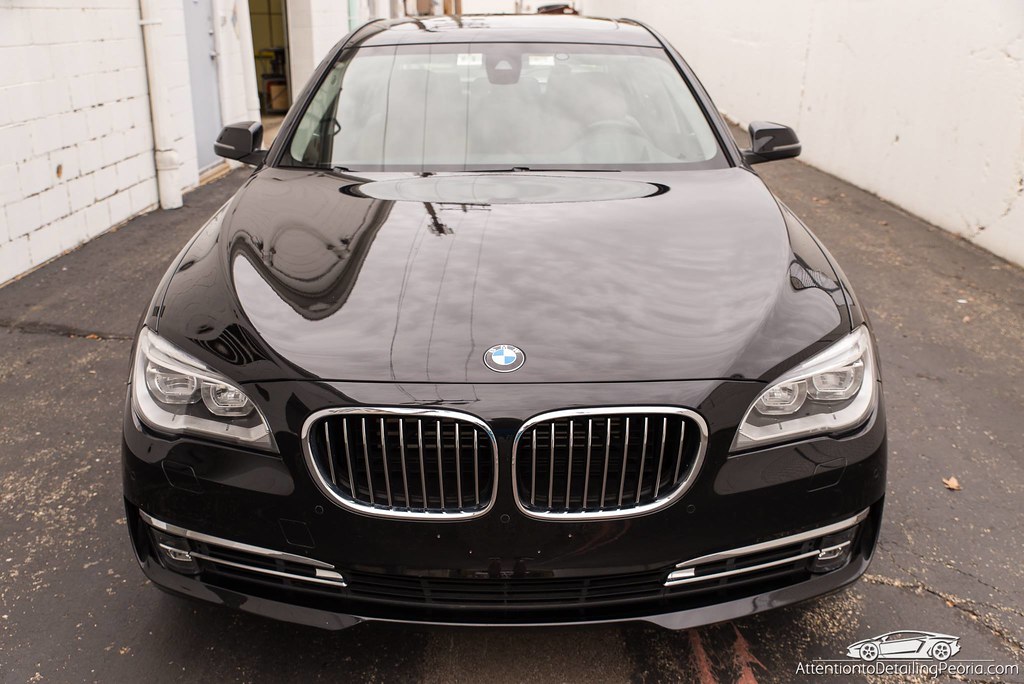
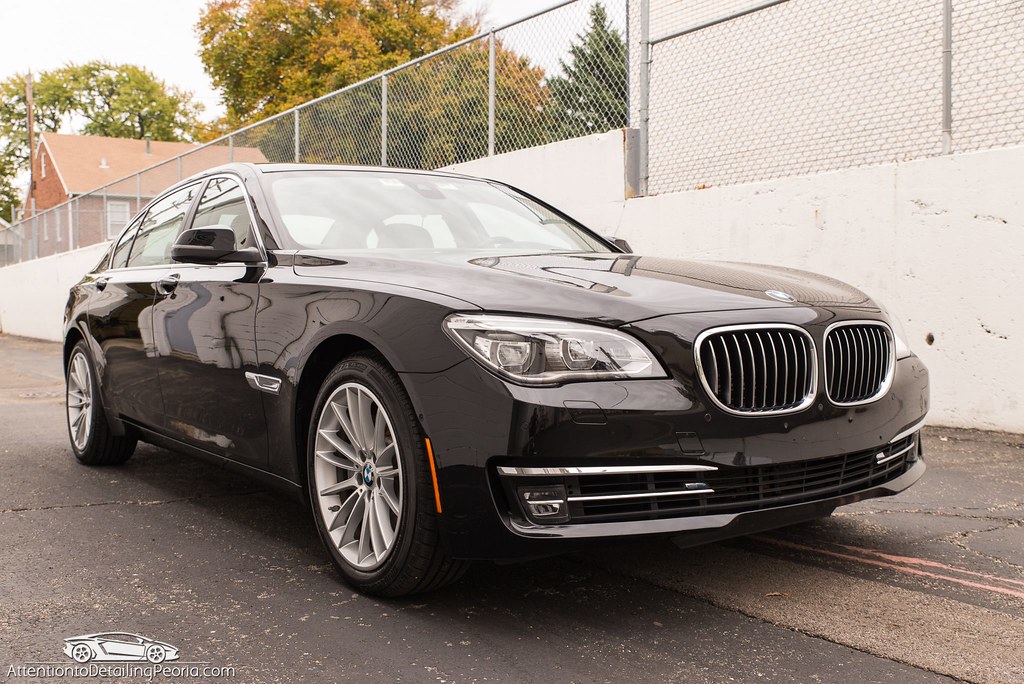
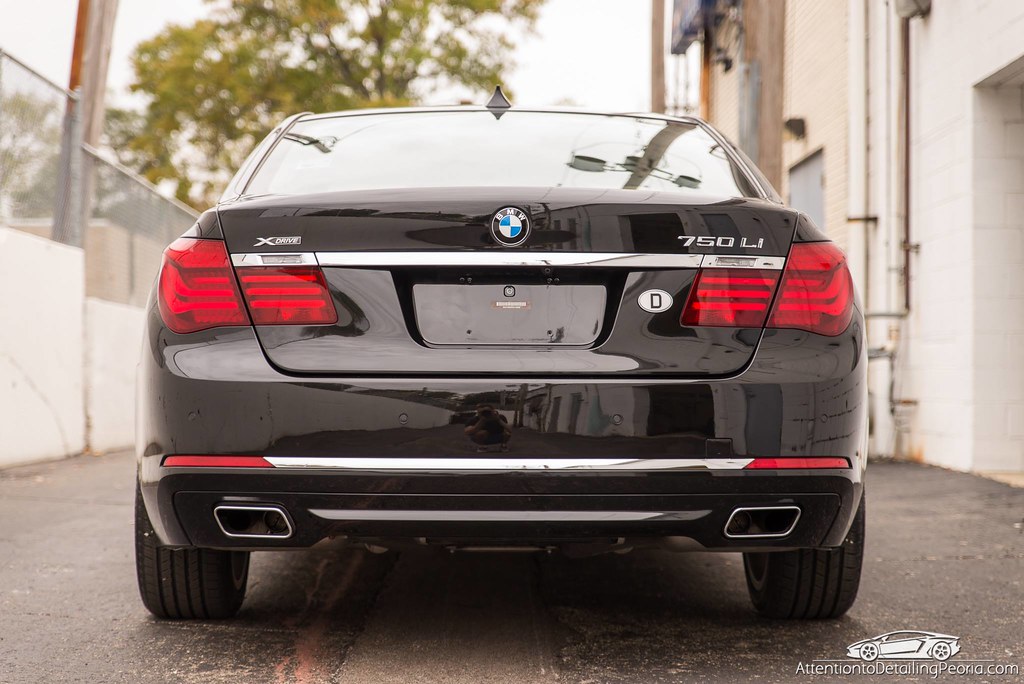
This luxurious flagship of BMW’s car lineup now looked proper, and the owner was ready to enjoy his new ride!
Product Overview
- Tire Cleaning: Tuf Shine Tire Cleaner, Tuf Shine Tire Brush
- Wheel Cleaning: Hyper Wash, Bucket & Grit Guard, EZ Detail Brush, Wheel Woolies, Wheel Brush
- Washing: Meguiar’s Hyper Wash, DI Foam Lance, Buckets & Grit Guards, Microfiber Mitt, 1″ Boars Hair Brush
- Drying: DI Waffle Weave Towel, Metro Master Blaster
- Paint Decontamination: Nanoskin Fine Grade Mitt, Nanoskin Glide
- Paint Correction: Meguiar’s D300 Microfiber Compound, Meguiar’s Microfiber Cutting Pad, Black & Yellow Microfiber Towels
- Paint Polishing: Meguiar’s M205, Lake Country White Polishing Pad, Black & Yellow Microfiber Towels
- Machines Used: Rupes LHR21ES Mark II, Rupes LHR15ES Mark II, Rupes 75e, Rupes iBrid Nano
- Paint Cleansing: Optimum Paint Prep, Double Thick Edgeless Towel
- Paint Protection: Optimum Gloss Coat
- Wheel Protection: Sonax Wheel Rim Shield
- Tire Dressing: Forma RVP, Tuf Shine Applicator
- Glass: Meguiar’s D120
- Metal: Chemical Guys Metal Polish
Buy Products From This Article
Related Posts
- 2016 BMW M4: Paint Correction Detail & 22ple Mistico Elemento Application
- 1999 Porsche 996: Paint Correction and 22ple HPC Coating
- 2015 Range Rover: Paint Correction and Gtechniq Crystal Serum Light Application
- Maserati Granturismo: Paint Correction and 22ple HPC Application
- 2008 CLS 63 AMG – Low Mileage Luxury Beast: Paint Correction & 22ple VX3 Application


That is a lot of holograms per square foot there, that detailer took his time installing them! Great work bringing that paint back to life!
Thanks, Greg!
I know it’s just me, but for what the buyer likely paid for that car, I would have saddled the dealer with the cost.
Beautiful work, though!
Hey Dave, most dealerships will not budge on price when it comes to discussing detailing costs. In my experience, and with talking to our customers who have had similar experiences, they will simply offer to “buff it out” free of charge, but that is about all you’ll likely get out of them.
Thanks for reading!
That was a “Lazarus project”!
Thanks for reading!
Stunning work as always and excellent write up.
Am I reading it correctly that all polishing was performed in one day?! That’s even more impressive if so!
Hi Lee – thanks for the comments! We had 3 guys knock out the correction work in just one day.
Awesome job as always! Your team does great work.
One question for you… for the paint correction, did you find the Meguires D300 was more agressive that the Griot’s BOSS Fast Correcting Cream that you’ve been using on a number of recent paint correction jobs?
Thanks for all your insight!
Ken
Thanks, Ken!
Actually it was the opposite… D300 is less aggressive than FCC. I did my initial testing with Fast Correcting Cream (because I love it) and it left excessive haze on this finish. I found that D300 was the perfect match for this car. FCC and D300 are our 2 favorite compounds as of late.
Good to see testing a small area first before moving on. I should have more than just a few polishes on hand ( I have three that I feel good about ) I inspect flatness of the compound step and have discovered that these three are the cats meow. Thanks for the interesting article and a reminder to me… slow down, evaluate, then and only then move forward.
Hey Donald – I do test spots on every single car we work on. If I have learned anything over the years, it is that there is no “perfect combo” of compound, polish, and pads that will work for every single car, so I find that spending the time to test and evaluate is a very critical part of the process.
Thanks for the comments!
Thank you for sharing this outstanding correction. Two questions: where do you tend to do your test spot corrections. What would a consumer expect to pay for this kind of correction?, Thanx, Waayne
Hi Wayne – Thanks!
1 – I tend to find a panel that I consider to be in the worst shape and begin my testing there. More often than not it ends up being a hood, door, or trunk lid that I am doing the test spots on.
2 – this particular job was completed for around $1200. As with any service, pricing can vary depending on the market in your area and the person doing the work.
Beautiful job. Looks like someone washed that car with a brillo pad 😮
Thank you, John!
Nice write up Zach! I was curious what pads you used with the D300 & M205? Thanks, Rick
Hi Rick – as it says in the bottom of the article, we used Microfiber cutting discs with D300 and White Lake Country Polishing Pads with M205. Let me know if you’ve got any other questions. Thanks for reading!
I overlooked that section, thanks for pointing it out to me Zach!
Happy to help!
Great work and great write up. When it comes to paint I have learned never let a dealer touch the car. My father purchased a new Toyota Camery recently and I followed Larry’s (AMMO NYC) direction and told them they were not allowed to remove the protective covering from the car. The looked at me like I had five heads, but I insisted and told them if one protective cover was removed the deal was null and void. They honored my wishes and when I got the car home I when through all the steps, decontaminate, iron X, polish where necessary, seal and protect.
1) my father was amazed at the amount of rail rust on the car when I did the iron x and how much more came out when I Claude the car.
The car came out great and will always follows these rules with every new car.
Hi Ken – thanks! Sounds like a proper new car prep! Well done.
What lights do you use in the photos Zach? I’m talking of the very first damage one (the rotary holograms one).
They look like either LED or metal halide on tripods to me but thought I’d check with you!
Hi Lee – these are my infamous “DIY LED Inspection Lights”… shoot me an email and I will send you all the info you need on how to make a set for yourself. attentiontodetailing.peoria@gmail.com
The last three certified BMW’s I’ve purchased were covered in holograms…sad for such high dollar vehicles. Fortunately that’s what got me interested in detailing. I’ve done mine and a few friends cars, some in very bad shape and I can say that they love the results. Transforming a vehicle gives me great satisfaction. I have two questions. How long did it take you to complete this job and did you do it alone? I’m an old guy and I’m thinking of making a few extra bucks. $1200? I think I need to edit my price list 🙂
Hi Arnold – it is not uncommon for any used vehicle that has had a trip through the dealership detail bay to be covered in these glorious holograms… it is quite unfortunate.
We had around 20 man hours into this project. There were 3 guys working on the correction work, and we had it all knocked out in a day.
As far as the pricing goes, $1200 / 20 hours = $60/hour. We value our time and expertise, and therefore charge accordingly. There is no right answer for how much to charge for a job. If you’re working on-the-side in your free time, at your home, you may value your time differently than someone who is working in a shop with employees and has a waiting list. As long as you feel like you are being compensated appropriately for your time and labor, then you’re on the right track 🙂
Thanks for reading!
Thanks Zach, beautiful job by the way. Funny how people don’t notice these holograms before they purchase a vehicle…I didn’t. I guess a tip would be never to buy a car at night that is not under proper light nor during the day if it’s not under bright sun.
Thank you!
At the end of the day, it is all repairable, so not a huge issue… especially if you can fix it on your own 🙂
Great article, I always enjoy seeing the results of your work!!!
I’m dealing with the same thing now. The dealership “detailed” the car as part of their pre-delivery and covered it with buffer trails and swirl marks. Luckily it was a good excuse to add a new Griots 21mm buffer to compliment my old Porter Cable.
But I still have one question for you. After I finish the paint correction, I’ll be applying the 22PLE VXPro2 coating and really want this car to shine. But, how do you correct the scratches under the door handles without purchasing something like an iBrid Nano polisher?
Hi Scott – the areas under the door handles need to be done by hand. Even a rupes iBrid cannot reach those areas in most cases 🙂