
Nano Coatings: When to Replace & How to Recoat
by Zach McGovernNano coatings are a great way to protect your vehicle and simplify maintenance. Coatings provide exceptional durability, and can perform as if they were brand new for many years with proper maintenance, but how do you know when it is time to apply a new coating to your vehicle?
This topic can create a bit of a debate as some brands or installers may argue that their products are “permanent” and some may even include “lifetime warranties”, therefore the coating never needs to be reapplied, however it is my personal opinion that regardless of how long the coating might be able to last, if you want to keep your vehicle looking its absolute best, the paint will need to be polished at some point in time (especially for daily driven vehicles), which means a new coating will need to be applied.
When to Reapply
This will depend on several factors including how often the vehicle is driven, what type of environment the vehicle is exposed to, how often the vehicle is cleaned, whether or not proper maintenance techniques & products are used, etc.
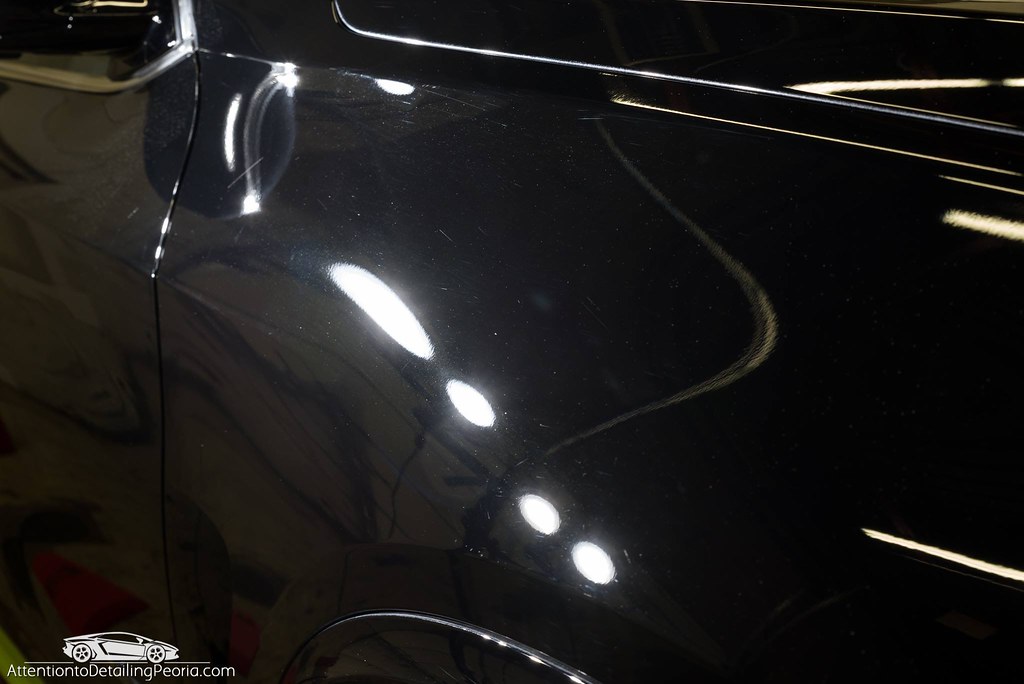
Assuming a vehicle is driven daily and maintained properly, I often suggest going through the motions of recoating the vehicle every 2-3 years. I make this suggestion because regardless of how careful you are, I have found it to be impossible to keep a vehicle completely free of surface defects. After a couple of years of frequent washing and upkeep, I feel like it is expected to see some “love marks” or light swirls/marring as seen below.
If the vehicle lives in particularly harsh environments or is not maintained properly, then you may want to do a full detail and recoat more often. On the flip side, if the car is seldom driven, and does not see poor weather, it may be able to go many, many more years before it needs to be polished. Use your best judgment here and determine what works best for your specific needs.
How to Reapply
If you are maintaining the vehicle properly, there should be no need for any real invasive paint correction work. A well-maintained vehicle should still be mostly free of swirl marks, but will likely have some light marring from general washing and drying as I mentioned earlier. It is also very common to have some light staining/haziness from general dirt and road film buildup on the car over the years that leaves the finish looking at bit dull (most noticeable on darker colors).
The preparation process for reapplying the coating is more or less the same as the hard work you put in when the initial installation was performed, however if you have been able to maintain a generally swirl-free finish, and do not need to perform a paint correction, the prep and reapplication is a relatively quick and simple job. The workflow follows the standard clean, decontaminate, polish, and protect steps.
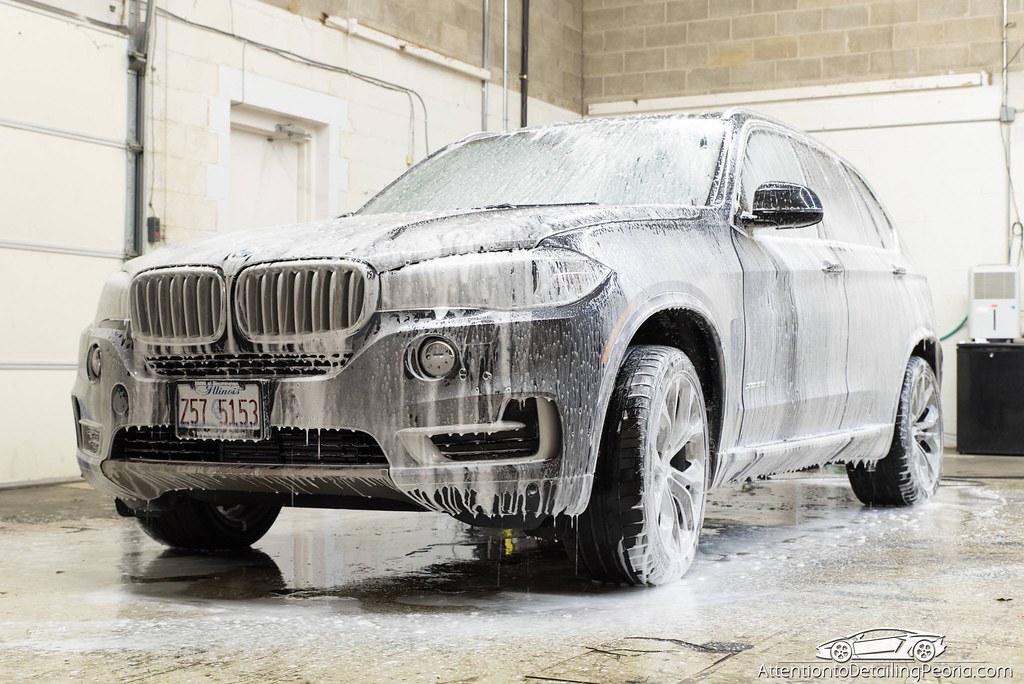
Clean: Begin by performing a thorough hand wash to remove all loose dirt and contamination from the vehicle (How to Properly Wash a Vehicle, How to Properly Wash Your Car (Video)).
Decontaminate: Next, decontaminate the paint to remove any bonded contaminants such as fallout, tar, sap, etc. This can be accomplished using a variety of chemicals in addition to some type of clay bar or synthetic clay (Explaining the Decontamination Process Part 1 & Part 2, How to Clay and Decontaminate Your Paint (Video)).
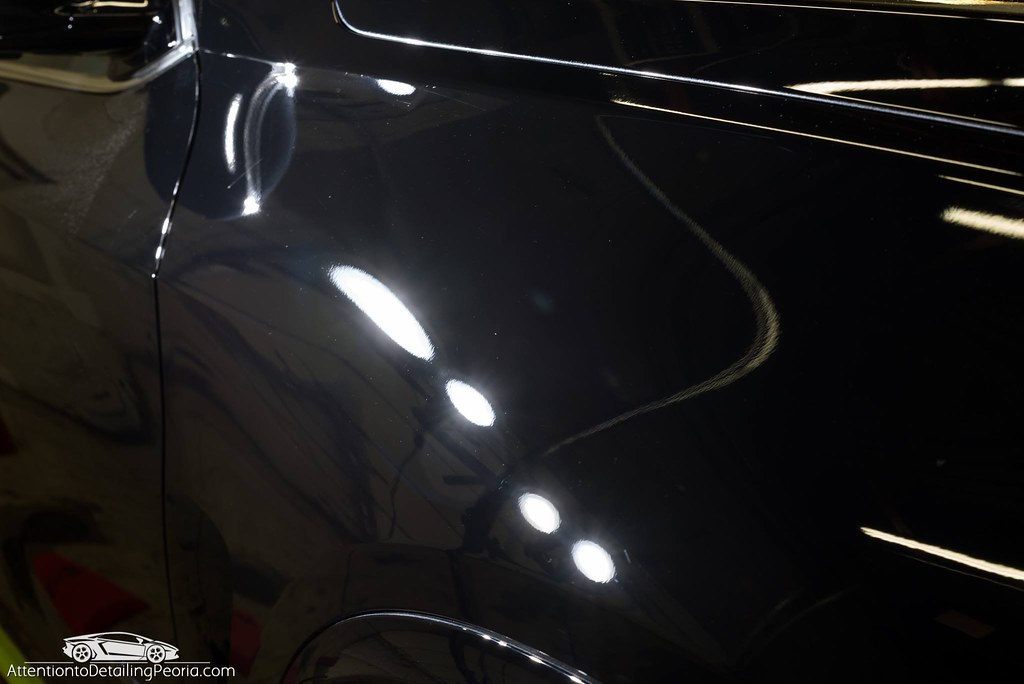
Polish: Now that the paint is as clean of all loose dirt and bonded contaminates, we will perform a light machine polish to restore perfect clarity and to ensure any residual layers of coating toppers, spray waxes, etc. are removed. Compared to a paint correction, this light polishing process should be very quick and easy. Generally all that is needed to restore the gloss and color is a fine polish such as Meguiar’s M205, CarPro Essence, or something similar paired with a polishing pad like the Rupes Yellow Pad, Lake Country White Pad, or your favorite polishing pad.
2 or 3 passes using a moderate machine speed, and a slightly faster arm speed than what we normally recommend for a true correction should make easy work of light marring and surface discoloration. Our working areas are typically a bit larger for this light polish than when we are performing a paint correction, and as a personal preference, I will often polish an entire panel or several panels before going back and removing the polishing residue as it seems to speed up the process. I can generally complete a light polish on a medium sized sedan in just a couple of hours, which is a fraction of the time it takes us to perform a multi-step paint correction.
Light Polish Summary:
- Use finishing polish on your preferred polishing pad
- Make 2-3 passes over your working area to remove marring, light haze, and other minor superficial defects
- Utilize a moderate machine speed and quicker arm speed than you might use when trying to maximize defect removal during paint correction
- Consider expanding your working area to be slightly larger than the general 2’x2′ section often recommended for defect removal during paint correction
Note: if your vehicle has acquired swirl marks, scratches, or other types of superficial defects that are more extensive than light marring and discoloration, you will need to take the time to properly analyze and correct your paint to maximize your results.
Prepare: Once the paint has been polished to your satisfaction, thoroughly wipe the surface with a prep solvent to ensure all of the polishing residue has been removed. I like to perform this wipe down on each panel as I am working. Polish a panel, wipe away the polishing residue with my towel, then spray the panel with solvent and gently wipe it away with a plush towel. Some people prefer to polish an entire vehicle, then do the solvent wipe afterward. The choice is yours, just make sure you take your time and ensure the vehicle has been thoroughly cleansed.
Protect: Now that the paint has been cleaned, decontaminated, polished, and prepped, reapply the coating of your choice according to the manufacturer’s instructions and enjoy easy maintenance and protection for several more years.
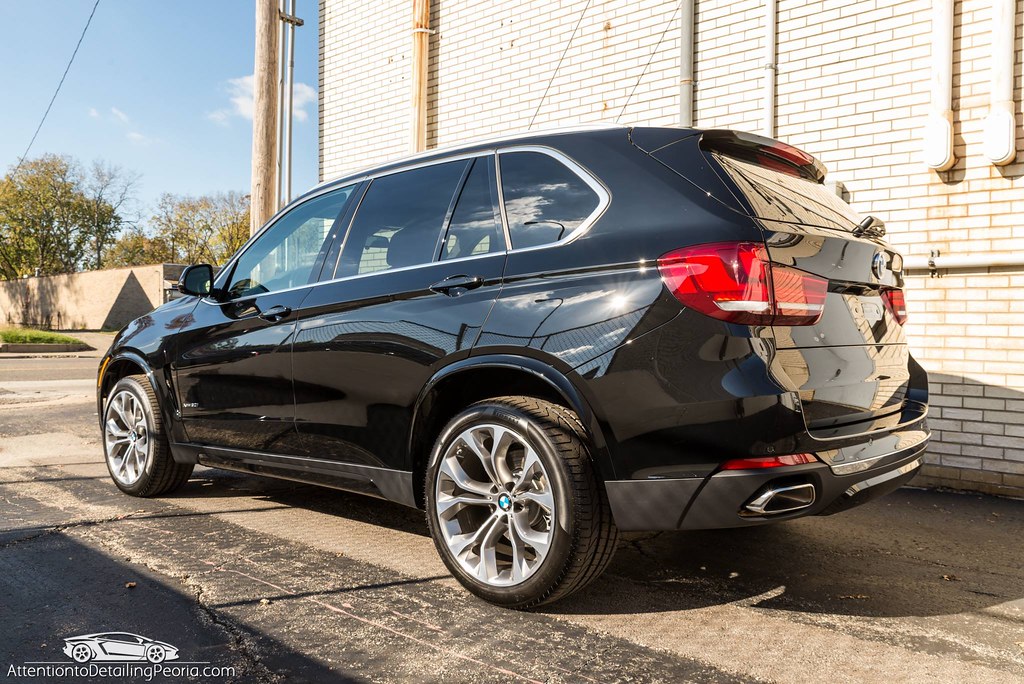


Zach, great article, concise and relatively easy to follow. I have enjoyed your detailing posts over the years. Tempted to go back to coat my new X5 Carbon Black Metallic after seeing this photo. My only concern remains the harsh winters we get in CT and finding a suitable wash facility.
Keep up the good work.
Hi Joe – thank you! My personal wintertime washing routine is to simply utilize a self-service coin operated car wash bay to rinse off as much of the heavy accumulation as possible, then go home and do a rinseless wash inside my garage with Optimum No Rinse.
What a great idea! Thanks for the tip
Solid info as usual, thanks Zach!
Thanks buddy!
Nicely stated. The issue of coating longevity sure is an interesting topic given some of the marketing out there.
You’ll never know for sure how durability will really turn out until you actually try it in your climate and your situation. Some things can be estimated by finding others experiences in similar conditions and usage but that’s still just an educated guess.
We have 3 cars with considerably different usage patterns; all protected with same set of products.
Car 1 will likely get to 3 years (if not longer) before needing to be completely redone.
Car 2 will likely never need to be redone.
Car 3 will get to 2 years at the most before needing to be redone.
Car 1 is about 5500 miles a year, no freeway, sits outside from April thru November but only really driven daily November thru April, short trips, no freeway.
Car 2 is daily driver in nice weather, April thru November, usually no-rain days only, always garaged, 5500 miles a year, rarely freeway.
Car 3 is year round daily driver, generally always garaged, 20k miles a year, 95% freeway.
All are in NE Ohio.
Same protection, varying usage far different likely outcomes. Freeway use, especially during winter, is very, very hard on a vehicles finish.
Having seen a lot of faded cars last time I was in Arizona, I’m guessing they have a whole different kind of nightmare to deal with, entire different set of circumstances to cope with.
Florida apparently has acid-filled Love Bugs that can etch paint if left for too long…another nightmare entirely.
Point being, no claims listed on a box can even begin to adequately predict longevity.
It’s the ultimate YMMV scenario.
Thanks for your article.
All great points! Thanks for taking the time to read and comment!
As usual, great informative article Zach!
Thanks!
Hi Zach, Can you recommend a good Nano coating that will leave a wet looking and slick surface? I am interested in a coating that will be easy to install.
Thanks!
Dave
Hi Dave – I can certainly help! Depending on your budget and your desired amount of work, there are several options that will meet your needs.
GTechniq Crystal Serum Light will produce a nice, slick finish and is very quick and easy to use. Only one coat is required, but you can apply a 2nd if you wish. This is a great budget friendly option.
The Gyeon Syncro system is a two part coating which consists of Gyeon Mohs as a base layer (2 coats) and Gyeon Skin as a top coat (1 coat). The Mohs adds hardness and chemical resistance while Skin adds slickness and superb hydrophobic properties. Both Mohs and Skin are very easy to use.
It is important to note that the initial slickness felt after applying these coatings will diminish over time. Sometimes this disappears quite quickly. Slickness can be restored by applying a spray on SiO2 sealant such as Gyeon Cure or GTechniq C2.
Thanks!
Zach, thanks for the article. What about the pads you used to remove the coating? Can we resuse them or best to replace if you plan on polishing non coated cars?
Thanks!
Hi Sachin – I see no reason to replace pads after polishing a coated vehicle. It is no different than polishing clear coat in my opinion. When applying a coating we discard our applicators because the coating may harden them as it solidifies, however when you are polishing a coated surface the coating has already solidified and therefore will have no hardening effect on the pad or towel used when polishing.
I am a vintage car specialist, has anyone used NANO coatings on single stage (no clear coat) paint?
Certainly. While I do not have much experience with single stage paint, I do know many people have coated it successfully.
Zach, always great advice to me thanks. Another ? I just re coated my Audi A6 with quartz, then reload, can , should I use or be able to put a carnuba paste wax on?
Thanks
larry
If you’d like to put a wax on it you certainly can, it will not hurt anything, however it would be an odd choice in my opinion. Applying a wax on top of a coating that performs considerably better than a wax just covers up all of those superior properties of a coating.
Thank you, last ? can i put on a 2nd coat now it has been 10 days since the quartz and reload? I just did not think about it until now, the winter was bad on the a6 and want to protect a little better if I can.?
Thanks
Hi Larry – I do not believe so. You should only apply a coating to a clean surface that is free of any oils, waxes, sealants, etc. Since you have already used Reload the surface may no longer be prepared for a new layer of coating. I am not sure if an Eraser wipe down is adequate enough to get the surface ready either. Perhaps it would be in your best interest to contact CarPro directly and ask their opinion as they would be most familiar with how their products can interact with each other.
Many thanks Zach
Zach, have you heard of Color N Drive Ceramic Coating. Comment please…..
Have not heard of it
Hey Zack. Just had my 370 coated by a “certified” dealer and not happy with the results. Can additional coatings be applied now or is that not recommended?
Fred – You can certainly coat a vehicle again, you will just have to remove the coating first before reapplying. With a coating layer so fresh, you will need to polish to remove the coating.
Hello Zach,
Thank you for the article! I was searching for suggestions when to recoat, because I got my ceramic coating done about one year ago. I’m driving an Audi Q7, so I guess it needs to be recoated earlier than other vehicles, as the coating already looks kinda dull and scratchy. I always thought it needs a recoating every 6 months at the latest! So it really does surprise me, that you mention it is only necessary after 2 to 3 years.
I got the first coating done by a professional, but I don’t want to do that every year, so do you think I can do it myself and what do I need to be careful for? Thanks Zach
Martin – It all depends on what coating was applied, how the paint was prepped before application and how it was cared for. With perfect prep and care, coatings can last from 6 months to 5 years, it all depends on what product was applied. Follow the steps in this article to remove what may be left on the surface and below are some articles to help you apply a coating and care for a coating. If you have any questions along the way please feel free to reach out (https://www.detailedimage.com/Contact/).
https://www.detailedimage.com/Auto-Detailing-Guide/Coatings/
https://www.detailedimage.com/Ask-a-Pro/maintaining-your-paint-coating/
https://www.detailedimage.com/Ask-a-Pro/coating-application-how-to-reduce-marring/
https://www.detailedimage.com/Ask-a-Pro/professional-coating-application-techniques/