
Paint Correction on a Jet Black Mercedes: CarPro Clear Cut + Reflect Review
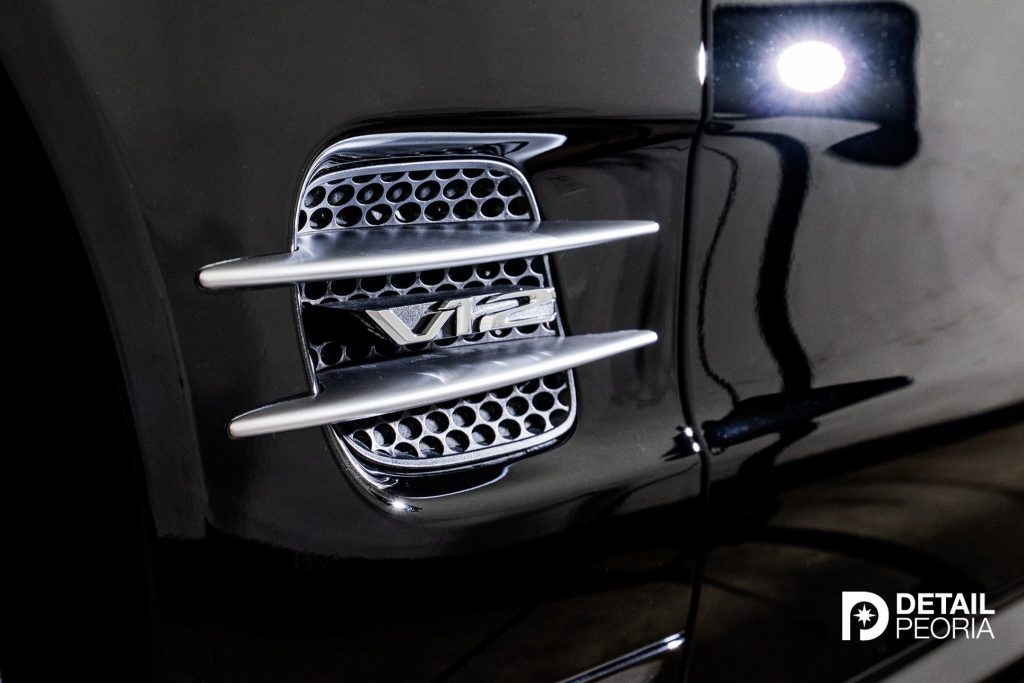
by Matt CarterIt has been a while since I placed a lot of focus on constantly trying new detailing products and working out which ones work the best for me. Over the years we have developed a go-to arsenal of products that work great, and we have stuck with them for the most part. While we grow Detail Peoria there are many other aspects of the business that require our attention. The idea for us has always been to find something that works well and let it rip. What I enjoy most about writing for the Ask a Pro Blog is the opportunity to put my product testing hat back on once and a while and see what new products and new formulations have to offer. In my latest endeavor I put Car Pro Clear Cut and Car Pro Reflect to work on the perfect test mule, a jet black 2011 Mercedes.
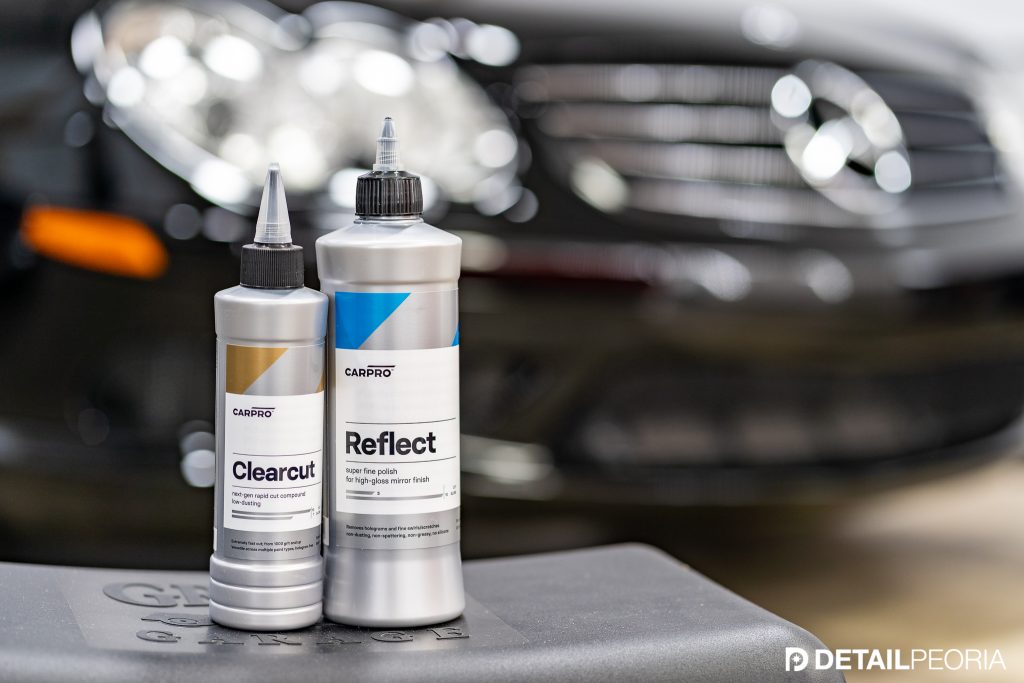
I am no stranger to CarPro Clearcut, you can find my initial impressions here: Clearcut Initial Impressions. When it first showed up on the scene it was well-reviewed and my initial impressions were promising as well. It did not end up a staple in our shop, not because of any inherent performance issues but simply because, as I mentioned before, we like to stick to our old favorites and keep things simple as we grow. I was pretty excited to see how it did on the Mercedes.
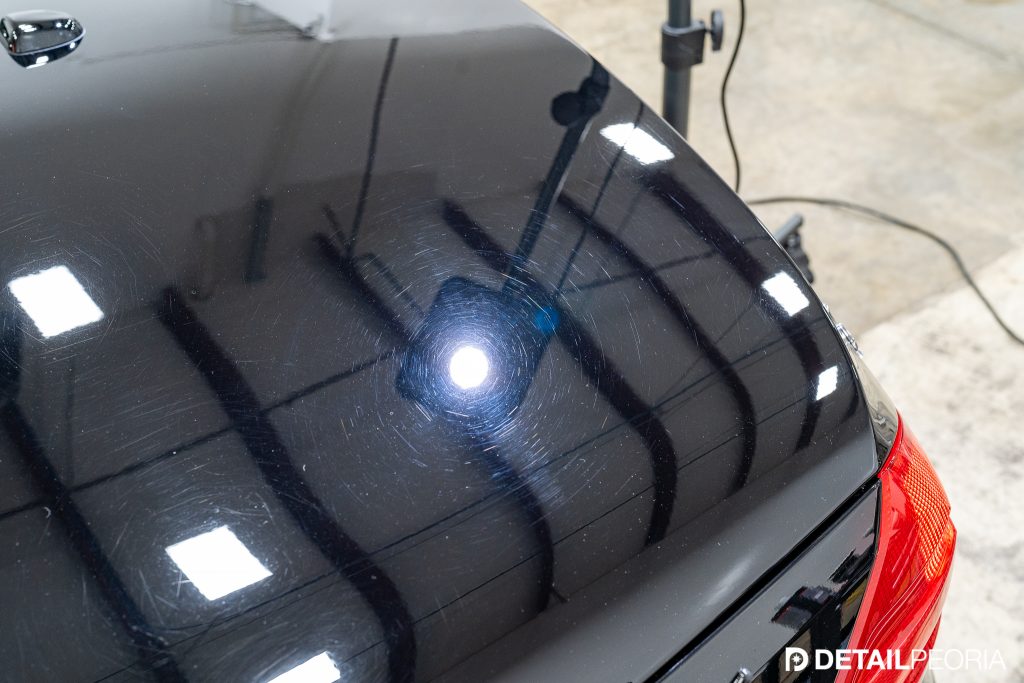
We started like all paint correction jobs with a full safe hand wash along with chemical and mechanical decontamination. After that, we can see the true condition of the paint and it was clear it would benefit from a 2 step correction process to reveal a better than new shine. We taped off the delicate areas then set to work. I completed a few test spots and landed on a Meguiars microfiber cutting pad to pair with Clearcut then worked away using 4 to 5 passes on most sections to achieve the results I was looking for.
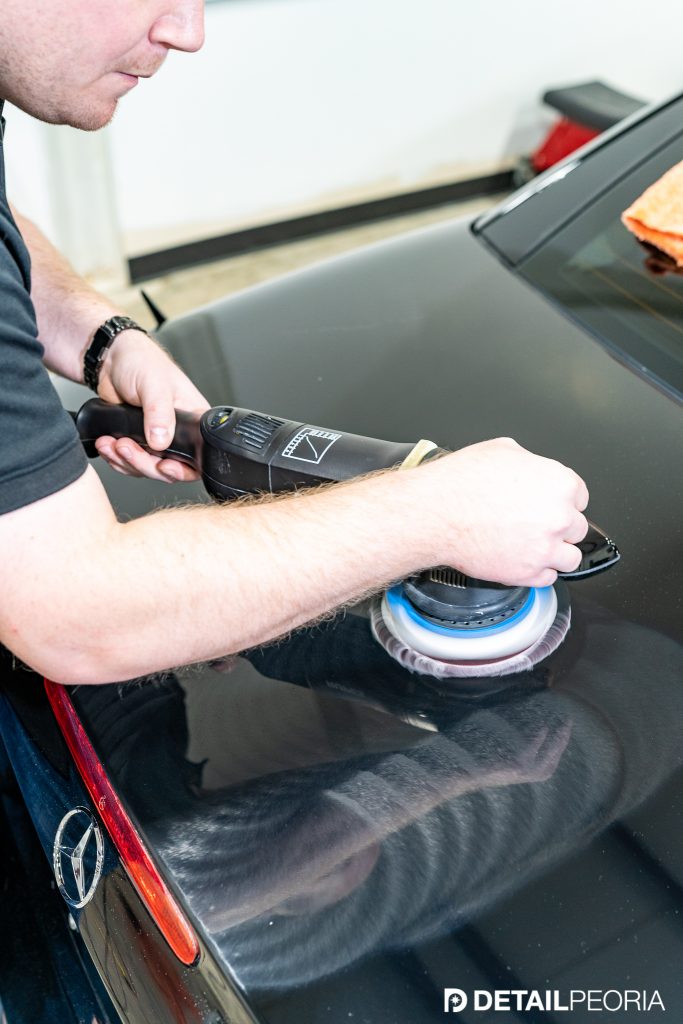
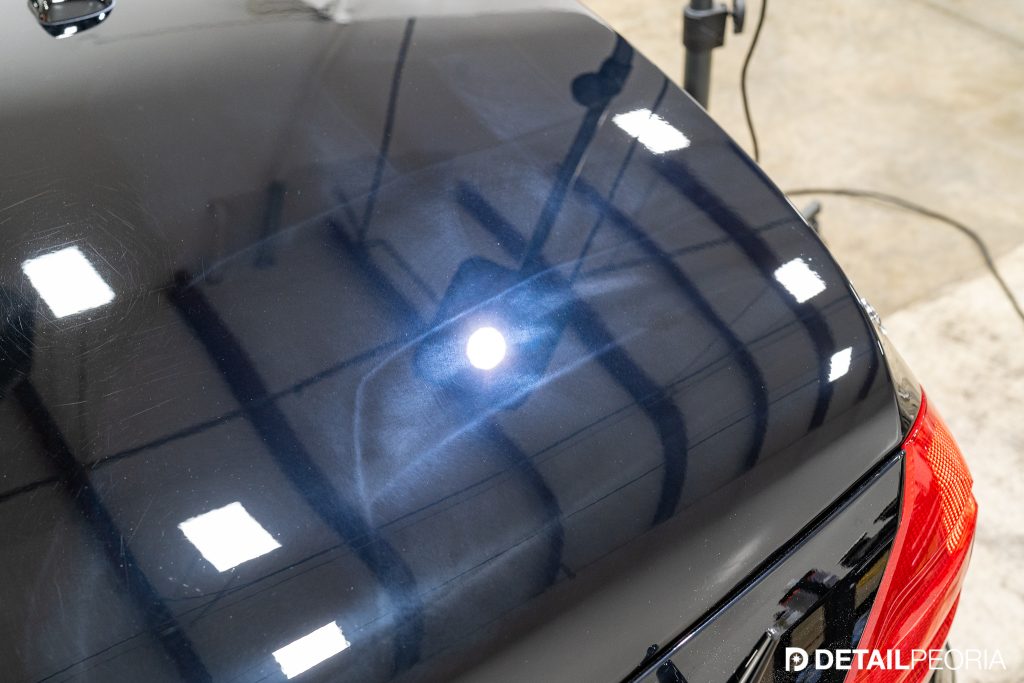
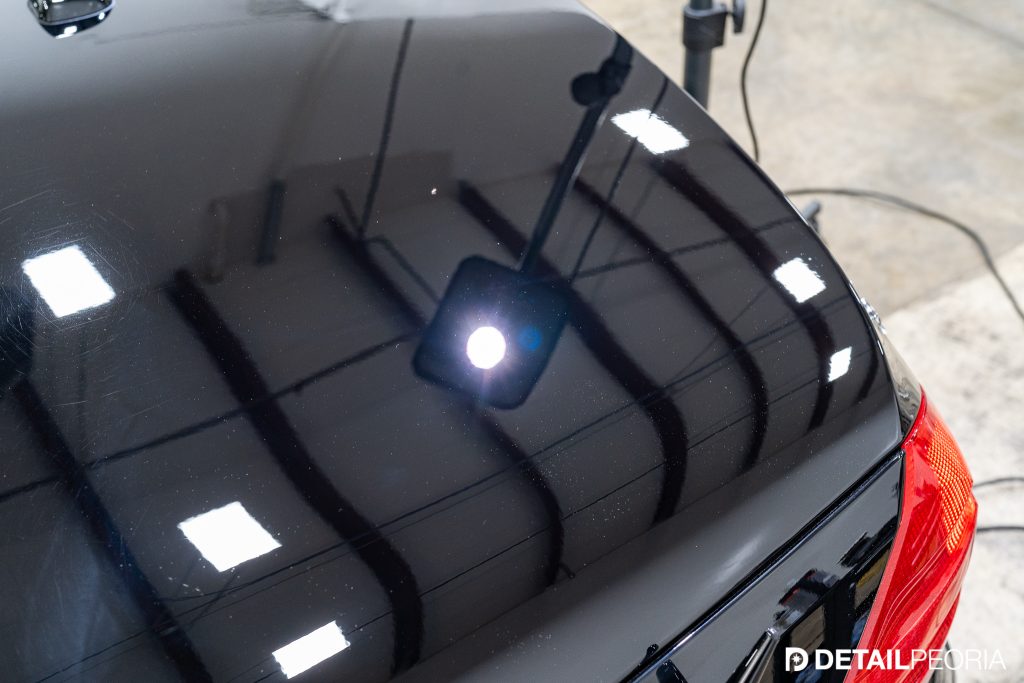
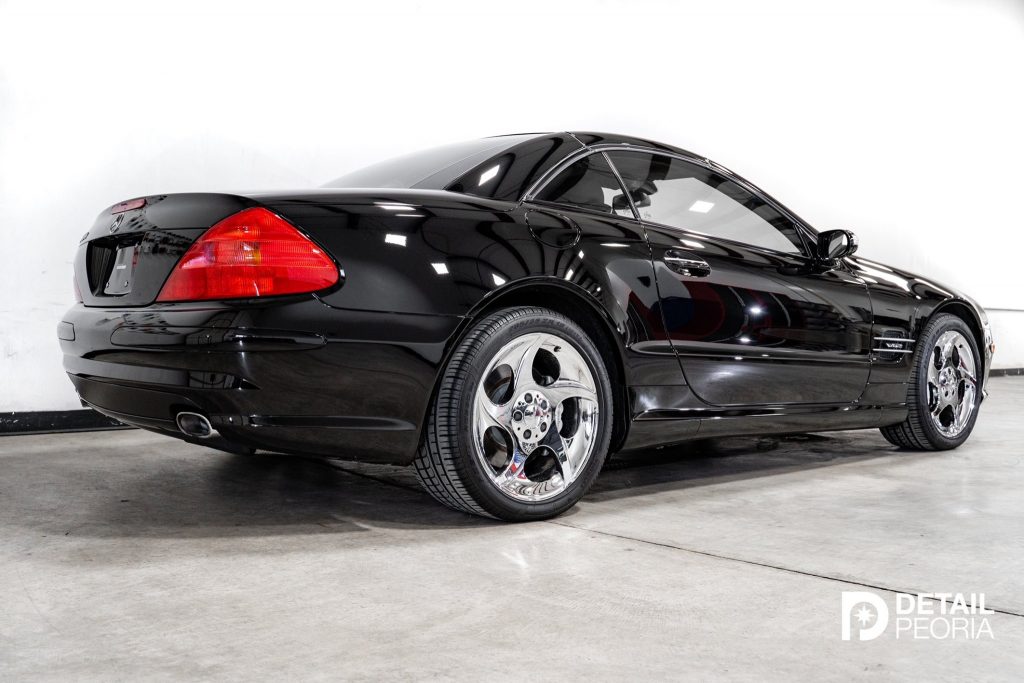
I was very happy with the correction levels we were achieving. Exactly what we needed on this project. It was now ready for polishing to refine the finish. I went straight for a white Lake Country polishing pad to try out reflect. I was hoping for good results so I could include it in this write up on the same vehicle but you never know what combo you are going to have to enlist to get jet black paint to finish down properly. Not only did it do the trick for this paint system, I immediately fell back in love with Reflect. I had forgotten that it was a common option for us in the early days of the business and how much I enjoyed working with it. I really enjoy working with polishes with long working times. Reflect spreads very satisfyingly across a section and wipes away effortlessly. There is nothing better than wiping it away and seeing perfectly clear jet black paint polished to perfection!
When the correction work was done the car looked better than new and we followed up with a long-lasting coating to help preserve the new finish. I was thrilled that the paint cooperated and let me give these two products a workout on the same project. They were both easy too work with and the results spoke for themselves leaving myself and the owner thrilled with the look of the paintwork. Can’t ask for any more than that. Reflect in particular has made it back into the cabinet in the shop now that I had a chance to remember how much I like working with it. I don’t hesitate to recommend picking up a bottle of either if you are in the market to try a new compound or polish.


Thanks for review Matt, much appreciated, I’m just your weekend warrior, I have these two polishes they are great , however have the formulas been updated or tweaked during the past year I’ve had my two bottles little over two years
Will it play in Peoria? Apparently so. Thanks.
You got it!
Hi my name is Hank
I am some what new to polishing with a machine however I have a black 2018 3500 Silverado that I would love polish it myself can you give me any pointers what step I need to take is decontamanation safe for a narvis any help would be great
Thanks
Hank… just jumping in here if that’s OK? I always do a chemical decontamination first on all my details before moving on to the claying process. There are several products such as Iron X or P&S Iron Buster. This will get much of the contaminates off before claying which will pick up what is left. Then move to your polishing using the least aggressive compound first followed up by a final polish of your choice. You might even get away with an All-In-One polish for what you have. Don’t be afraid of your machine. Apply moderate pressure and work small sections at a time. Get a feel for what the machine can do for you by moving the pad across your paint in slow even movements for the first pass and then lighter pressure for the polishing with a less aggressive pad. Good luck buddy and have FUN!
Awesome tutorial Michael. Thanks.
Hi Hank,
Michael nailed it here. The decontamination process prior to machine compounding and polishing is the same for all vehicles. You want to start with a thorough hand wash and move to chemical decontamination. Use a tar remover, bug remover and iron deposit remover to remove as many contaminants chemically before moving to mechanical decontamination with a clay bar or mitt. Once clayed, you will want to start with some test spots using your least aggressive polish and pad and moving towards a more aggressive combination until the desired results are achieved. Let us know how it goes!
Good morning Matt, Thanks for the review and the post. Seeing some of the swirls and light scratches in the finish go away is something near and dear to all of us that want to keep a great looking car/truck. Like Hank Dixon, I have a 2019 Black GMC 4×4 Sierra with light scratches due to improper washings (now, I know better what caused it and taking necessary steps to stop it). I have a Porter Cable 7424 that should do a great job in removing them and was wondering a little more about how you accomplished the steps above.Could you go over a little more about the decontamination process and the number of passes with Reflect as well as what you used to coat it for long lasting finish? thanks so much. Tom
Hi Thomas,
For this particular vehicle it was 4 passes in a 2’x2′ section with decent pressure for cutting at speed 5.5 on a rupes 21 mkII with 5in backing plate and a washer mod. The polishing step cleaned things up in 3-4 passes at speed 4. We coated this one with Modesta BC-04.
I have been trying to use Clearcut on hood scratches which are not through the clearcoat. I am using a PC DA but making little progress with a microfiber pad. I have been using speed 4 at moderate pressure. What am I doing wrong?
Marc, it is possible that although the scratch does not penetrate completely through the clear, it is too deep to be safely removed by abrading away the clear coat surrounding it. You may need to fill it in with clear touch-up paint, which will protect the vehicle and avoid thinning the surrounding clear coat too much. It is unlikely that you will make the repair invisible (to close inspection) but you can at least protect the vehicle surface (with practice these repairs can be almost invisible.) Either that or stop trying to remove it (that is, just live with it) or seek professional consultation.
Thanks for the article and information! I have found myself staring at numerous polishes and compounds sitting on my shelves, left there for simple obsolescence reasons. Too much choice with negligible difference in overall results. I have come to the conclusion that I just need two go to compounds and at most 2 polishes. That’s it. If it works stick with it, the holy grail of polishing products is as mythical as the mermaid. I use 3d One and a Menzerna 2500 polish. I am sure there are a abundance of products that work as well as the ones I am using. Yet I have not found one product too date that was so much better that I had to use it. Let’s face it, if I am not getting good results after 2 passes with rotary I am not using the right combination. I have a least aggressive method, foam pad with mild compound or wool pad with aggressive compound. Anything in between has not been necessary, productive, or cost effective. Perhaps I am close minded but with all those polishes languishing on my shelves, maybe just maybe there is some truth in my simplicity lol.
Warren – While there are so many different polish and pad combinations on the market, the key is finding what works best for you and the paint in front of you. As long as you are happy with the results, what you are using is perfect!
Hi Matt, great write up. I like the fact that you usually stick with the tried and true. I think its very important in these times because if you watch You Tube there is always a new and greatest latest product that some youtuber is trying out and then you read the comments and every body is saying how they have to have this new product…can’t wait to try it etc. I’m retired and do about 25 mostly classic cars a year. I stick with what i know will work for me. I’m a big Griot’s Garage fan and I have their polishers and I mostly use their compounds and pads. I have a black ’87 Jaguar XJ6 Series 3 and working on it has taught me a lot you would never learn working on white and grey cars. Breath on that black paint and you can do some damage! I just started following you on Instagram and thanks again for such great advice. And thanks for keeping it to a length you can read in under 10 minutes. There are a lot of great articles on this site but some of them require a half a day of reading to get through. Best of luck and I am going to read some of your other posts.
Hi Matt – may I ask what “type” of black paint was on that Mercedes – was it one of their really soft blacks, hard black, or something in between? My son has a 2014 CLA-45 with the “Night Black” color, and it is the softest paint I’ve ever encountered. The car was “clean” from 10 feet away, but upclose and using an inspection light, the whole car was micro scratches/swirls! No combination of polishes with micro fiber pads would work. Final combination was an orange pad (light cutting) and a finishing polish to get a finish almost free from any haze or swirls. Wiping the polish off was a challenge without adding new swirls. Like Philip said – breathe on this paint and it swirls!
Ive used Car Pro ESSENCE Extreme Gloss Enhancer…..as a Finishing Polish
Where /How does Reflect Fit into the Car Pro Line Up
And what SEALANT If any did Matt use after polishing and before the Coating ????
Thanks for the education
Chuck – The CarPro Essence offers very minimal correction, but if you are targeting light imperfections it is a good option to help remove them and leave behind some sio2 protection. Reflect is a light corrective polish as well, but it will not leave behind any protection. This will help you leave the surface ready for any type of protection step you are looking to perform after polishing.
For the protection applied to the vehicle in this article, Matt did not apply a sealant. He does however mention that he applied a coating after correcting, he did just not mention what coating was used.
Also, you do not under any circumstances want to apply a sealant before a coating as this will cause the coating to now adhere to the surface correctly. Coatings need to be applied to a bare paint surface for best results, or an item like Essence, which is manufactured to leave behind si02 protection that a coating can adhere to. For proper coating prep I highly recommend checking out the Coating section of our Detailing Guide (https://www.detailedimage.com/Auto-Detailing-Guide/Coatings/). This will walk you through coating prep, application and care, along with listing some great coating articles from the blog to help walk you through all of these processes.
Reece, As I already have Sonax Perfect Finish, Meg’s 205 & Menzerna 3500 (Old 4000) & Extreme Solutions LVR403 / Foam Pad Polishing Glaze………..Is Car Pro REFLECT in that same Ball Park ???? I have Rupes & Car Pro Yellow and White Foam Pads.
Im primarily Polishing, Sealing, “Waxing” my 2012 Corvette Grand Sport Garage Queen and to a lesser extent my 2020 VW Golf (White) that Ive polished and applied Gyeon Can Coat
Chuck – Reflect is in the same ballpark. It is one to test if you want to try something new, otherwise use what you have on hand as they are great options as well.